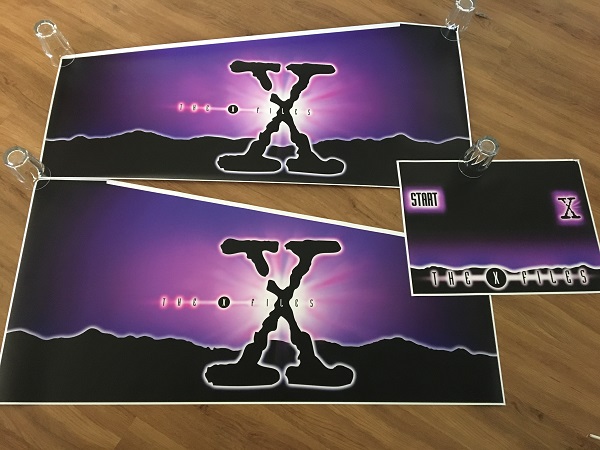
I am forever tweaking, adjusting, tuning and upgrading my machines. Some updates are minor, such as a new shooter rod or ramp. While others, like new decals, are much bigger 🙂 It’s X-Files turn to receive some attention. Applying new decals on my X-Files has been on my to do list for at least 12 months now and after organising a new set in November, it was time to get them installed. These are a reproduction and although close, are not 100% accurate. They’re pretty damn good though.
The old decals were very faded and had large patches of black paint covering up wear and scrapes. On the front panel, black paint had been used across the top section above the buttons. While that section is normally black anyway, the uneven brush strokes over the original art always annoyed me.
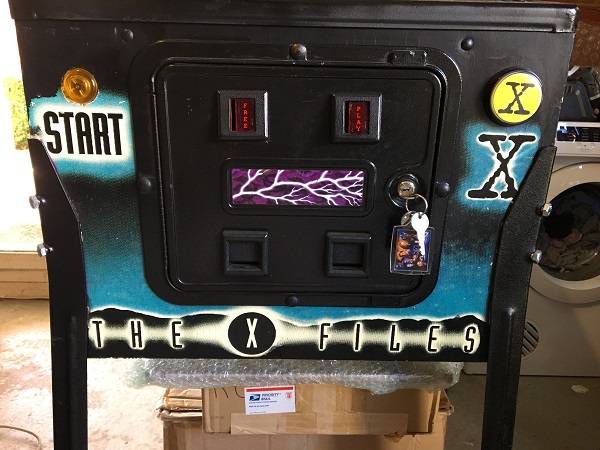
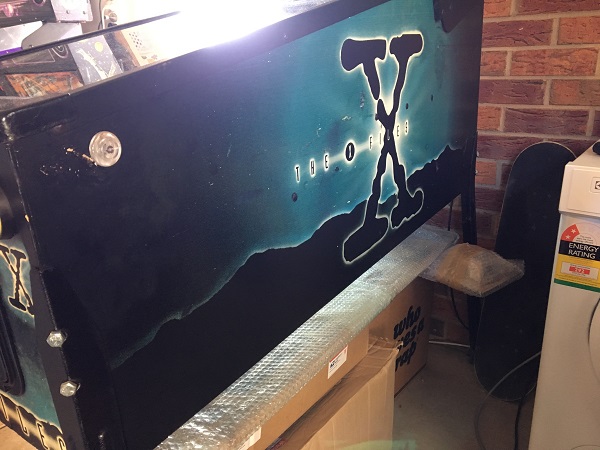
The state of the cabinet was really good overall though. Not much in terms of holes or chunks missing. A few small gouges that were mostly on the right side of the cabinet (towards the rear). More paint had been applied around the flipper buttons where wear often occurs.
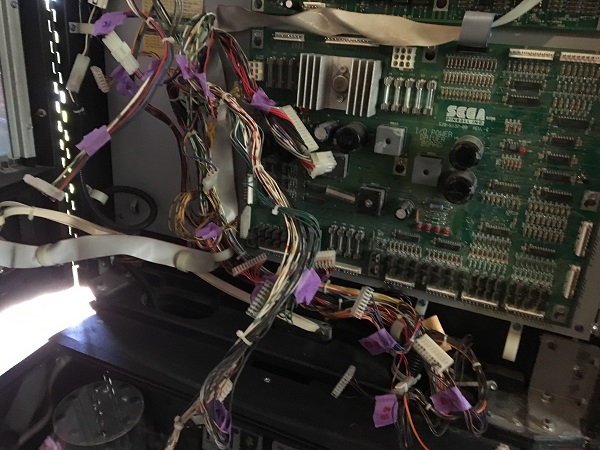
First step was to tag up the wiring in the headbox. A number of photos were also taken to ensure everything would go back in the correct spot. Once the connectors were all tagged, they were fed through to the cabinet so the headbox could be removed.
From there the headbox, playfield, coin door, side rails, buttons and cabinet bolts were all removed. Various spots still had some remnants of the old colour.
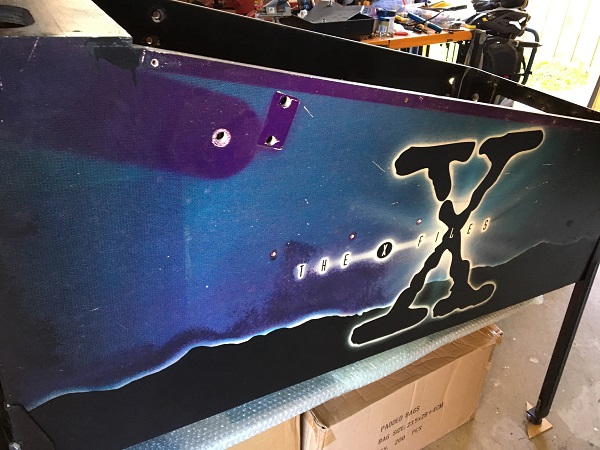
On the left side of the cabinet, paint had been used to touch up to both the black and purple from a previous owner / operator. I’ll be glad to see this gone 🙂
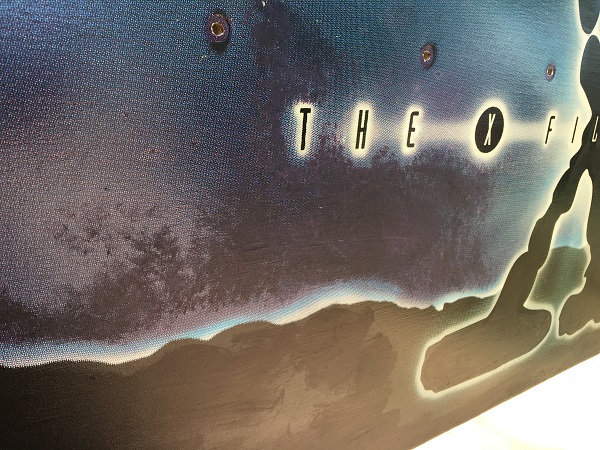
Last to be removed were the legs. Finally, everything was off the game and the cabinet ready to have the old artwork stripped.
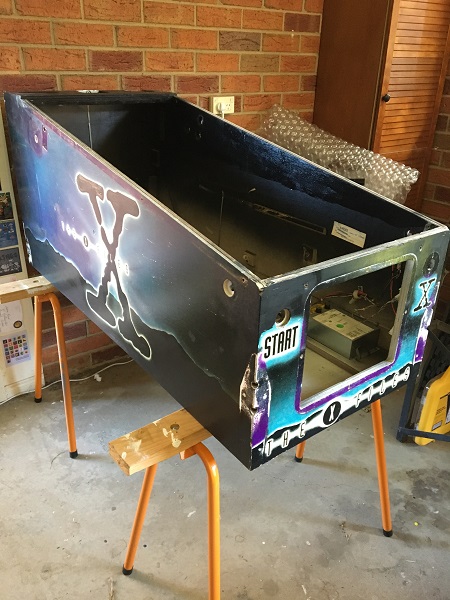
The old art was painted on and had to be sanded off. I started with 80 grit and then moved to 120 and 180. Lastly, I sanded by hand using 800 grit. I found that several of the cabinet bolts had been so tightly installed in the past, it had pulled the surface of the side panel in around the bolt. These sections were patched up with bog and sanded to have the area flat.
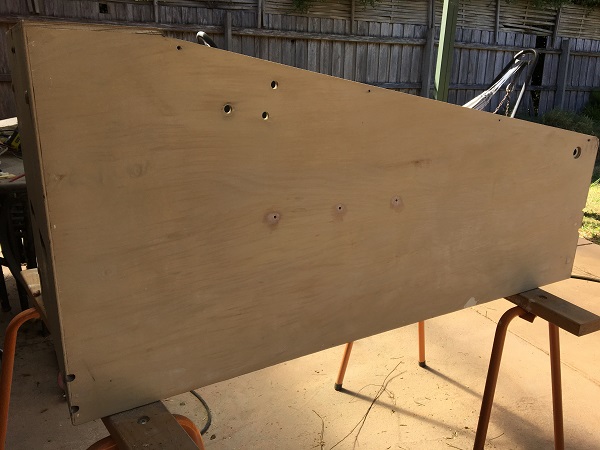
The front and right side also received the same treatment. Any other scratches and holes were patched up and sanded. This process took much longer than I had expected. Sanding, filling, and repeat until happy.
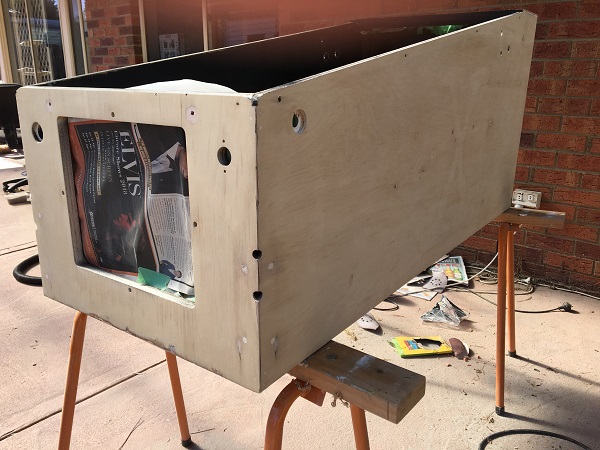
Next the cabinet was vacuumed to remove all paint & dust fibers from the sanding. I know some people like to paint the whole cabinet, but I didn’t feel the need to. Since the entire panels will be covered by the decals, it felt overkill. I used gloss black spray paint along the edges though as the decals will be trimmed back 1 – 2mm to ensure they don’t get caught and peal. Gloss black was also used on the inner left/right panels.
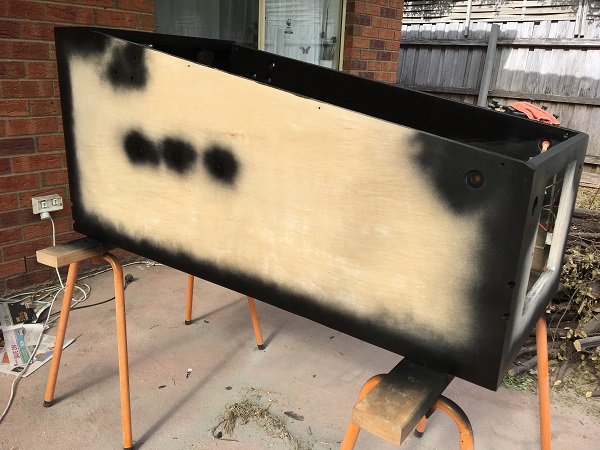
Due to the hot weather lately, I moved the cabinet inside for the decals to be applied. The decals had been removed from the postal tube the night before and flattened out.
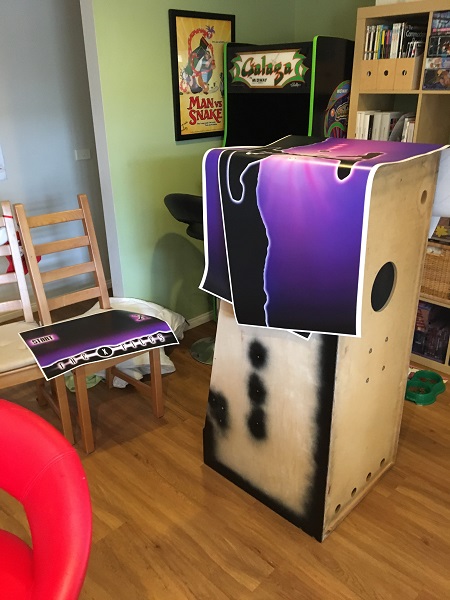
I started with the front panel and then moved to the left and right sides. After each decal was installed, the holes were cut and and excess vinyl trimmed back. After that, the edges needed to be trimmed back 1 – 2mm. I used a slide lock tool used in quilting / craft as it’s spring loaded and has rubber bits that press down onto the panel to prevent it from moving while cutting. A wheel blade was used to trim the edges back. This made the task simple and prevented any possible wrinkling or catching of the vinyl during cutting.
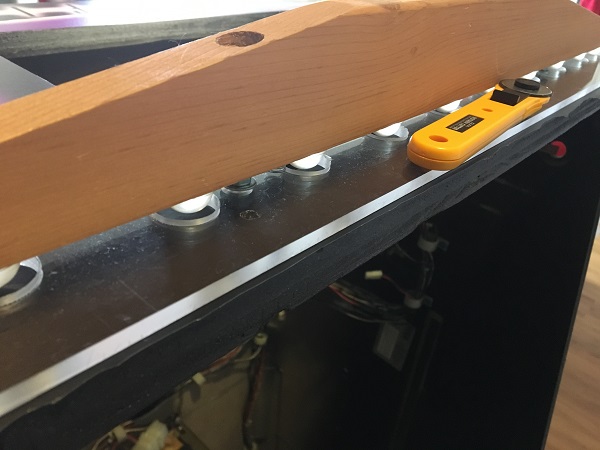
The decals went on really well and the vinyl was good quality. All three panels were completed.
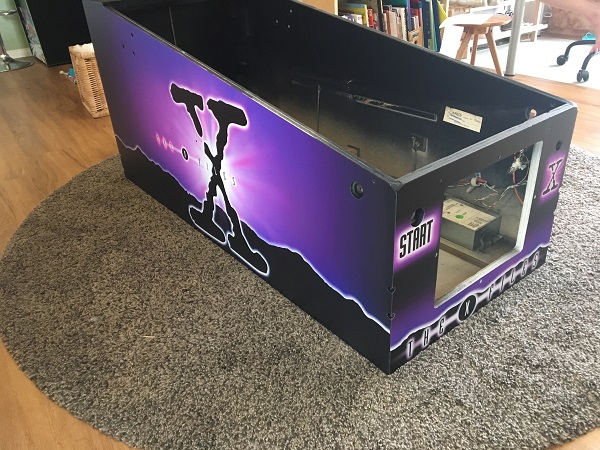
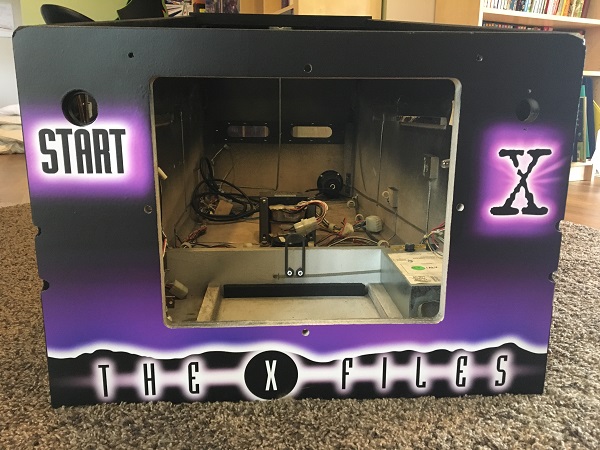
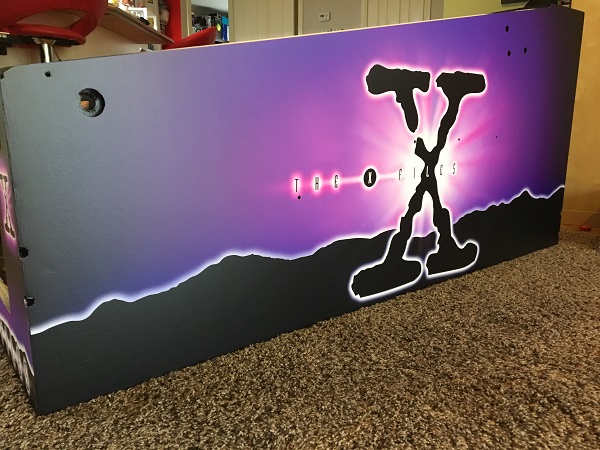
With the new decals now applied, it’s time to get everything back together. I’m hoping to have that done in the next couple of days to get it back online and playable again. So far though, so good!
