
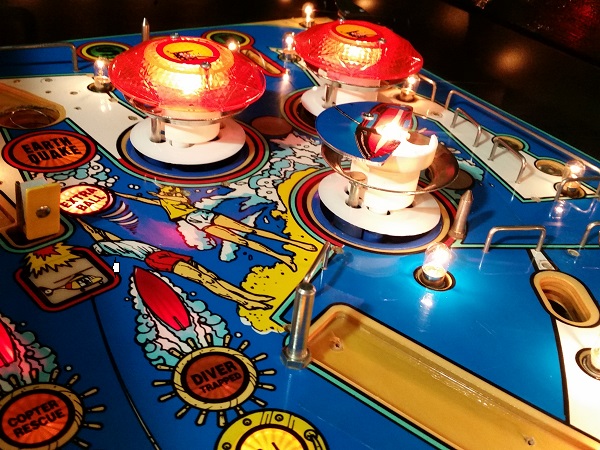
It’s time to get into some heavy duty cleaning on Baywatch. The only way to do that, is get everything off the playfield so I have unrestricted access to the lot. People can underestimate how long this process takes, especially on DMD era machines. Pulling a playfield down can be quick, but cleaning everything and getting it all back on (in the correct layout and order) takes up more time than you expect. As always, it’s best to take a lot of photos along the way with this process. I prefer to do the playfield areas in smaller batches, but due to the number of ramps and rails, it isn’t possible here. The lower playfield area and apron have been dealt with in previous updates, so now I have the top two thirds to contend with. Although the machine is dirty, it’s going to clean up nicely.
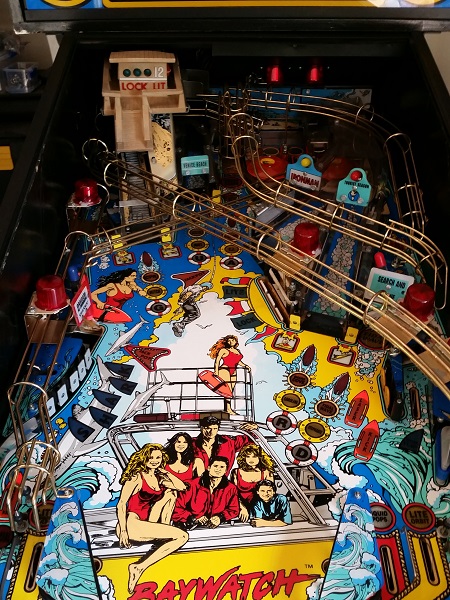
First step is to start removing all the rails and ramps so I can get at the actual playfield. I also removed the tower at the top left. Now only the last rail and plastics remained.

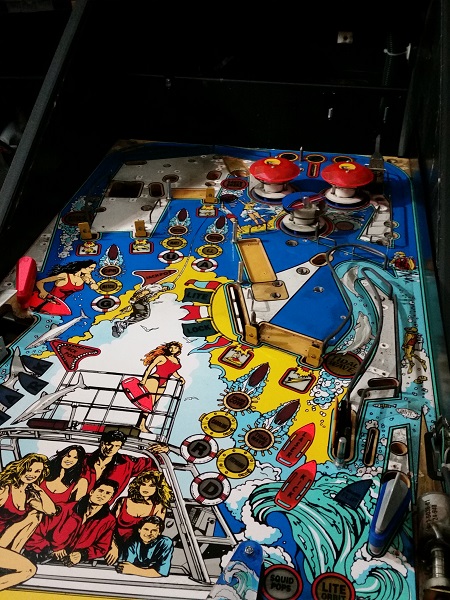
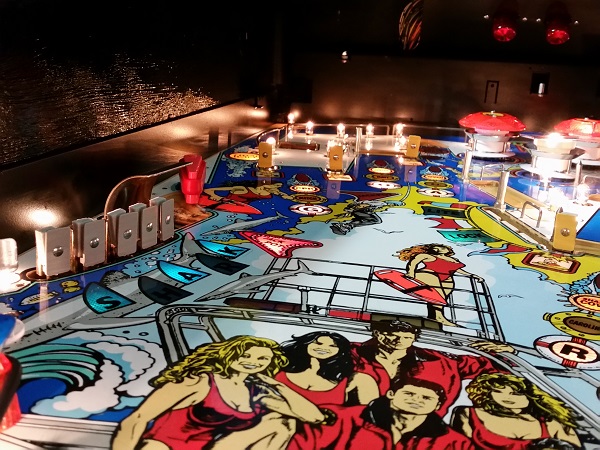
The final rail, plastics, metal ball guides and posts were removed from the playfield. I now had direct access to the playfield for cleaning. All of the parts were set aside for to be cleaned before going back onto the playfield.
With the playfield now stripped, I could access the kick back assembly located on the right hand side of the playfield. I serviced the second part of the assembly which opens the gate, granting the ball access in my previous update. The gate itself has been put in to the tumbler for a solid clean before I reinstall it. There is an intermittent problem with this assembly which I need to look at too. It doesn’t always kick the ball back around the arch with enough power. Some times the ball only makes it as far as the SPF lanes at the top of the playfield.
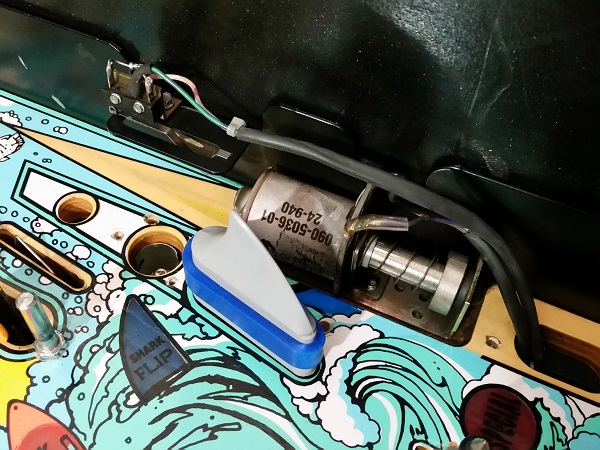
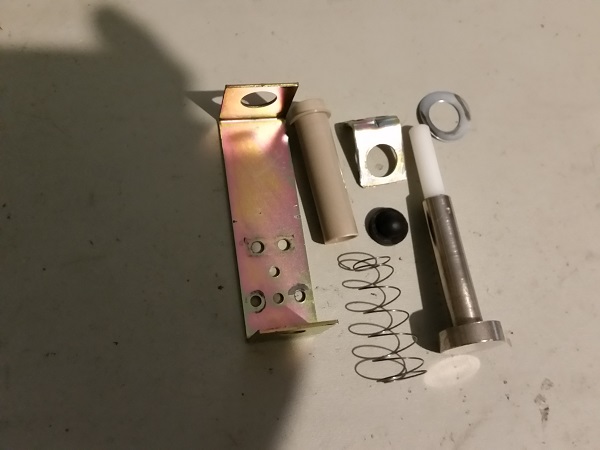
The assembly was removed from the playfield for cleaning.
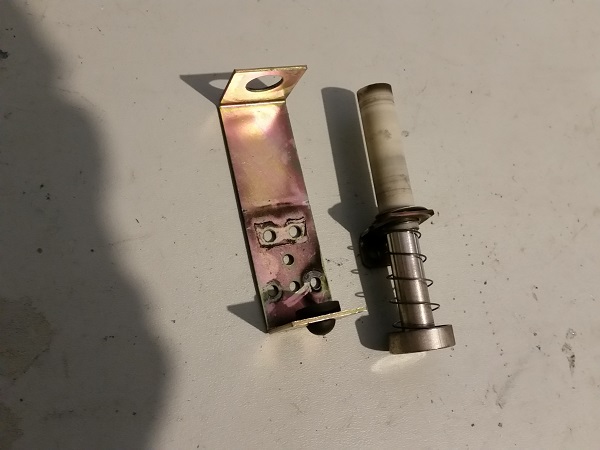
When removing the assembly I noticed how loose it was on the playfield. I could wobble it around very easily with a finger. This was because at some point in the past, one of the screws had broken off, leaving only a single screw to attach the assembly to the playfield. This single screw had loosened over time, which meant the whole unit would wobble and not connect with the ball properly.
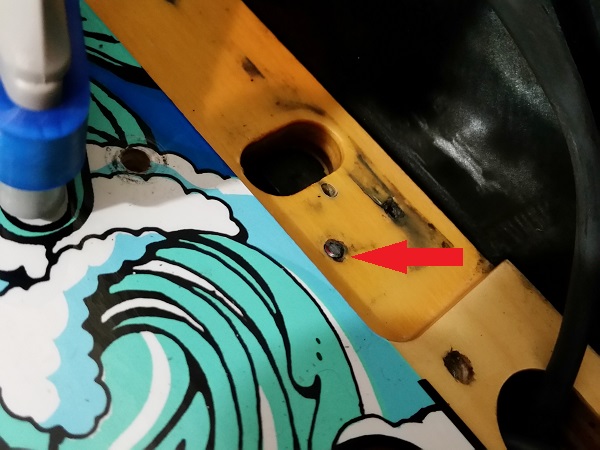
The assembly was cleaned up and now ready to be reinstalled onto the playfield. A new coil sleeve and grommet will go in with it. The broken screw was removed from the playfield and two screws used to attach the frame back to the playfield securely. I suspect this is what was causing the intermittent problems. I’ll know more once it’s back together for testing.
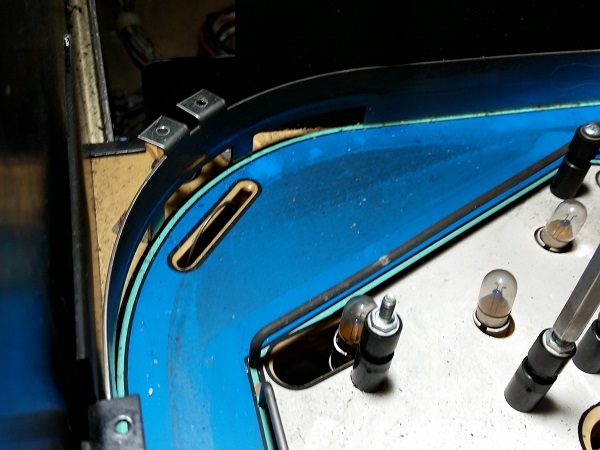
Before I got to the pop bumpers, I wanted to focus on was cleaning the playfield. In general, the surface area was quite dirty. Areas like the top arch had attracted a lot of filth over the years.
With a little effort though, they start to clean up nicely.
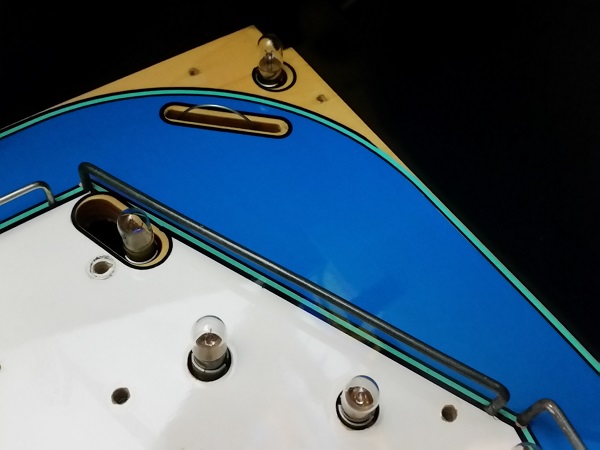
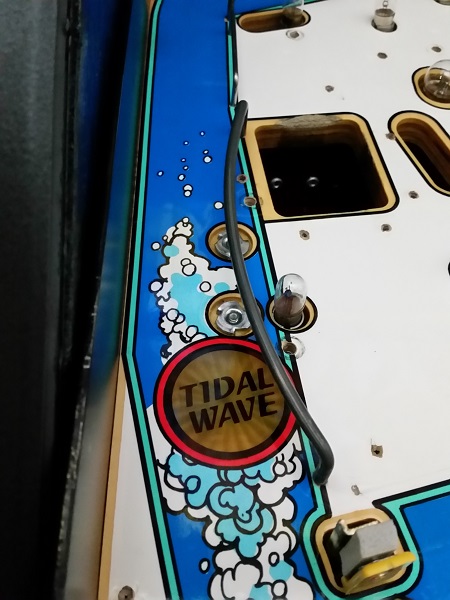
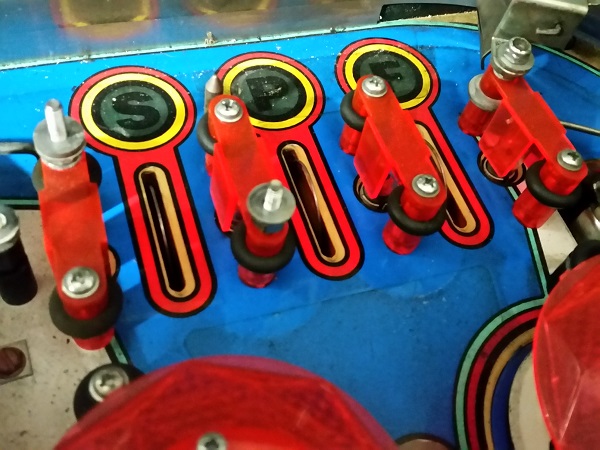
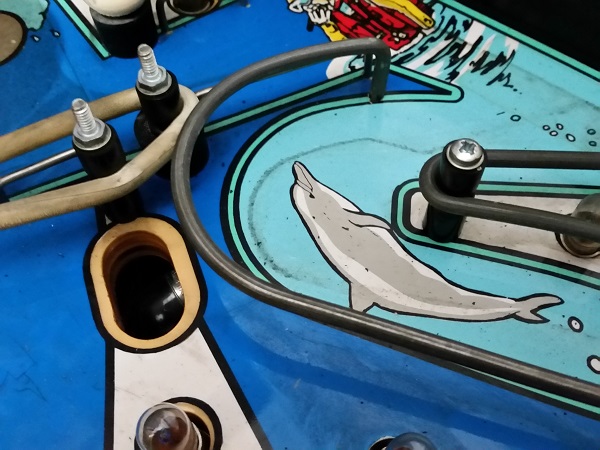
The SPF lanes on the other side of the arch also attracted a lot of dirty. These area high traffic areas for the ball in game, so it’s not a surprise. Plus they are damn hard to actually get to without stripping the playfield.
Cleaning makes it all look nice again though.
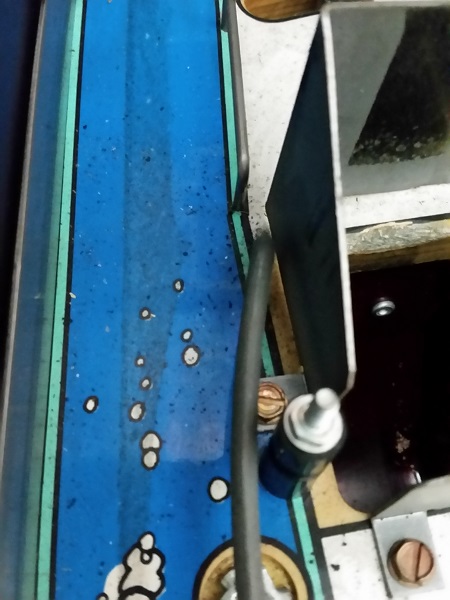
Dirty streaks around the guides had worn in over time.
But again, with cleaning, disappear.

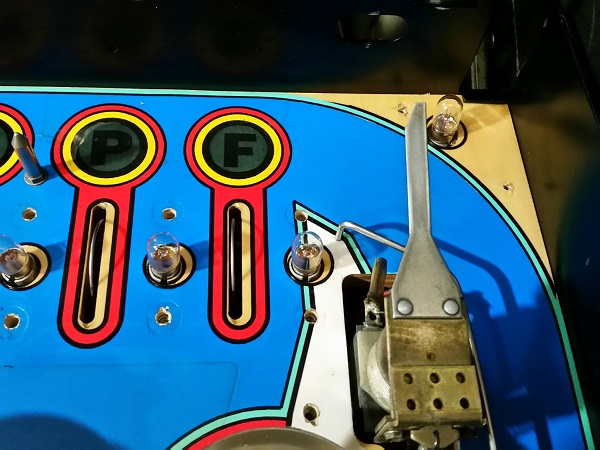
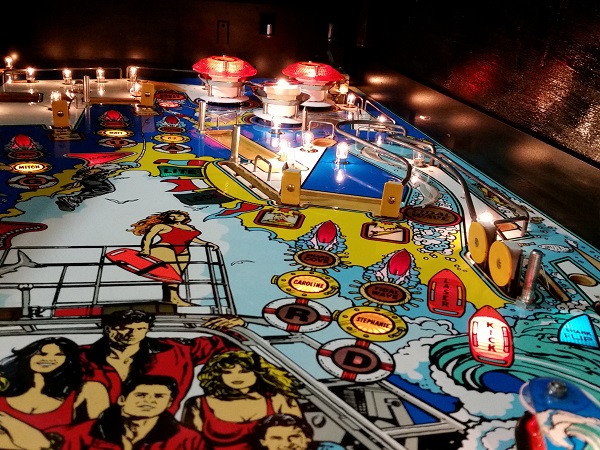
The entire upper area of the playfield was cleaned and then polished. The metal wireforms (the ones inserted into the playfield) were scrubbed clean to remove the caked on crap they had collected over the years too. Dead or dying globes were replaced with new ones. Any globes that were still fine were cleaned up and reused. This puts the surface level of the playfield in a really good spot. The final set of major assemblies to look at on the playfield are the three pop bumpers. These were left until last as they are tucked away under ramps and rails.
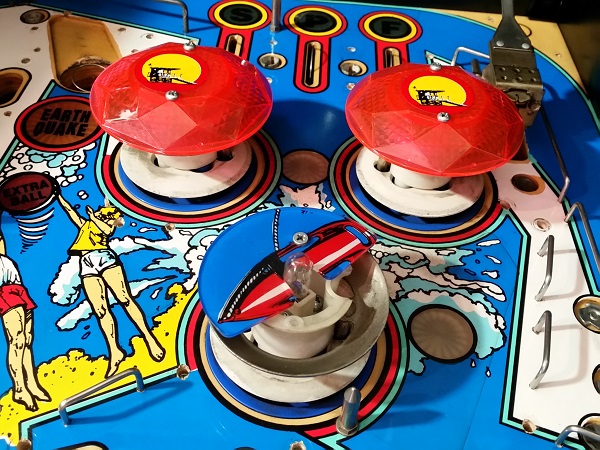
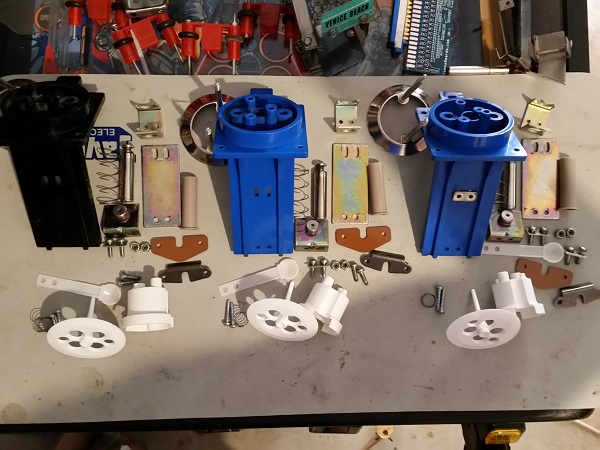
All three pop bumper assemblies were removed from the machine for cleaning.
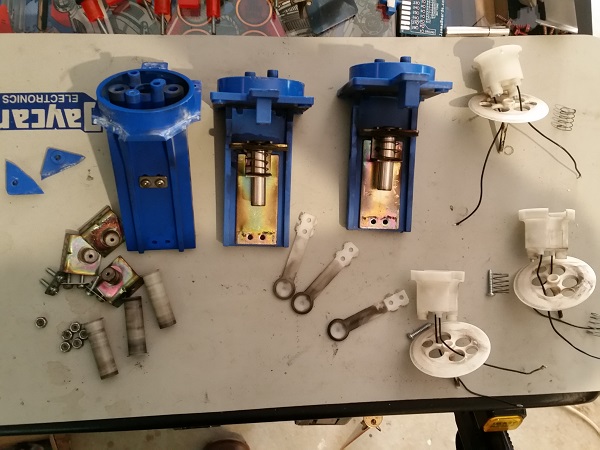
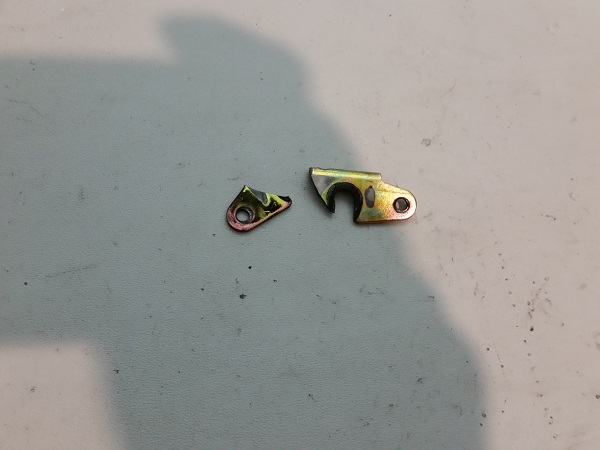
One of the pop bumper frames was found to be broken in two corners and will need to be replaced.
A broken yoke was found too on this pop bumper.
You can purchase new frames for around $18 + shipping, but I happened to have some spare second hand black ones from a Data East playfield. Same profile and unbroken, just black. I gave the owner the option of swapping in one of the black ones to save some money and he was happy with this. The three pop bumper assemblies were disassembled and cleaned up. New yokes, coil sleeves, bodies and skirts were purchased to retire the old ones. The metal rings went for a trip through the tumbler. New pop bumper spoons will also be installed.
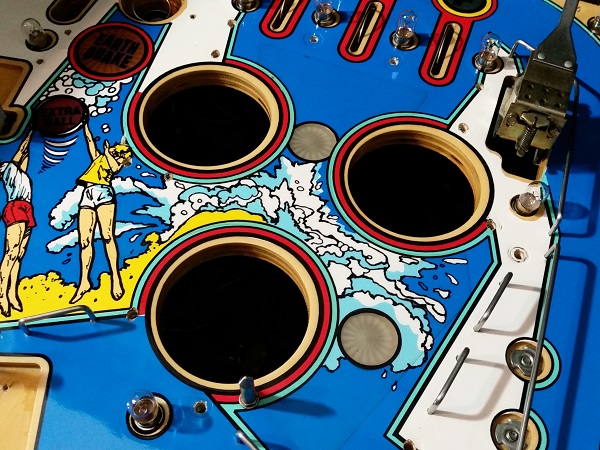
Before installing the pop bumpers back into the machine, I cleaned the playfield area around the pop bumpers that I had not been able to get to with my earlier cleaning.
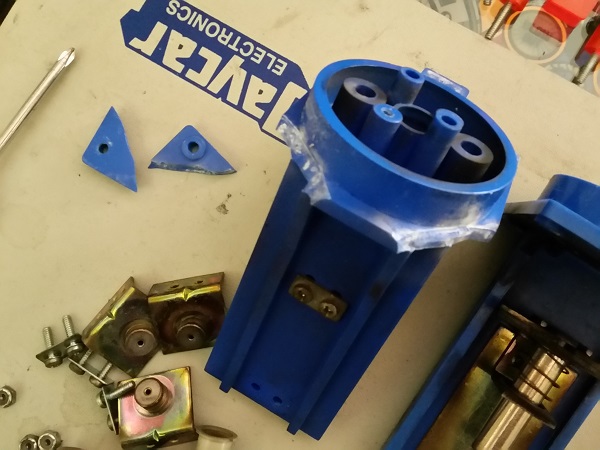
The pop bumper frames and bodies were installed first.
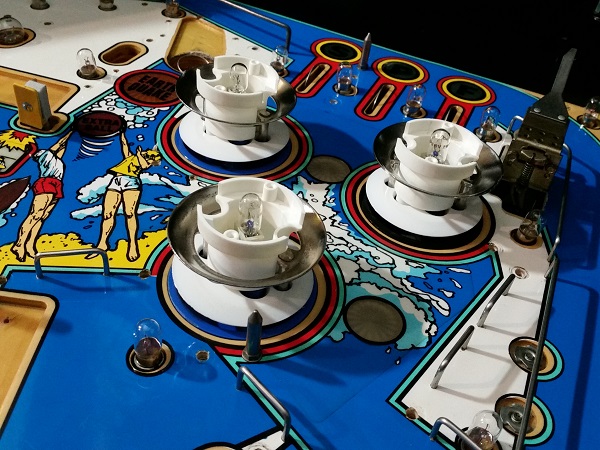
The metal rings were then connected back up with the yokes and the new spoons installed. The pop bumper switches and lamp wires were then connected back up again. The pop bumper caps and plastic were cleaned and polished.

The pop bumpers were then tested to ensure the lamps lit up correctly and each one fired when it should.
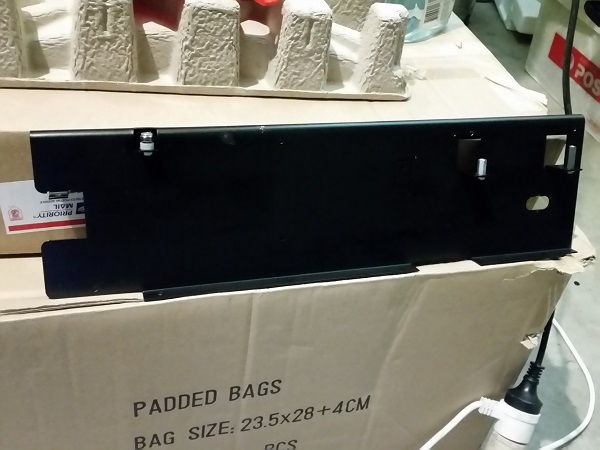
As part of the cleaning, the rear panel was removed and cleaned up.
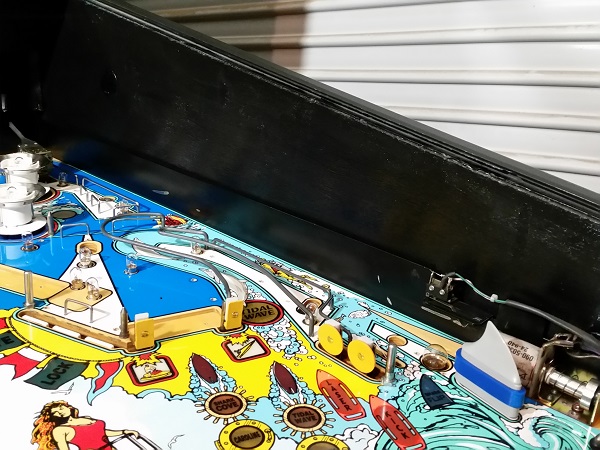
While I had the playfield stripped, I wanted to paint the inside faces of the cabinet panels. Over the years they had developed scratches and marks from the playfield being lifted up and down.


They were painted with a nice gloss black, which I think will reflect the light from the game nicely.

To round this update off, the machine was switched on to test that the globes were all working, along with the 2 flashers that needed to be replaced. The flashers were verified in the test mode and then ticked off my to do list from a couple of weeks back.
That’s enough for this update. The playfield cleaning is now at a stage where I’m ready to begin the process of putting everything back on. I’ll be working in reverse, cleaning as I go. I have parts spread across 3 of my machines, so I’m keen to continue making progress so I can play them again 😉