
Progress on Dr Who has continued quite well over the last couple of weeks and I’m now down to the final section of playfield. This update will be focusing on the remaining assemblies at the top of the playfield – the pop bumpers and the mini playfield. My plan is to strip and clean the top playfield area (including the pop bumpers) and then move onto the mini playfield. The area is quite filthy, but nothing a good clean won’t sort out. Time to get started.
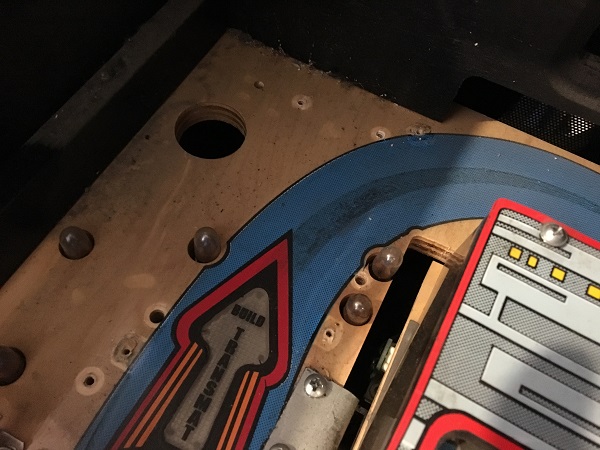
The left side of the upper playfield has a nice layer of dust along the wood, making it quite obvious where I had already cleaned. There are some heavy ball trails around the top arch, but I expect these will clean away no problems. All parts are here though and nothing broken, so it’s a good start.
First step was to remove the plastics so I could get access to the playfield parts below. Some broken or missing rubbers were found on the right side around the pop bumpers.
The next step was to remove all the metal posts, star posts and rubbers (or what was left of them 😉 ).
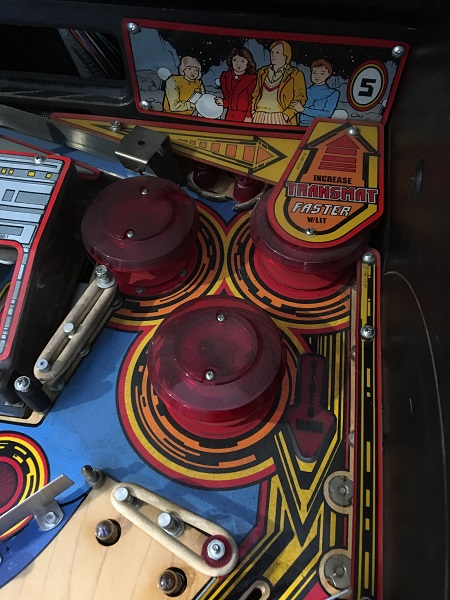
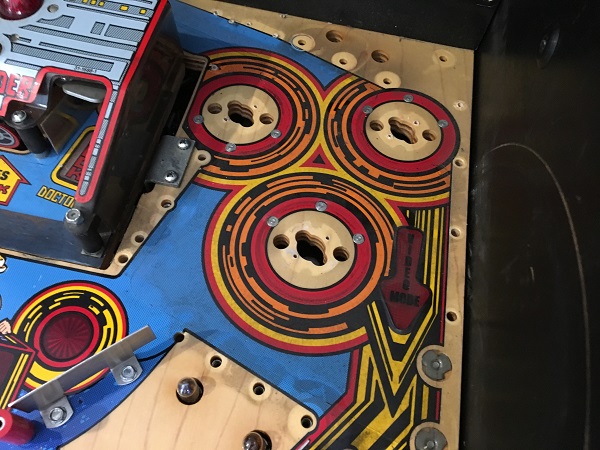
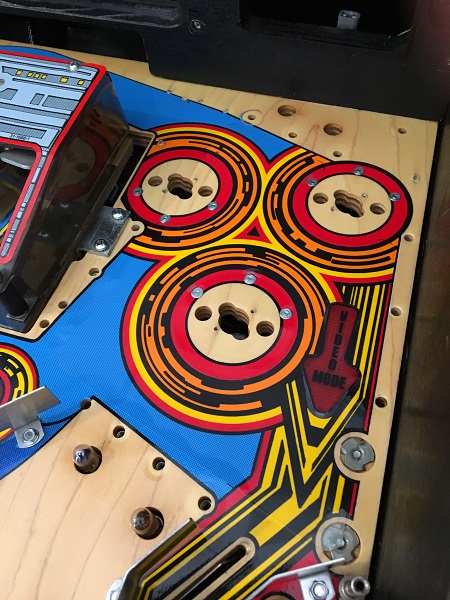
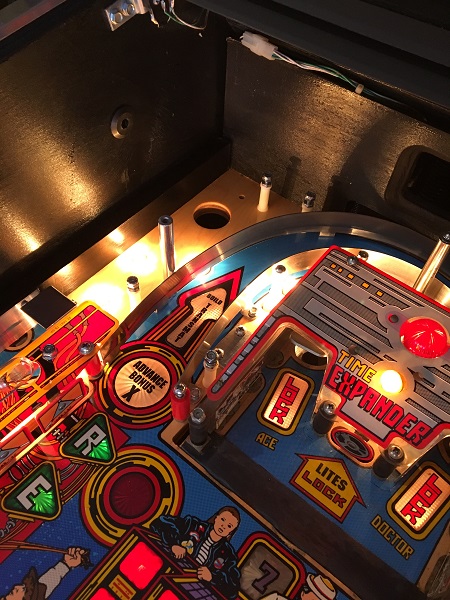
Next, the pop bumper assemblies were removed from the playfield, leaving behind a filthy playfield to clean. The pop bumper area is mostly covered by a mylar patch, which has protected against any playfield wear. There is a small amount of lift on the video mode insert (large red arrow to the right), but any impact it would have to game play is very minimal.
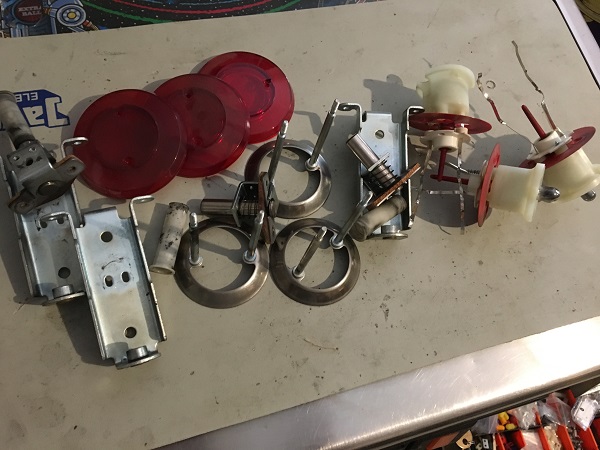
The pop bumper assemblies that had been removed from the machine were set aside to be disassembled. All the metal pieces will go through the tumbler. Things like the bodies, caps and skirts will be replaced.
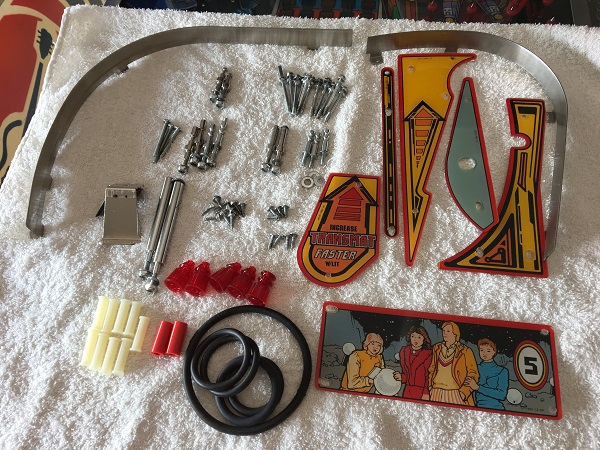
All small metal pieces from the top playfield area went through the tumbler. New star posts were purchased, along with new rubbers and post sleeves. The plastics were cleaned and then polished with Novus and the larger metal pieces cleaned by hand. The plastics are all in excellent condition with minimal wear.
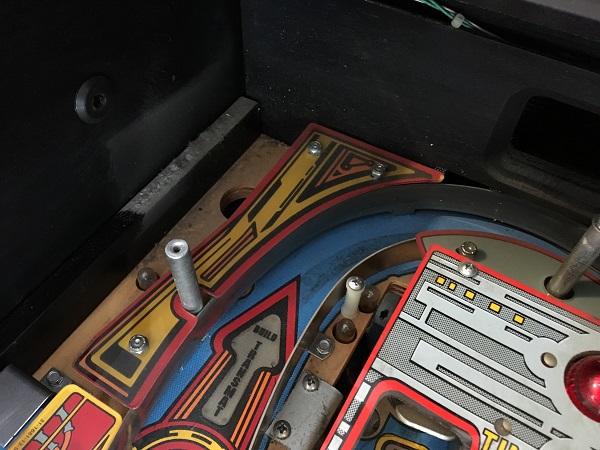
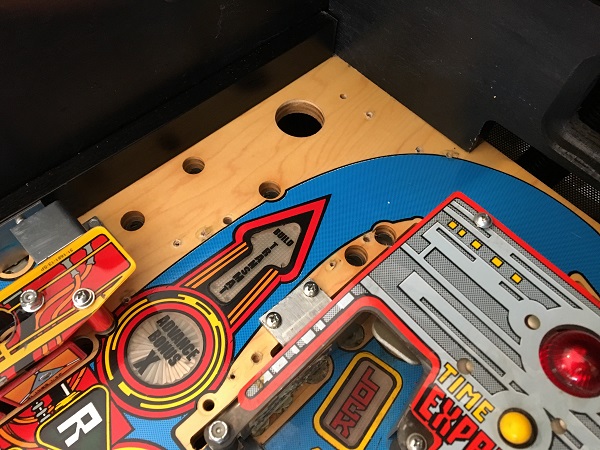
Meanwhile, back on the game, the playfield areas were cleaned up. First the pop bumper area was cleaned with Nifit and then polished with Novus 1. You can more clearly see the small insert lift here. Looking back a few photos you can see the difference a good clean makes.
Same deal on the left side, Nifti to clean and then Novus 1 to finish. I used a small amount of Novus 2 along the ball trails to remain the last bits that Nifti didn’t. This side is looking much better too.
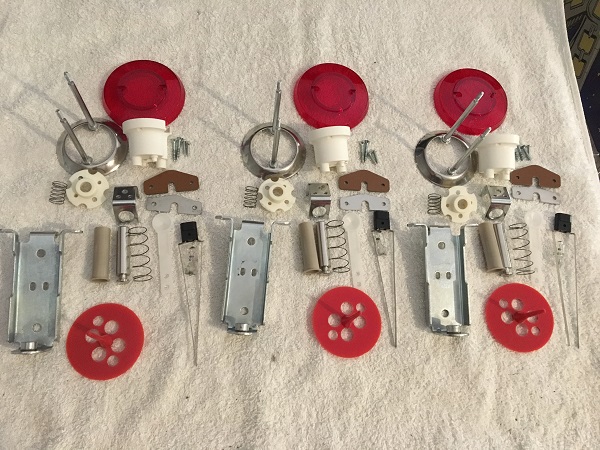
All the metal pieces from the pop bumpers went through the tumbler. Each pop bumper was then set up, ready to be rebuilt. New coil sleeves, caps, bodies, lamp sockets, skirts and yokes (metal + fiber) were purchased. I do reuse the body bases though since they sit below the skirts and are never seen.
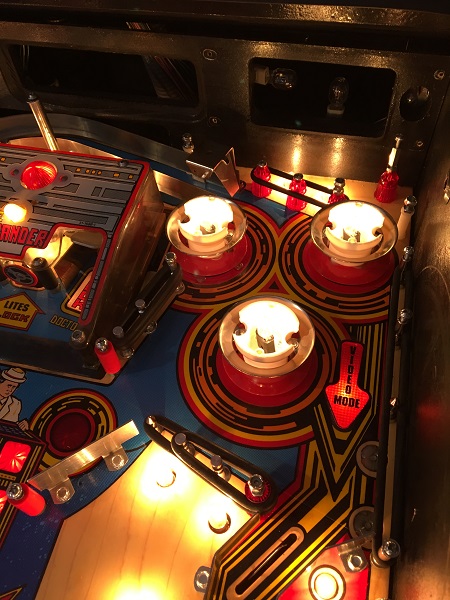
With the playfield parts and pop bumper assemblies ready to go back on to the playfield, it was time to start rebuilding the top section. All the star and spool posts were installed, along with the rubbers. Each globe was wiped down to clean and any broken ones replaced. Red post sleeves were installed along with the metal ball guides around the top arch. Lit up, the game is looking so much nicer.
Last step was to get the plastics installed once more. The pop bumper caps were added also.
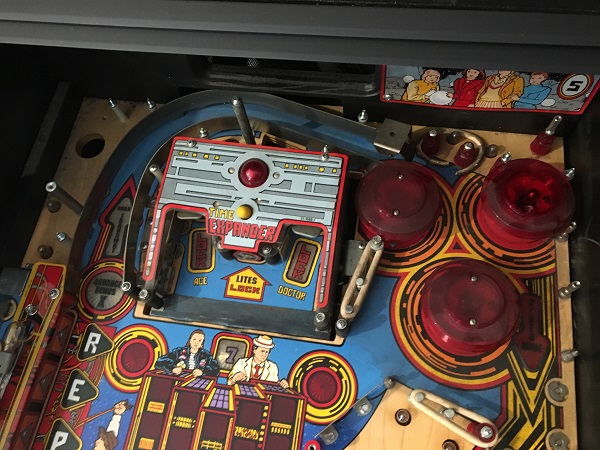
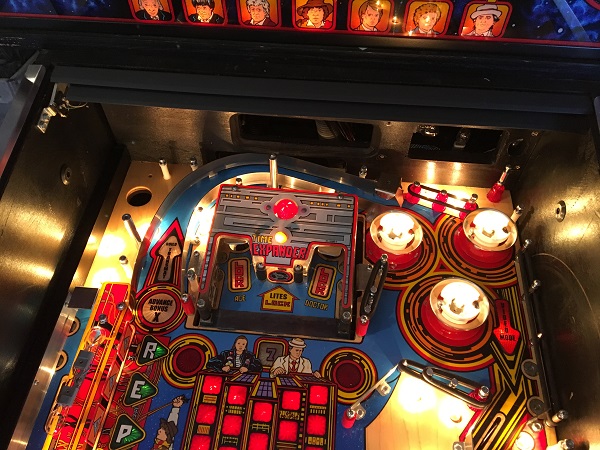
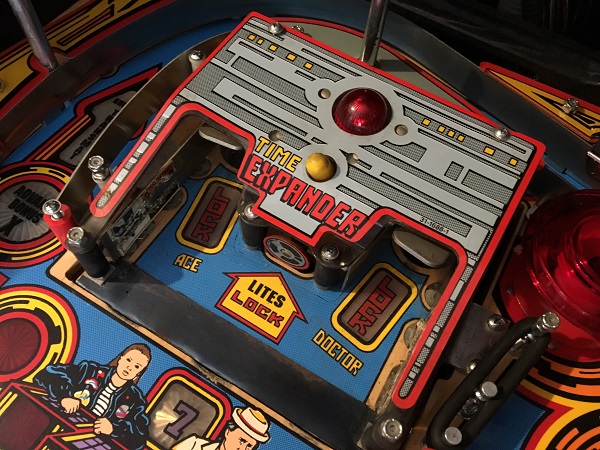
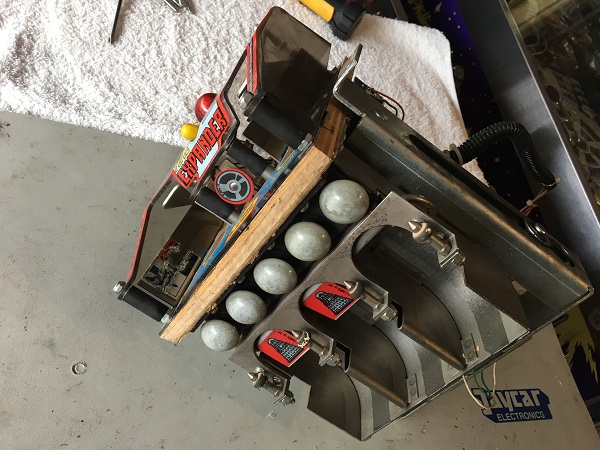
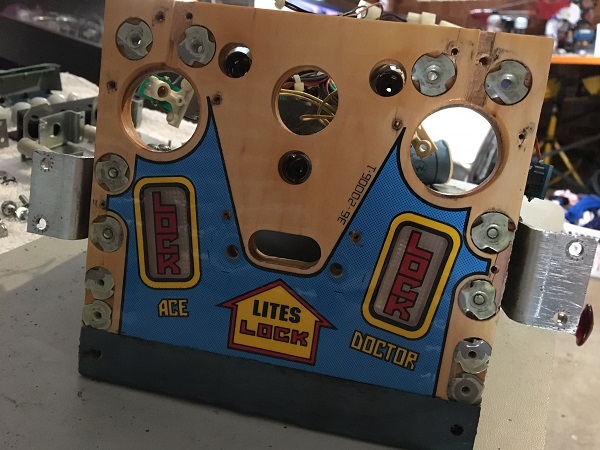
With the top playfield area and pop bumpers completed, that just leaves the mini playfield to attend to. The first thing that stands out to me is the lifting decal at the front (where it says “Time Expander” – this has lifted from the plastic and will need to be stuck down again. The whole assembly is attached via 4 screw from the top and install into t-nuts below.
Under the playfield are the second and third levels of the mini playfield. The under playfield ramp has been removed so I have easy access to everything. The rubbers are long over due to be replaced.
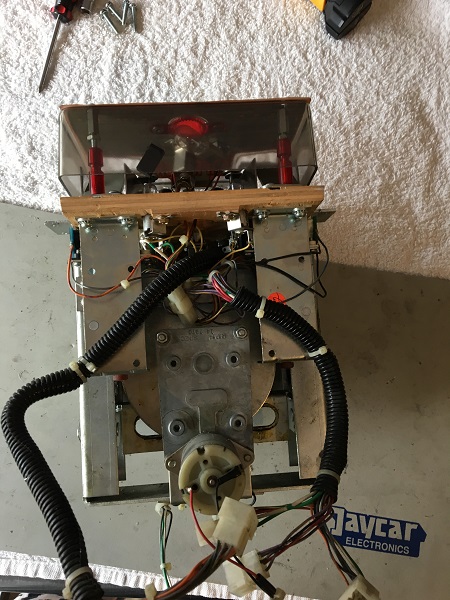
The connectors were disconnected and the 4 screws attaching the mini playfield to the main playfield removed. The time expander then lifts straight up out of the machine.
From behind, the wiring feeds out to keep it away from the lift mechanism. It’s good that the whole unit removes as one to work on.
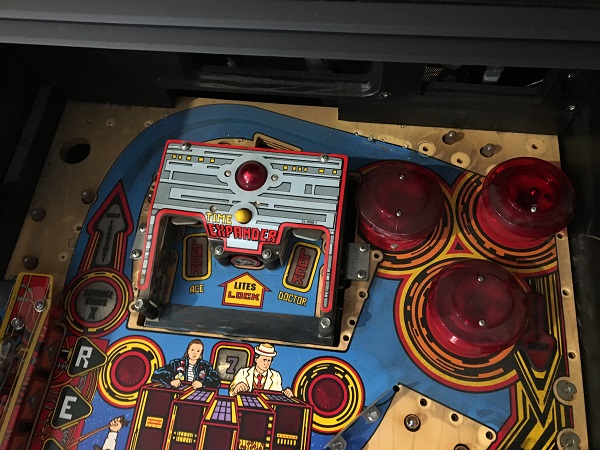
The plastic was removed from the top, allowing access to the playfield parts. There are decals on the outside ball rails warning about hands being close to the mini playfield. These decals are worn away and what is left will be removed.
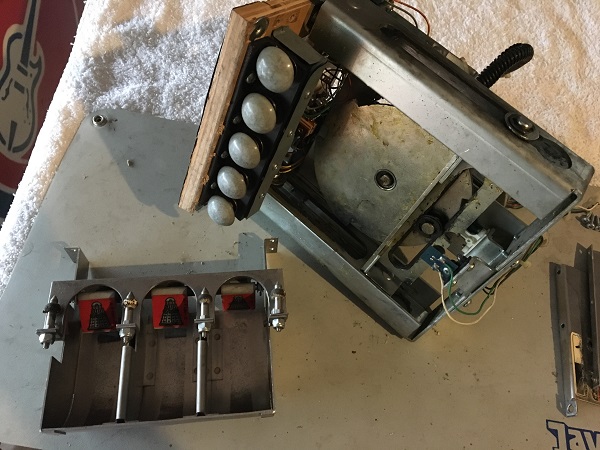
I started removing the playfield components and parts one by one. Then under the playfield, I removed the Dalek and orb targets. These assemblies were then disassembled further so the metal pieces could go into the tumbler.
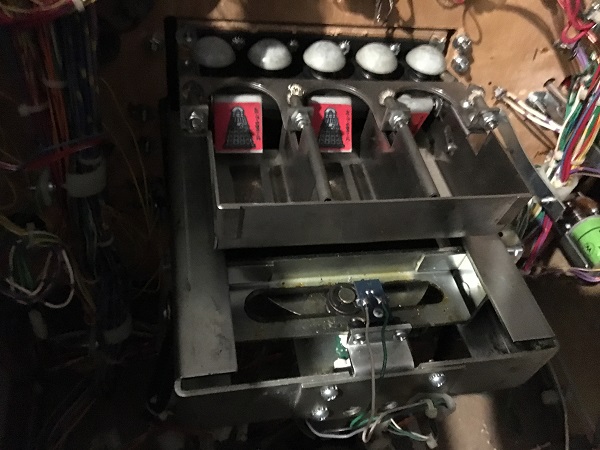
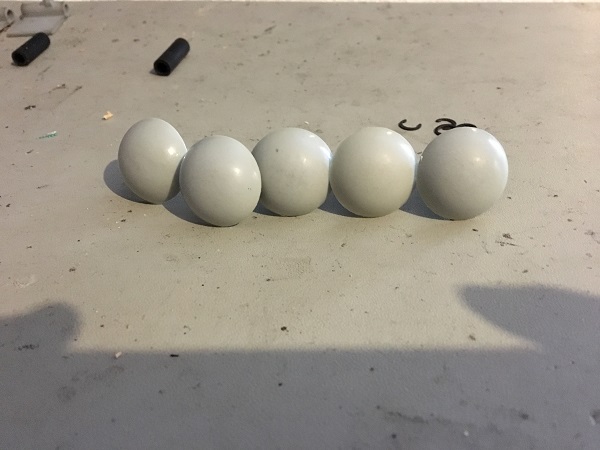
The 5 orbs from the second level of the mini playfield are quite filthy. They seems to be hard to find new, so will have to clean these up the best I can.

With some Nifti, followed by Novus, most of the filth was cleaned away.
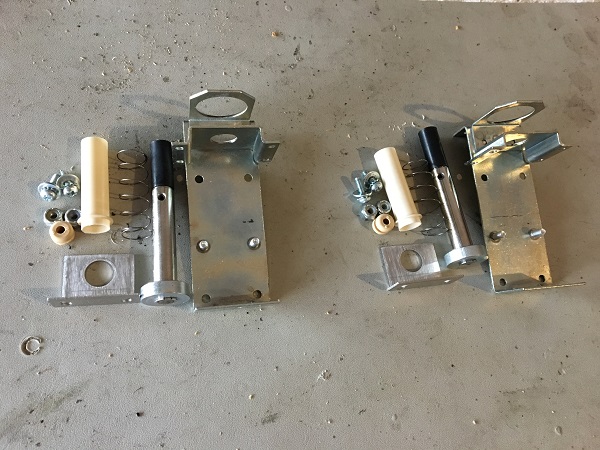
The left and right kicker assemblies were removed from the mini playfield, disassembled and cleaned. New rubber grommets and coil sleeves were purchased to replace the worn out ones.
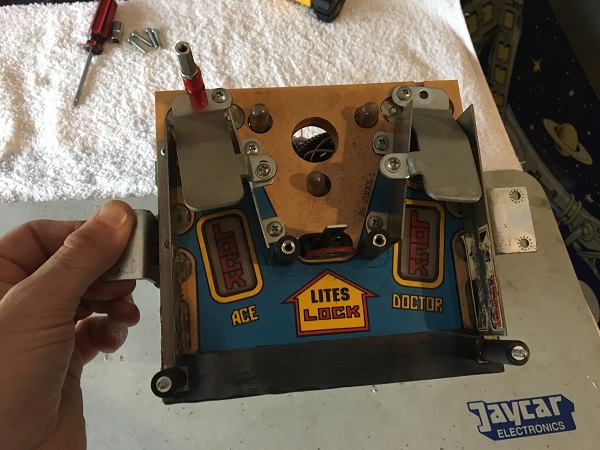
The stand up target was unscrewed and removed so the playfield surface could be cleaned. It’s not too dirty and no wear thanks to the mylar.
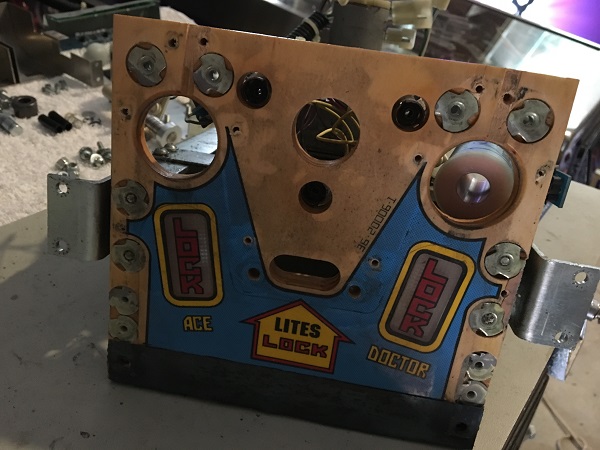
The dust and filth on the playfield surface cleaned away easily with some Nifti, which was then finished up with some Novus one. The factory mylar has protected the surface well over the years. No insert lift either.
Meanwhile, all the small metal pieces went through the tumbler. Larger pieces were cleaned by hand. New red posts were purchased, along with blue post sleeves. Originally I was going to use the same red sleeves I used elsewhere on the machine, but I saw another Dr Who with blue on the mini playfield and thought they worked well with the blue on the art. New decals for the targets will be installed and a replacement #906 flasher for the old broken one.
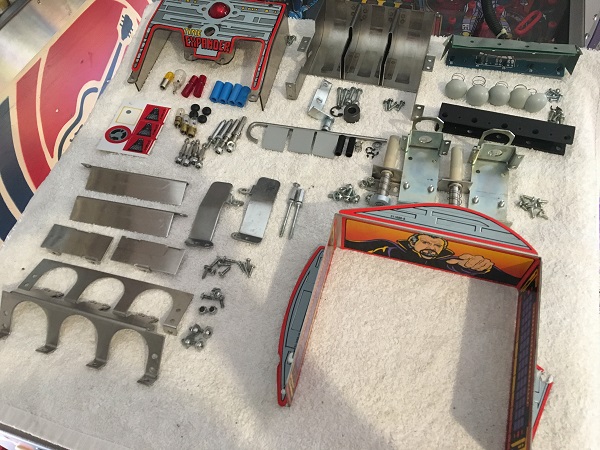
Piece by piece the mini playfield was rebuilt until ready to go back into the machine. The decal was stuck back down onto the plastic.
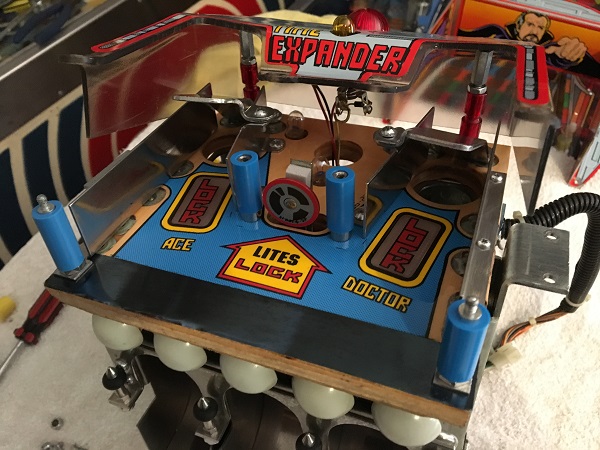
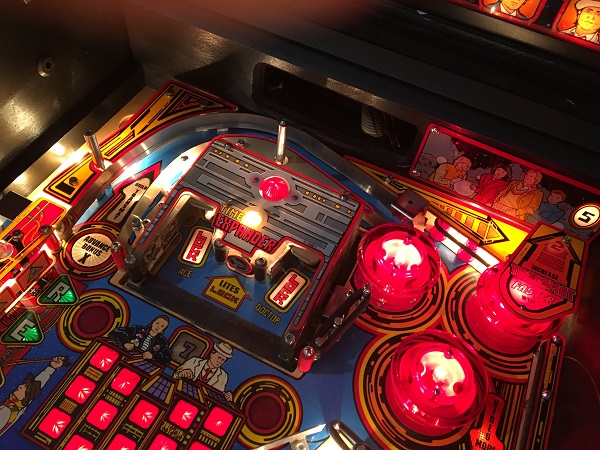
The time expander was installed back into the game and all plugs connected back together. The game was put into test mode and the mini playfield put through it’s tests. It’s cleaned up nicely and has the nice shine a clean playfield produces.
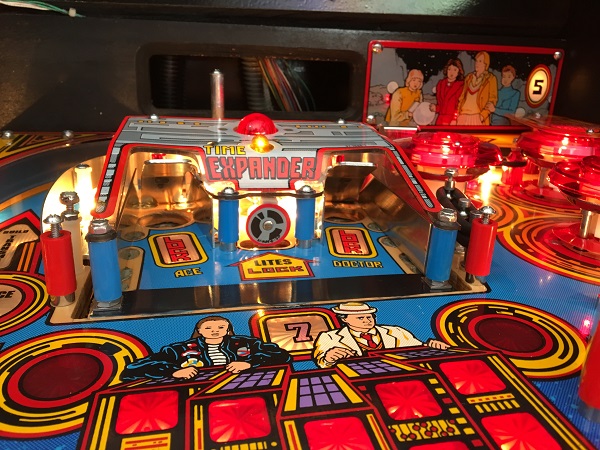
Getting close to the end now. The two ramps are up next to finish off the playfield, along with some fresh gloss black on the inner headbox and cabinet panels. I’m looking forward to putting the game through its paces once back together. Shouldn’t be long now 🙂