After the initial hold up (and frustration) with the board issues on Dr Who, progress has been moving along smoothly. Aside from that slow start, the game has been enjoyable to work on. In this update I’ll be focusing on the middle section of the playfield. In terms of assemblies, this area has the Tardis ball popper on the right, with the left side home to the upper flipper and trap door assemblies. The popper was mentioned in a previous update as I had to replace the optics which had been cut out. This time I’ll be removing the whole assembly for a service. As usual, all plastics, targets and posts will be removed for cleaning and the playfield will also receive a clean. I’ll need to remove the ramps for this part, and won’t be putting them back on until the end. Time to get started and I’ll begin with the right side.
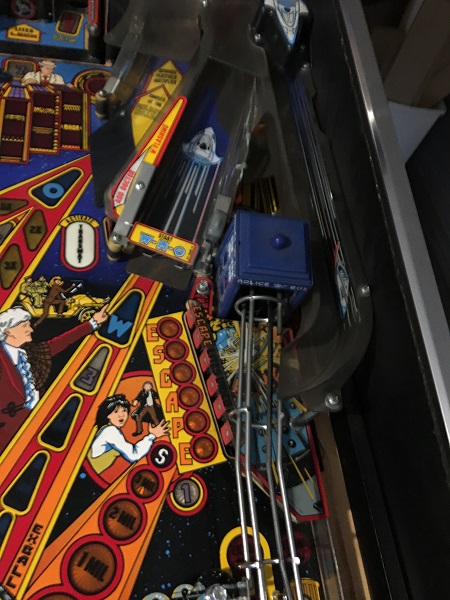
First step, in order to remove the Tardis and ball rail, you need to remove the escape targets plastic. The rubbers are long overdue to be replaced and the playfield and parts can do with a good clean. Any dead globes will be replaced and filthy ones wiped down. The #89 flasher sitting under the plastic here was flagged as not working during my testing in an earlier update. I now have a chance to replace it.
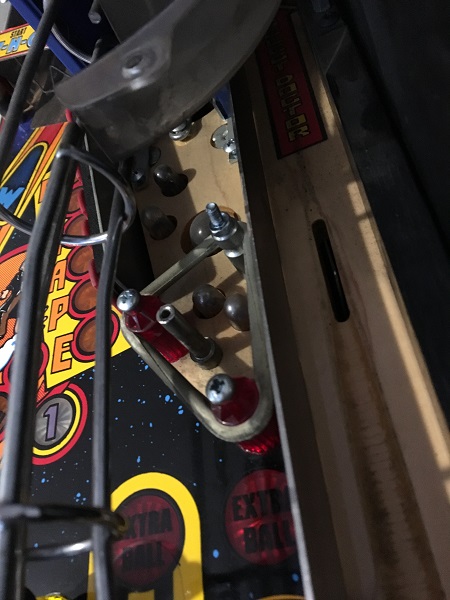
The right ramp was removed, along with the Tardis, ball rail and plastics. Lots of filth, but it will clean up nicely.
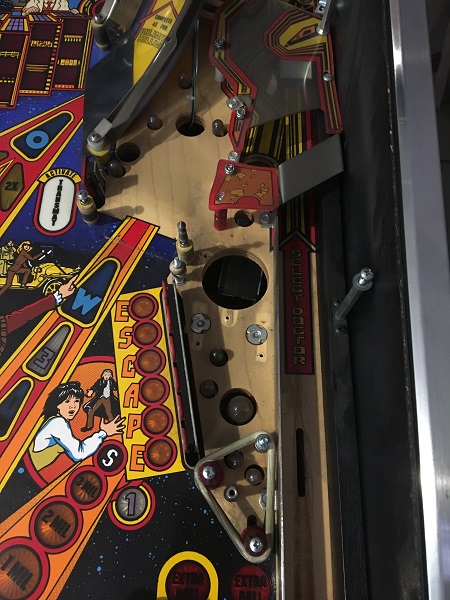
Some of the rubbers up around the pop bumper area are cracked and broken. There is quite a bit of dirt pressed into the playfield where the ball has frequent travel. Also a scrap of paper towel from who knows when.
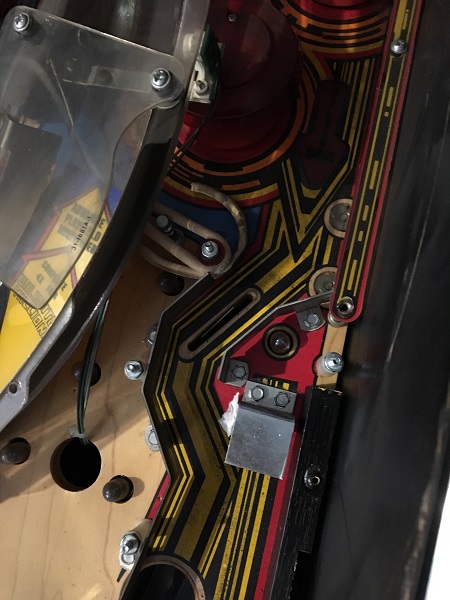
All playfield parts were removed from the middle section on the right, leaving a dirty playfield to clean. I also removed the long metal rail that sit between the shooter lane and right outlane for cleaning as I couldn’t get to this in a previous update.
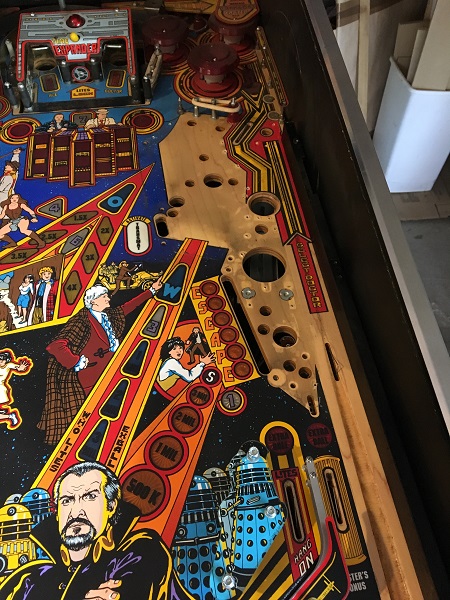
The playfield was cleaned up using Nifti and the heavy filth sections had some Novus #2 applied to remove the remaining ball trails. Novus 1 was used to finish. Cleaning makes a big difference.
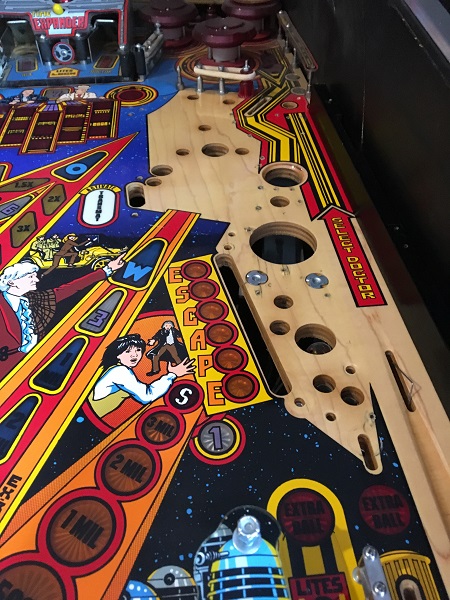
The playfield really is in nice condition and the right side has cleaned up great. There is so little wear on the playfield and any insert raising is minimal.
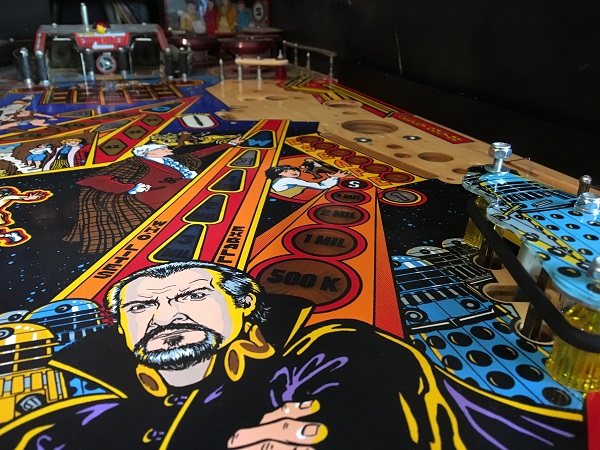
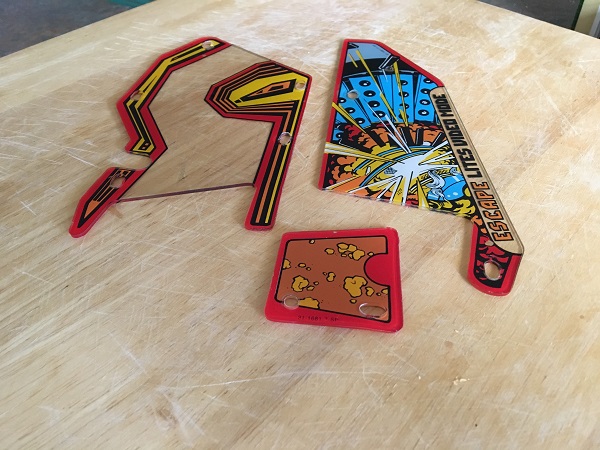
The plastics from the right side of the playfield had developed some warping over the years. Thankfully no cracks and very minimal art scratches, but I was keen to flatten them out.
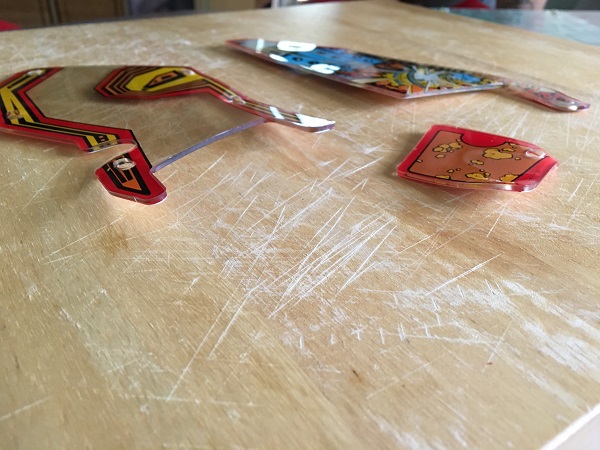
After cleaning, the pieces were heated up and then placed between two sheets of glass to keep flat while cooling. This fixed up the warping, leaving the plastics nice and flat.
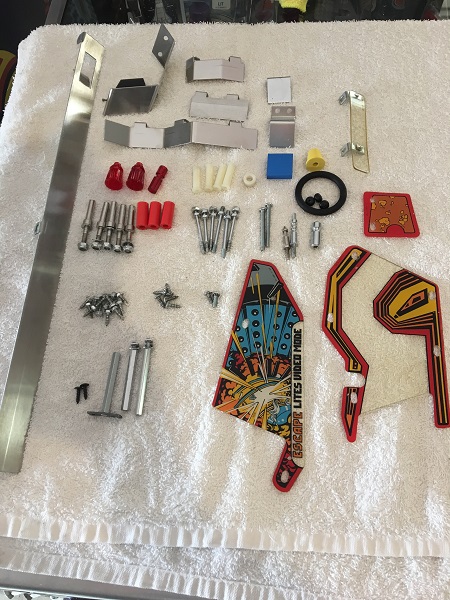
Meanwhile, all the small metal pieces went through the tumbler. Larger pieces were cleaned by hand. New post sleeves, rubbers and star posts were sourced. The plastics were polished up with Novus.
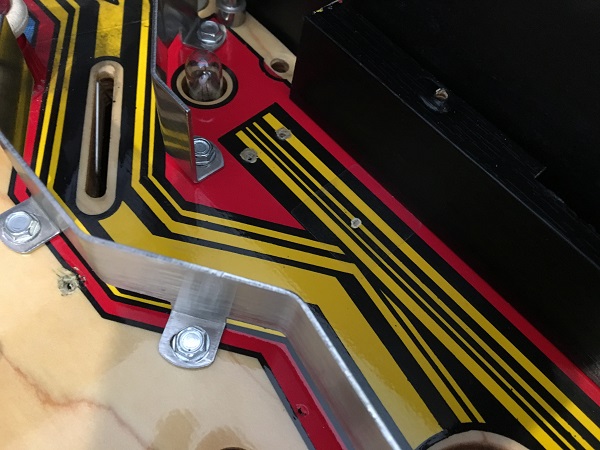
The dirty ball trails cleaned away nicely, although there is a small wear patch forming just below the stop that the ball is launched in to. I’ll put a small mylar patch over this to prevent it getting worse. The dirty playfield area at the top of the photo will be cleaned when I go through the pop bumper area.
The playfield parts were installed back onto the game and the right side started to take shape again. Looking a lot nicer already.
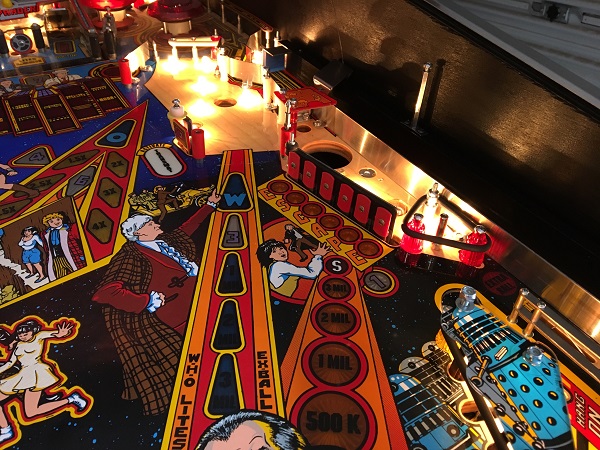
The single stand up target had it’s decal replaced, and the targets on the escape bank were all cleaned up. For now I have a new yellow bell rubber on the left side of the single target. I’ve decided to order a red one from Titan as the yellow stands out against the new red post sleeves. I’ll swap this over once it arrives. I love seeing reflections in the cleaned playfield when lit up.
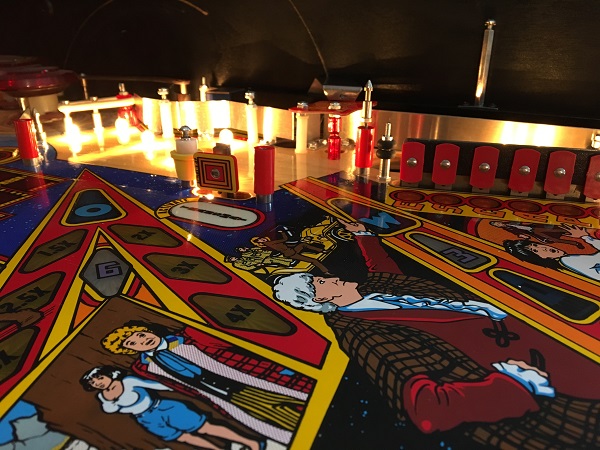
There’s only 1 assembly on the right side of the playfield in this area, which is the ball popper. The ball then shoots up through the Tardis and is returned to the player.
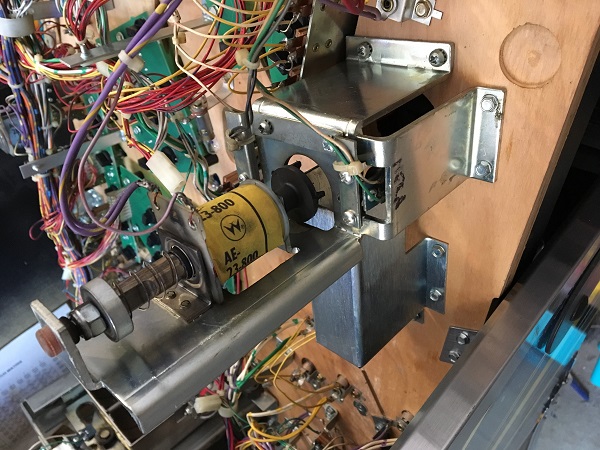
The assembly was removed from the playfield for cleaning.
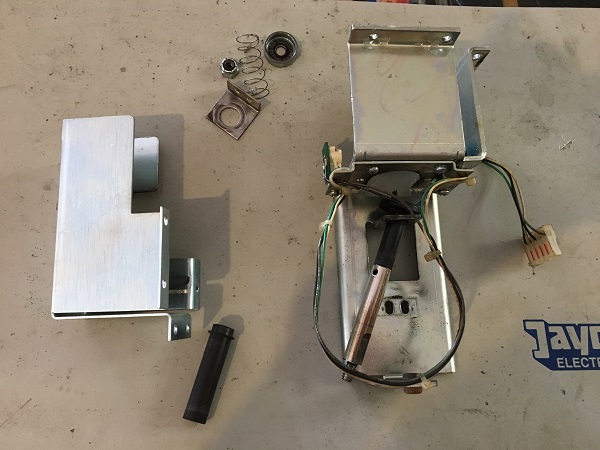
The popper assembly was disassembled and cleaned. The metal rail was also cleaned up, along with the Tardis. A new coil sleeve and grommet were sourced for the assembly, along with a blue globe for the Tardis and blue rubber pad for the metal rail.
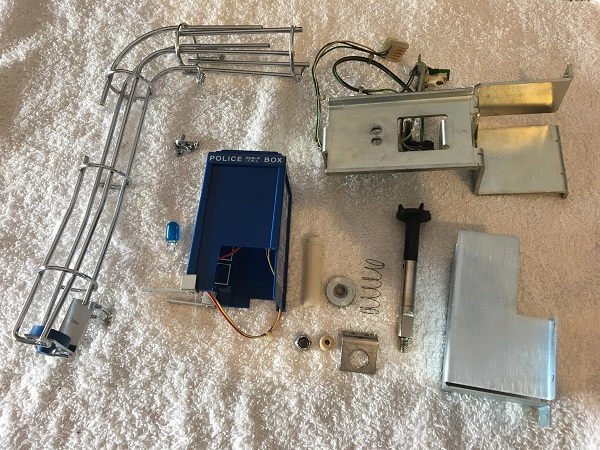
The assembly was installed back onto the playfield, along with the plastics and metal rail to complete the right side. I still need to clean up the ramp, but that will have to wait until the pop bumpers are done. One of the plastics from this side will also remain off as it attaches to part of the pop bumper area i’ll be looking at in my next update.
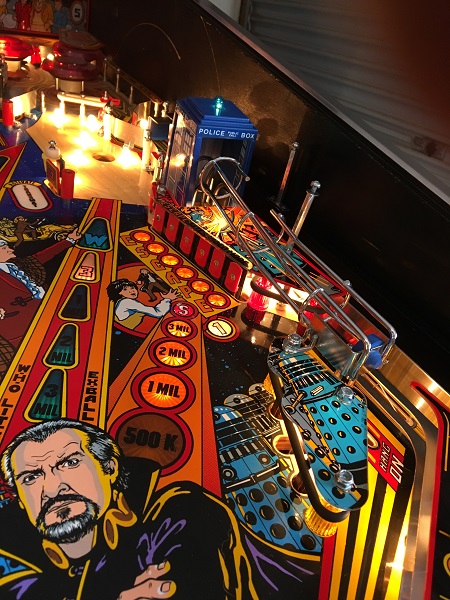
Now on to the left side. First step will be to remove the ramp since it’s covering everything. Just like with the right side, the ramp will remain off until the end and so will clean it in a future update.
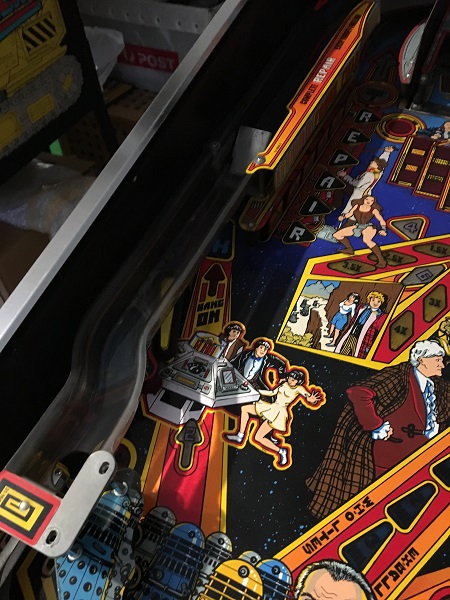
With the ramp removed, I could now access the parts below. The rubbers around the section below the flipper are completely missing.
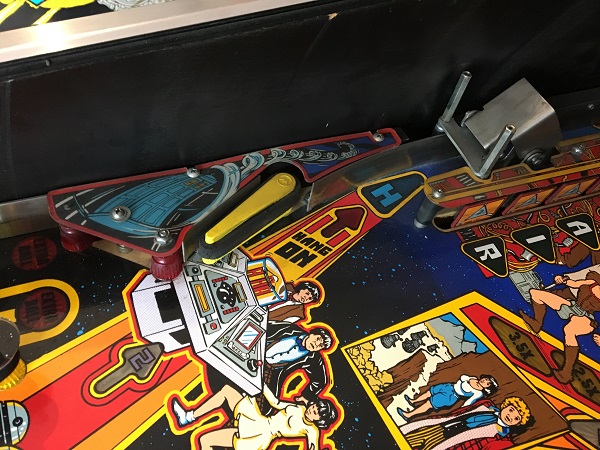
Above the flipper is a bank of 6 stand up targets. Filthy, but should clean up well. I have replacement target decals which came as a set and will use them to replace the tired decals currently installed.
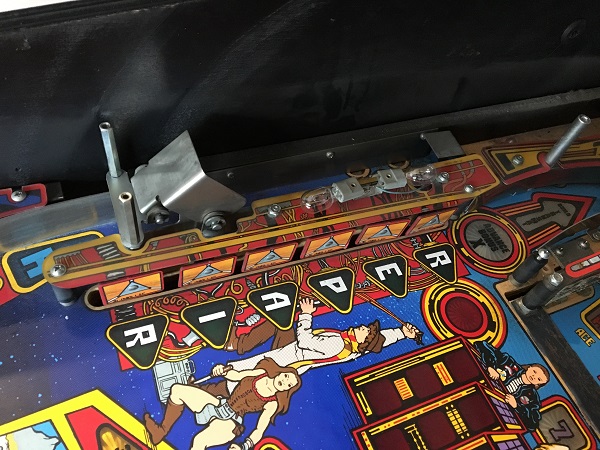
The head of the trap door assembly was removed, along with most of the posts and plastics. Lot’s of cleaning to do.
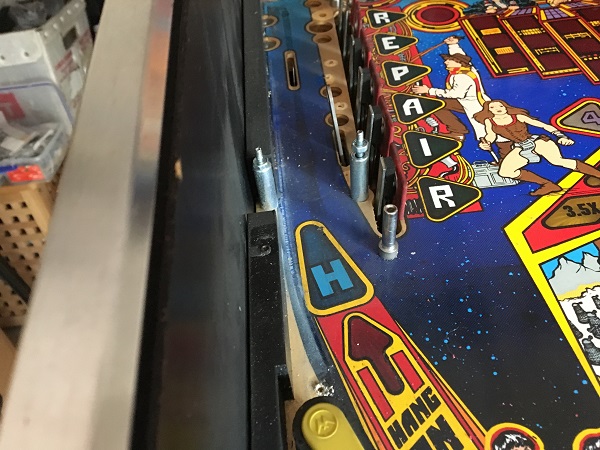
Some heavy filth has collected around the ball stop area on the left side. I expect this will clean up without issue though.
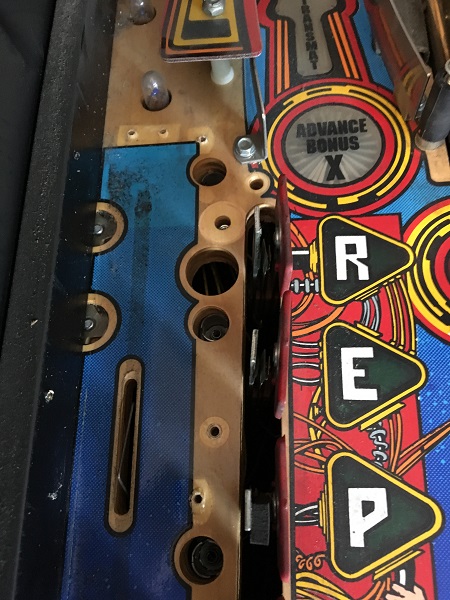
With the left side of the playfield now stripped, it was time to look at the flipper assembly. It was removed from the playfield and set aside for cleaning. It’s well overdue for a proper rebuild.
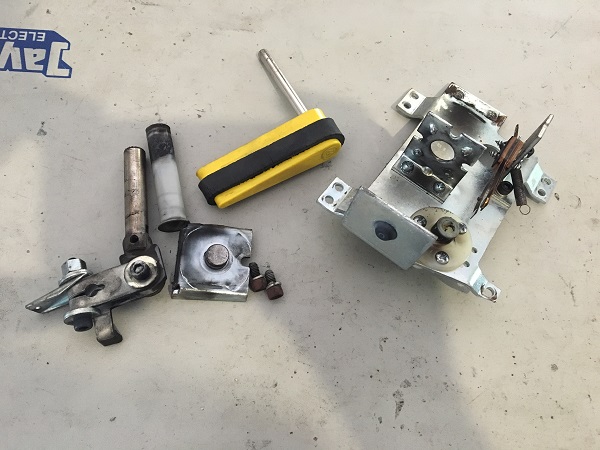
The assembly was disassembled for cleaning. A rebuild kit (or half of one) was used to replace many of the parts. A new flipper bat and rubber were sourced, along with a new rubber grommet. The frame pieces were cleaned up to remove all the filth that had collected over the years.
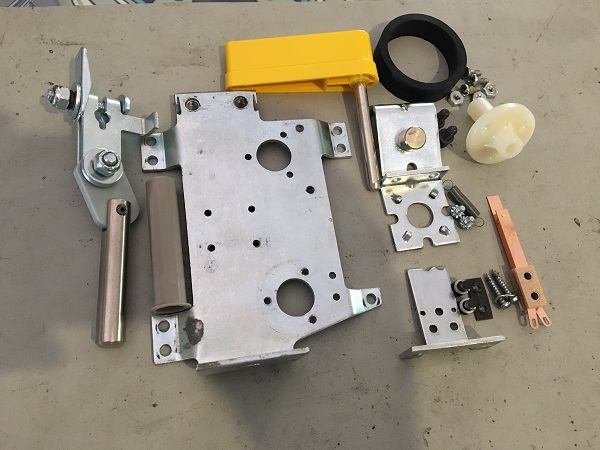
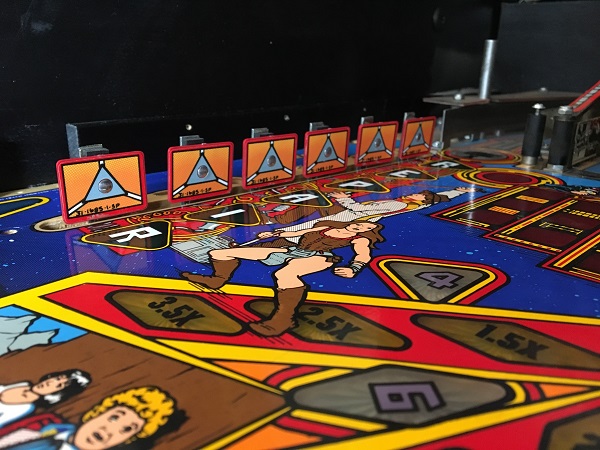
Each of the six targets were removed, cleaned and had their decal replaced. Some of the targets were missing the foam pad behind the target and for these a new pad was installed.
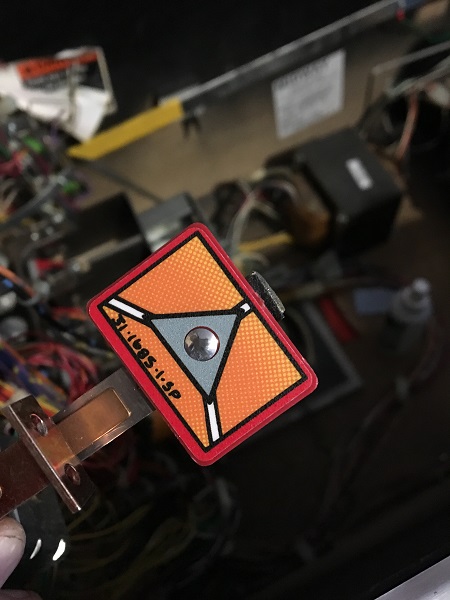
The playfield itself was cleaned up with Nifti and a bit of novus to finish. There’s a small amount of wear caused by the metal rail along the blue playfield art. This will be barely visible once the rail and ramp are installed back onto the playfield.
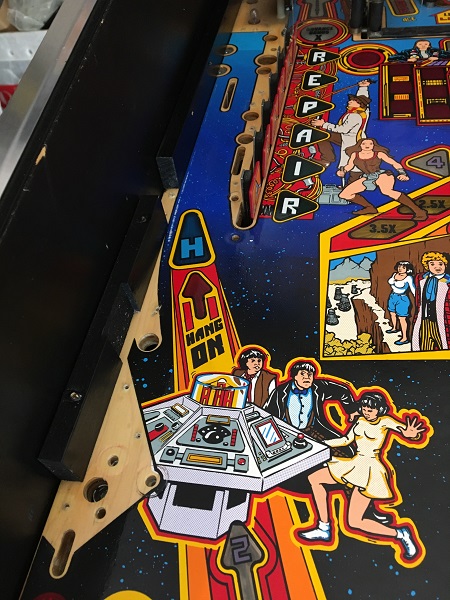
The ball marks that were originally above the switch were completely removed.
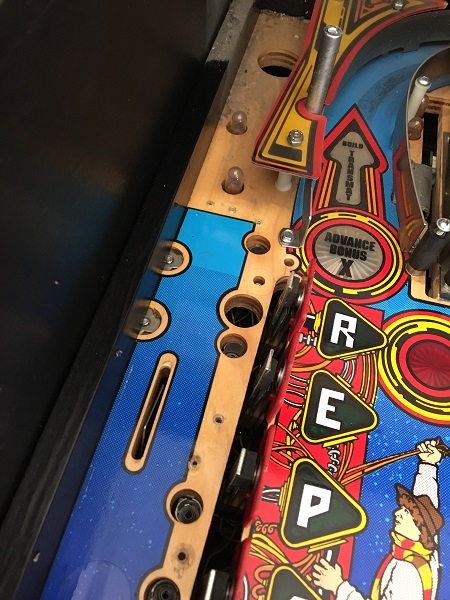
Cleaned up, the target bank was looking much nicer now. Again, nice reflections on the playfield.
Now that the playfield was cleaned, it was time to clean the parts so the left side could be rebuilt. All small metal pieces went through the tumbler, with the larger pieces cleaned by hand. The plastics were polished up with Novus. New star posts, rubbers and post sleeves were purchased.
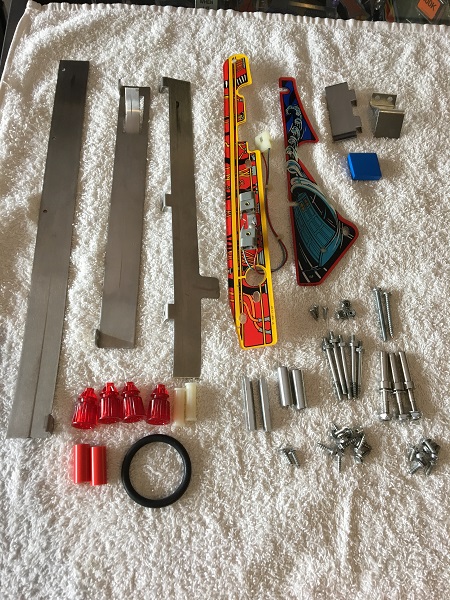
Next it was time to clean up the trap door assembly. The pieces had been set aside when the left side of the playfield was stripped down. Everything was disassembled and cleaned. The small metal pieces went through the tumbler. A new coil sleeve was purchased to replace the old one.
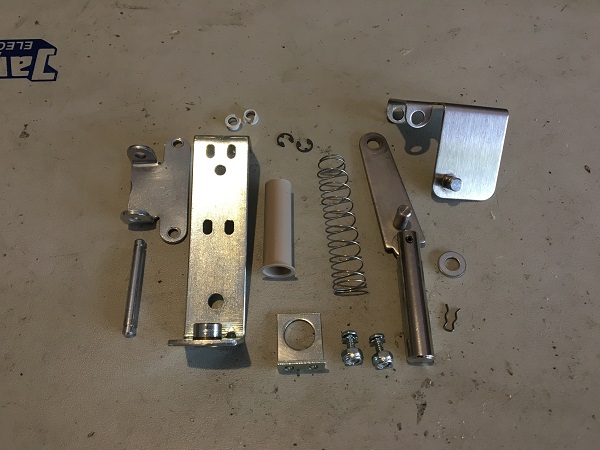
It was time to start installing everything back onto the left side of the playfield again. The flipper and trap door assemblies were installed, along with the metal and plastic star posts. New rubbers were installed along with cleaned globes.
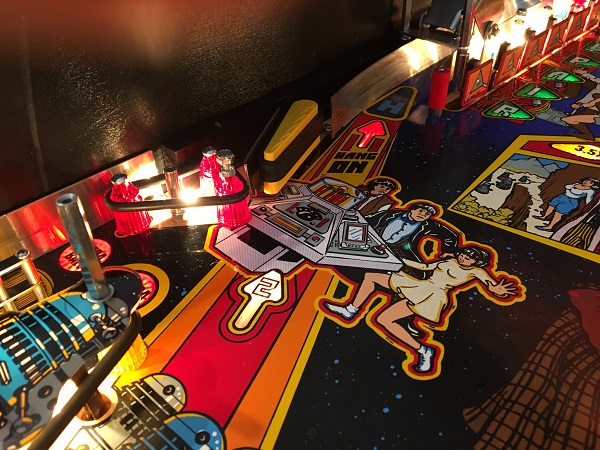
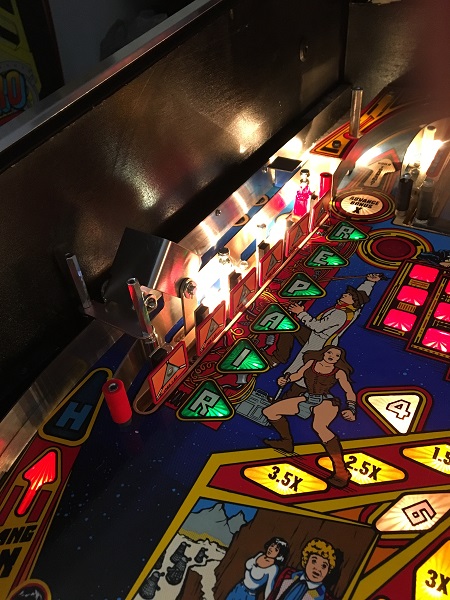
The playfield is cleaning up really nicely so far.
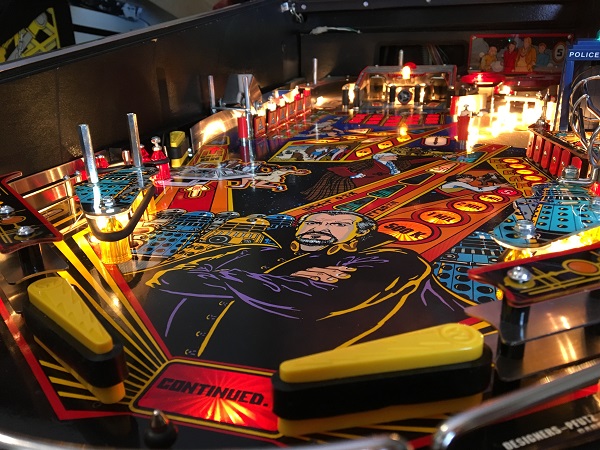
Finally, the two plastic pieces were installed again to complete work on the left side of the playfield. A clear washer was installed under the plastic (just below the tip of the upper flipper) to protect it from possible damage. At this stage I went into test mode and checked that the switches (especially the trap door) was still working OK, along with the flashers. Everything passed.
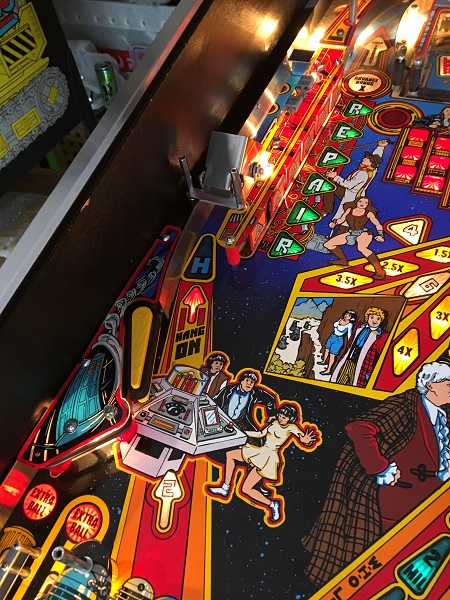
With the middle and lower sections of the playfield now done, that just leaves the top area (with the 3 pop bumper assemblies) and the mini playfield to do. I’m really happy with how Dr Who is cleaning up so far.
