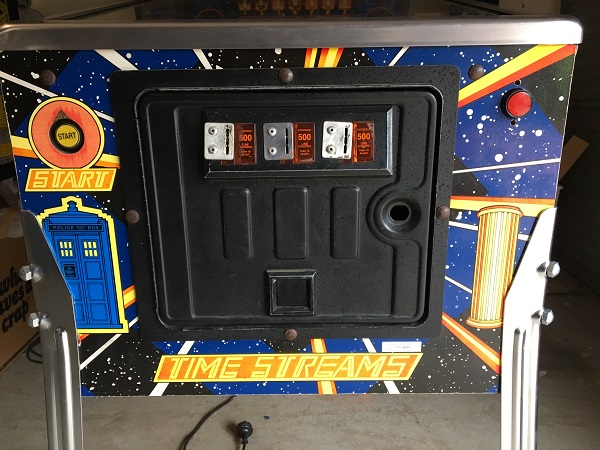
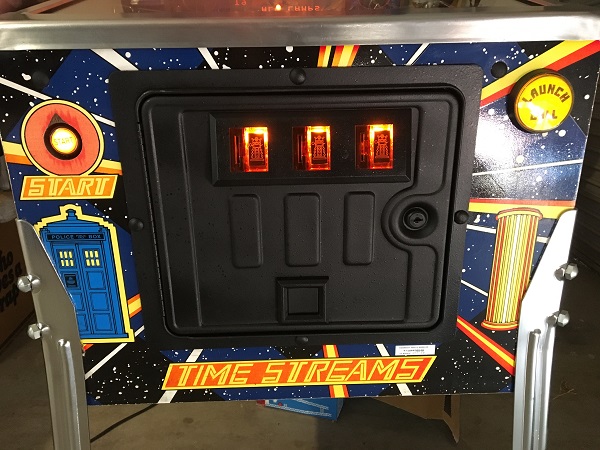
Progress on Dr Who this week moved along really smoothly. Some weeks are like that, where everything comes together easily (which is a great counter to those weeks where nothing goes well at all). I wanted to start this update by giving the coin door a face lift. The coin door has metal panels over the three coin slots which will need to be removed. Because they are pop riveted to the door, I will need to drill them out and fill the holes. Overall the coin door isn’t in terrible condition, but has the usual scrapes and scratches from age. Replacing the old foreign pricing cards on the coin slots is on my to do list too. I spotted that the launch button isn’t correct. Notice the two small holes (one above, one below) the red button – there should be a larger button that slots in to them and so this needs to be replaced.
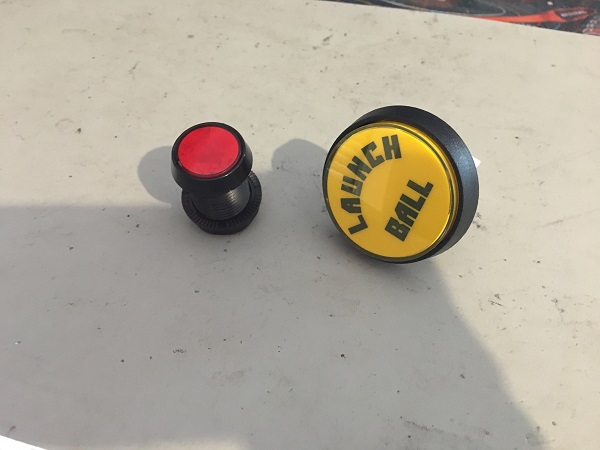
I managed to source a new launch ball button easily enough. It comes with a new microswitch, which was wired up to replace the old one. It’s also back lit, so lights up nicely when time to launch.
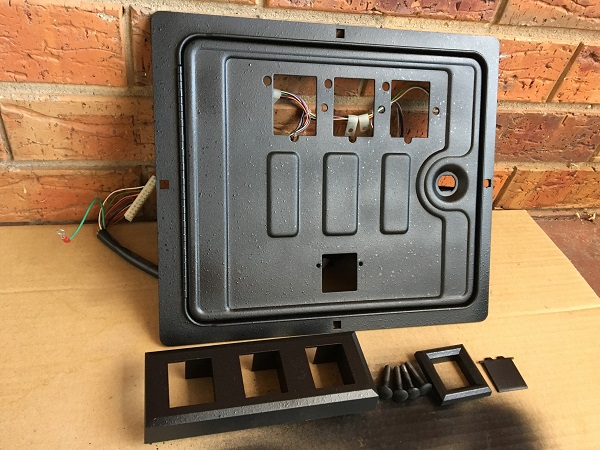
The three metal plates on the coin door were drilled out and holes filled. The coin door was disassembled and removed. After some sanding and additional filling the coin door was prepped, masked and spray painted with satin black. To get the gloss speckle effect back, I used gloss spray paint with a spit style action (where you just barely hold the nozzle in – this worked really well). This was done for the coin entry plate and return panels too. The coin door bolts were also sprayed and the coin door was looking a lot better already.
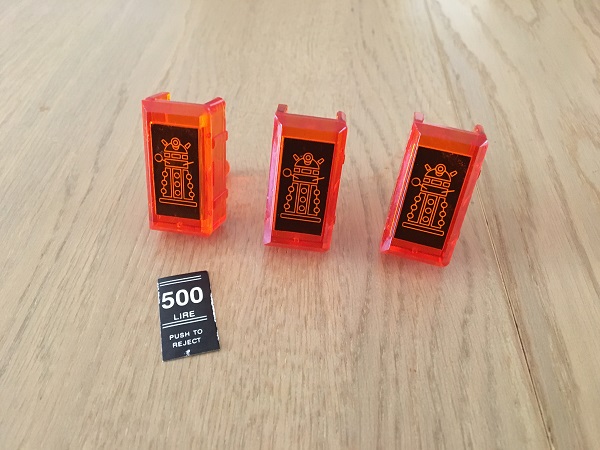
I like putting custom pricing inserts for the coin doors of the games I work on. It gives the owner something unique about his game. Since the game has such an awesome Dalek topper, I thought why not run with that and put them on the coin door too. Much better than the original foreign pricing card.
The coin door was installed back into the cabinet and it’s parts reassembled. The two bolts for the lock bar were also painted with satin black to lift their appearance. There is a small damaged section above the start button, sadly the art colour in this area is mixed due to uneven fade, so will look into what sort of paint colour I can mix up to blend it in. I’ll return to this at a later time though. The coin door however is looking much better with the face lift.
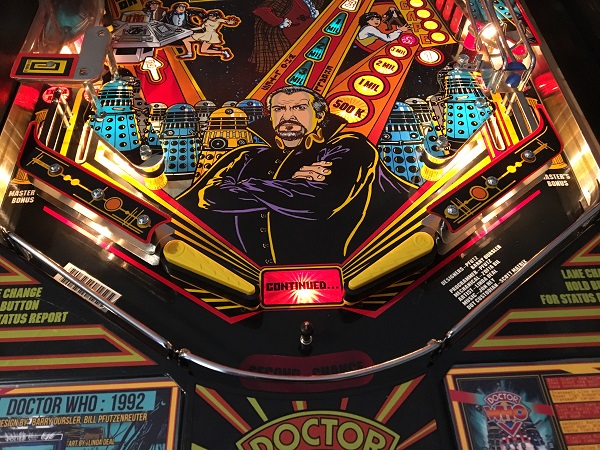
Time to look at the playfield again. I wanted to focus on the lower playfield area for this update. This includes the flippers, slingshots and return lanes. I love the sling shot plastics and art on them – the way the daleks blend into those on the playfield art is really cool.
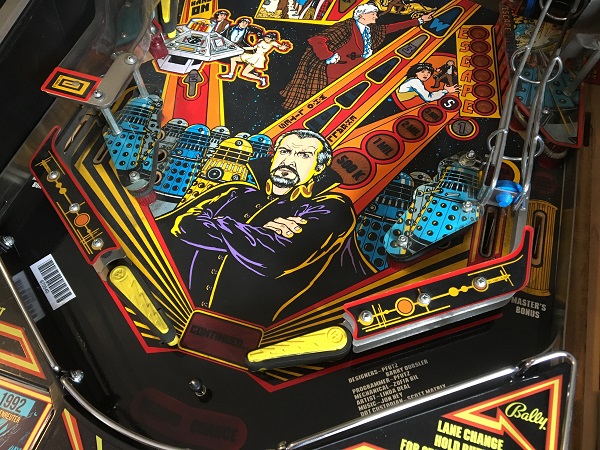
The lower playfield area was stripped with all star posts, rubbers, plastics and metal pieces removed. Both flipper and sling shot assemblies were also removed, leaving behind a dirty playfield in desperate need of a clean. You can actually see the difference a clean makes where the clean area above the arpon ends (cleaned in the last update) and the dirty lower playfield starts.
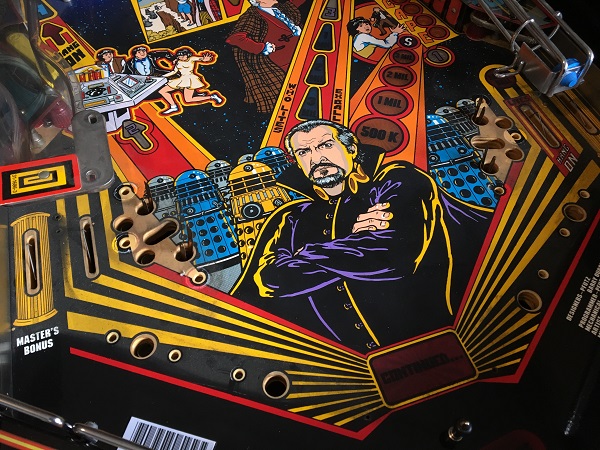
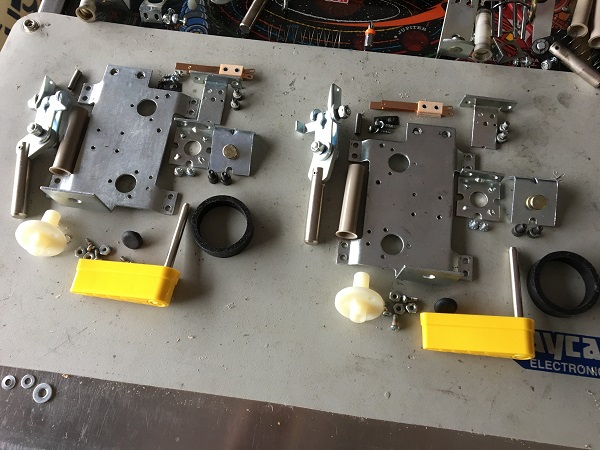
The flipper assemblies were set aside for cleaning.
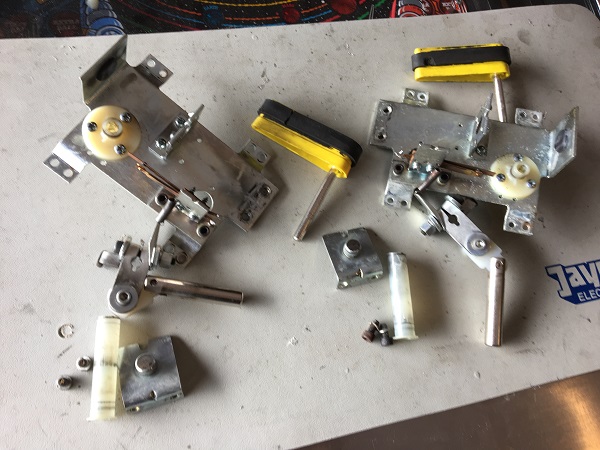
The assemblies were disassembled and bases cleaned. A flipper rebuild kit was purchased to replace many of the old parts. A new rubber grommet was also purchased for each assembly, along with new flipper bats and rubber. I’m not a huge fan of the ‘euro’ flipper bats, but I think the lightning bolt works well with the Dr Who theme and so stuck with them.
The sling shot assemblies that had been removed from the playfield were set aside for cleaning. There were no nasty surprises here, they just needed a clean.
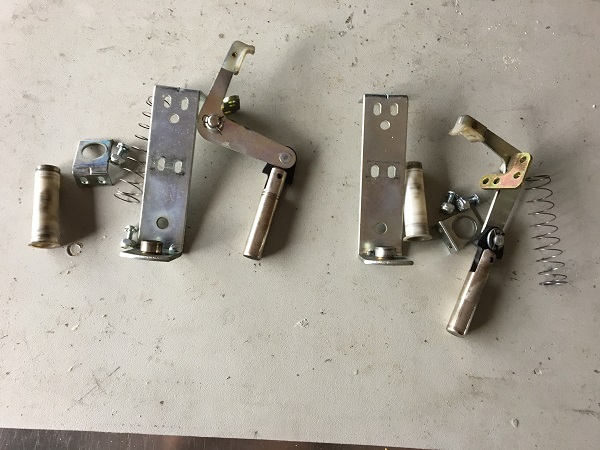
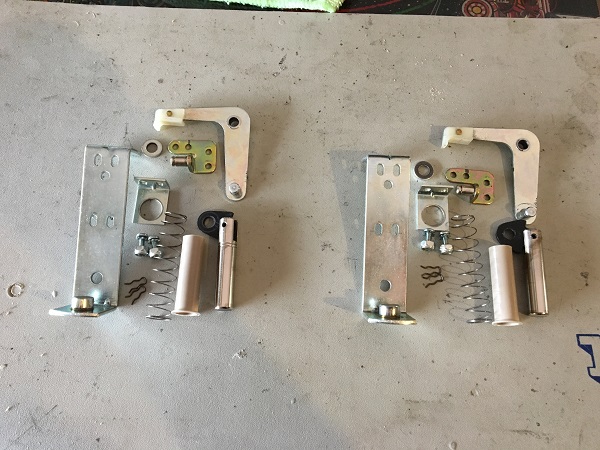
Both assemblies were disassembled and each part cleaned. The old coil sleeves were tossed out for new ones.
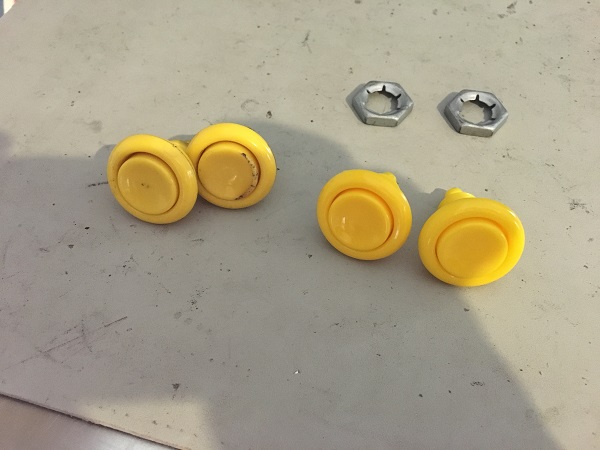
The old flipper buttons were removed and replaced with new ones.
With the assemblies all cleaned and ready to go back into the game, it was time to clean the playfield up. This didn’t take much effort as the filth wiped straight off and the playfield was then polished with Novus 1.
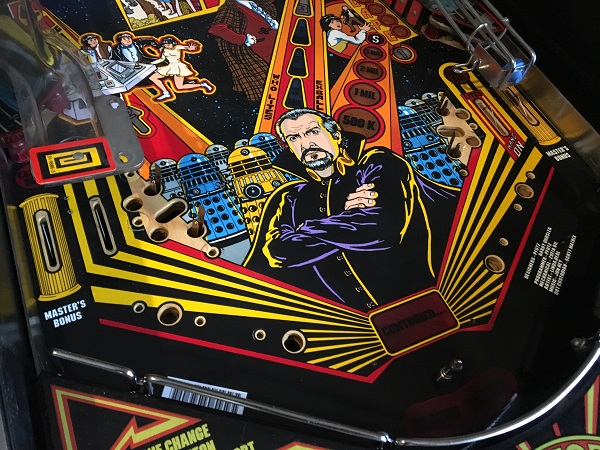
The sling shot and flipper assemblies were installed back onto the playfield, along with new yellow star posts and rubbers. The globes were wiped clean to get them looking bright again. I really wish there was a second lamp on each return lane, just to add a bit more brightness to the area near the flippers.
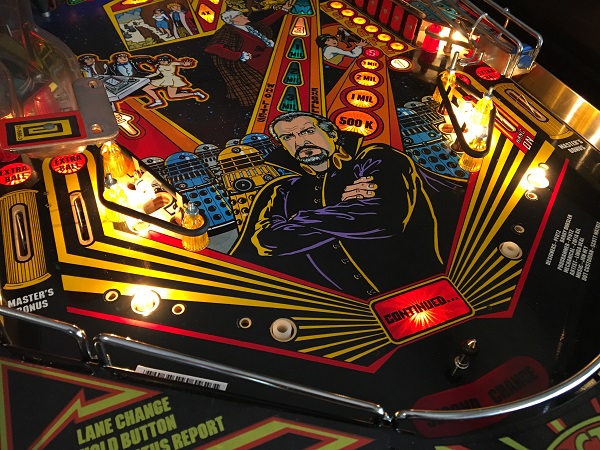
All the metal parts from the return lanes went through the tumbler and the plastics were cleaned and then polished with Novus.
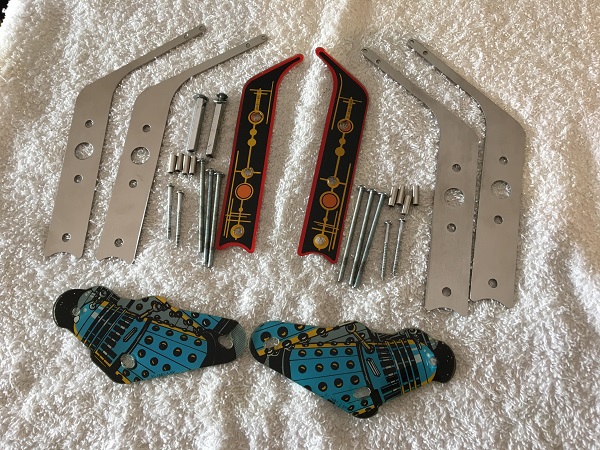
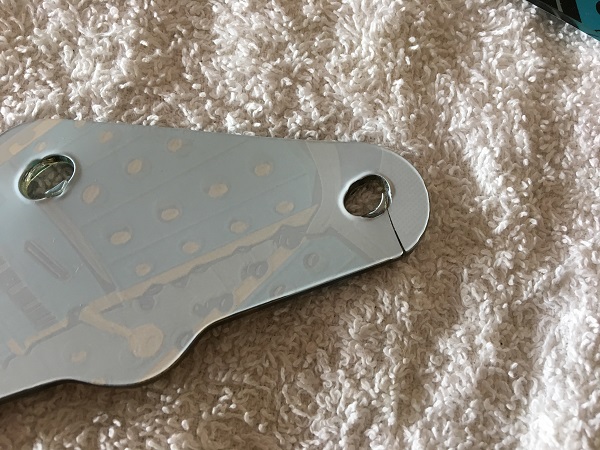
While cleaning the plastics I noticed one of the sling shot plastics had a nice crack across the bottom corner. I will be installing clear washers on the edges to minimise / prevent any additional damage. You can still source a replica set online, so will give the owner the option of replacing them if he’s bothered by it.
The return lanes, flipper bats and plastics were installed back onto the playfield, along with new clear washers, metal washers and lock nuts to complete the lower playfield area.
I still need to clean the two long metal rails (one on each side), which i’ll remove once I have the middle playfield section removed for cleaning.
Next thing to look at for this update was the topper. The old reflective decal that sits behind the Dalek was wearing away from age, so I wanted to replace it.
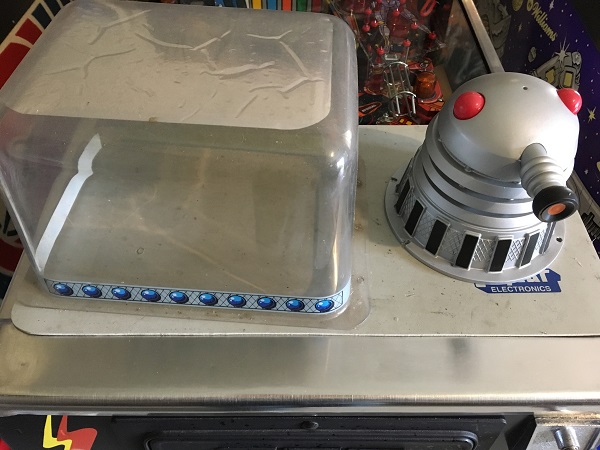
Easiest way to work on the topper was to lower the headbox. The topper plastic and Dalek were removed so the surface could be cleaned. The flasher that sits inside the Dalek isn’t working and needs to be replaced.
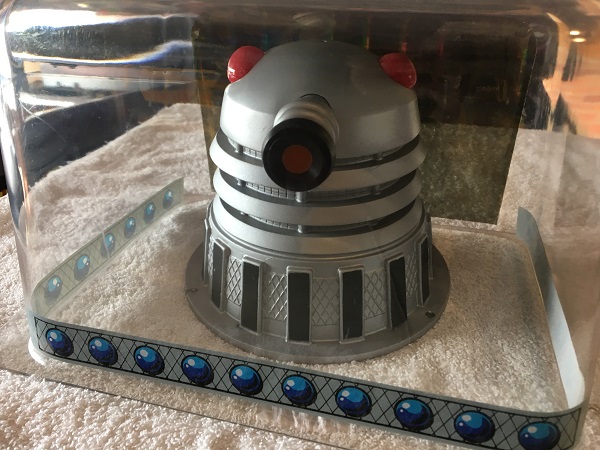
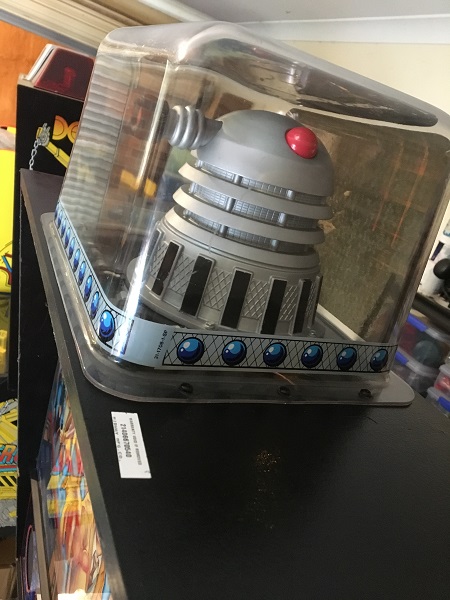
The clear topper piece was cleaned and polished. The yellow holographic type decal behind the Dalek was removed and a new one from Marcospec applied. Some small black sections on the Dalek turret that had been scraped were touched up with model paint.
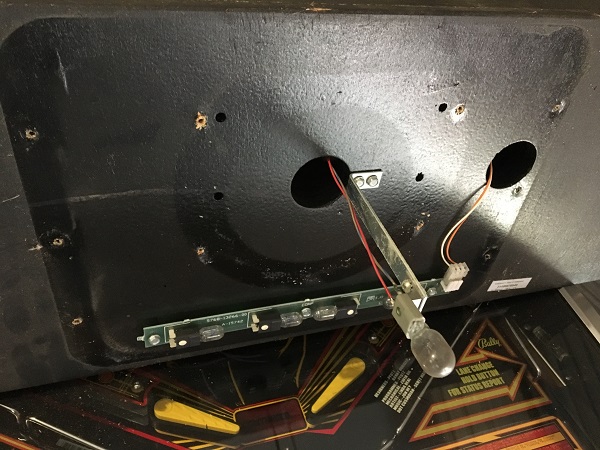
I decided to repaint the top of the headbox with gloss black. Mainly to give off more light reflection with the topper lit up. Once the paint was dry, the flasher bracket was installed again and the dead #906 replaced. The globes and lamp pcb were also given a wipe down and installed again.
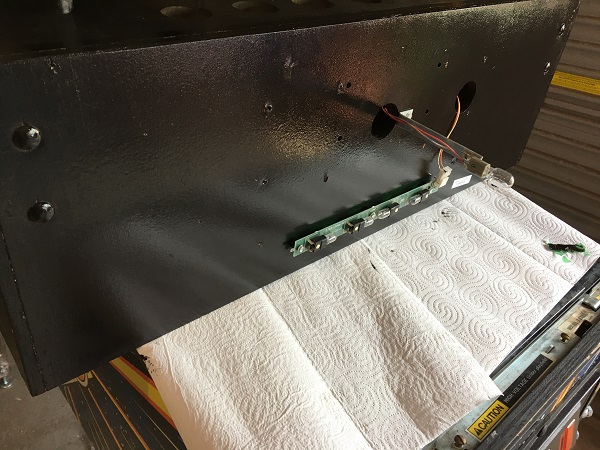
The six black security screws were sprayed with a fresh coat of satin black paint and the topper installed back onto the headbox. The flasher lamp that had been replaced (which lights up the red eyes and canon tip of the Dalek) was tested and worked fine.
One final thing for this update was to clean the rear side of the translite. This side can build up a thick layer of dust over time.
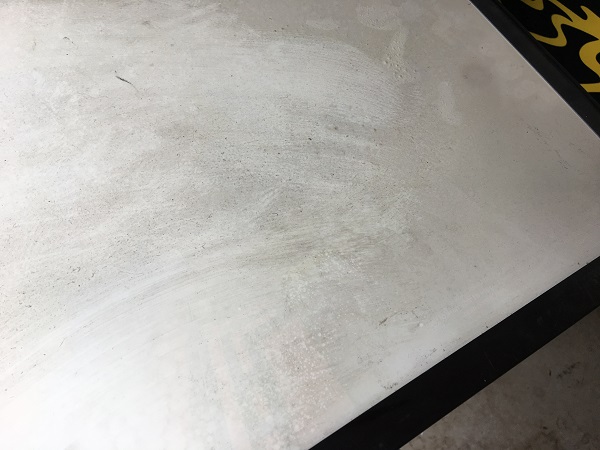
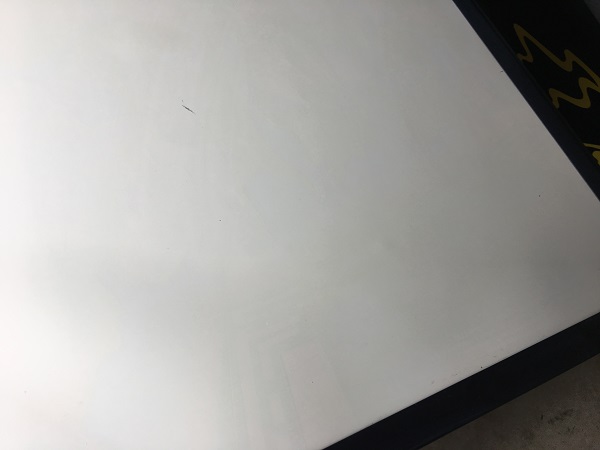
It wipes off easily enough though with a light spray of Nifti and a soft cloth to leave the surface looking bright white again. It’s well worth doing small things like this as they are easy wins to make the game brighter and cleaner.
That’s it for another update on the Dr Who progress. The lower playfield area is now cleaned up and looking good, along with the coin door and topper. The rebuilt flippers will give the ball plenty of power to make the ramp and mini playfield shots. Next up is the middle playfield section. I’ll be looking at the upper left flipper and Tardis ball popper assemblies as part of the up coming update. There are also a series of stand up targets on both sides of the playfield through this section to clean. I’ll need to remove the ramps first though, which will basically take the game offline until I’m done. I wouldn’t mind touching up the black paint around the front of the headbox too to lift the presentation a bit, although may put it off since I’ll be giving the inner cabinet panels a touch up too.
