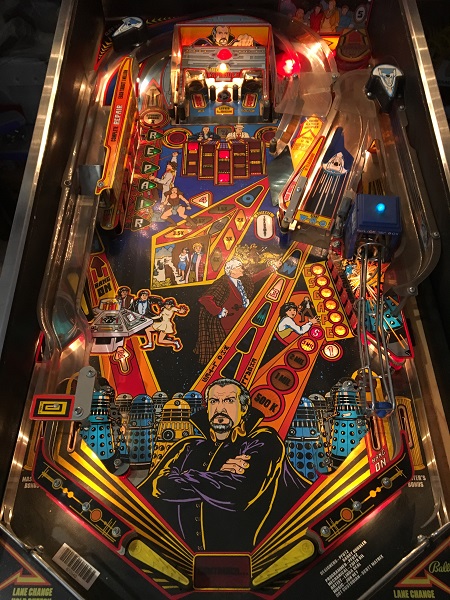
With Funhouse completed and back to the owner, I was able to enjoy the vacant space it left for a matter of minutes before it was filled with the next machine on the list. The next game to receive a rebuild is a Dr Who. Released by Bally in 1992, with over 7700 machines built – it’s a great theme and a really fun game to play. In its current state, the game is basically unplayable due to a few issues which I’d like to get sorted first. Overall condition (once you see past the dust) is actually really nice. Cabinet is solid (some fade, but minimal damage) and the playfield is really decent. It’s going to clean up nicely and I’m excited to test it once complete!
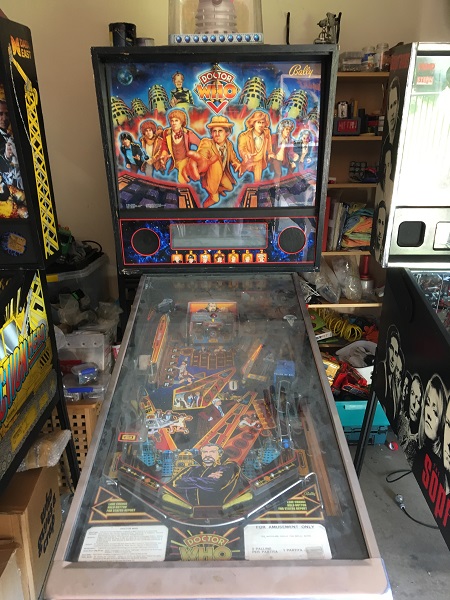
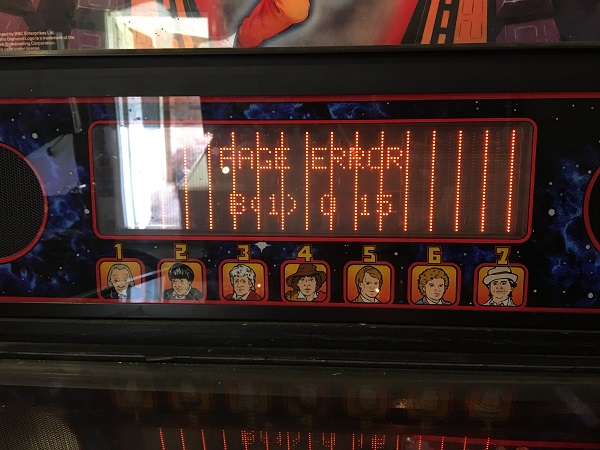
My normal approach is to sort out the game issues first before moving onto the cleaning and rebuilding of assemblies. Dr Who has a few important issues to sort out. The first issue you notice is a display one, where a vertical line appears across the DMD. Putting the game into test mode and running the display test, it comes up with page errors across all 16 addresses on both pages. Not a good start. If it had been a couple of errors, then I’d suspect the ribbon cable, RAM or page select chip. The fact it’s across all suggests something else is going on.
The second issue is with the sound. When you start a game, the music is missing. Putting the game into test mode and running the sound test, there is no speech and the sound effects are not correct for the test. There is audio, but it’s certainly messed up and is on par with an early SS title. The third issue (the game breaking one) is the flippers – only the lower left flipper worked. The upper left and lower right flipper failed to trigger. There are a few other minor issues to sort out, but these three are the big ones.
The next week was spent researching and diagnosing the separate issues. I started with the obvious things like flipper fuses, which did help activate the flippers in test mode, but still left them broken in game play. The ribbon cables were reseated and also replaced with known working ones. The CPU board was swapped for a know working one. Connectors checked, header pins examined, chips and components looked at for obvious faults. The game ROMs were updated to the newest version too. Not getting anywhere, I decided to look at some of the other issues.
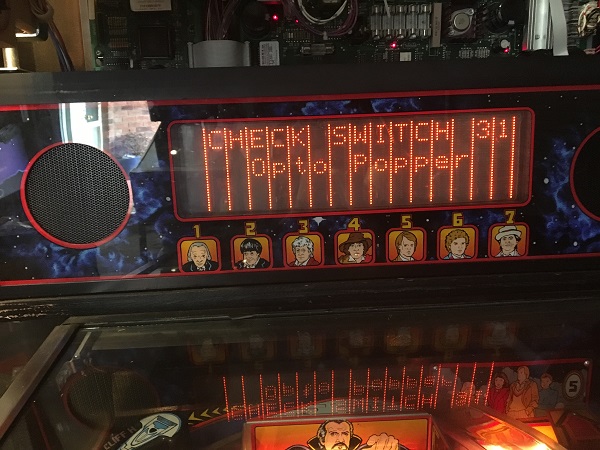
When dropping the game off, the owner mentioned that the optos from the Tardis ball popper were missing. In fact, they had just been cut off. This results in an error being shown from the game diagnostics. When the game runs through the diagnostics, it constantly sees this switch as being closed, so the ball popper continues to fire until the game eventually gives up. The error is reported from the self test.
Under the playfield, we can see the wires were cut from the optos before being removed. The bracket was left on the assembly though. Since it’s connected via IDC, it would have been just as easy to remove the lot than cut the optos off.
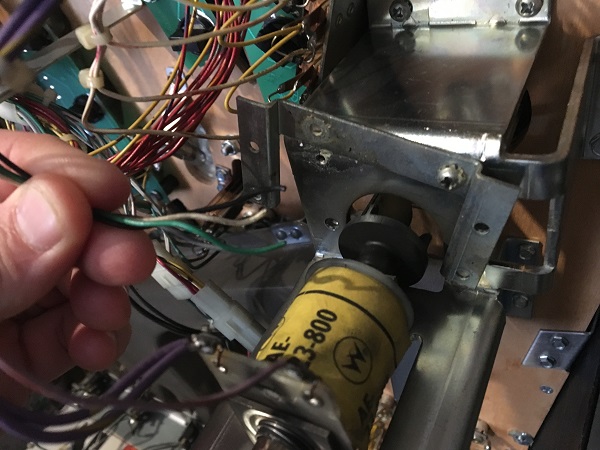
The owner came prepared though and had already sourced a replacement opto and bracket which could be installed straight into the game.
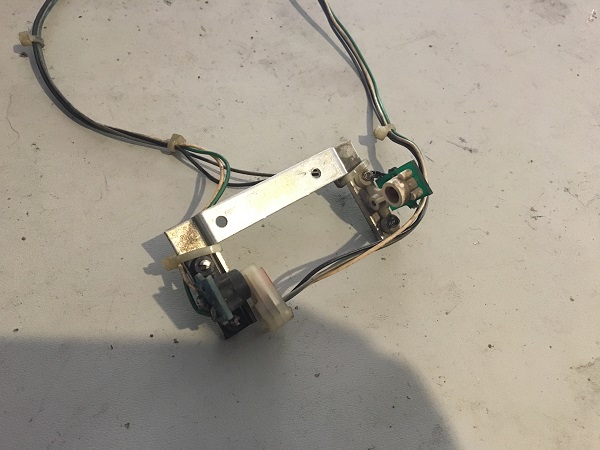
With the replacement optos installed and connected up, the opto popper was tested and now functioned correctly. The next switch issue to sort out was the trap door. During diagnostics, the trap door would constantly open and shut.
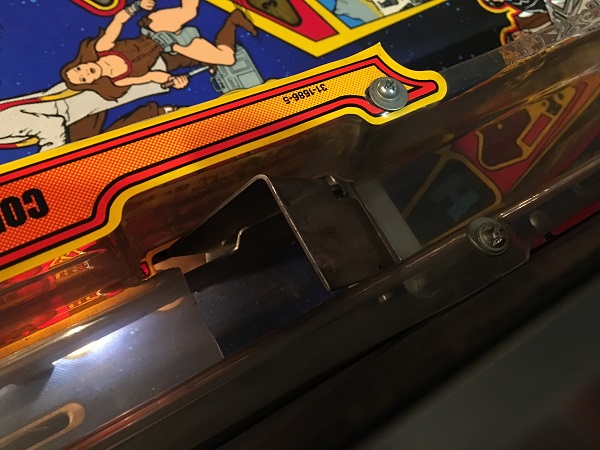
This resulted in an error being reported after the self test.
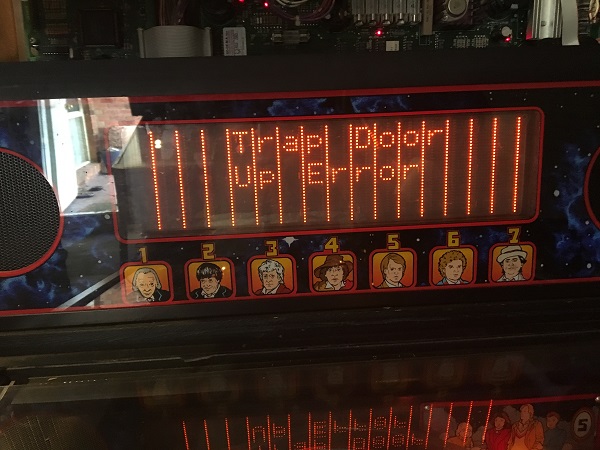
The cause was the switch, which should be activated when the trap door assembly pulls in. The switch blade was getting stuck in the return spring and not activating correctly when the trap door closed.
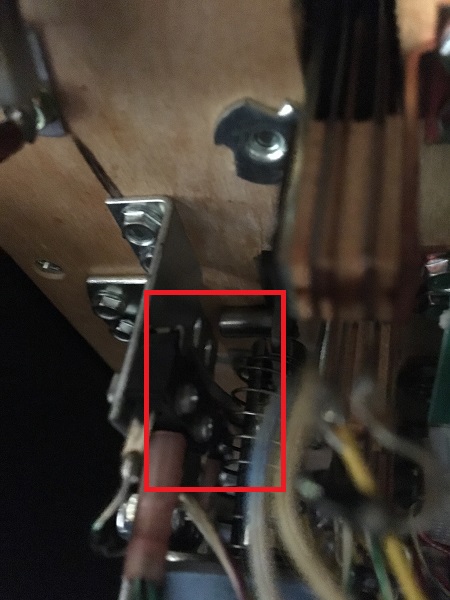
The blade was bent and needed to be adjusted. The switch itself was found to be faulty too, with the switch being very sticky and not activating / deactivating as it should. This was replaced. Now during self test, the trap door activated correctly and the error removed from the report.
Still not making much progress with the board issues, I wanted to keep busy and get on with a few things that I could complete. First up was to go through and clean all the insert lamps and underside of each insert. Switching the game into lamp test mode, I could see a fair few insert lamps not working.
The majority of the lamps are connected up to lamp boards under the playfield. The lamp boards were removed from the game for cleaning. Most globes had a lining of black dust over them.
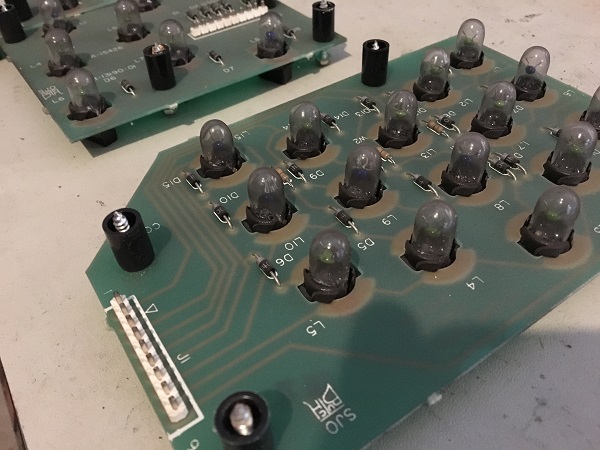
Each globe was wiped clean, along with the pcb itself.
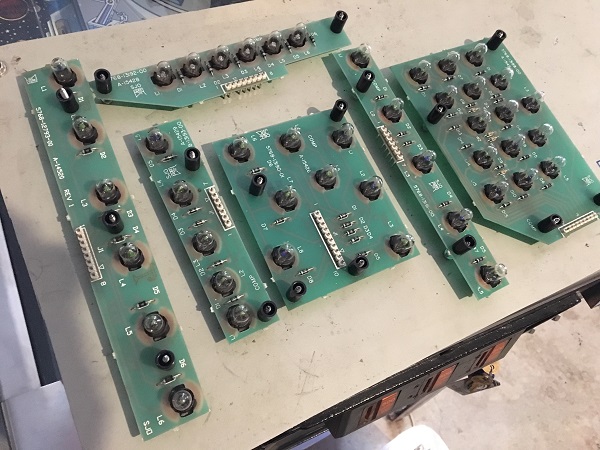
While I had the lamp boards out, I wanted to clean up the underside of the inserts to help allow as much light to shine through as possible. The owner wants to stick with original bulbs (no LED’s).
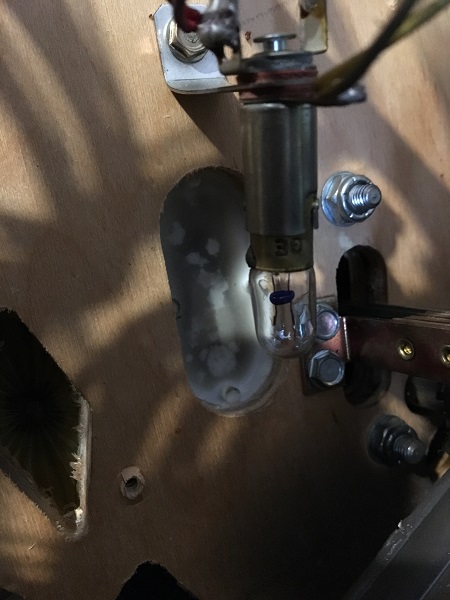
With some Nifti on a soft cloth, a gentle wipe cleans away the layer of filth under the insert. All bulbs were removed from their sockets too and given a wipe down.
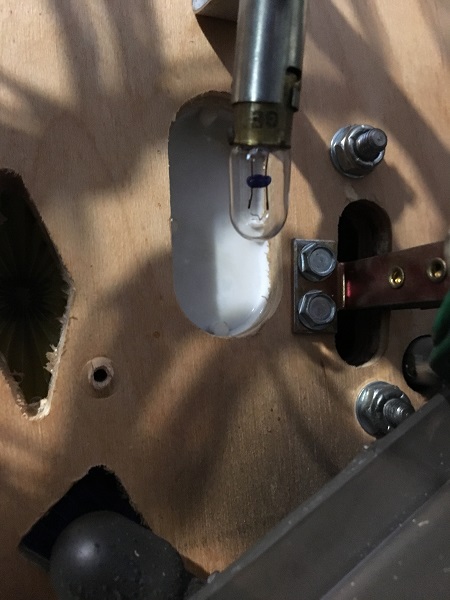
Along with cleaning the insert lamps, I also took the time to clean up the flasher bulbs. Some of them were covered in crap.
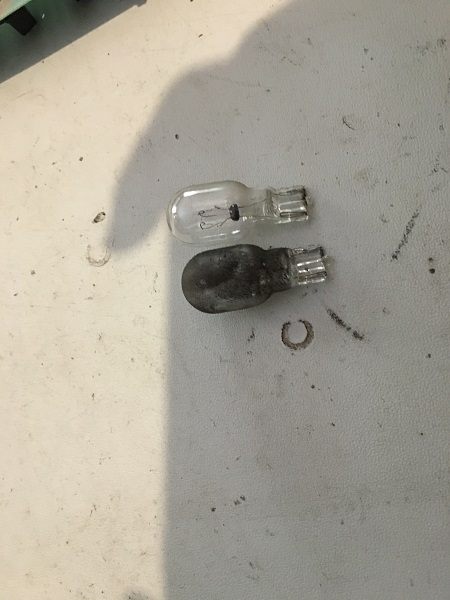
With the underside of the inserts all cleaned, along with the bulbs, the lamp test was run again and now all CPU lamps were working.
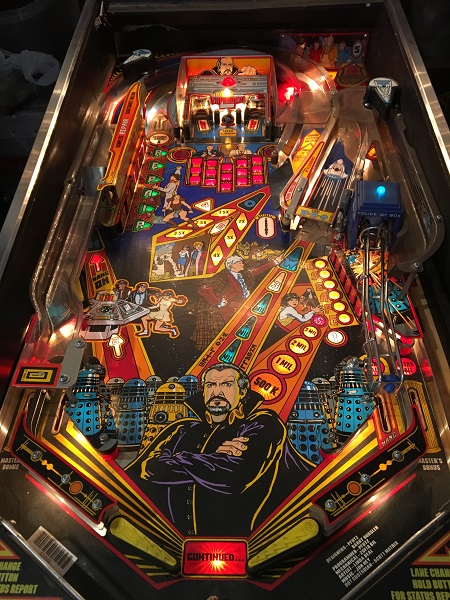
To get to a couple of the lamp boards, I needed to remove the under playfield ramp. This was a good excuse to clean it as it’s insanely filthy (or been painted..).
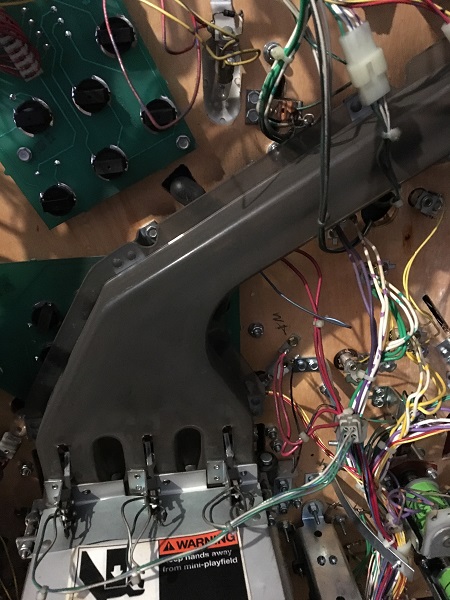
The ramp comes away from the playfield easily enough via 5 screws and has seen a lot of action over the years. Filth loves to collect in these under playfield ramps and they never get cleaned.
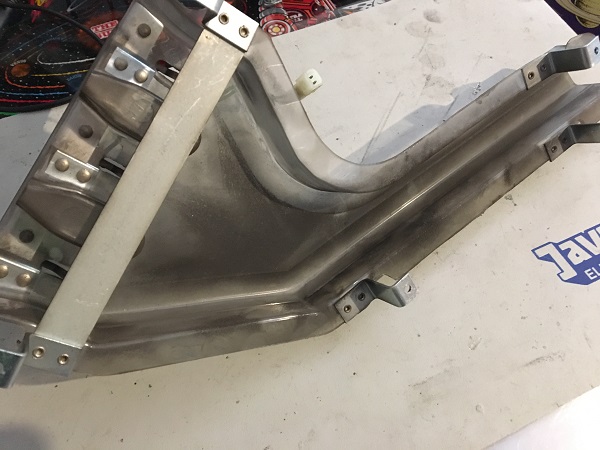
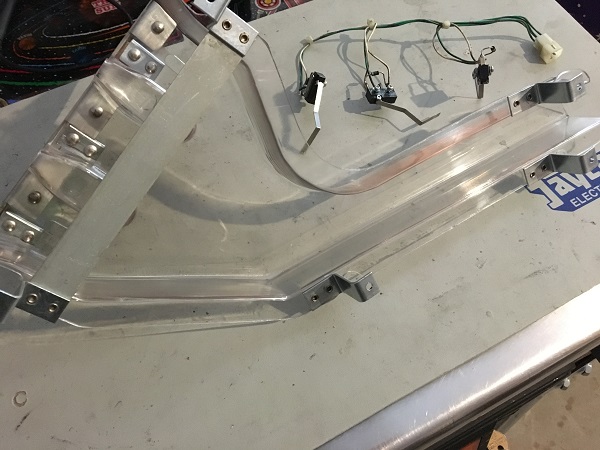
With some Nifti and novus, the ramp cleans up perfectly. The switches were removed and the switch arms cleaned up too. The ramp was put back together and installed under the playfield, along with all the now cleaned lamp boards. Any of the insert lamps that had been marked as non working were replaced.
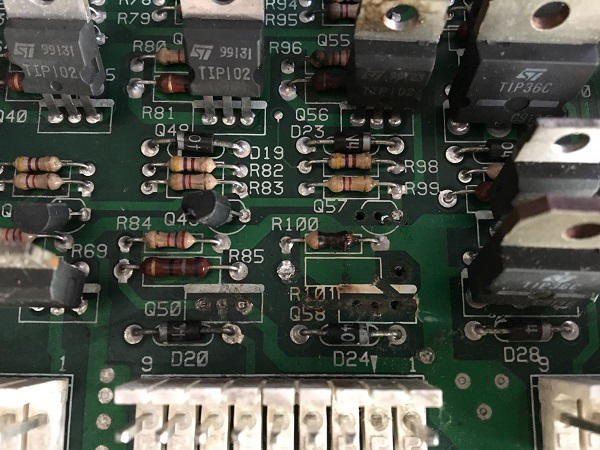
Happy with the status of the lamps and switch tests, I took a look at the coil and flasher tests. Several flashers failed to fire, which turned out to be blown bulbs. These were replaced and retested. With the coil tests, two of them failed to fire – lower pop bumper and left sling shot. The switches were activating correctly, the coils looked fine, the wiring had no obvious issues and mechanically the assemblies moved correctly. So I turned my attention back onto the boards. Looking at the driver board, I could see why these two coils were not firing. Some missing components and what looks like the remains of some burnt ones.
I put my attention back onto the other board issues too. Although the switch tests were passing for the playfield, the EOS and flipper switches were not all activating. After more time diagnosing, reading schematics and trying to pin point the issues, I wasn’t getting much in the way of results. I was pretty sure the issue was happening up stream. I knew the CPU board was fine as I had swapped in a known working one. There is a ribbon cable that runs from the CPU board, to the fliptronics board, to the sound board and finally to the display board. Swapping this cable over didn’t fix the issue, but I was pretty confident the issue was either the fliptronics board or soundboard. Stumped, I contacted Ken at Ken’s Pinball repair and posted off the board set for him to look at.
With the boards gone, I decided to keep busy and look at the apron area of the playfield. I knew the assemblies and switches under the playfield are working from my initial tests, so was happy strip the area down for a clean and rebuild.
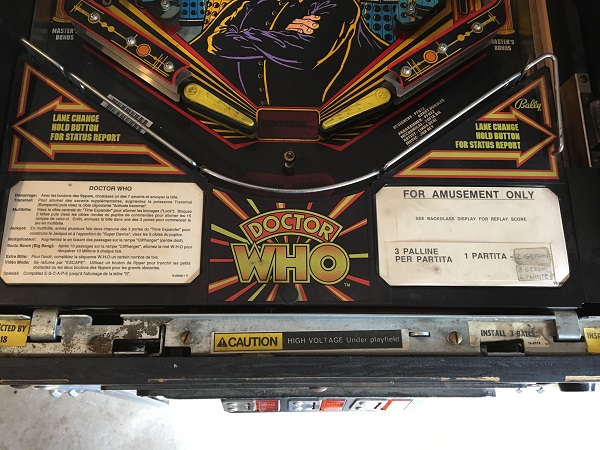
The apron was removed and set aside for a clean later on. Underneath, I found the area to be dusty with a general layer of filth. Overall though it’s not bad as I’ve seen far worse. There is a little bit of wear around there the apron touches the playfield, but this too is minimal.
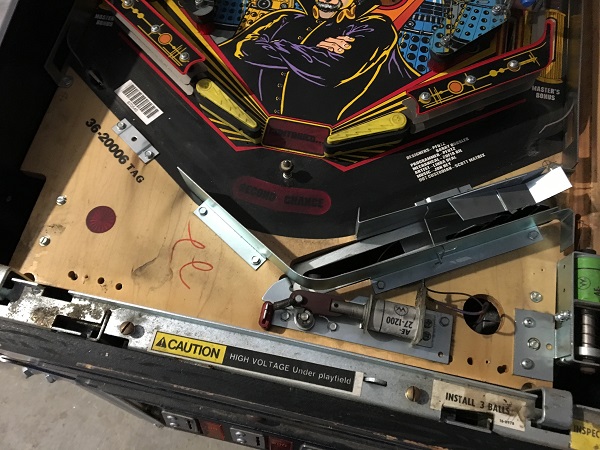
First step was to remove all the metal trough parts and the assemblies for cleaning. I also removed the drain save post for cleaning.
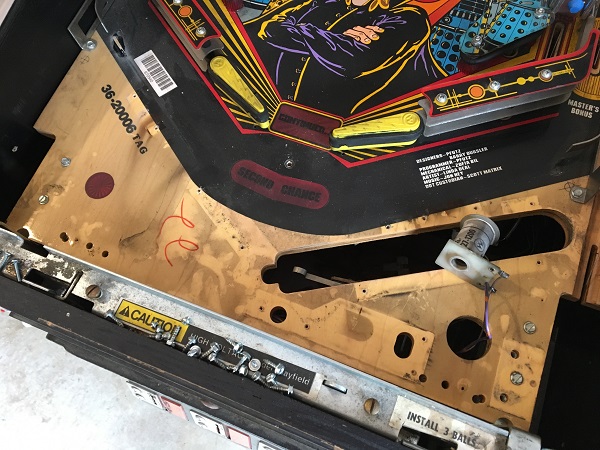
All small metal pieces from the trough and assemblies were put into the tumbler to be cleaned and polished up. The larger pieces were cleaned by hand. All the old coil sleeves were tossed out and replaced with new ones. The rubber grommet from the ball launcher was replaced with a new one.
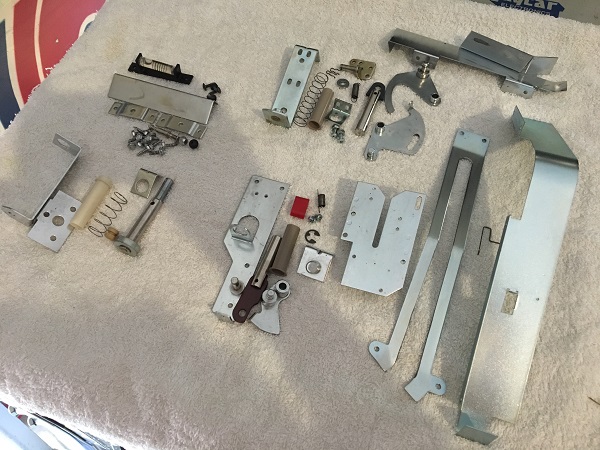
With all the metal parts and assemblies cleaned up, it was time to clean the playfield. After attacking it with some Nifti and then Novus, the playfield was much cleaner and shiny than before.
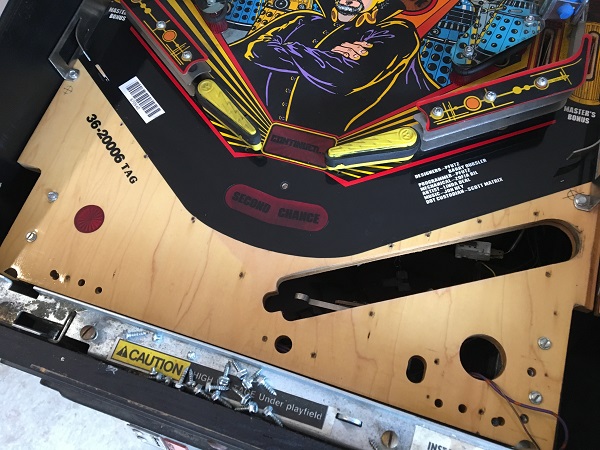
The metal parts were installed back onto the playfield, along with the trough and serve assemblies. The metal post in the drain hole was also installed with a new rubber. Everything in the lower area was now looking much cleaner.
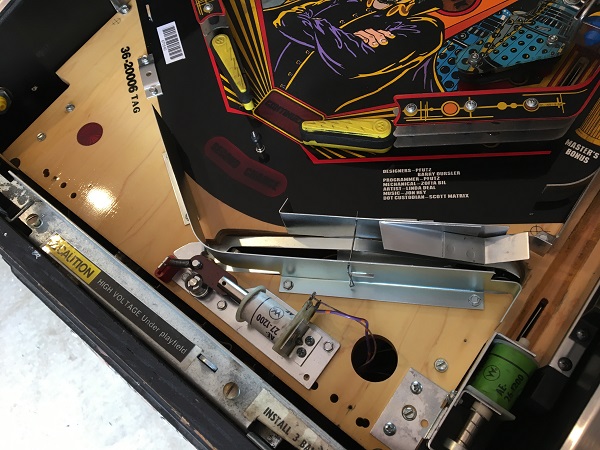
To finish off this section of the playfield, the metal apron was cleaned up and the metal arm removed for a clean too. New cards were printed up from pinballcards.com
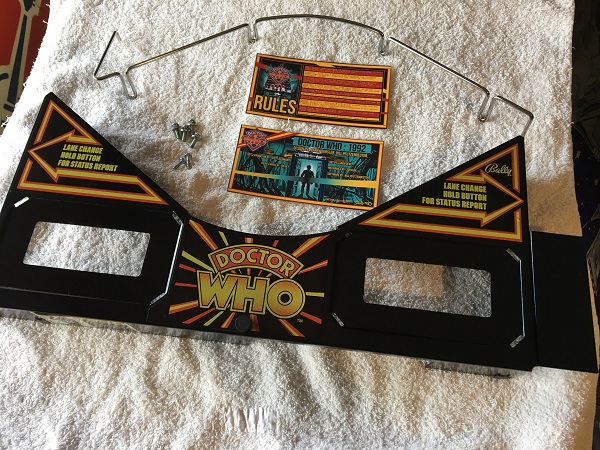
I received a message to say the boards were all fixed and on their way back to me. I decided to get one last thing in – replacing the playfield glass channel. The old channel was broken all the way along the top.
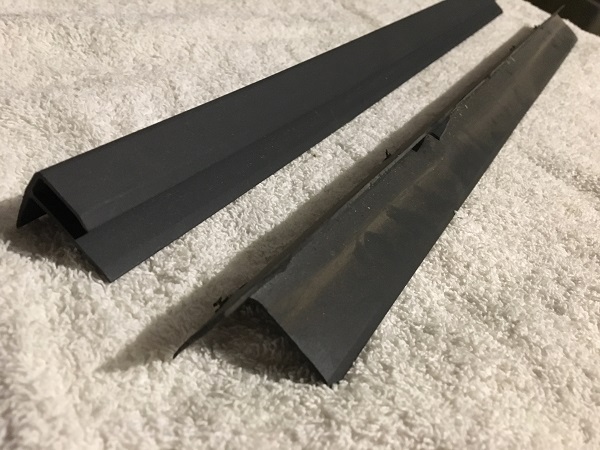
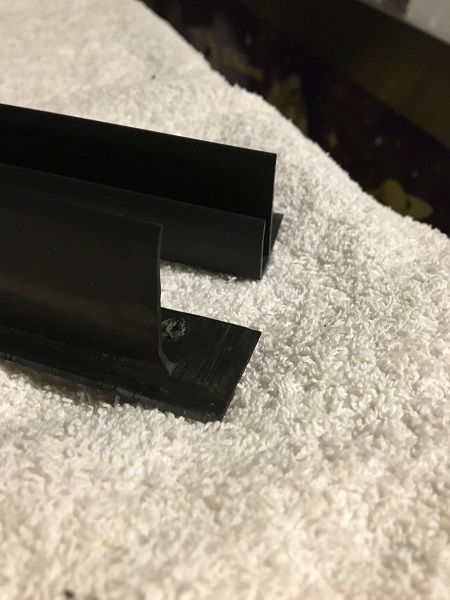
A replacement channel was purchased, although it needs to be modified slightly as there is a switch that sits on the left side of the cabinet. When the glass is removed, the switch opens and a warning triggers to be careful with fingers around the mini playfield.
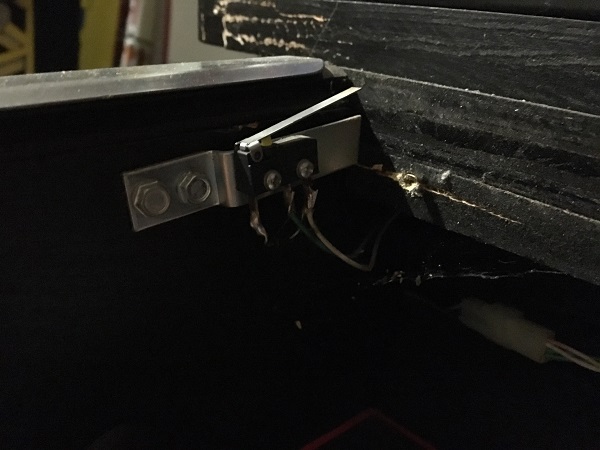
So a small section on the left side the channel will need to be cut out to fit around the switch.
The next day, a parcel arrived with all the boards safely wrapped inside and ready to go back into the machine. I was pleased to find out that the fliptronics board had been the major cause of the issues seen through the game. Ken did a great job as always and it looks like the boards are bullet proofed.
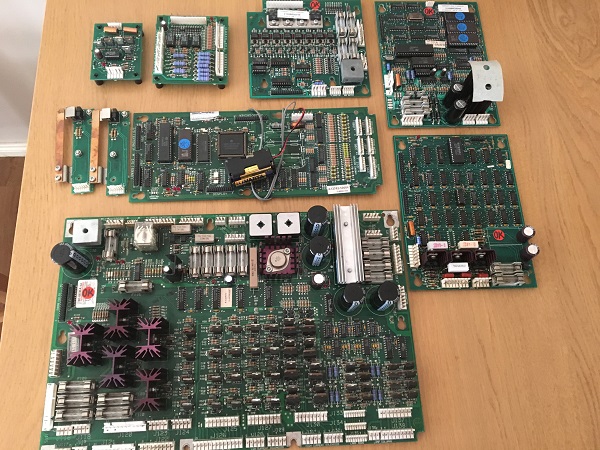
Each board was placed back into the game and the connectors checked against my photos to ensure everything was connected back properly. In most cases, the connectors are keyed and easy to tell where they go. In some cases though there are a few possible spots – so it’s worth taking photos and double checking when connecting it all back up. The game was started up. I ran through the lamp, flasher, switch and coil tests for the game, ticking everything off as I went. The game was now in a much better state. There are still a couple of flashers that don’t fire, but to access them I need to get parts off the playfield and I suspect the issue is simply the bulb. They are flagged for inspection once I get there so won’t be missed.
While the boards were away, I went through the machine to look at what needed replacing. Parts orders were placed with Marco, RTBB and PSPA which all arrived safely.
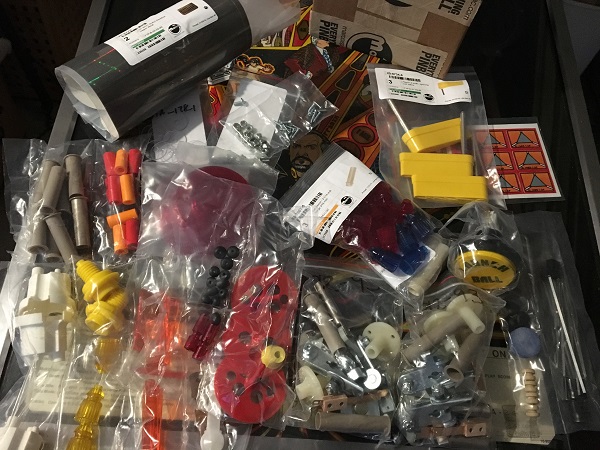
That’s enough for the first update. It’s good to have the game in a stable state now with the major issues resolved. I had hoped to sort the board problems out myself, but in the end, some one like Ken has the knowledge and tools to make fixing them much easier. Some good knowledge was gained though through my investigation, so it’s not a complete loss 🙂 Now it’s down to cleaning and rebuilding the rest of the assemblies. Next up will be the lower flippers, sling shots and coin door, before I continue to move up the playfield.
