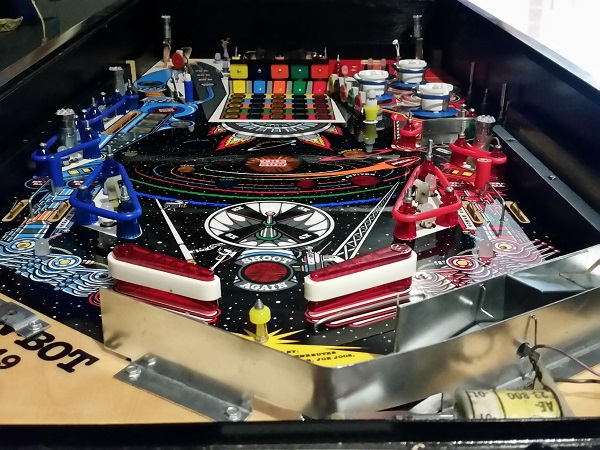
While the finish line is in sight for the playfield swap, there is still a fair bit of work to do as I have playfield parts spread across two pinball machines which need to go onto the new one. With the underside of the playfield back together again in my last update, it’s time to sort out the top. The playfield was put back into the machine and the connectors all joined up again. I then installed the 6 flasher lamp sockets, four of which required wires to be soldered back on. The holes were drilled using Brad tipped drill pieces to remove some of the clear around where the screw goes into the playfield to prevent any cracking of the clear. I then moved onto installing various plastic posts, ball guides, pop bumper rings, apron clips and trough guides. I also added LEDs to the playfield, along with a few of the Titan rubbers. The flippers were aligned and tightened in position. Populating the new playfield had begun well and was starting to take shape.
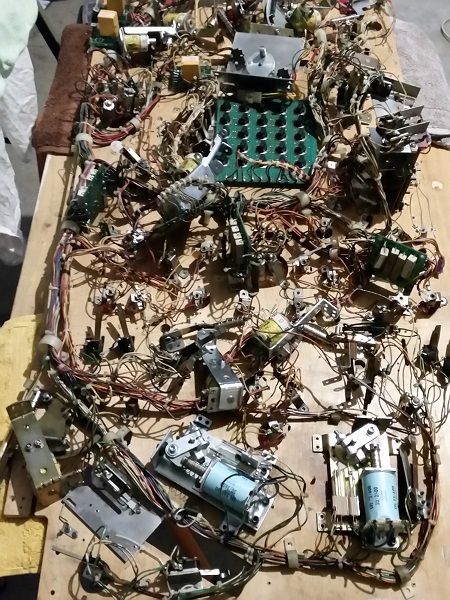
The Pinbot playfield swap continues to move forward, with bits and pieces done each day. Following on from my previous update, the first task to report on is getting everything on the old playfield ready to dump/move/slide/transfer across to the new one. This involves removing all screws, so anything attached to the underside of the playfield is free to be moved. It also means the removal of all staples holding the GI sockets to the playfield and the ground braid that runs between them. There are a few instances where wires had been soldered to lamp socket screws, which means they will need to be desoldered first so I can remove the screw. I started at the base of the playfield and slowly worked my way up to the top. Eventually I had worked my way up the entire playfield, leaving nothing attached to the surface. It just looks like a big mess.
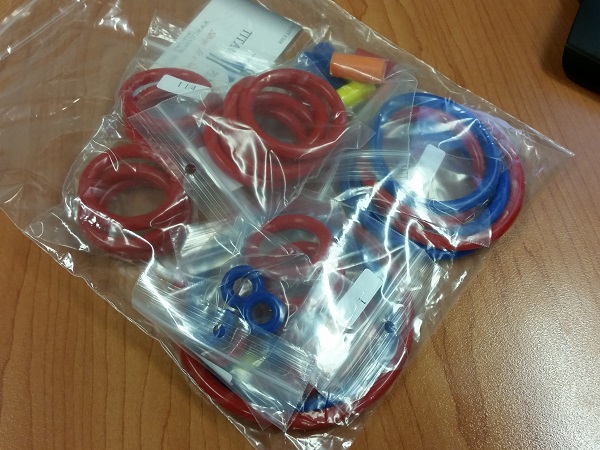
This update kicks off with the safe arrival of a package from Titan Pinball in the USA. Inside, red and blue silicon “rubber” rings which will replace the white rubber and add some extra cool factor to the playfield. Also included are post sleeves, mini post rings and new shooter rod tip. I was really impressed with the customer service from Titan and will order from them again. I’m really looking forward to seeing the rings installed and how they respond during play.
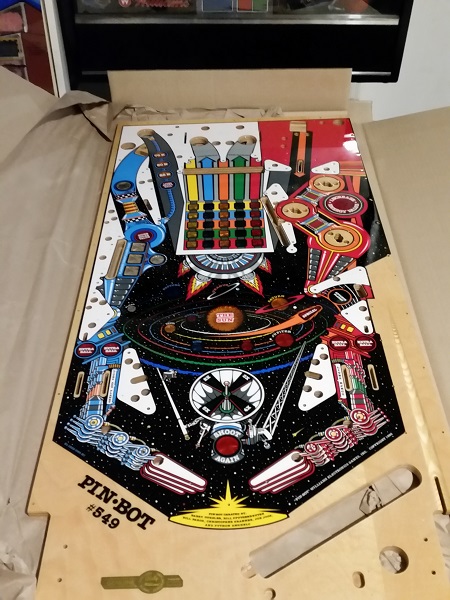
It’s been quite awhile since I last did any work on my Pinbot. Not really intentional, but other pinball projects / tasks came up (Counterforce, Mariner, Last Action Hero) which were more pressing. A lot of hard work went into the machine in earlier posts and it’s been a lot of fun to play. One thing has remained outstanding though – the playfield swap. Almost 2 years ago now (July 29th, 2014) a CPR gold playfield arrived, which I wanted to install into my machine. Time sure has flown and I didn’t realise how long I had put it off. Doing a playfield swap is no easy task and certainly not something to perform quickly – so it’s been easy to push the task off until later. But it will be put off no longer. I feel ready to take the task on and essentially complete my work on Pinbot. I have a new CPR reproduction plastic set waiting to go on too, along with LEDs and some coloured Titan silicon “rubbers”. This machine is going to look f*cking awesome once done. The CPR playfield looks amazing.
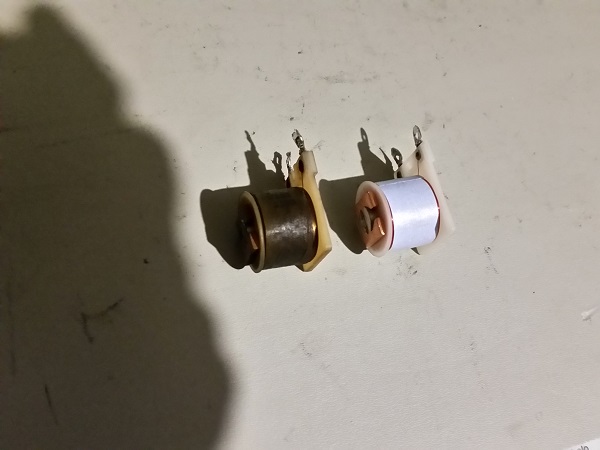
The work on my Bally Mariner is coming to a end. Since my last update, I’ve had the chance to play quite a few games on it and the machine has been holding up really well. Mariner has been very reliable and no issues have come up. There are just a few last things to do and then I’m done. First item on the agenda for this update is sorting out the relay coil for the up post. This one spends a lot of its time energised and as such was showing strong signs of stress. A new coil was purchased to replace it.