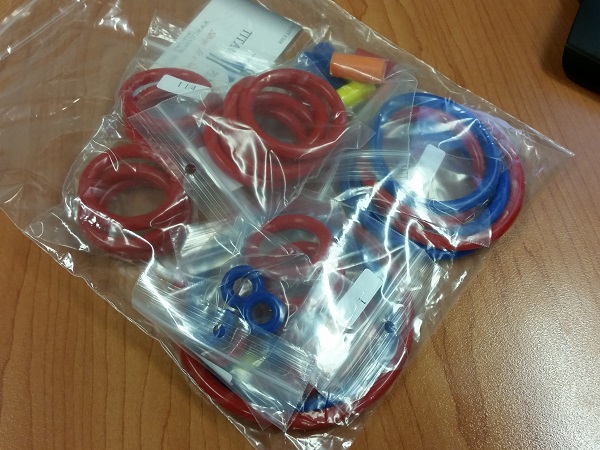
This update kicks off with the safe arrival of a package from Titan Pinball in the USA. Inside, red and blue silicon “rubber” rings which will replace the white rubber and add some extra cool factor to the playfield. Also included are post sleeves, mini post rings and new shooter rod tip. I was really impressed with the customer service from Titan and will order from them again. I’m really looking forward to seeing the rings installed and how they respond during play.
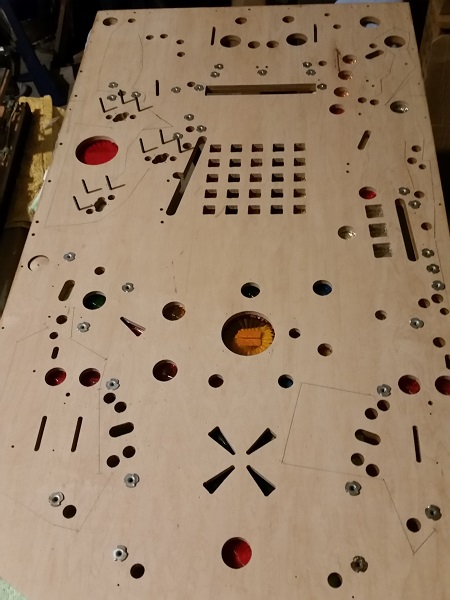
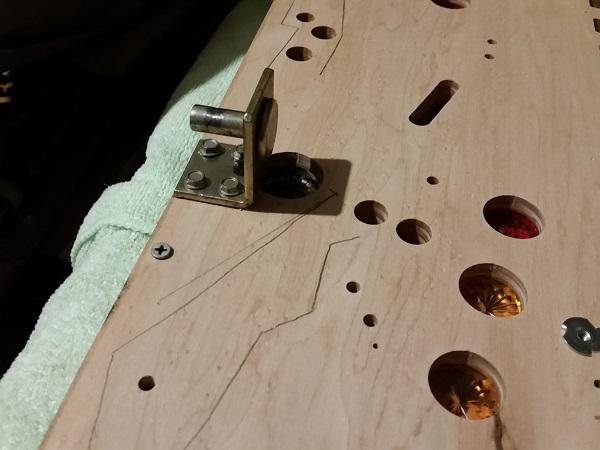
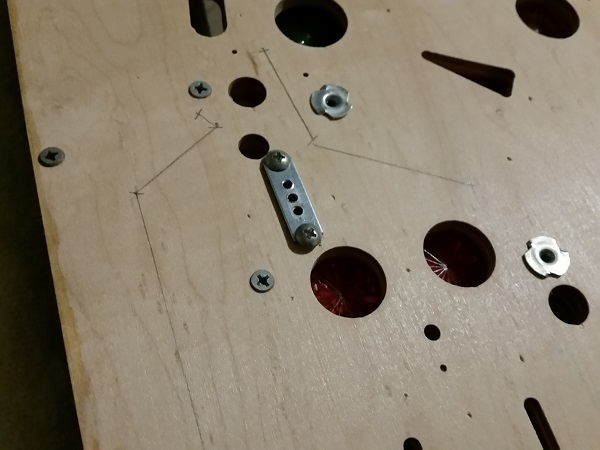
Anyway, I must not get distracted – back to the playfield. I do little bits each night – it helps keep things moving forward and allows me to take my time. First on my to do list was get the t-nuts installed on the new playfield. This was a pretty easy process, with about 30 in total to install. Something I had to watch out for here are t-nuts that are hidden from view on the old playfield by assemblies (behind flipper frames or PCB’s for example). While doing this I also did a rough layout in pencil of the ground braid that is used around the underside of the playfield. The harness and parts will hopefully kind of sit in the correct position anyway when I move it across – but these lines should help act as a guide.
Next on my list was to get the 9 shank screws for the pop bumpers transferred to the new playfield.
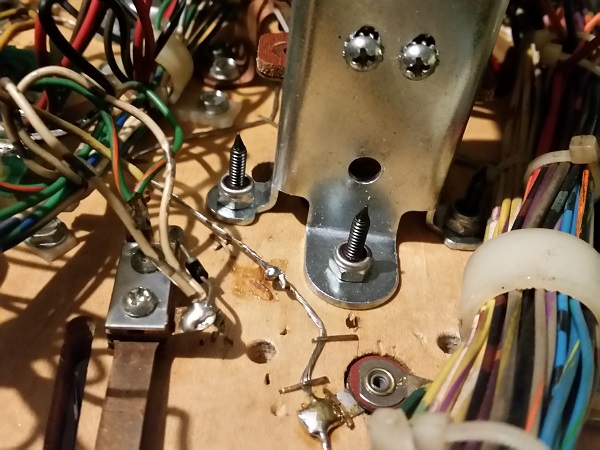
To remove these, the nut was unscrewed to the end of each and then a gently tapped with a hammer to remove it from the playfield.
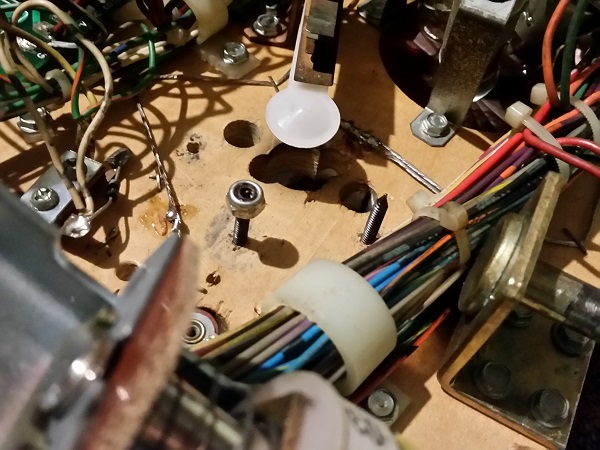
The process was repeated for all three pop bumpers. Over on the new playfield, the hole for each screw will need to be countersunk to ensure it sits level with the playfield. Once done, I was ready to install the screws. I also used a brad tipped drill piece to remove some clear from around the edges of the screw holes used to install the pop bumper bodies to the playfield. I decided to do this now as I’ll be installing the pop bumper bodies sooner rather than later. It will be easier to get the pop bumper lamp sockets soldered first, before other components are installed.
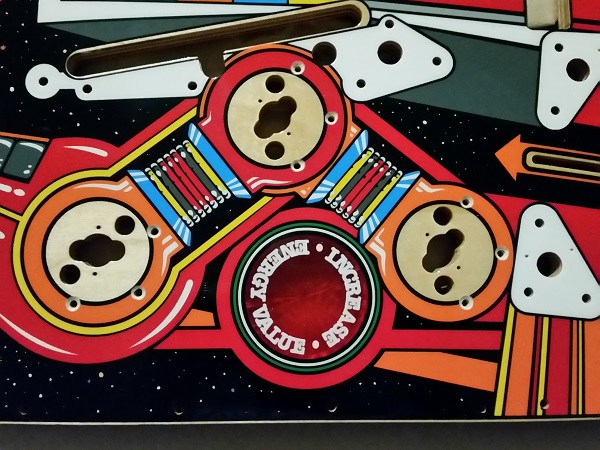
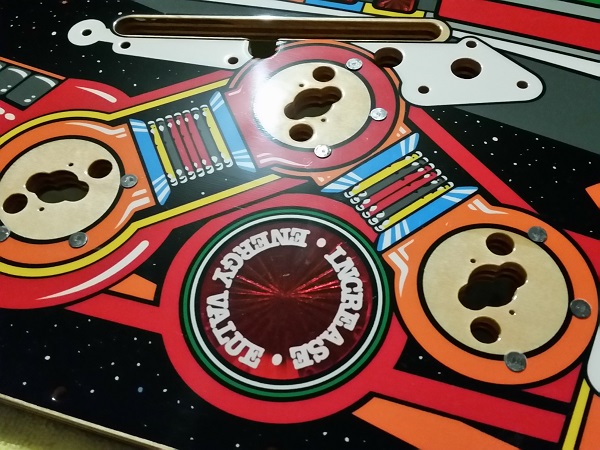
The pop bumper shank screws were installed onto the new playfield.
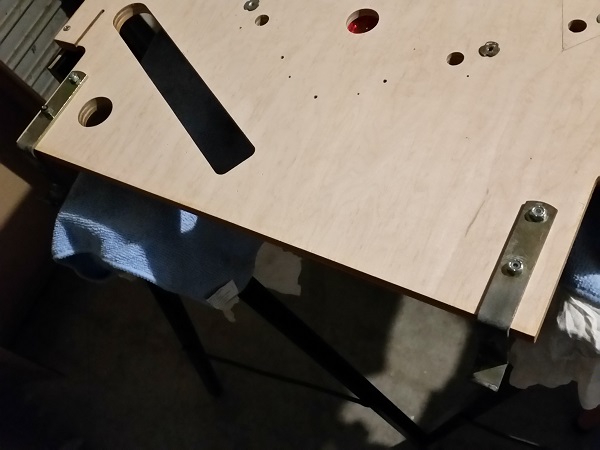
With the shank screws and t-nuts done, I now wanted the side rails transferred from the old playfield. The two painted parts that sit at the very top of the playfield had been removed in my previous update and were given some fresh paint prior to installing again. Before installing the rails onto the new playfield, each screw hole on the underside of the playfield needed to be countersunk for the screws to be installed properly. The rails were then installed onto the new playfield.
I then transferred the playfield hinges to the new playfield. The hinges were not marked on the new playfield (and no suggested screw position dimples had been added by cpr). I measured the position up on the old playfield to match it on the new one.
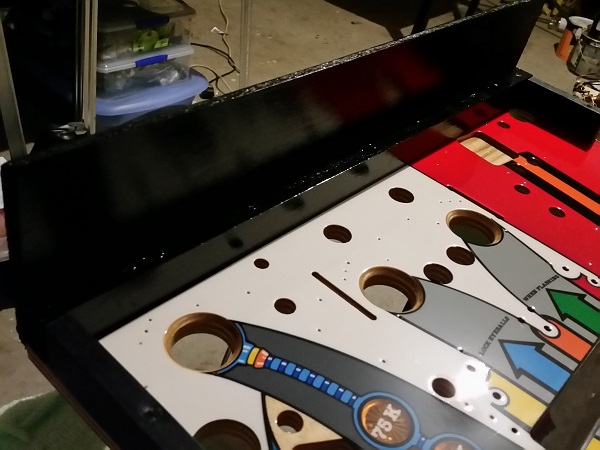
This may seem a little premature, but with the side rails on, I wanted to ensure the playfield fit correctly into the cabinet and that it moved correctly on the hinges. The playfield was put into the cabinet and the hinges tested to ensure the side rails did not rub against the inside of the cabinet. All was good.
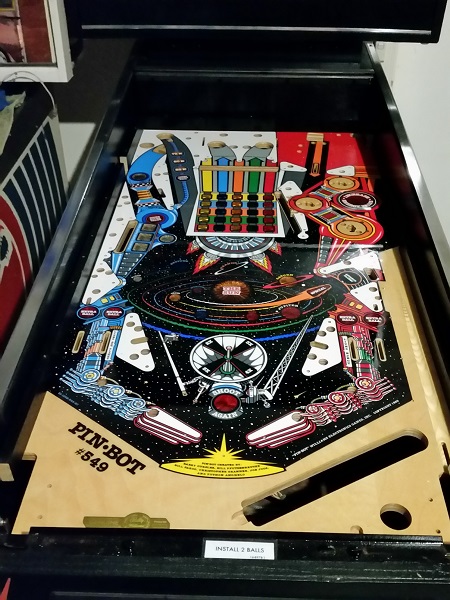
Next on my to do list was get the wire guides installed on top of the playfield. Holes have already been pre drilled for these by cpr, but they need to be prepped a little more first with a brad tipped drill piece. The guides were done one at a time until complete. There were 10 in total.
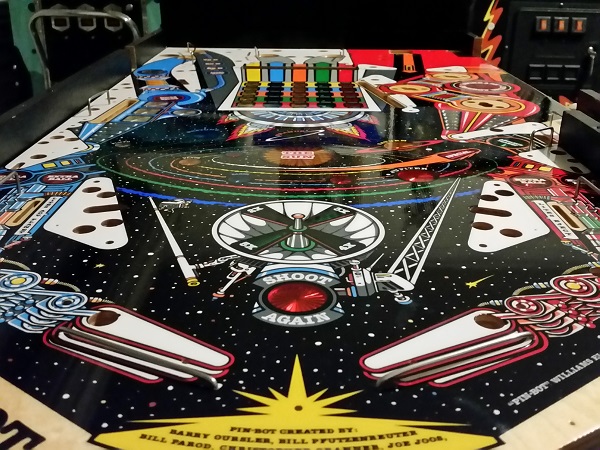
The new playfield was flipped over again, with old and new now side by side. With the swapping between front and back of the playfield, I could really see how helpful a rotisserie would be. I decided to start transferring a couple more pieces from the old playfield which were not wired up to anything or part of an assembly. This included the playfield arms that rest on the lock down bar receiver and the difficulty setting posts.
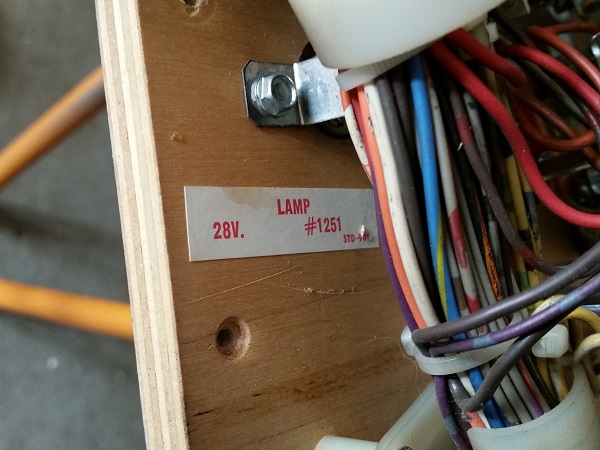
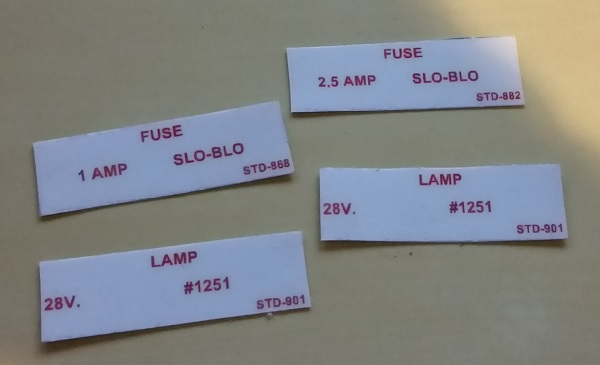
The old playfield has some stickers that sit on the underside of the playfield for the ratings on the fuses and #1251 lamps. I made some up myself and printed them onto peal and stick paper, covered with contact. They are now ready to install once the harness has been moved across the part positions finalised. They’re not an exact match, but good enough to remind future me of what fuses are needed in those positions (and those #1251 bulbs).
I’m now working away at removing all the staples from the old playfield, so that everything can slide across to the new one (with some cardboard under it). There are a lot, and it’s a slow process. I’m in no rush though. Once that’s done I can basically move everything across and begin to reassemble the underside of the playfield. I have noticed on the old playfield there are a number of dimples that were never used, so I don’t plan to pre drill anything on the new playfield until I know for sure it’s needed and if the position is accurate enough. Some small steps were achieved in this update and hope to have more to show in the next one.
