It’s been quite awhile since I last did any work on my Pinbot. Not really intentional, but other pinball projects / tasks came up (Counterforce, Mariner, Last Action Hero) which were more pressing. A lot of hard work went into the machine in earlier posts and it’s been a lot of fun to play. One thing has remained outstanding though – the playfield swap. Almost 2 years ago now (July 29th, 2014) a CPR gold playfield arrived, which I wanted to install into my machine. Time sure has flown and I didn’t realise how long I had put it off. Doing a playfield swap is no easy task and certainly not something to perform quickly – so it’s been easy to push the task off until later. But it will be put off no longer. I feel ready to take the task on and essentially complete my work on Pinbot. I have a new CPR reproduction plastic set waiting to go on too, along with LEDs and some coloured Titan silicon “rubbers”. This machine is going to look f*cking awesome once done. The CPR playfield looks amazing.
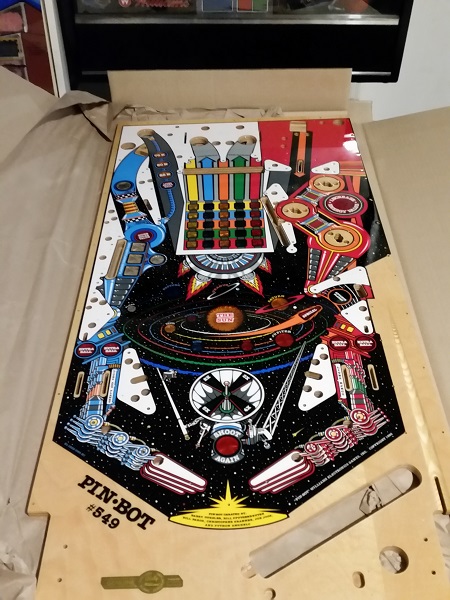
Before beginning the playfield swap, I had a number of questions that needed answering. What methods are there for installing the t-nuts below the playfield? What about removing and installing the wire ball guides? Is it safe to screw into the clear coat over the dimples? How accurate are those dimples anyway? (and the ones below the playfield). How about removing the shank screws on those pop bumpers? (..and then installing them into the new playfield). What about stapling down the ground wire on the new playfield? You get the picture – lots of questions and well worth spending time researching and asking questions before beginning the process. Google is a very powerful tool here. Lot’s of information out there – some good, some bad. Well worth taking your time and reading as much as possible.
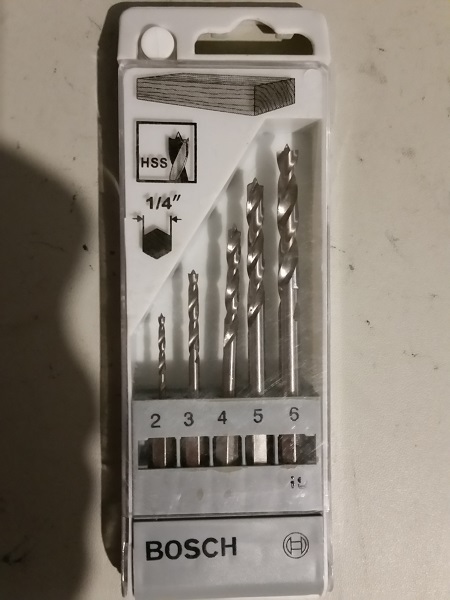
My first stop was the CPR website itself. There is a link provided for an installation guide – CPR playfield installation. It’s not heavily detailed, but it does cover some of the questions I had around the accuracy of the holes and dimples across the playfield. It also mentions using Brad Tipped drill pieces when predrilling through the clear coat. There are a few posts on in a thread on pinside which talk about this too (https://pinside.com/pinball/forum/topic/vids-guide-to-ultimate-playfield-restoration/page/45). I picked up a small set of brad tipped drill bits from Bunnings for around $13AU.
The next question I was keen to follow up was with regards to the pop bumpers – specifically how to install the 3 shank screws into the new playfield. These are the screws that the coil frame attaches to. Looking at the pop bumper area on the new playfield, I can see 3 holes drilled ready to go, but their sizes are smaller than the head of the screws to go into them (from the old playfield). This will leave the head of the screw above the surface of the playfield.
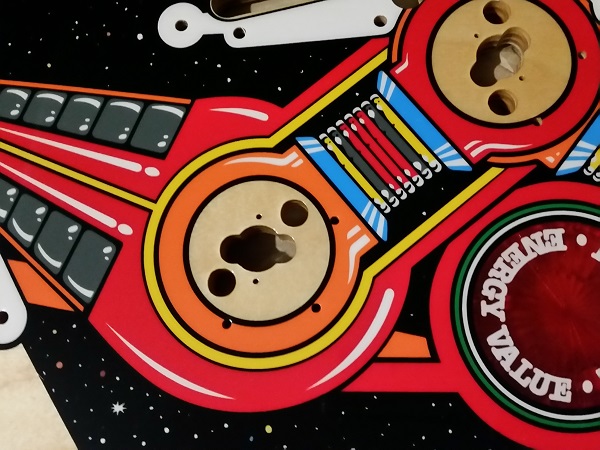
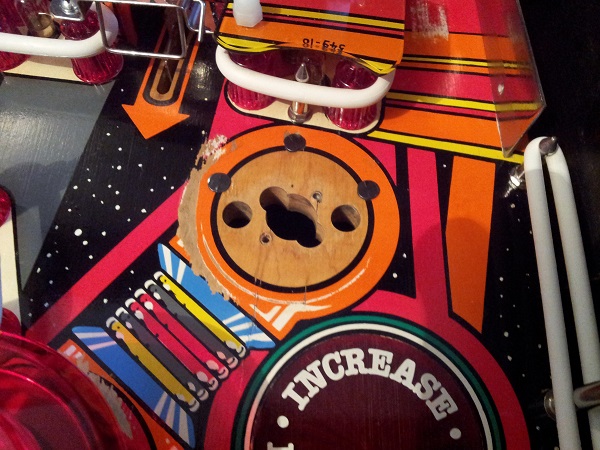
Some researching turned up results of people hammering them in. I’m not so keen on taking to my new playfield with a hammer. I’m also concerned about possible damage to the clear coat itself (like cracking / breaking). After some more searching I found a link talking about using a Forstner dill bit to countersink the holes. When I’ve removed the old screws I’ll size them up with the hole to be sure – but I think the way forward here will be to use the method talked about in the following link: https://pinside.com/pinball/forum/topic/bumper-shank-screw-nails-into-clearcoat
I was curious about installing the small t-nuts on the underside of the playfield. Some people talk about hammering them in – again I’m not so keen on a hammer, but this link shows an interesting little tool to make that helps install them. https://pinside.com/pinball/forum/topic/installing-tee-nuts
Since I was going to be drilling holes on the playfield, I wanted to get some practice in and looked at suitable methods to prevent accidentally going all the way through. While I’ve drilled plenty of holes over the years (keep your minds out of the gutter people!! 😉 ), one mistake on the playfield like this could ruin my day. A couple of ideas were found here: http://diy.stackexchange.com/questions/13922/how-do-i-drill-a-hole-in-a-shelf-without-going-all-the-way-through
The garage was cleaned up, with lots of spacing being made so I could perform the playfield swap. I’ve been playing the game quite a bit lately. Not just because I enjoy it, but because I want to ensure the game is running 100% before I pull the playfield to pieces. This way I can be sure that if something is faulty when I complete the swap, it’s something I’ve done wrong during the process. I felt ready to begin.
First step is to get the old playfield stripped. Because I had already going through each area of the playfield, I found the process quicker than last time. Although I took lots of photos as I had worked on it in the past, I took the time to again take lots more – you can never have too many. Slowly, the top side of the playfield came to bits until it was stripped. The only things that remain can be removed once the playfield is out of the machine.
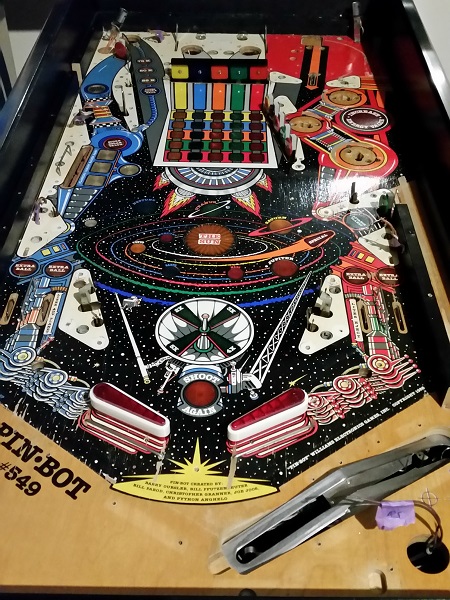
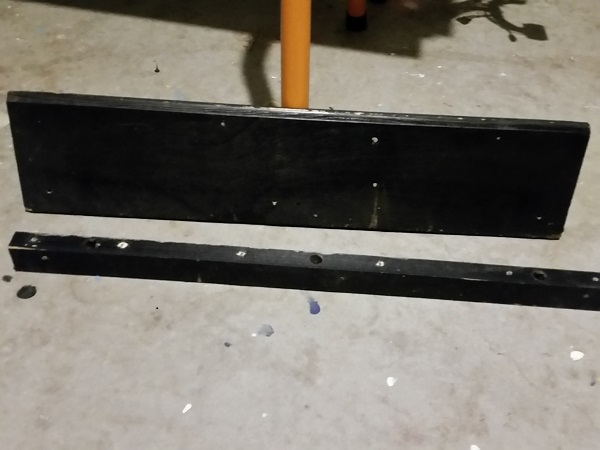
Most of the wooden rails on the playfield have a black laminate of sorts on them. They are still in really good condition so I don’t plan to paint or replace them. There are two located at the very top of the playfield which are not covered and instead are painted. These could do with some freshening up, so were removed and set aside to receive some fresh paint. Removing them is easy as they are attached via screws from the underside of the playfield.
Now to remove the playfield from the machine. With just about everything from the top of the playfield removed, it leaves the playfield light and easy to lift. There are a series of connectors that had to be unplugged first. Once done, the playfield was lifted up and out of the machine and set aside. I don’t have a playfield rotisserie. I wish I did as it would make the process much easier – but i’ll have to press of without one.
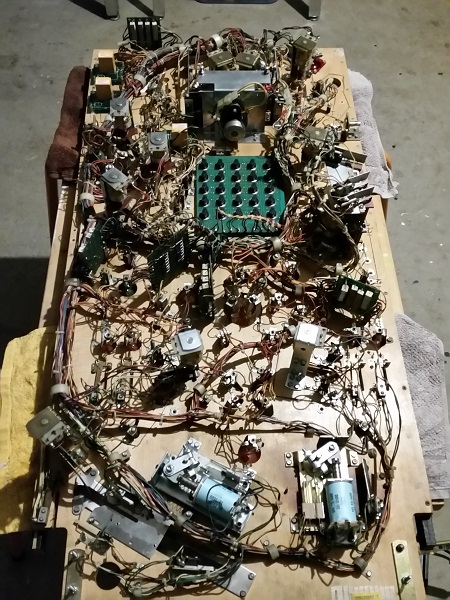
That’s where I’m currently at. I’ll next be looking at installing the wire guides into the new playfield, along with t-nuts, wooden playfield rails, pop bumper screws and any miscellaneous parts which are not position critical. I’ve been taking lots of photos of the underside of the playfield which will come in handy. I’ll start looking at removing all the ground wire staples too. Still a long way to go, but slow and steady are important.
