The work on my Bally Mariner is coming to a end. Since my last update, I’ve had the chance to play quite a few games on it and the machine has been holding up really well. Mariner has been very reliable and no issues have come up. There are just a few last things to do and then I’m done. First item on the agenda for this update is sorting out the relay coil for the up post. This one spends a lot of its time energised and as such was showing strong signs of stress. A new coil was purchased to replace it.
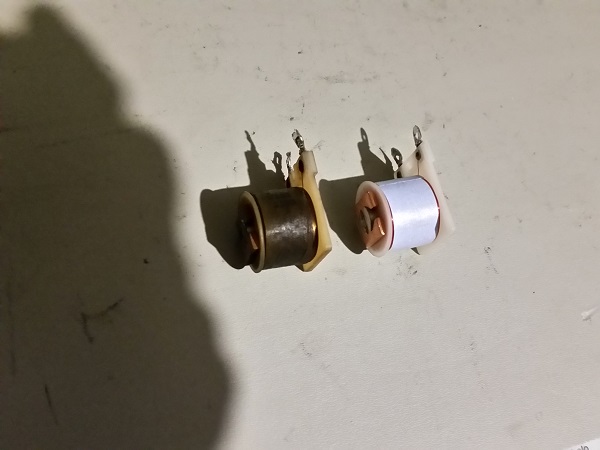
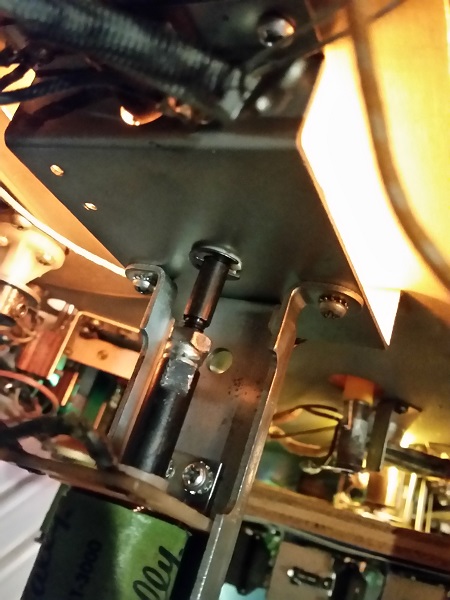
With the new coil in and working, the second thing wanting my attention is the noise generated by the up post. When this is pulled in (which is most of the time), it’s quite noisy. At first I thought it was the coil but on closer inspection it was the shaft of the post itself. The plunger that gets pulled into the coil (when energised) screws onto the shaft of the post and it had come loose. This was causing some vibration. It was tightened up and the noise went away.
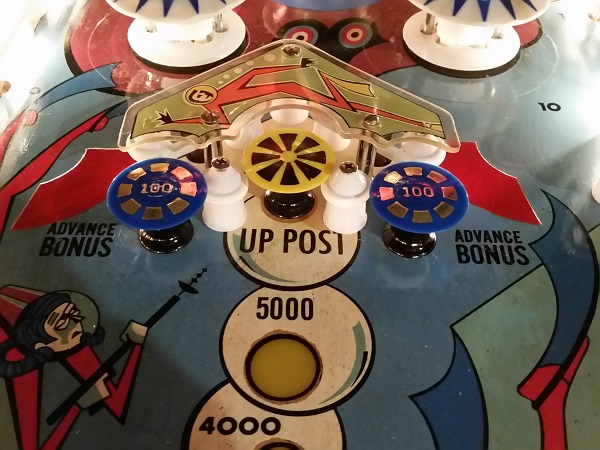
The next task on my to do list was replace the old mushroom bumper caps. The print on the old ones had been wearing away. New caps were purchased and installed.
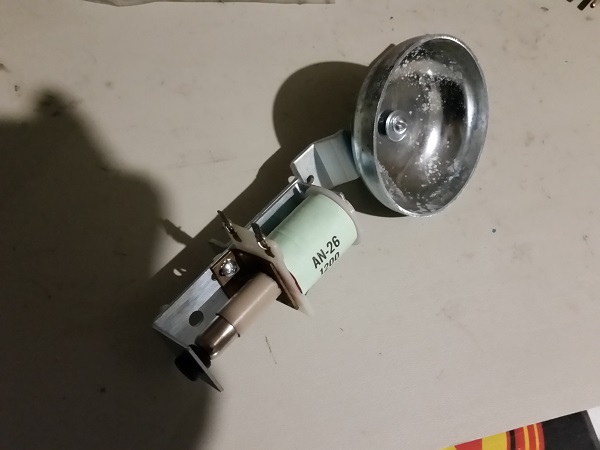
The last task for my Mariner (and something I’ve been looking forward to for awhile) is installing a bell for the 100 / 1000 point scoring advance relays! I was not able to source an original Bally bell for this, as my searching over the last few months came up with nothing. Not to be defeated, I purchased a new bell from Pinball Resource. Although it’s a bell designed for Gottlieb machines, they can be “converted” for use in a Bally. They swapped the Gottlieb coil out with something that would suit the Bally machines.
The machine never had the 100 / 1000 point bell installed. It lives in the top corner of the headbox. Pre drilled holes do exist for it, but they have never been used.
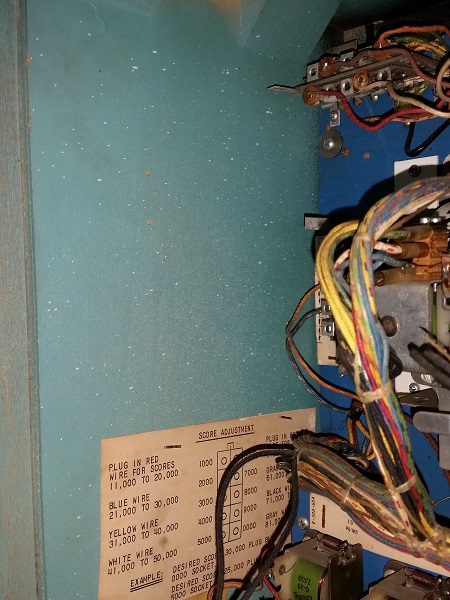
Inside the headbox is a small Jones plug which lets you set when the bell should fire. On the 100 point relay, 1000 point relay or both of them. I’ll be be setting it to both to begin but may change it to just fire on the 100’s.
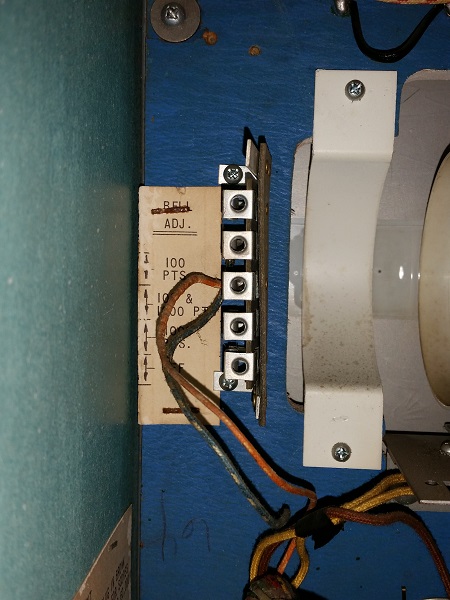
To hook it up to the jones plug I would need to create a plug. I had a scrap stepper unit that was missing pieces and only good for parts. It still had its jones plug though, so I decided to use part of it for the bell wiring.
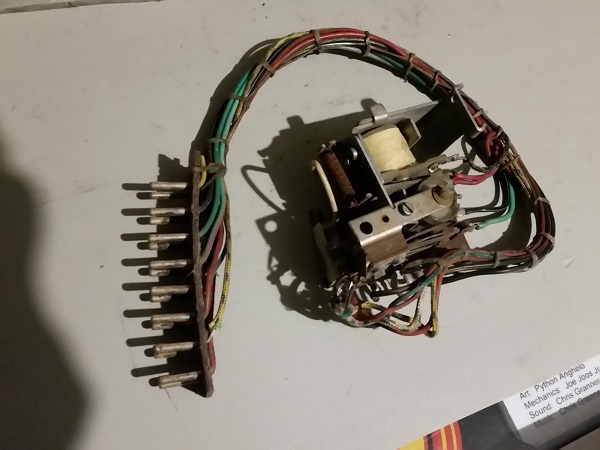
A plug was created for the bell so it could be set up. The bell unit was installed into the headbox and wired up. The unit was now ready to go.
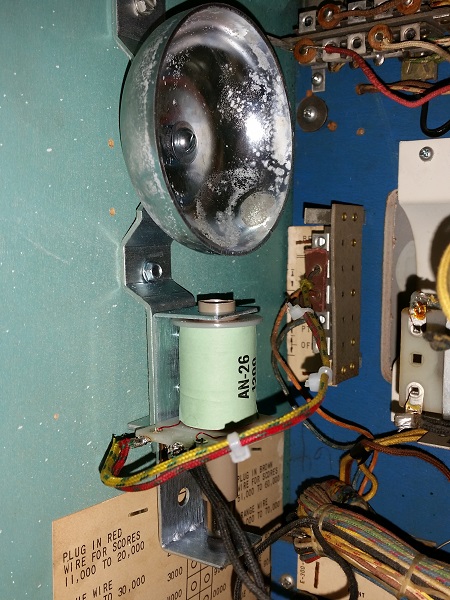
I was finally able to enjoy two bell sounds during play and it was good to hear them going. While the game was certainly playable without the bells – it’s so much better with them. The bells are a big part of the charm.
That’s as much work as I’m going to do on Mariner now. It’s been holding up really well and is an enjoyable title to play. My goal was to work on an EM and give it some new life and that’s what I’ve achieved. I really like EM’s and working on them is incredibly interesting. I hope to work on more in the future 🙂

I’m really happy I found this Mariner repair log. I just picked one up myself and am using this blog and the pinrepair EM guide to help guide me through getting it all working properly. Thanks for documenting your process!
Awesome! Mariner is a fun EM to play. Congrats on your pick up and good luck with the repairs 🙂