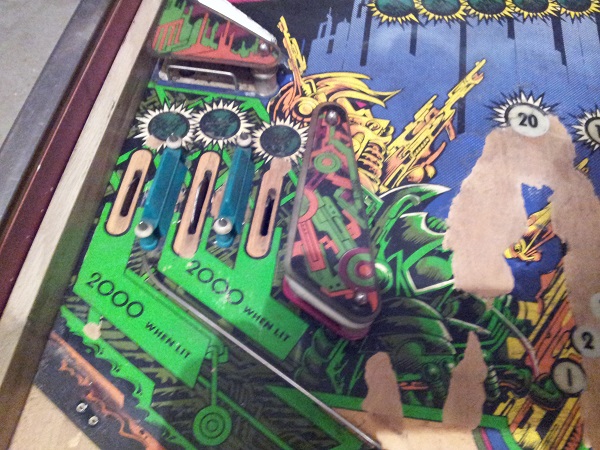
Time for another update on the repair and service on my Gottlieb Counterforce. The momentum has been pretty good, although playing Pinbot is cutting into my repair time 😉 For this outing, I’ll be looking at the two sling shots and top area of the playfield. Normally my next step after the apron would be to look at the flippers. But while waiting for flipper kits to arrive, I decided to shift to the slingshots. There are two sling shots on the Counterforce playfield. The first is on the left, above the lower flipper. The second one is not directly opposite (as you’d normally expect), but a bit higher up on the playfield – across from the upper left flipper. I’ll start with the lower one first. Sitting behind the slingshot, we have an out lane and two in lanes. Like with the entire machine – it’s seen a lot of action and had much neglect. Lots of cleaning required and some damage I can’t undo. Thankfully the plastic is reasonably good and is not cracked. The green lane hoods are damaged (melted) from the bulb that sits below them and one has a few cracks on the front. I’ll try cleaning these up, but will most likey replace them.
Archives
All posts by Andrew Burch
A very minor update this one – there should be a bigger one ready on Monday or Tuesday next week. I’ve been looking at recreating the decals for the drop targets and stand up targets. Thanks to a fancy printer my mother in law uses for craft and scrap booking, I’ve been able to come up with an excellent result. The decals are cut into vinyl then peeled and stuck on. Here is one of the orignal (broken) targets that was at the base of the Counterforce cabinet, along side a second hand yellow target with a new decal installed.

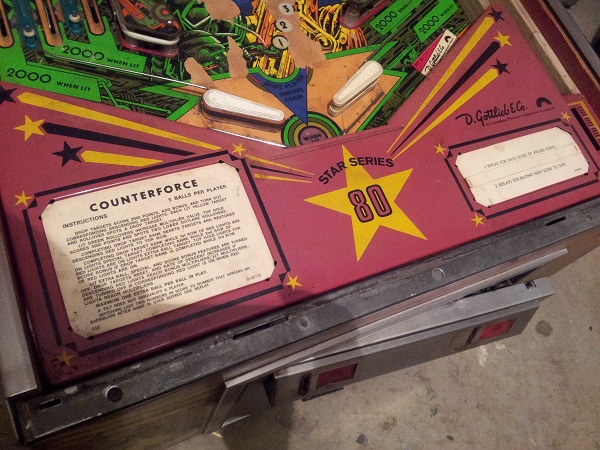
Progress on Counterforce has been good over the last few weeks and the machine has served as an excellent introduction to the System 80 platform by Gottlieb. My attention is now turning towards the playfield and the various assemblies that make up the game. I like to start working from the bottom of the playfield and progress up to the top. It helps break the overall task down into a more manageable state and also allows me to test things as I go. So first up on the playfield will be the apron and ball serve assembly. The apron and shooter cover are in reasonable condition and won’t need much more than a clean. I have the alternative score and instruction cards that were unused and can go on once complete. The shooter rod has already been removed and rebuilt (included in my last update).
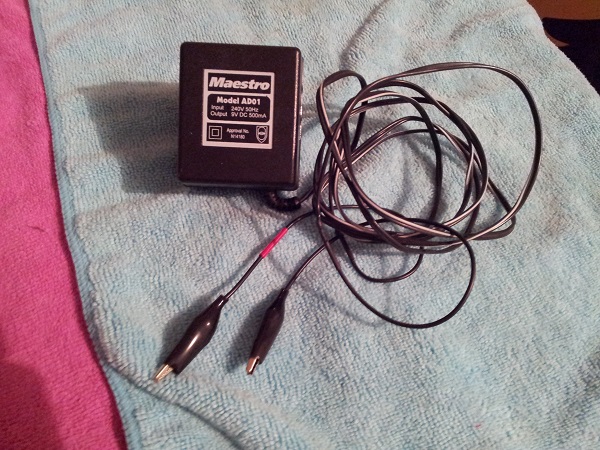
Continuing on from my previous update, the non working display is first on my hit list for this post. I’ve checked the cables and swapped the displays around to verify that the issue is indeed with the display itself. Last time, I tested the two UDN6118 chips on the display and they were OK. I did this on the chip pins however and not the solder joins on the rear of the board. This time, I flipped the display over and tested the chips using the joins. Both tested OK again. After some further research I decided to modify an old power pack that can refresh the displays by burning off the crap that becomes attached to the filaments. I was hopeful that the issue was simply a very faded display. For this, I found an old powerpack for a 28.8K modem I purchased back in 1995 or something. I’m amazed I still have it. It’s rated at 9V and 500ma. I replaced the connector with two alligator clips. I put some red tape around the positive lead.
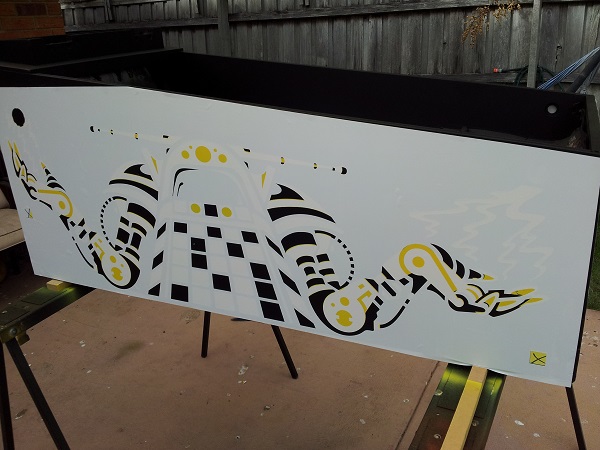
After the Twisted Pins drama, it’s good to be bringing the cabinet work on Pinbot to completion. I’m tempted to do a write up comparison between the two different sets of stencils to highlight the pros and cons. But i’ll save that for another day. For now, it’s time to finish off the cabinet and get the machine back together. At the end of the previous post, I had sanded off the paint from the Twisted Pins stencils and repainted the black. The yellow layer was done first. This stencil layer has two registration marks which it leaves on the cabinet when pealed off. This is an incredibly easy system to use and get right. I like that Pinball Pimp has included these as it makes lining up the second layer easy. The stencils also have the correct bleed and traps, which means the final result will look accurate. Here the second stencil has been lined up and is ready for the red paint.