Time for another update on the repair and service on my Gottlieb Counterforce. The momentum has been pretty good, although playing Pinbot is cutting into my repair time 😉 For this outing, I’ll be looking at the two sling shots and top area of the playfield. Normally my next step after the apron would be to look at the flippers. But while waiting for flipper kits to arrive, I decided to shift to the slingshots. There are two sling shots on the Counterforce playfield. The first is on the left, above the lower flipper. The second one is not directly opposite (as you’d normally expect), but a bit higher up on the playfield – across from the upper left flipper. I’ll start with the lower one first. Sitting behind the slingshot, we have an out lane and two in lanes. Like with the entire machine – it’s seen a lot of action and had much neglect. Lots of cleaning required and some damage I can’t undo. Thankfully the plastic is reasonably good and is not cracked. The green lane hoods are damaged (melted) from the bulb that sits below them and one has a few cracks on the front. I’ll try cleaning these up, but will most likey replace them.
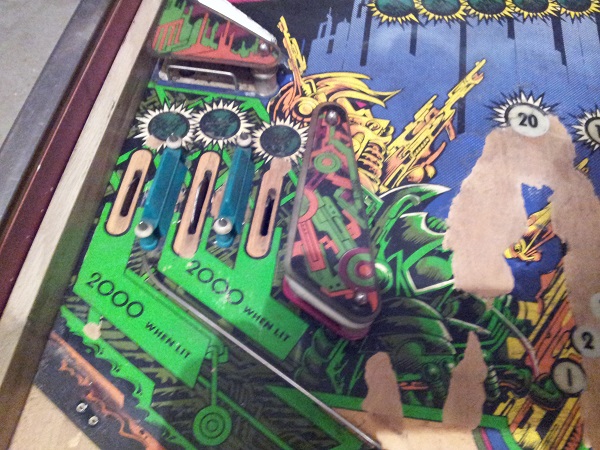
The lane guards and plastic were removed. There is some artwork damage around the lanes and plenty to clean. The 4 metal posts should clean up nicely in the tumbler. Some of these early photos are weeks old, which is why you can still see a filthy looking apron area.
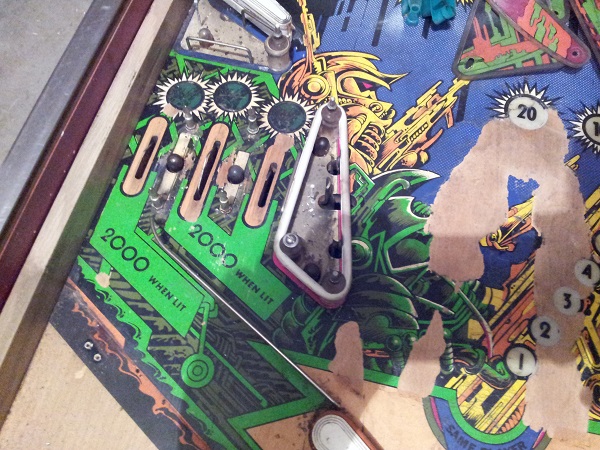
The star posts, metal posts and old rubbers were removed next. The star posts were cleaned up in my previous update and will be reused when i’m ready to put it all back in. With everything removed from the area, I was ready to get to the slingshot assembly, clean it and the playfield up.
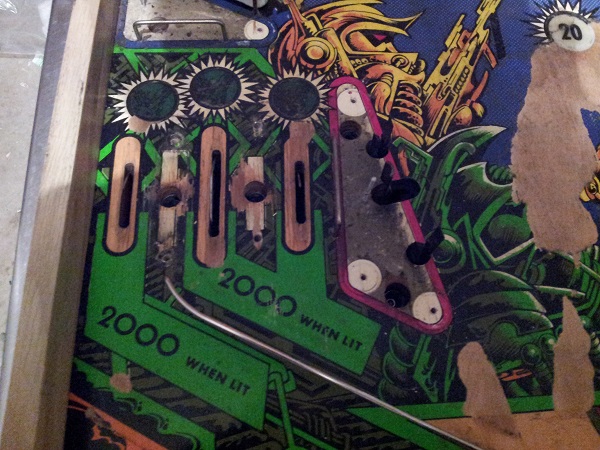
The first issue I see with the sling shot (apart from all the black crap that’s collected and built up on the assembly) is the frame. The base of it with the coil stop has been welded back together and no longer holds the coil in place correctly (leaving it loose). Hard to tell from the photo, but the base of it (against the coil) is on an angle.
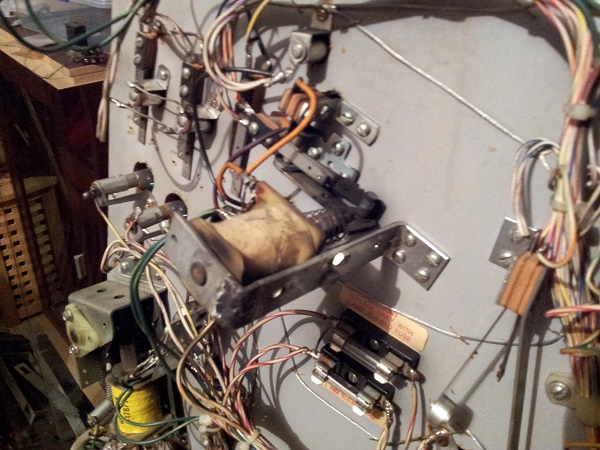
I removed the frame first, which then allowed me access to the switch. This switch needs to be removed before you can get to the arm. I wanted to get the arm and plunger out for a proper clean. It also makes cleaning the playfield easier without parts sticking up.
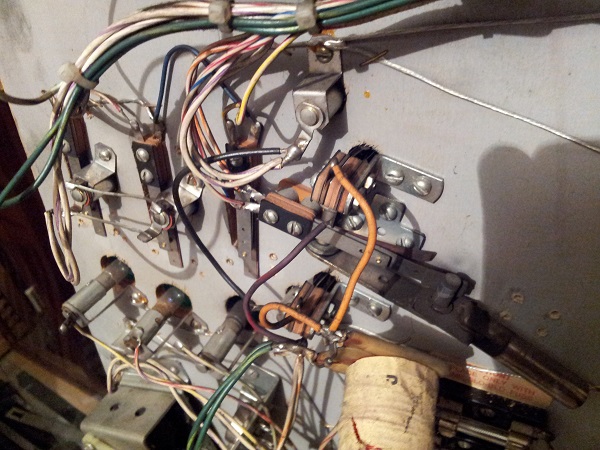
All parts of the slingshot were removed for cleaning. The frame and coil sleeve will be thrown out, but the rest is still good for use after a clean.
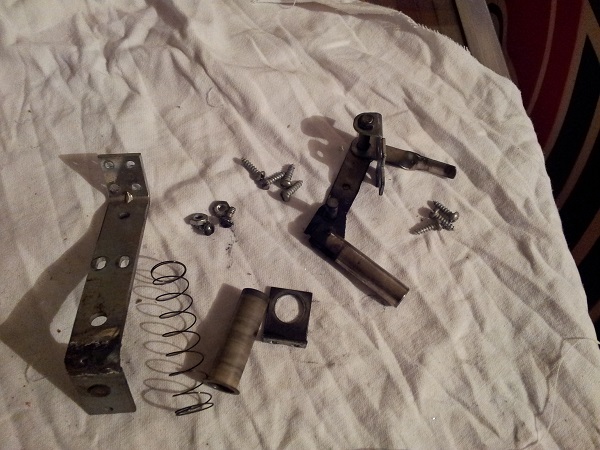
The arm comes apart in 3 pieces (joined by 2 small e clips).
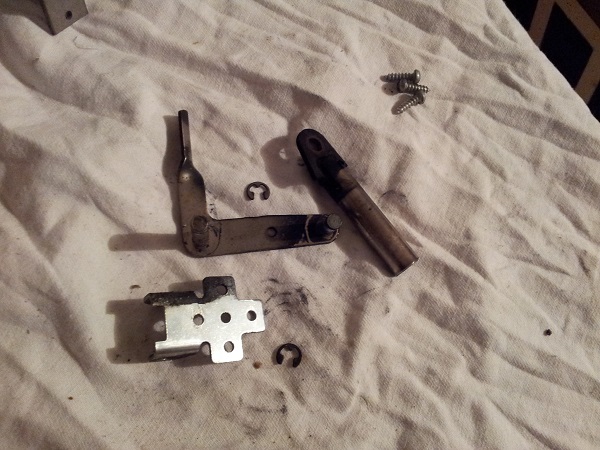
Everything was given a good clean. The frame was replaced with a Bally/Williams style one. This frame is second hand, but still in excellent condition. It’s exactly the same as the gottlieb one, except for its width. So it can be used without a problem. Purists may gasp in horror, but it’s a worthy substitute.
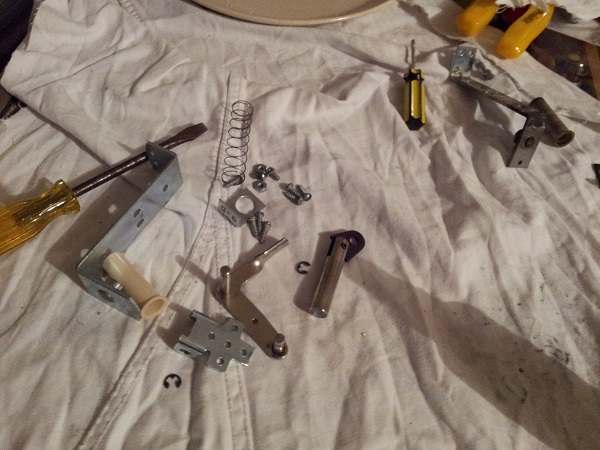
Next step was to clean the two sling shot switches above the playfield and the switch that sits above the arm below the playfield. Then it was time to get the sling shot rebuilt and put back into the machine. Reassembled, the coil sat much more firmly in position and with less crap built up around the joints, moved freely. The wires in the area were also wiped down to remove 35 years of crap that had collected on them. I do this to all the wires as I move through the different assemblies under the playfield to get everything as clean as possible.
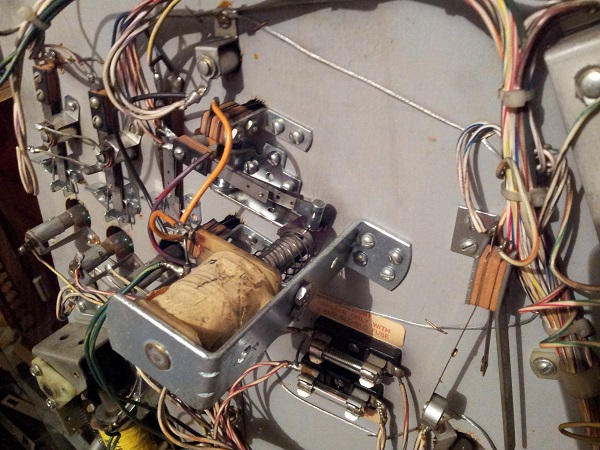
Top side, the playfield was cleaned down around the in and out lanes, along with the sling shot area. New globes were installed and star posts installed. The 4 metal posts (and star post screws) cleaned up nicely in the tumbler and were installed back onto the playfield.
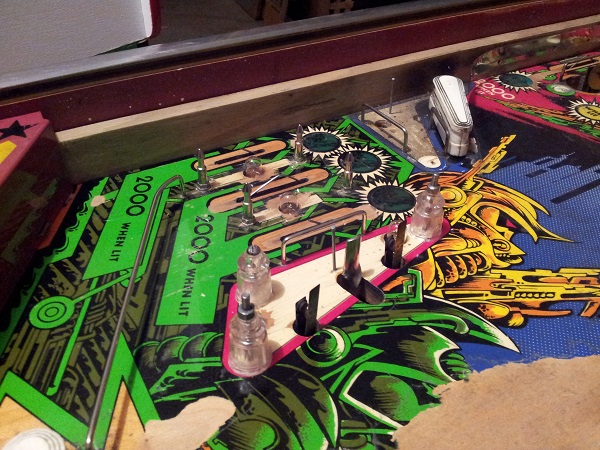
New rubbers were installed and the two green lane covers were replaced. I wasn’t happy with how the existing ones cleaned up, so put new ones on. The cleaned plastic was also put on with the metal post caps (these also went for a visit to the tumbler and cleaned up well too).
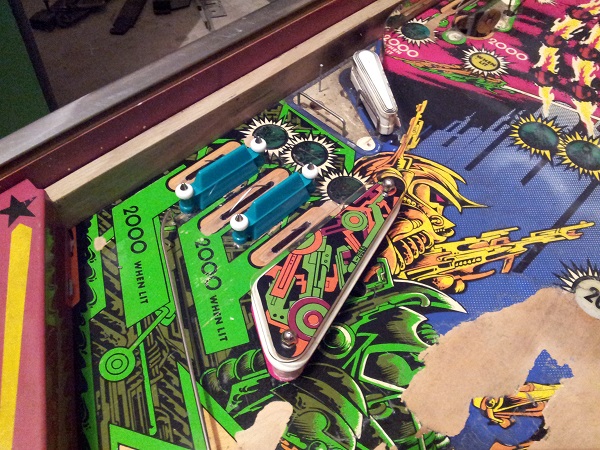
That’s the first sling shot done. Now onto the second. As mentioned earlier, this one doesn’t sit directly opposite, but higher up on the playfield. It also has a stand up target just above it and I’ll look at cleaning this at the same time. There’s one post cap missing, but I’ve got a few spare so can replace that easily.
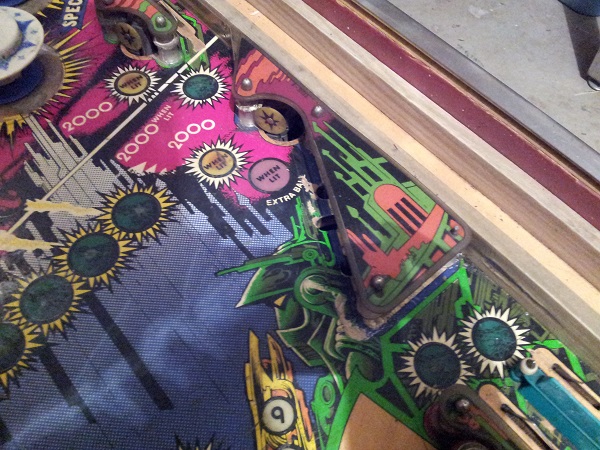
The area was stripped down. Star posts went off for a clean and the metal parts went into the tumbler. I’ve mentioned putting parts into the tumbler a few times over the last two updates – I put all the parts in at once, instead of multiple sessions. I leave them in there for around 8 – 10 hours which brings them up nice. The playfield under the plastic is is poor condition, I guess due to the conditions the machine was exposed to / stored in over the years.
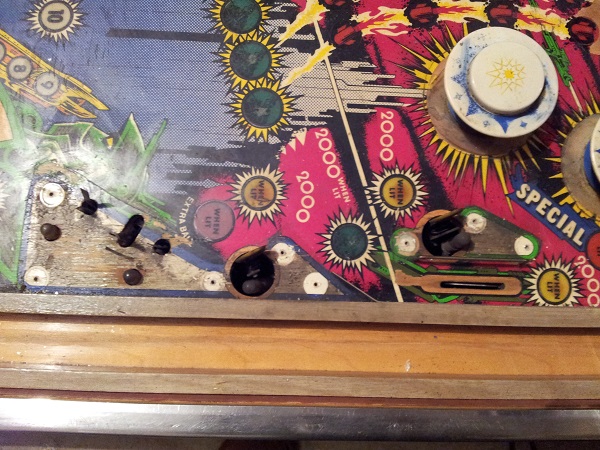
The assembly under the playfield is in a very similar state to the first. The bracket has had the base welded on again and is also on an angle – this one is on a much stronger angle too, which looks to affect how the plunger pulls in. The plunger and arm are covered in black dust.
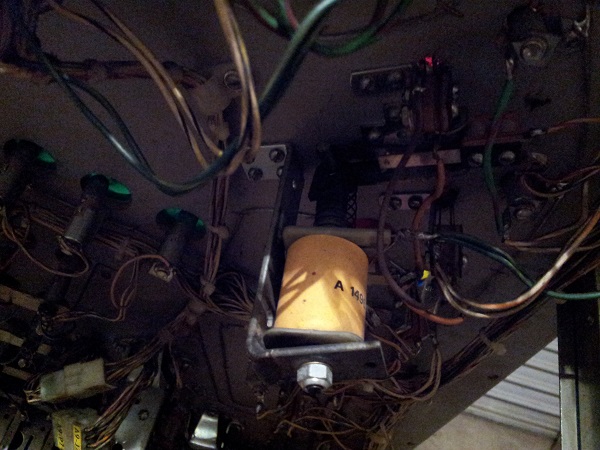
The whole thing was removed for cleaning. I was hoping to save the removable coil stop, but due to the angle the base of the frame was on, one half of the stop has been hammered, leaving it’s surface on a slant. A metal coil sleeve was still in use here, so this will obviously be replaced with a nylon one. The rest will be cleaned up and the frame replaced.
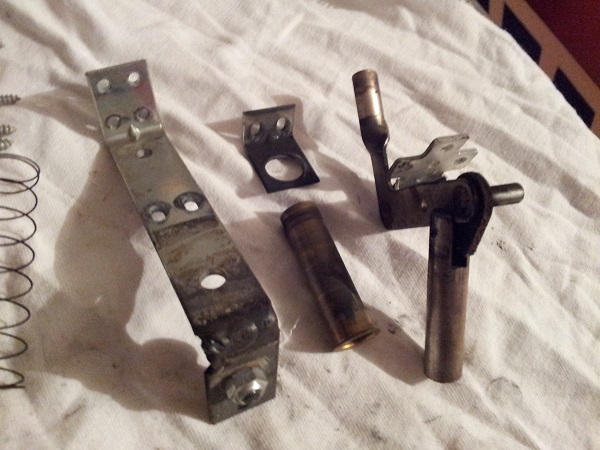
With the parts all cleaned, I went back under the playfield and cleaned up the switches and wires. The slingshot assembly was then rebuild and put back into the machine.
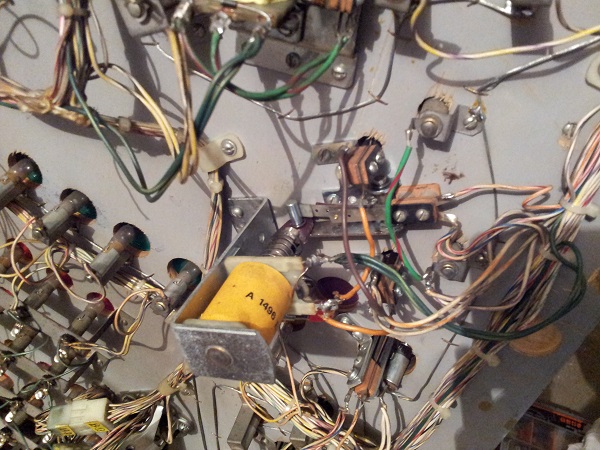
I noticed an issue though with one of the sling shot switches. It wasn’t sitting correctly with the contacts just higher than the level of the playfield. They should be sitting another cm higher. The frame looked to be sitting correctly, but then I noticed that it was installed too low on the frame. I’m not sure why this was done, but I moved the switch up so both screws held it in place on the frame and reinstalled it.
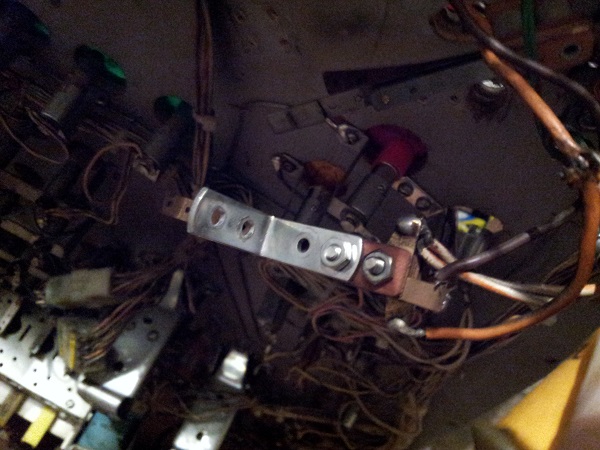
Before I put the star posts and rubbers on, I wanted to look at the stand up target located just up from the sling shot. It’s currently sitting on an angle and is loose (you can move it around with your finger.
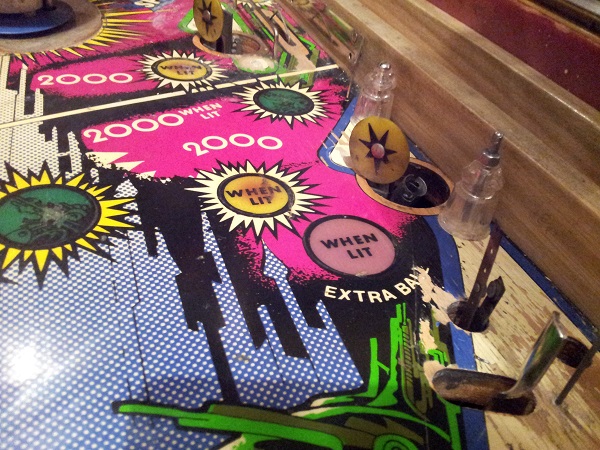
Below the playfield I could see it was missing one of the screws that are used to attach it to its frame.
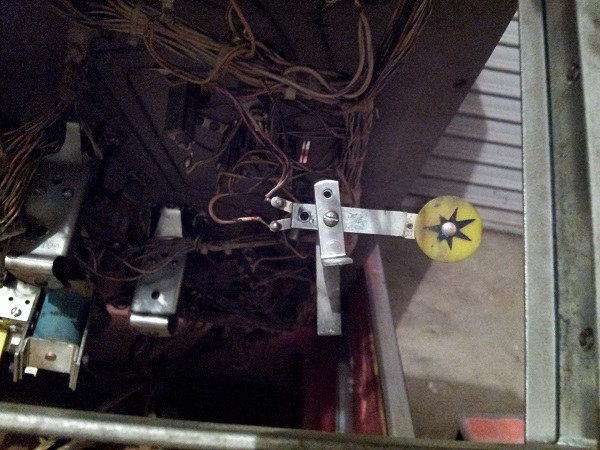
The target was removed from the frame and cleaned up. I’ve recreated the decals using vinyl and added one to the target. With the target cleaned, it was put back in place with the missing screw replaced. I also put a yellow globe below the “when lit” lamp and a red cover over the “Extra Ball” lamp. Topside of the playfield, star posts were installed again, along with new rubbers and globes.
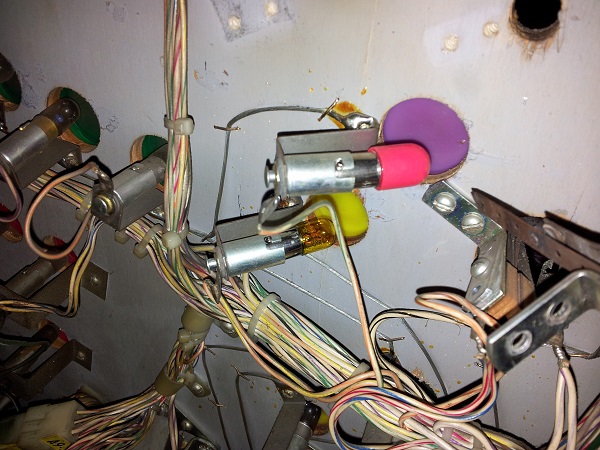
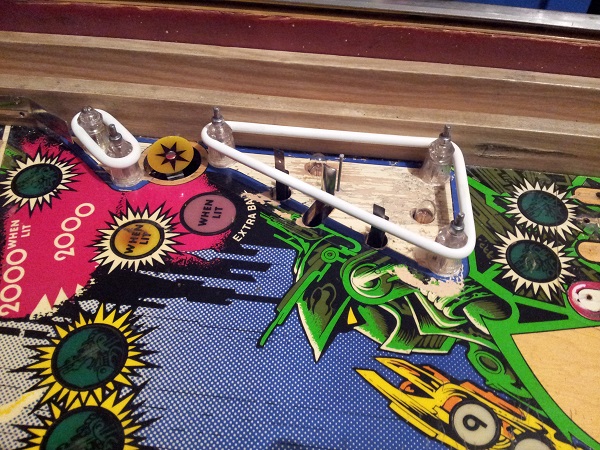
Lastly the plastic was added back onto the machine with clean metal caps. The two sling shots were then tested to ensure working correctly. Both shot the ball off with a nice powerful hit, so I’m happy those have been serviced correctly.
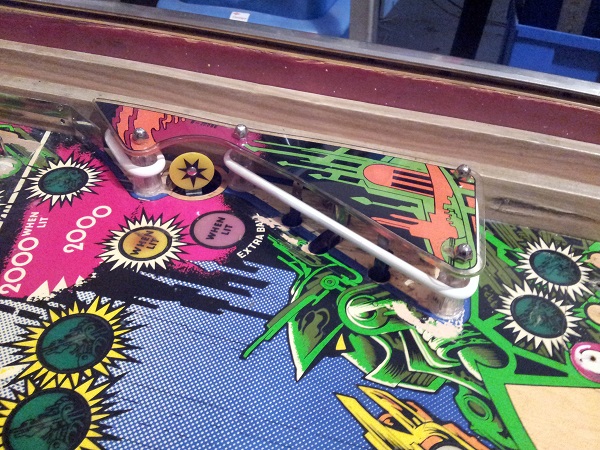
Since I was still waiting for some parts to arrive for the flippers, I decided to skip all the way to the top of the playfield. There is quite a bit going on up the top. Two ball gates, a large metal ball rail and six lanes. There is quite a bit a wear around the saucer hole, although I think some of that is also due to mylar removal. I can spot a few areas where the remaining mylar has been “ripped”. It’s sad as this playfield could be in so much better shape if the mylar had been left.
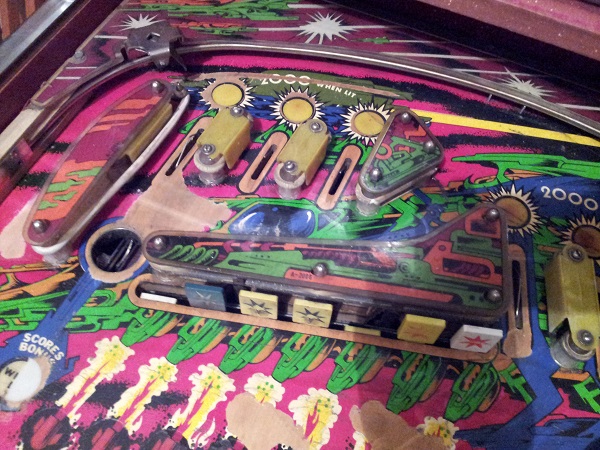
The brown “burn” that appears on the 3 yellow inserts is on the mylar itself and not the insert. Below the playfield, the insert appears fine. Some of the yellow lane guides are broken, so these will be replaced. I may have to replace the lot since it will look odd with some new and some old.
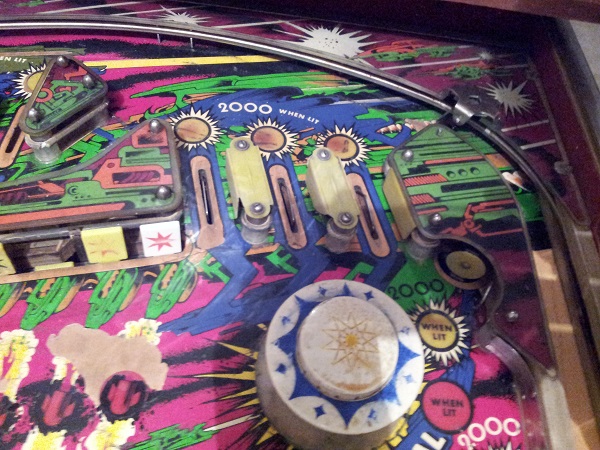
First step was to remove the plastics, star posts, rubbers. All the metal parts will clean up nicely after a session in the tumbler. Lots of cleaning ahead.
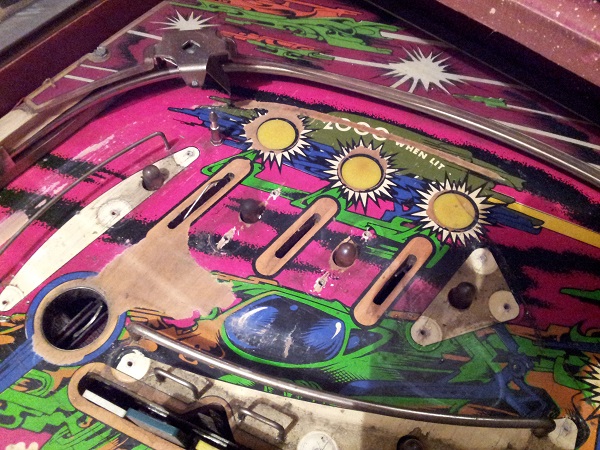
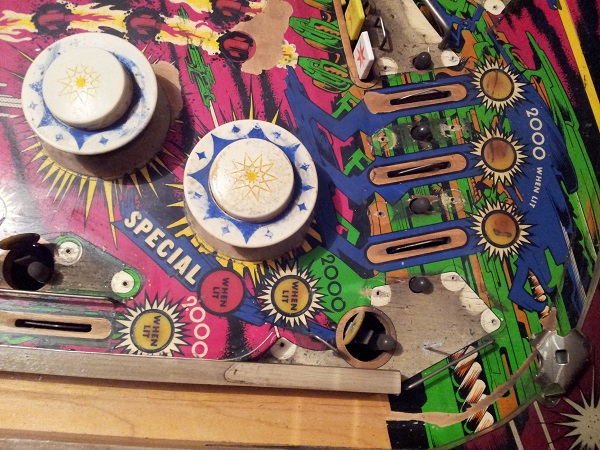
I removed the top plastic to see what lurks beneath. It’s just as dirty as the apron was. The ball gates will go into the tumbler for a clean. The ball rail and bracket will be removed for a clean. I wanted to get everything off the playfield in the top section first.
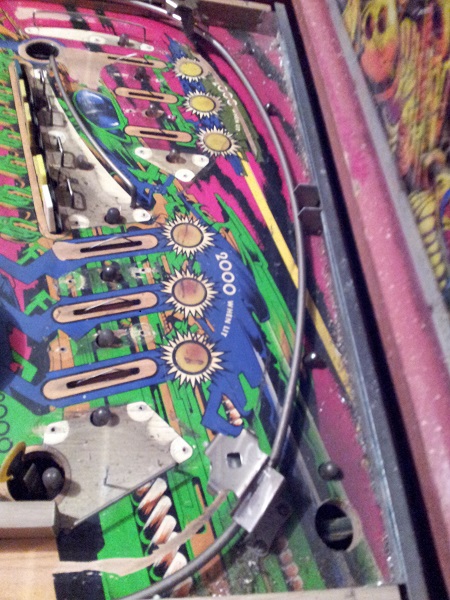
With the top bracket removed, I now had access to properly clean the top of the playfield.
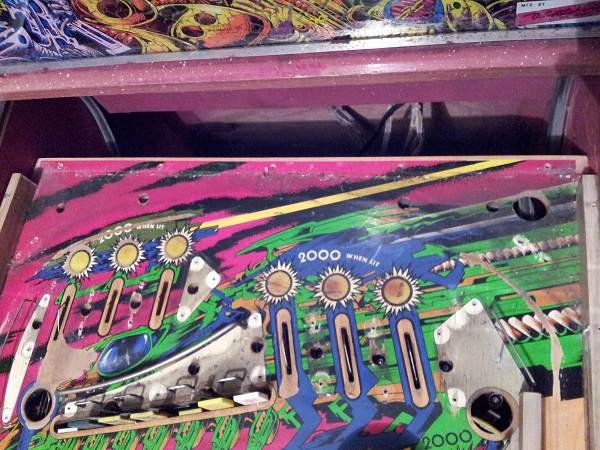
The top bracket is still in good condition, but like everything else, just needs a clean. It’s attached via 5 screws at the very top of the playfield. Some steel wool will get most of the crap off it.
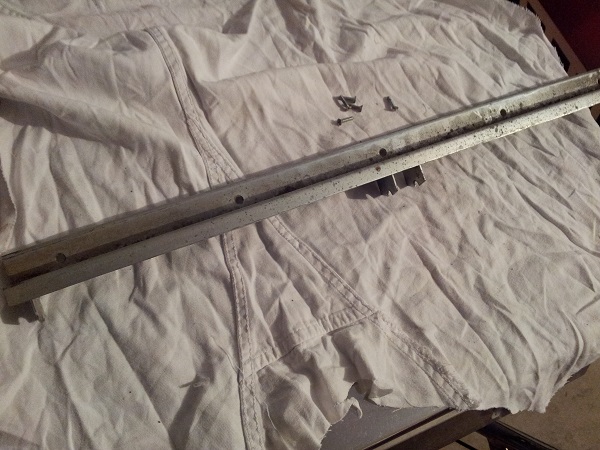
The ball rail is attached by 2 screws, one in each side rail. Once removed, then rail simply pulls out. This just needs a wipe down with some steel wool.
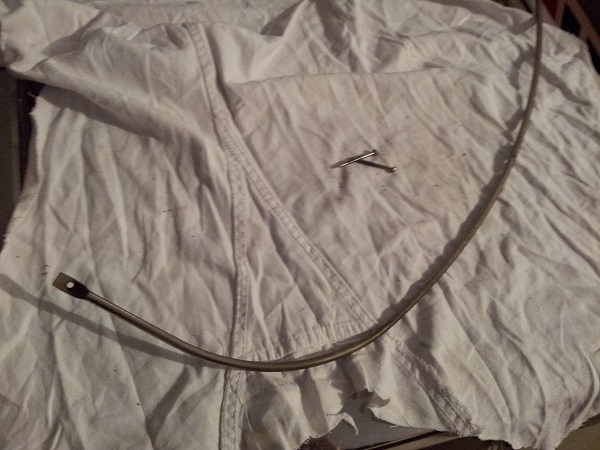
With all the parts removed, I vacuumed up the loose crap around the top area first. This was then cleaned with isopropyl alcohol and a soft cloth. In some areas I gently used a magic eraser to remove some caked on crap that would not lift. Finally Novus 2 and 1 were used to clean up and polish the playfield. With the playfield areas cleaned, I cut up some mylar patches and placed them over the worn areas around the top of the playfield. I used steel wool along the small ball guide wire forms to clean them up (followed by the vacuum to clean up the metal shavings left behind). I then began rebuilding the area. Cleaned star posts added once again and with new rubbers and bulbs. I was hoping to reuse the old lane guards but their condition after cleaning really wasn’t good with lots of scratches. The few that were broken and replaced didn’t help as it made the scratched up ones stand out even more. In the end I went with all new lane guards. It was about $17 all up to replace the lot, but the overall effect is much nicer.
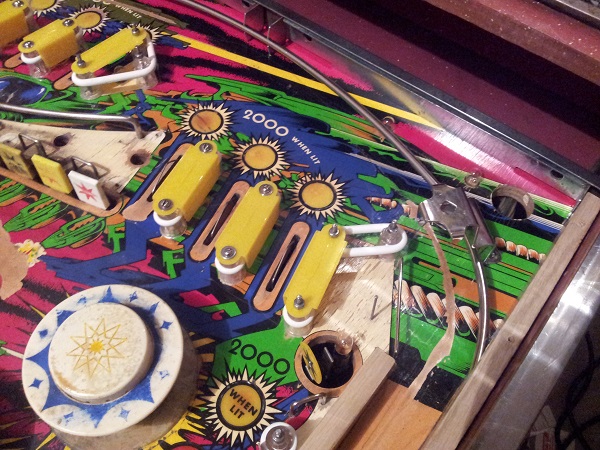
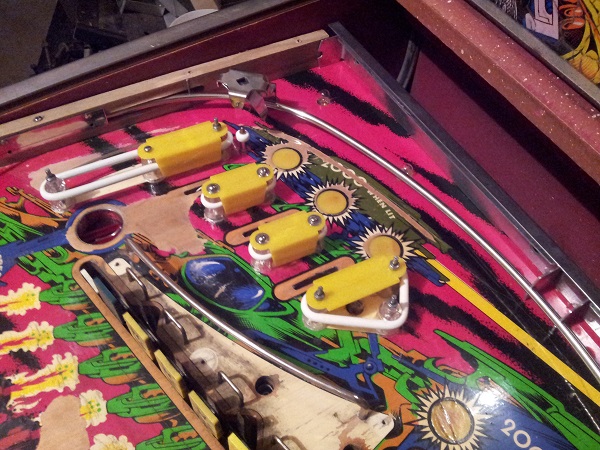
The final pieces were added back on again to finish off the top area. It’s now clean and looking much better.
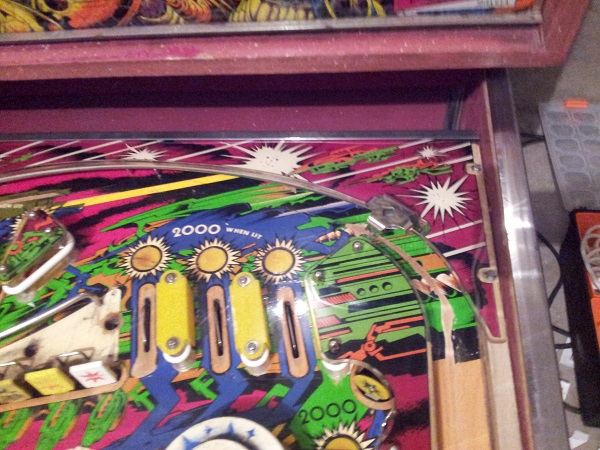
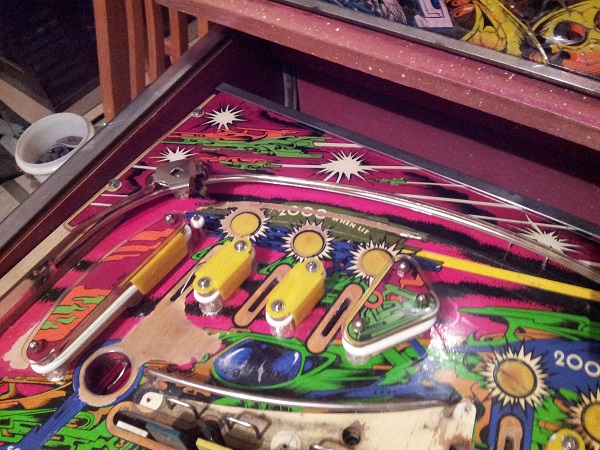
With the top side cleaned up as much as possible, I decided to give the underside of the inserts a clean also as they were quite dirty. The old bulbs were removed and tossed.
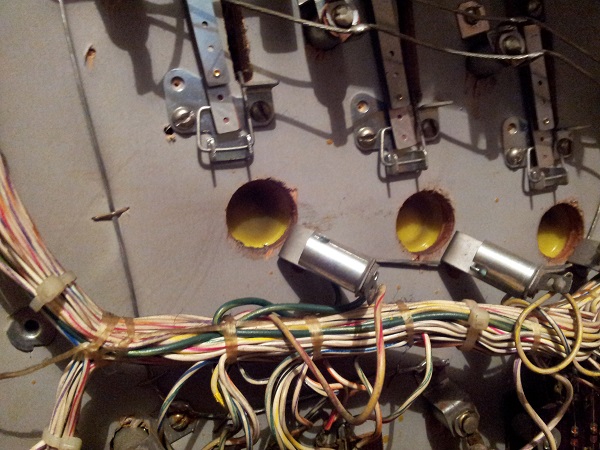
Much better after a gentle wipe. New globes were installed too.
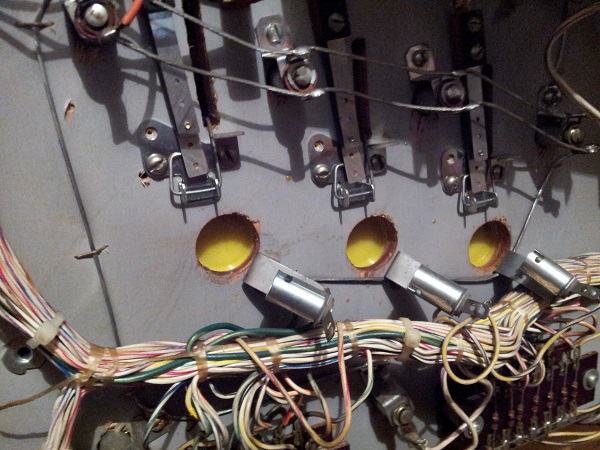
The’s the end of this update. Coming up next will be rebuilding at least 1 pair of flippers and a few of the other smaller areas on the upper playfield. I’ll be leaving the pop bumpers and drop target bank until last. I got in contact with Docent electronics as my order had not yet arrived. Turns out they never shipped it due to some issues around that time. It’s now been sent, but probably another 2 – 3 weeks before I can rebuild the cpu to driver board connector and also redo the power board connectors. Meanwhile though, still plenty to do around the playfield and get the gameplay running correctly.
