
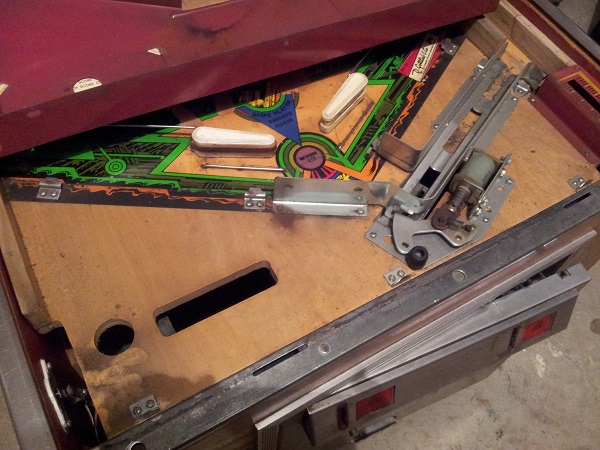
Progress on Counterforce has been good over the last few weeks and the machine has served as an excellent introduction to the System 80 platform by Gottlieb. My attention is now turning towards the playfield and the various assemblies that make up the game. I like to start working from the bottom of the playfield and progress up to the top. It helps break the overall task down into a more manageable state and also allows me to test things as I go. So first up on the playfield will be the apron and ball serve assembly. The apron and shooter cover are in reasonable condition and won’t need much more than a clean. I have the alternative score and instruction cards that were unused and can go on once complete. The shooter rod has already been removed and rebuilt (included in my last update).
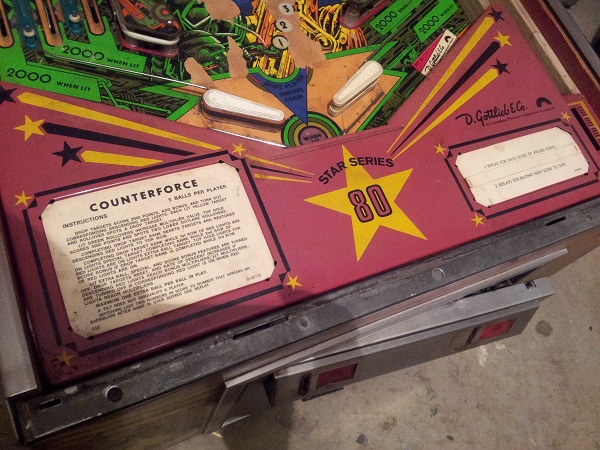
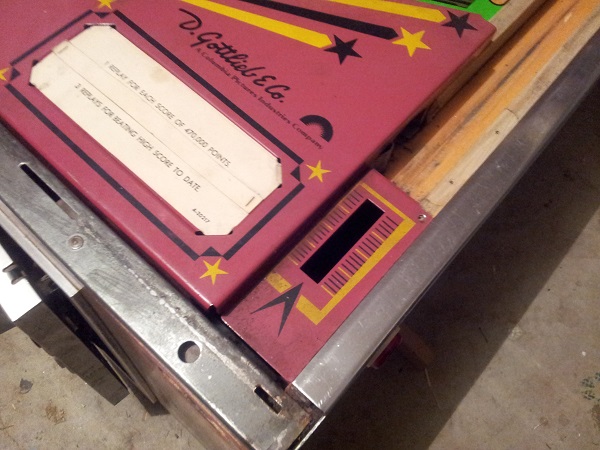
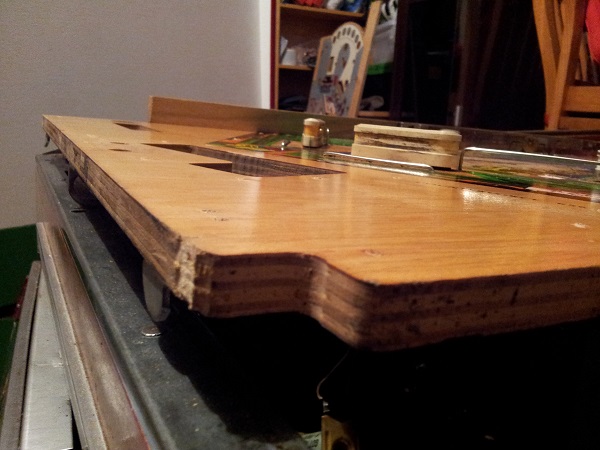
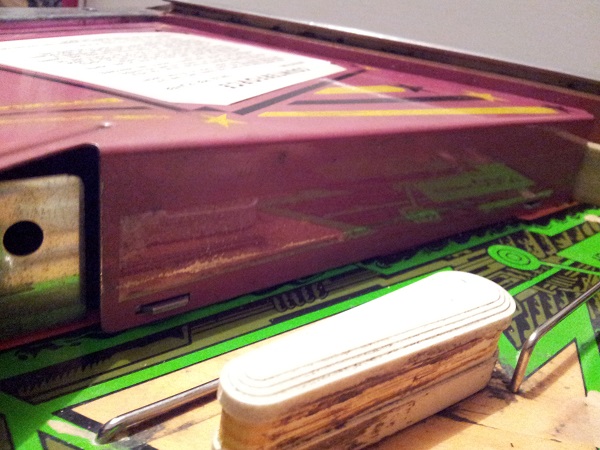
First step was to remove the apron. There are three screws at the rear of the apron which connect it to the playfield. Once these are removed, it can be slid up and then forward to get it off the playfield. The reverse side of the apron is also quite reasonable. The shooter lane cover is a little bent at the front. I’ll straighten this out as best I can before it’s installed again. A gentle clean on the reverse side should bring it up nicely also.
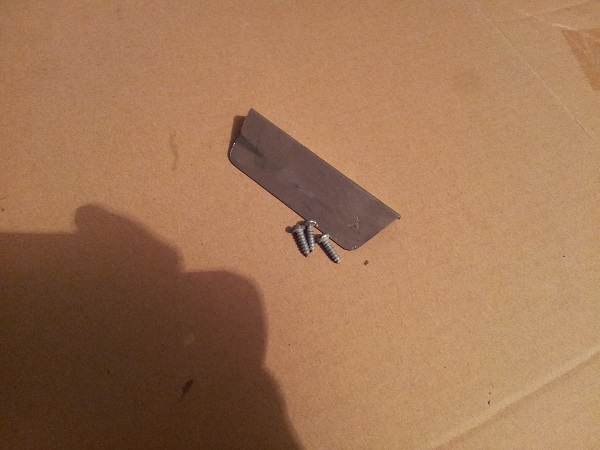
The shooter lane guard will be put through the tumbler for a good clean. This was removed and set aside.
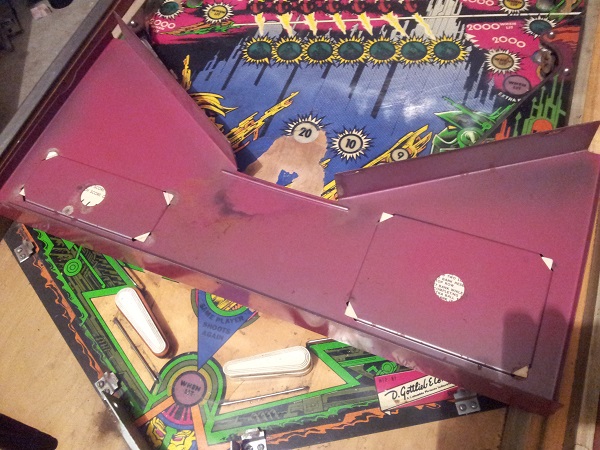
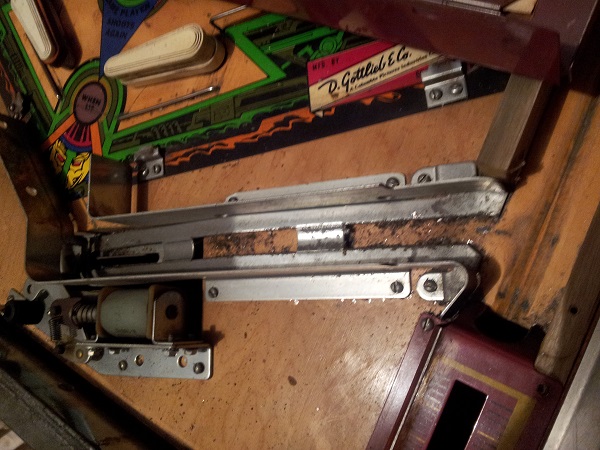
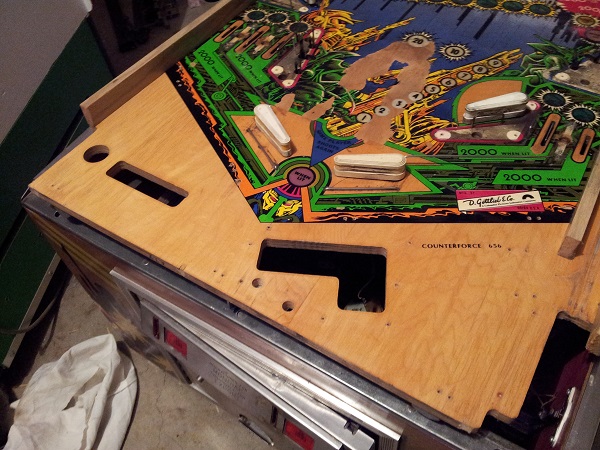
Under the apron, it was dirty as expected. The lighting here hides the layer of crap across the surface. Nothing a good clean won’t fix though. Before I begin though, I want to remove everything. All metal parts will be removed and cleaned. The ball serve assembly will be pulled apart, cleaned and rebuilt too.
There are a lot of metal shavings here that are from the annihilated shooter rod. These shavings are all over the machine and quite a few around the ball ramp.
I started by removing the ball serve metal walls and apron clips.
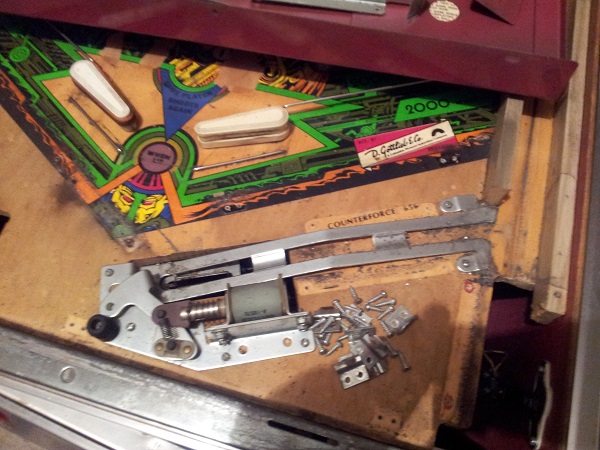
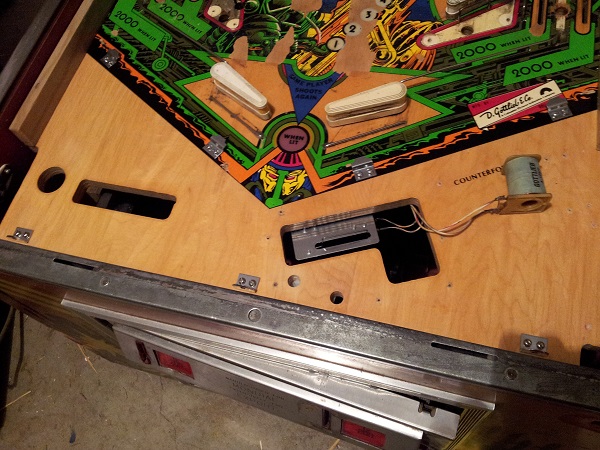
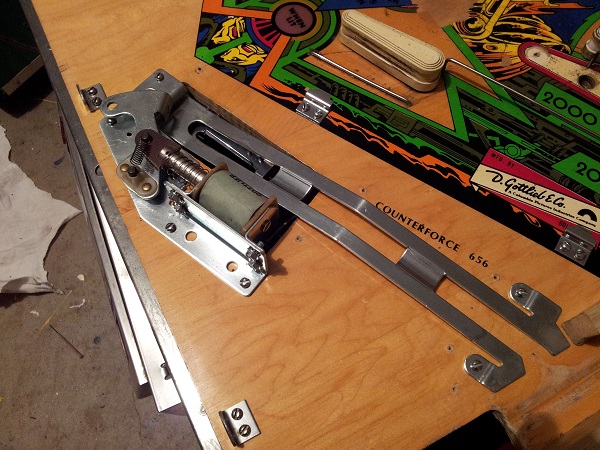
The ball serve assembly is connected to the ramp – it’s one big piece. The screws were removed and this was lifted from the playfield. The coil is still good and I know this works from my short playtest in the previous update. It will need a new sleeve though and the spring will require a good clean.
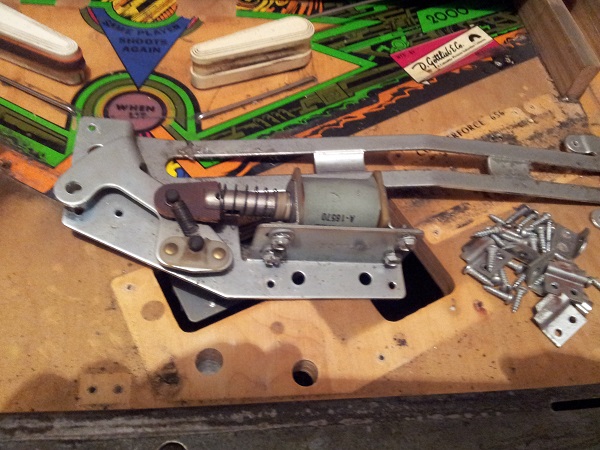
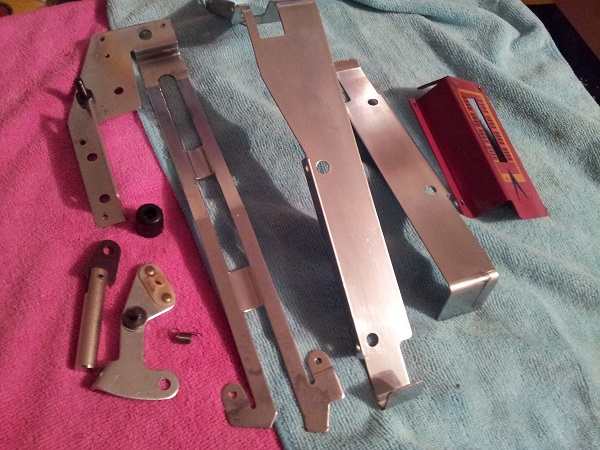
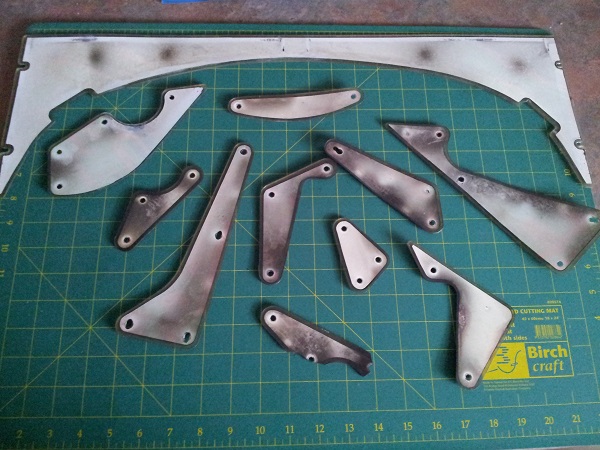
The ball serve assembly was pulled apart and the metal parts from it and the apron were set aside for a visit to the tumbler.
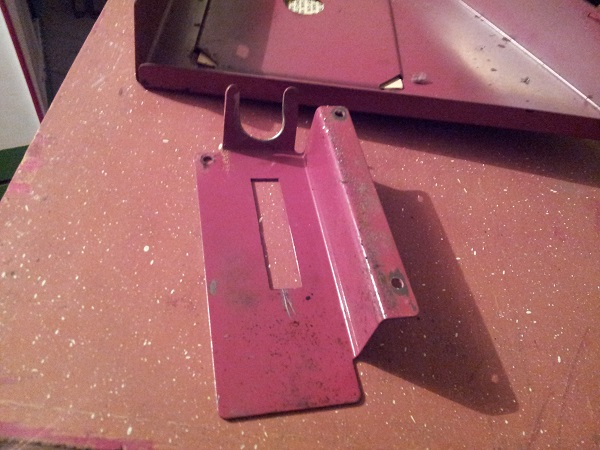
With the assembly removed, I could also remove the base switch plate. The switch was unscrewed and the plate removed and added to the tumbler pile. I’ll use a thin piece of card to clean the switch when I put it all back together.
I was now ready to begin cleaning the playfield area under the apron. This shot is probably the most accurate to show off how dirty it was. A lot of crap built up on the base plate too.
Before I wiped any surfaces, I got the vacuum cleaner out and sucked up all the loose dirt, dust and metal shavings from around the playfield. I didn’t want to be pushing this stuff around while cleaning and risk damaging the playfield more. Now it was time for the Eucalyptus oil, some soft cloths, and Novus 2. I went to work cleaning the surface area under the apron and around the ball drain area. It made a big difference – it’s now clean and shiny.
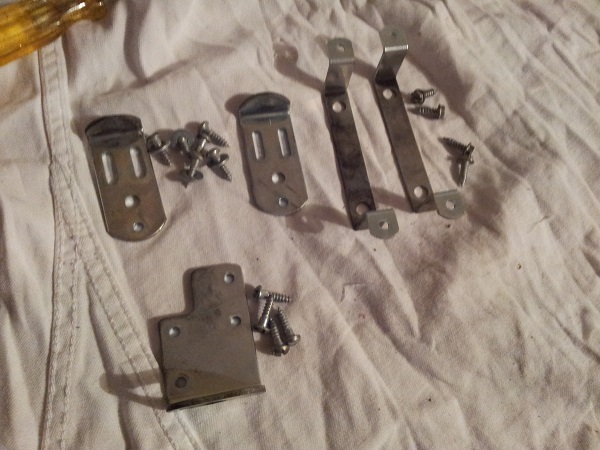
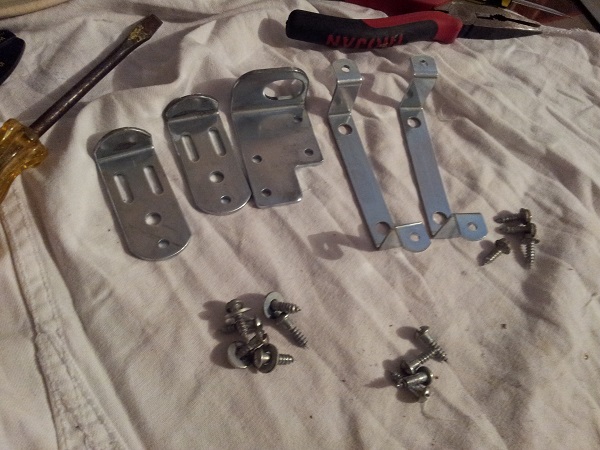
With the small metal parts rattling away in the tumbler, I set about cleaning the larger metal parts of the ball serve assembly. Steel wool and isopropyl alcohol worked well here. The parts came up nicely.
Once I was happy the parts had been in the tumbler long enough, I began to put the ball serve assembly back together. First was the apron clips and screw plates, along with the base plate and switch of the ball serve assembly. I’m really happy with the job done by the tumbler, it gives new life to some really dirty parts. The base plate for example was looking bad (see above) but now looks almost new.
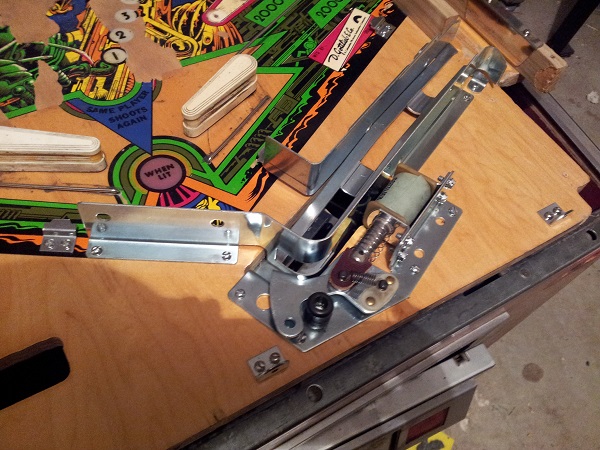
The ball serve assembly itself was then rebuilt and installed back into position. The only new part here is the coil sleeve.
The final pieces were installed, along with the shooter lane guard.
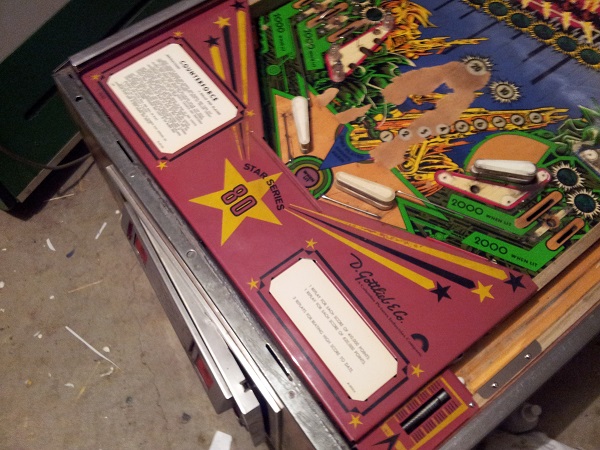
The apron and shooter cover were cleaned and installed back onto the playfield. The score and instruction cards were swapped for the ones I wanted and the dip switches checked on the cpu board to ensure the settings matched. I also cut up two thin pieces of mylar and placed them along the inner edges of the apron where the ball rolls against when draining. This is to help prevent further wear.
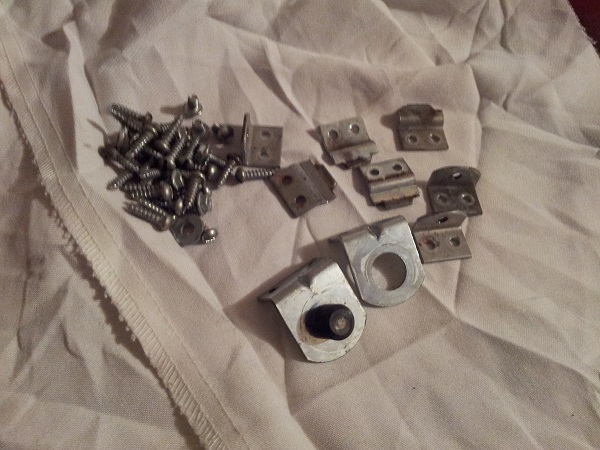
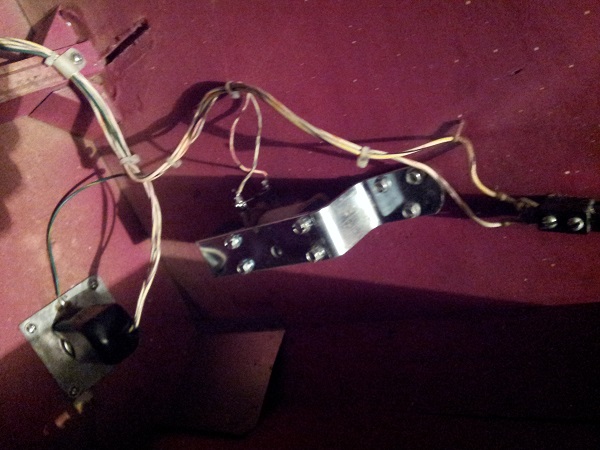
There were a few metal parts located in the apron area under the playfield I also wanted to clean. These included some handles and the parts which lock into the receiver when the playfield is down.
Steel wool works a charm, followed by a wipe down with isopropyl alcohol and a cloth.
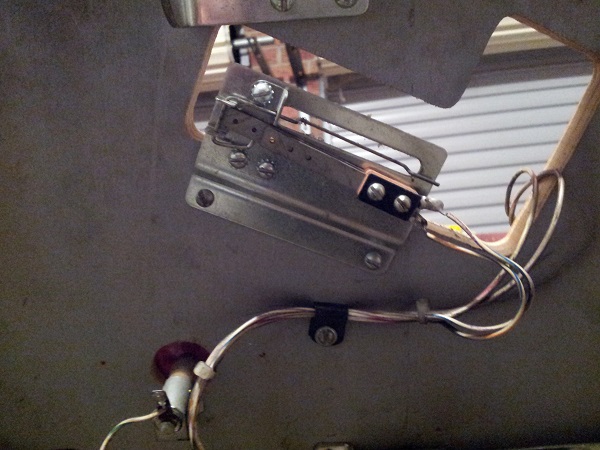
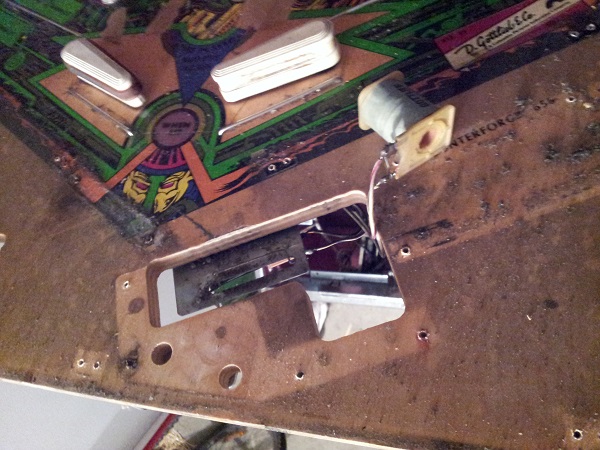
Located just below the right flipper button is the knocker assembly. This was removed for cleaning and a new coil sleeve added.
The shoot again lamp under the playfield was replaced with a new #47 and a red condom over the top to bring a stronger red to the insert when lit. The underside of the insert was also wiped clean.

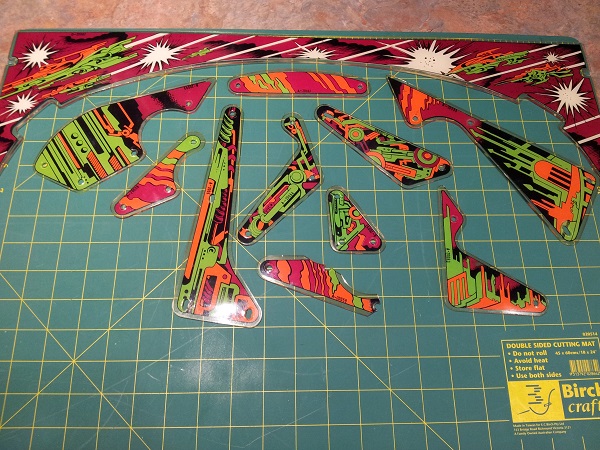
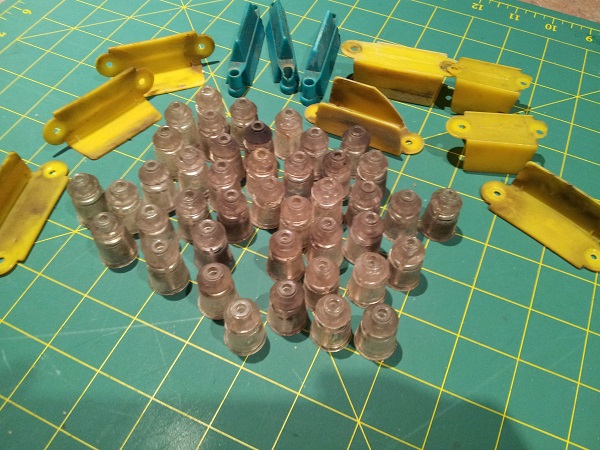
Although I’m working my way up the playfield, I decided to go ahead and remove all the plastics and star posts from the playfield for cleaning. The plastics are really dirty (on both sides). I haven’t got my hopes up on how they’ll turn out after a clean, but we’ll see.
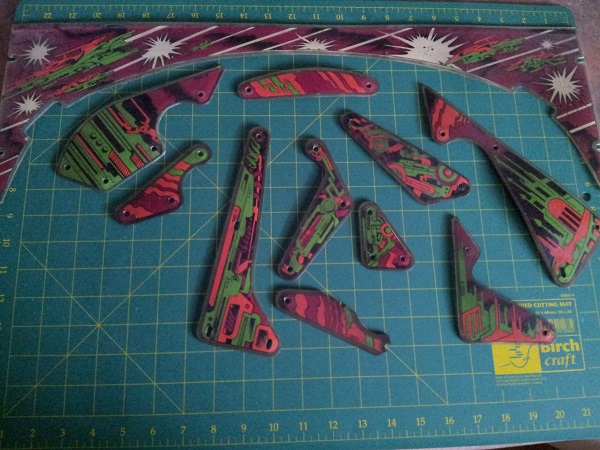
First was to give them a gentle wipe down with soapy water to get rid of the crud layer. Before attacking them with Novus, I decided to flatten them out. I use the oven technique with a timer set and also at a quiet time in the day where my attention is not going to be dragged away. Once heated up they are pressed between some glass place mats with weight on top. This removed the warping many of the pieces had in them. I was now ready to clean them up. Novus 2 worked well here, followed by Novus 1. I’m happy with how they have turned out. There is some yellowing on the outer edges where it’s clear, but given their age, it’s expected.
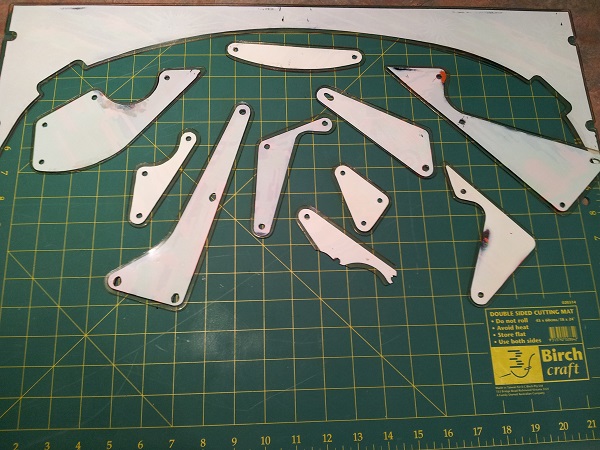
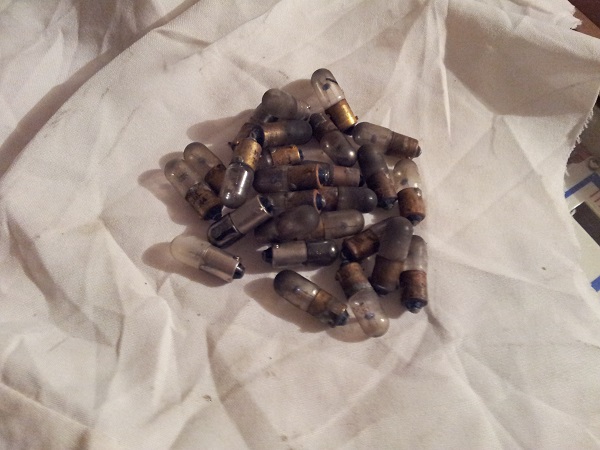
The plastics are now ready to go back into the machine as I work my way around the playfield. For now, they are set aside in a safe spot. While removing the plastics, I decided to remove all the playfield GI bulbs. A sorry looking pile of #44’s, most of which don’t work. Straight to the bin and all will be replaced with new #47’s as I go.
Some of the lane guards are broken and will be tossed. The star posts are covered in filth, but hopefully a good clean will bring them up nicely. I’d love to replace them outright, but in the interests of keeping the service / repair costs down, I’m keen to reuse them.
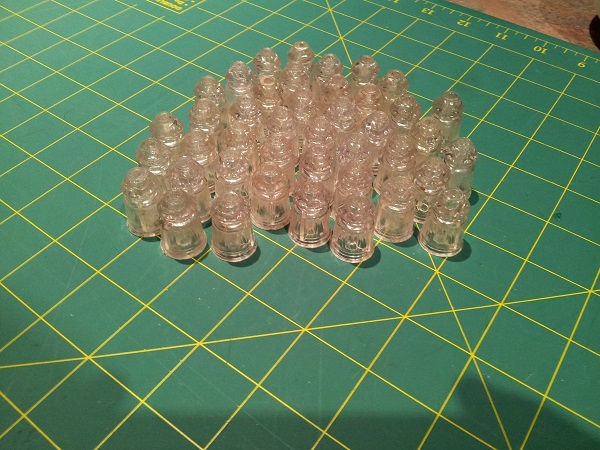
After a clean the posts are better, although not as good as I had hoped. There is still a bit of a cloudy look in some parts of the posts – but given they are 35 years old, it’s not much of a shock. What I might do is purchase 10 or 15 and put them in the most visible areas. Then spread the others out, with the worst of the bunch being kept as back ups. We’ll see how the budget is going in a few weeks time.
That’s all for this update. Next up i’ll be looking at the two sling shots and the upper playfield area. There are a number of stand up targets around the playfield which I may look at too. The flippers are high on my priority list, so they may make it into the next update also. We’ll see how time goes 🙂