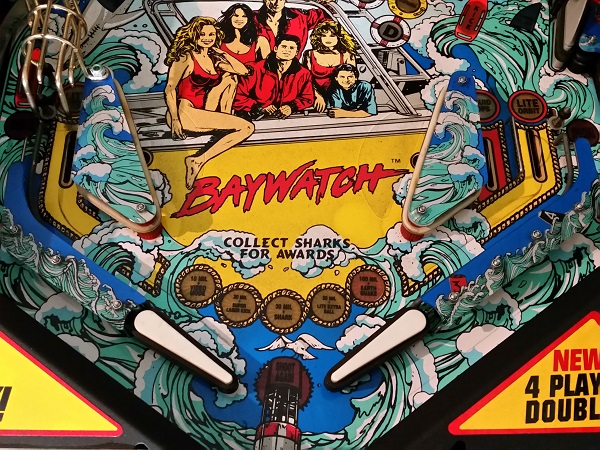
I’ve been busy working away on Baywatch over the last week and a half, making some really good progress along the way with it’s overhaul. Enough progress that I’ve split the content up into three updates so you’re not bombarded with it all at once. I just haven’t had time to do all the write ups yet. But that’s OK. The priority is getting the machine done. This update will focus on the sling shots, lower flippers and cleaning of the lower playfield area. The game is in real need of a clean – which is why it’s with me. The dirty playfield stands out and you can actually spot a small circular area at the base of the right sling shot mylar patch where I have wiped away the dirt (I was interested to see how easy it came up). A nice yellow can be seen – so I think this is going to clean up great!
rebuild
All posts tagged rebuild
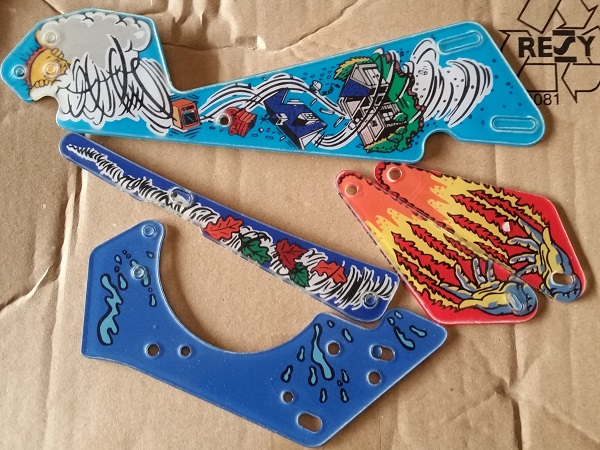
It’s update time again! Returning with part six of the repair and service I’m performing on a Williams Whirlwind machine. The updates have been fairly regular, which is great as it means progress has been pretty smooth. I’ve had a few hold ups while waiting for parts, but that’s about all. In my last update I finished off servicing the remaining assemblies on the machine. In this update, I’ll focus on getting the remaining bits back onto the playfield to get the game into a playable state! I’m really looking forward to seeing how it performs once the final pieces are cleaned and the playfield is back together. I suspect I will make a few minor switch tweaks around the sling shots and pop bumpers to get them in a sweet spot sensitivity wise – time will tell. To begin this update though, the replacement plastic pieces I ordered from Pinball Center arrived. They have a clear protective layer on top, which is why they look a little dull.
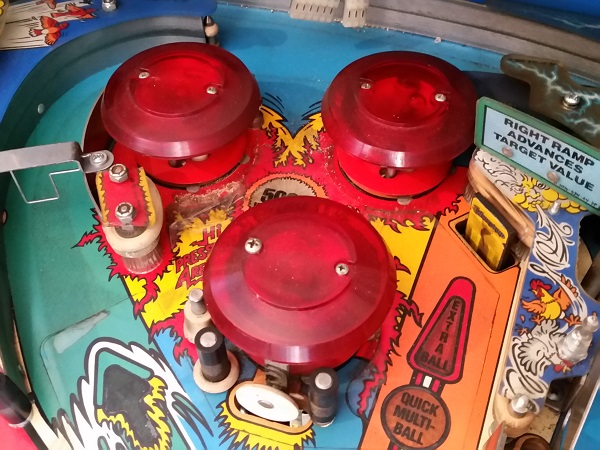
Having a set of pop bumpers on the playfield is almost mandatory for me when looking at pinball machines to play. The designers of Whirlwind must really have loved pop bumpers. Why have just one set on the playfield when you can have two? The only down side to pop bumpers is disassembling them as it cam be fiddly, especially those lamp sockets. The end result though after working on them really improves their performance, along with the presentation of a machine. It also makes them sound great too. The set I did in my previous update came up really nice and now it’s time to rebuild the second set. This update will be covering the final assemblies in the machine I need to look at, all of which are located at the top of the playfield. I’ll be starting first with the pop bumpers though.
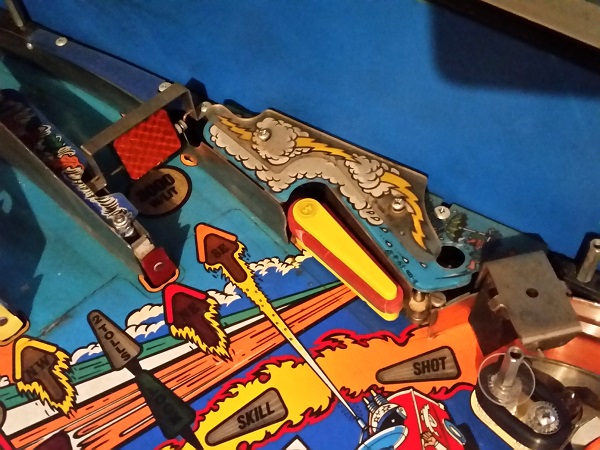
Progress on the Whirlwind service has been quite good so far and it’s cleaning up nicely. There have been a few small surprises along the way, but nothing scary or too troublesome. On the bright side, the surprises keep things interesting and is a constant reminder that no two machines are the same. There is always something different to solve, making it a rewarding feeling to work on each machine. I’ll continue to work my way up the playfield in this update, performing some general cleaning and servicing more assemblies along the way. The first one to receive attention in this update is the top right flipper.
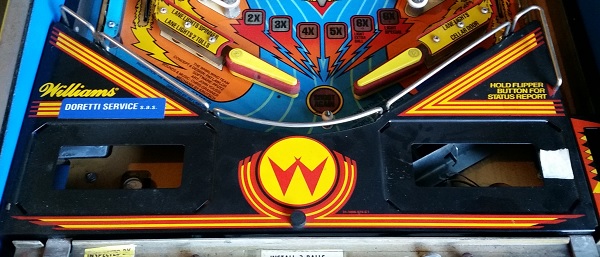
Time for another progress update on the Whirlwind repair & service I’m currently carrying out. This time I’m looking at the apron and all the assemblies contained within. I managed to work through this area pretty quickly, which is why this update is so soon after the last one. I forgot to take a photo of the apron before starting, so the one shown below is from the day the machine was dropped off to me (you’ll notice the old flippers, rubber, etc which were taken care of in the last update). The apron itself is in really good condition. The paint is mostly unscratched and no rust showing or paint flaking. There is an old operator sticker that needs to come off on the left side and some old white sticker on the right which also needs to be removed. It’s a bit dirty, but with a clean, I think it’s going to come up really nice.

