It’s update time again! Returning with part six of the repair and service I’m performing on a Williams Whirlwind machine. The updates have been fairly regular, which is great as it means progress has been pretty smooth. I’ve had a few hold ups while waiting for parts, but that’s about all. In my last update I finished off servicing the remaining assemblies on the machine. In this update, I’ll focus on getting the remaining bits back onto the playfield to get the game into a playable state! I’m really looking forward to seeing how it performs once the final pieces are cleaned and the playfield is back together. I suspect I will make a few minor switch tweaks around the sling shots and pop bumpers to get them in a sweet spot sensitivity wise – time will tell. To begin this update though, the replacement plastic pieces I ordered from Pinball Center arrived. They have a clear protective layer on top, which is why they look a little dull.
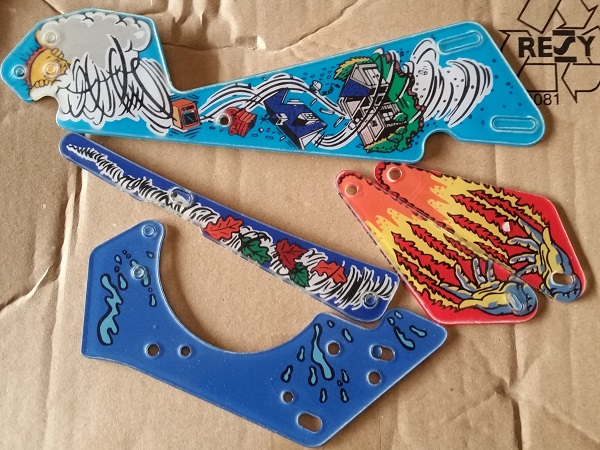
I had planned to wait until the other plastic pieces had been cleaned and polished so I could install them all together. But I was too excited and got some of the new pieces on to the playfield straight away. The sling shots and left plastic were installed first.
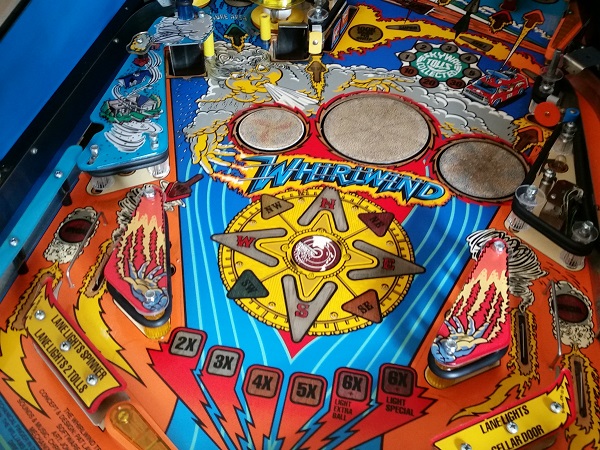
Before installing the left plastic, I had to transfer a small cloud piece and star post across. The old plastic had its top corner shattered and lower right corner broken.
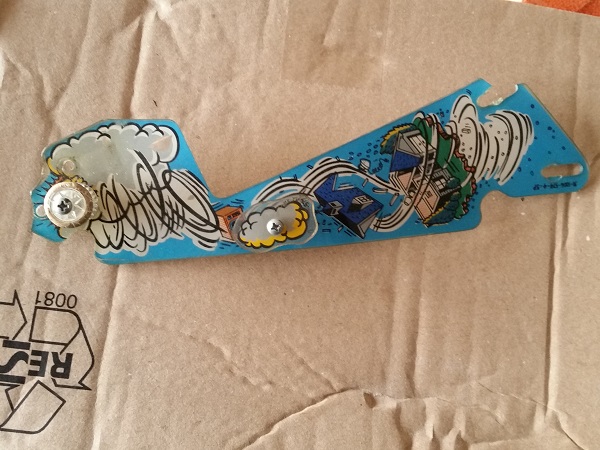
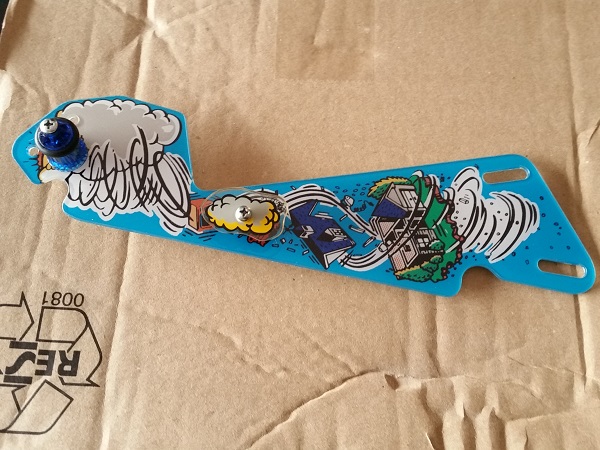
The cloud piece, it’s plastic stand off and bolt were all cleaned and polished before transferring them to the new plastic. The old clear star post was replaced with a blue star post. I felt blue went nicely with the theme and plastic piece. A new rubber was also installed.
I still need to install the new piece that sits over the 3 bank drop target, but will return to this later. For now, I gathered all the old plastics that would be going back onto the machine after a clean. They were quite filthy and well overdue for some attention. There are 2 pieces with cracks that I’ve not yet been able to replace. The small piece can be purchased from Pinball Center, but it only went into stock after my last order had already shipped. Damn. I’ve noted it down on my to buy list for the next order I place with them.
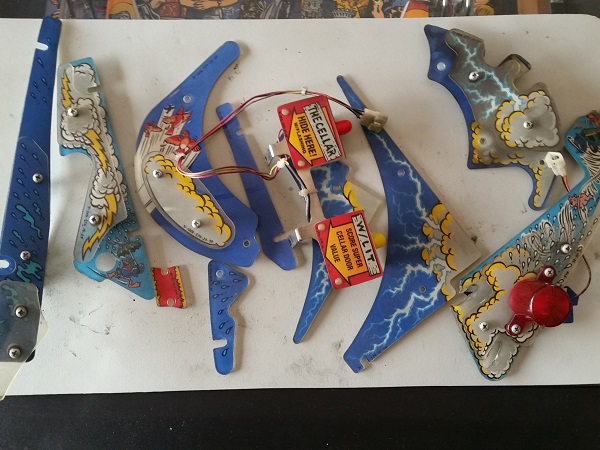
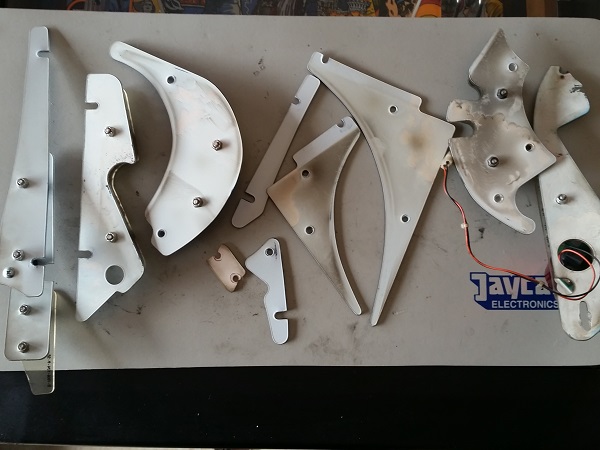
The underside of the plastics are also really filthy. There are a few scratches, but all things considered, really not bad for their age. There is also some yellowing on the clear plastics, but again nothing really worth worrying about (and also pretty standard for the machines age).
The pieces that were joined together were first dismantled for cleaning. Each piece was cleaned up and then polished with Novus. All plastic stand offs were also cleaned up, along with the bolts used to attach pieces together. You can see the difference cleaning and polishing makes to the old plastics.
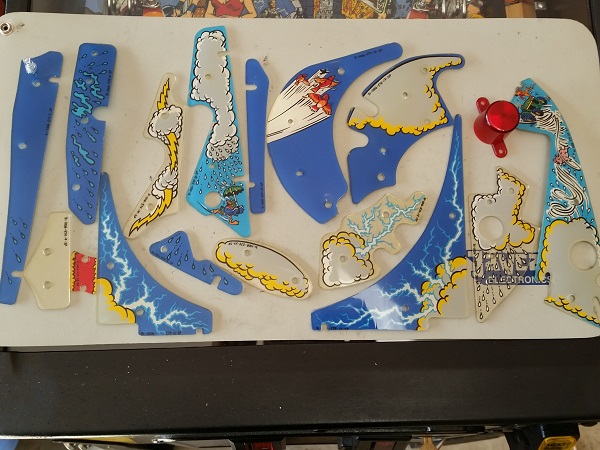
The reverse sides also cleaned up nicely and should allow more clean light through.
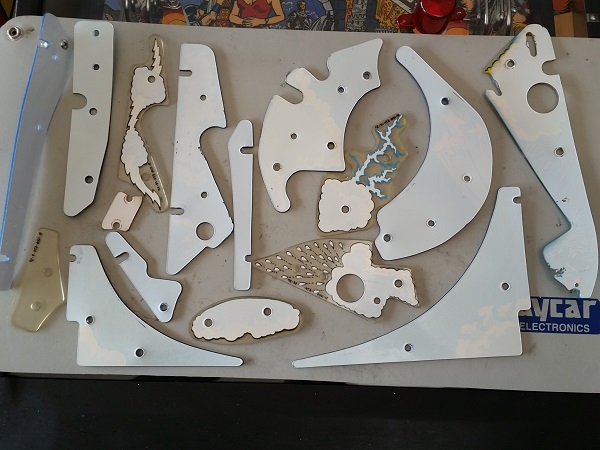
The plastics on the top left side of the playfield were installed back into the machine first. I didn’t realise this was a blurry image when I took the photo.
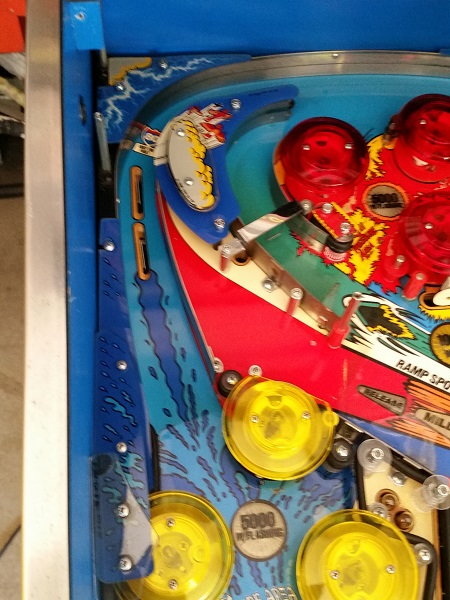
The plastics on the right side of the playfield were installed next. This is one of my favorite steps as you can really feel the machine -finally- coming together again and see the difference your effort makes.
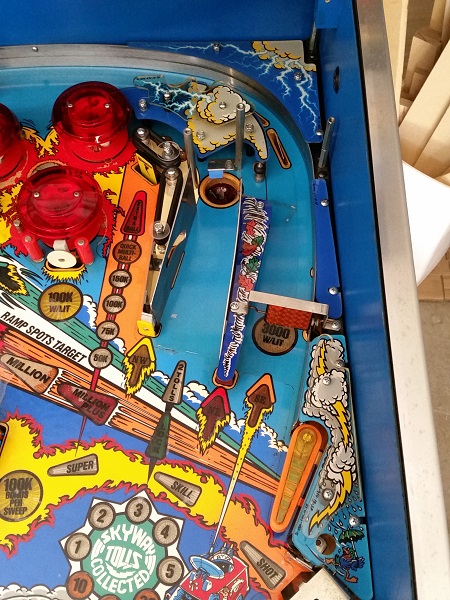
There were now only 2 plastic pieces not installed on the playfield. The first is the piece that sits over the drop target bank. This one is really beat up over the years and I think is a common wear piece on many Whirlwind machines. I need to transfer the sign and star posts across to the new plastic.
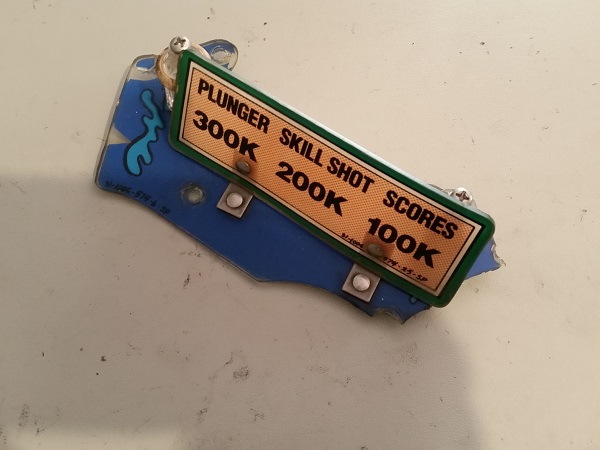
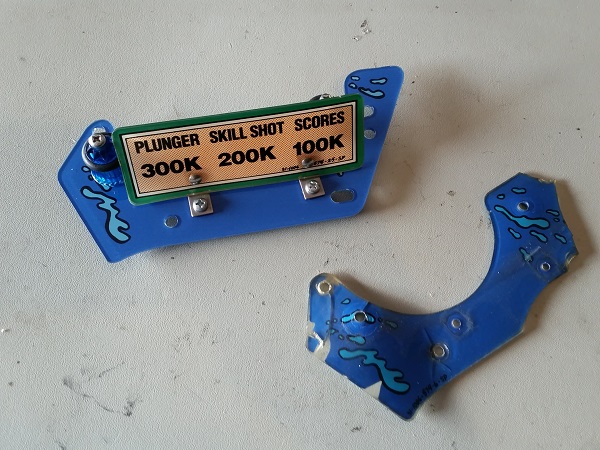
The sign was transferred across, and two blue star posts installed with new rubber on each. The sign plastic was cleaned and polished to remove the built up dust it had collected over the years. Sitting beside the original piece, you can see just how beat up it was over the years.
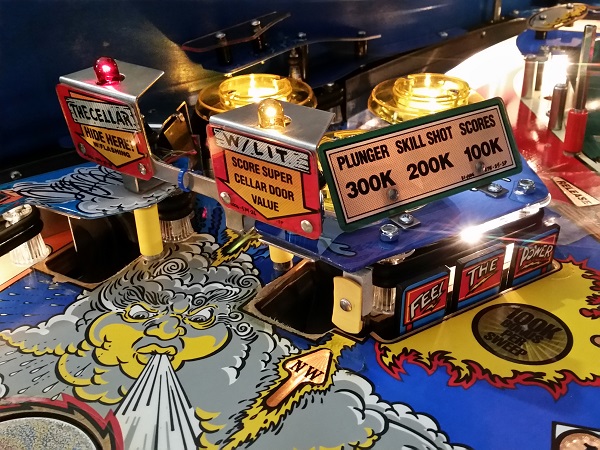
The drop target plastic was installed back on to the playfield, along with the cellar signs. I decided to swap out the yellow and red condom covered globes with red and yellow globes. I think the condom covered globes look a little tacky, and the tinted globes look more natural.
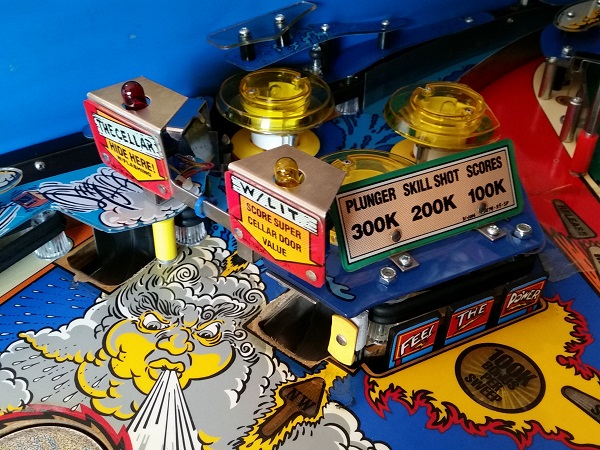
Lit up they look great. The drop target bank also looks nicely lit up with the new plastic.
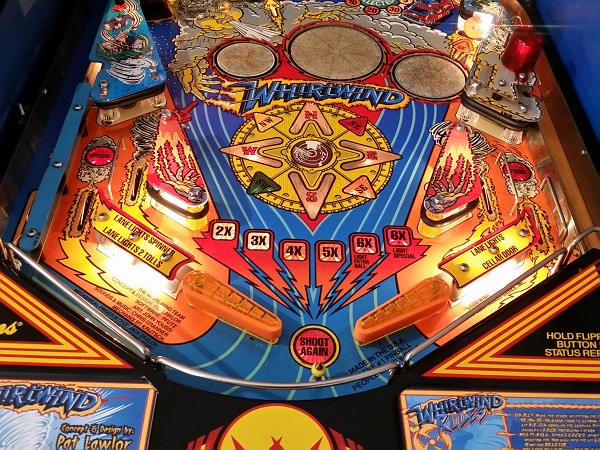
The lower playfield area looks so much nicer now and lights up the new plastics well. The playfield is now really starting to come back together into a playable form. I can’t wait to do some before and after photos for the playfield at the end of this update!
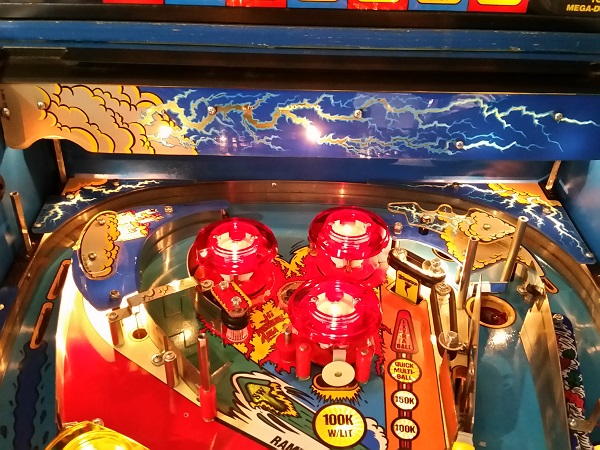
I had removed the large lightning piece from the back of the playfield while working on it. This was installed again. The cleaned up plastics really shine and the work done on the machine shows a world of difference. I love how the lightning bolts light up on the cleaned plastics on back corners of the playfield. It looks really neat. Still one more plastic piece to sort out though.
There is a plastic piece that sits just to the right of the red pop bumpers. This piece was broken in two, with the end piece found floating around inside the coin door area. I wasn’t able to source a new one, so wanted to have a go at repairing it.
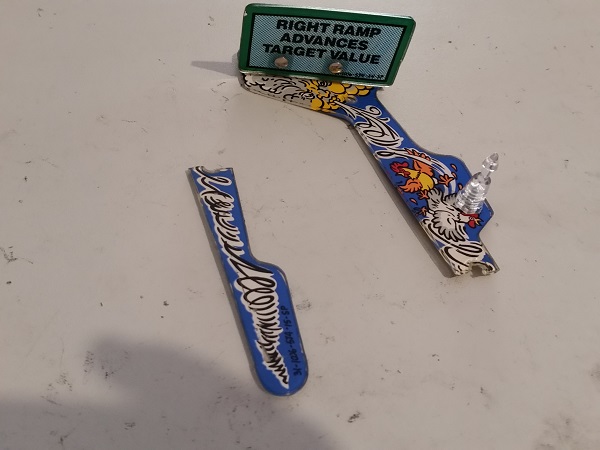
Best way I could think to repair it was to find a small piece of plastic that I could glue between the broke pieces. I had a few old Bally flipper plastics which were in poor condition.
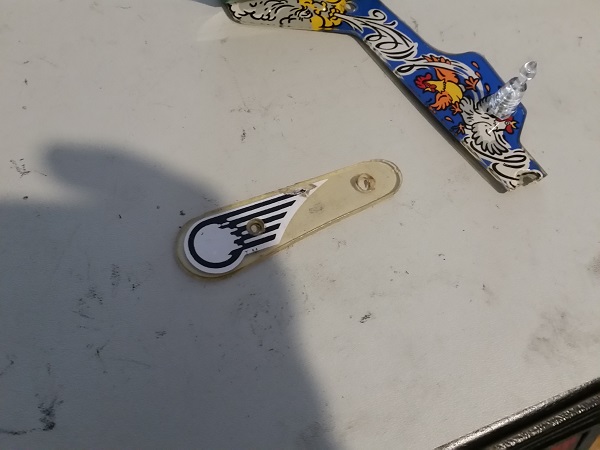
The tip was actually perfect, as the rivet hole could be lined up perfectly with the post hole in the plastic. The width of the piece also suited perfectly.
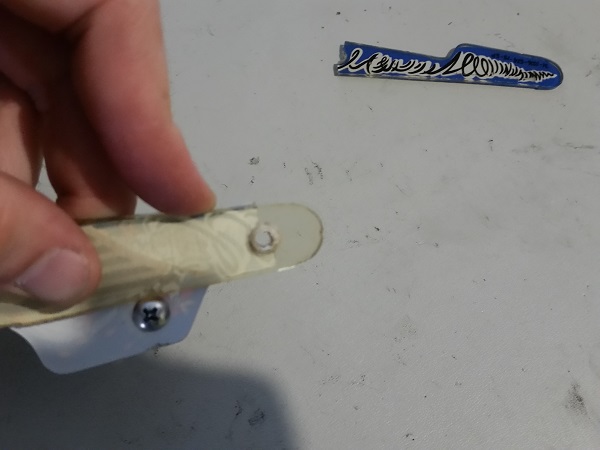
The tip was cut off and glued to bring the two broken pieces together.
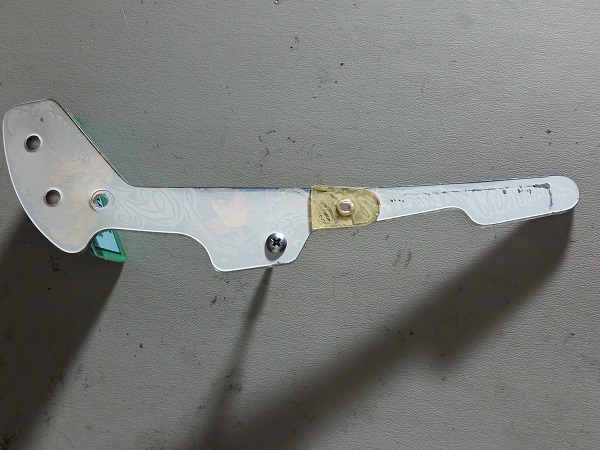
The plastic was installed back onto the playfield. I’m not surprised some of the plastics get broken on this machine as they are not well protected. I’ve added several clear lexan washers around the plastics where possible to try and help prevent / minimise future damage. Nothings guaranteed, but better to take precautions where possible.
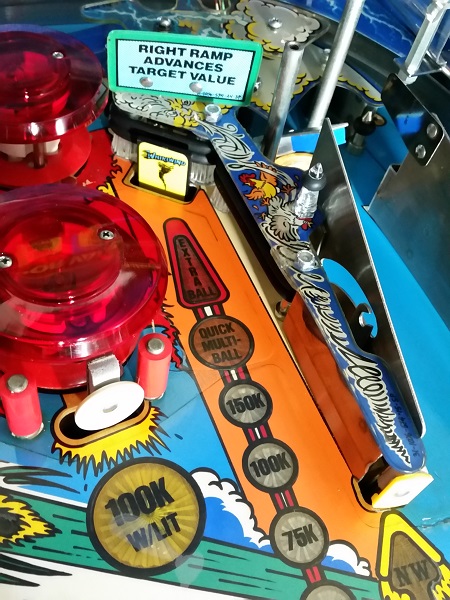
Next on my to do list was install the new spinner decals. These were ordered from RTBB and arrived this week.
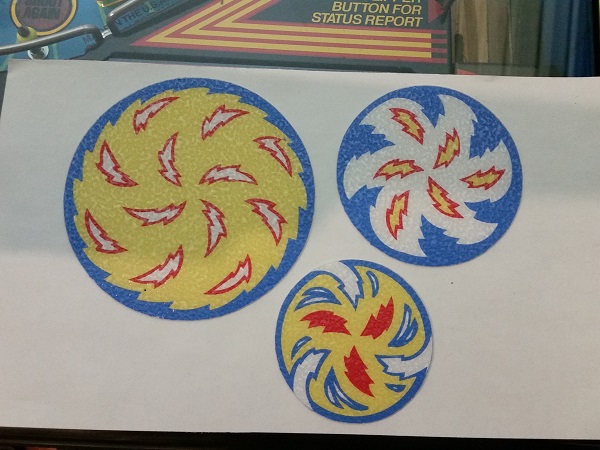
The old spinner decals were removed and any left over sticky cleaned off the discs.
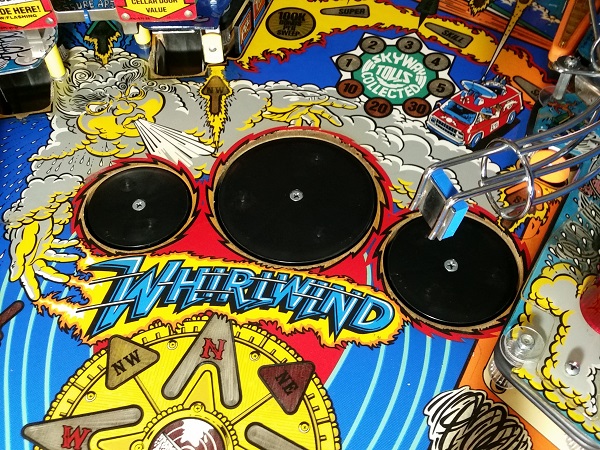
Finally, the decals were installed.
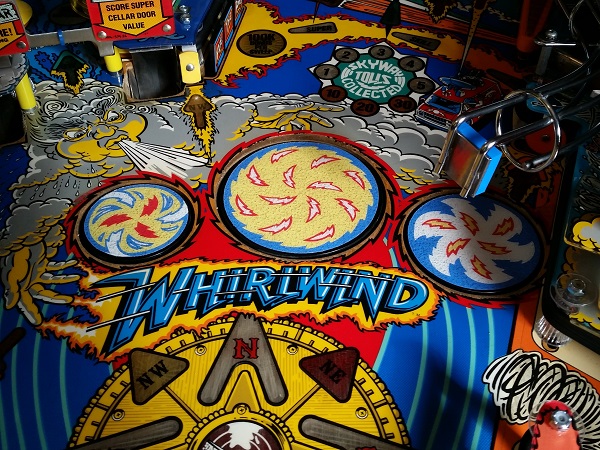
That just leaves the ramps to clean up and install back on the machine. I’ll start with the millions ramp first, since I need to get that back on the machine before the other ramp. It’s really filthy on both sides.
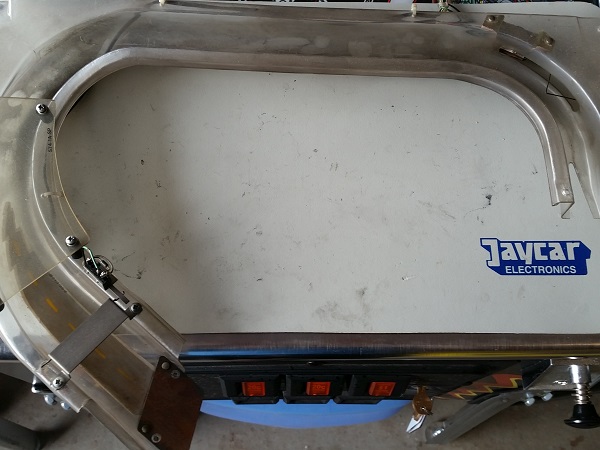
The left side of the ramp entry is cracked and broken. This is a common enough issue on this game for Cliffy to make a protector for. There is no post that sits in front of the entry, so it gets beaten around a bit by inaccurate ramp shots. I’ve let the owner know he can purchase a protector if desired.
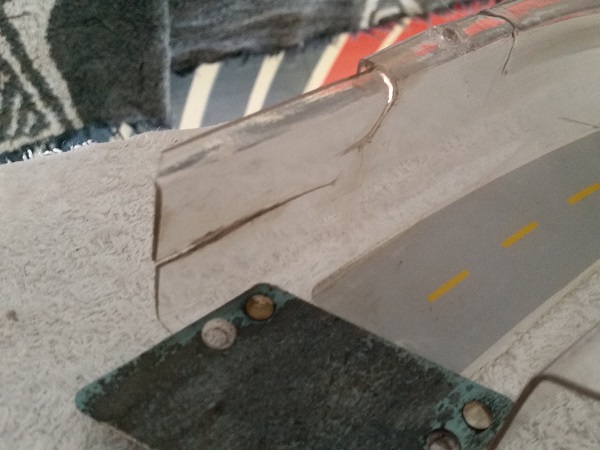
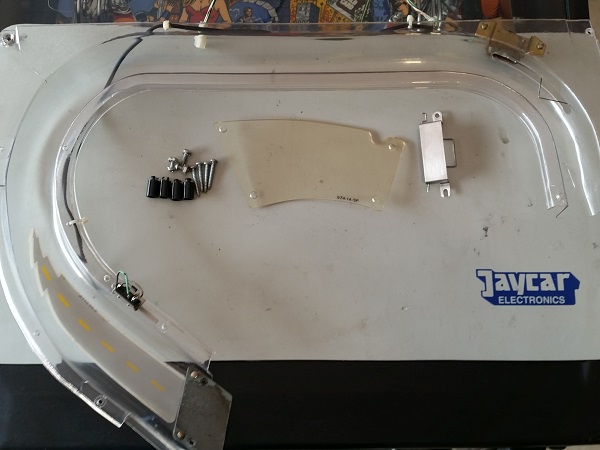
The ramp was cleaned up with Nifti and then polished with Novus. The ball gate was removed and cleaned, along with the clear sheild that sits over the ramp entry way. A good clean makes a world of difference.
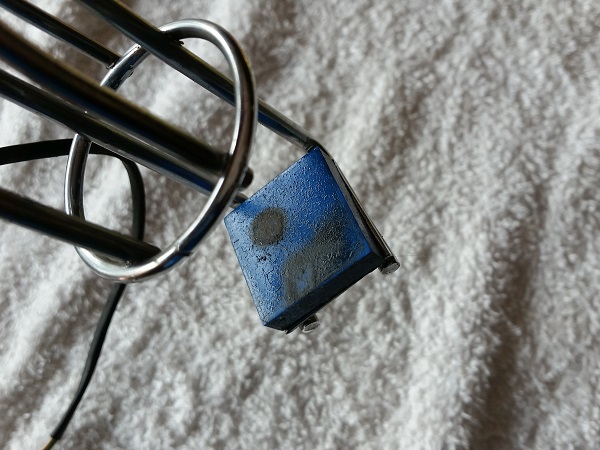
Before installing the ramp again, I needed to clean up the wireform that attaches to the end and guides the ball back on to the playfield. At the end of the wireform is a pad to soften the balls entry. This one is filthy and sticky. We don’t want any of that crap getting on the ball now that the machine has been cleaned, so I’m going to replace it.
The cleaned up millions ramp was then installed back into the machine, along with the ball wireform. The wireform was cleaned up too and it’s plastic polished.
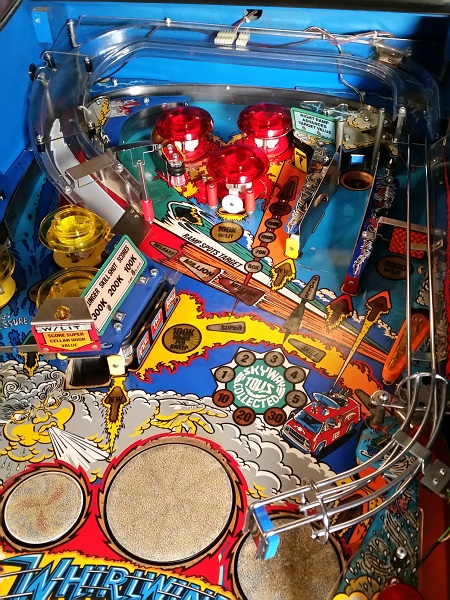
With the millions ramp now back on the machine, it was time to look at the second ramp for the skyway tolls. It’s in a similar condition to the other ramp in terms of needing a clean.
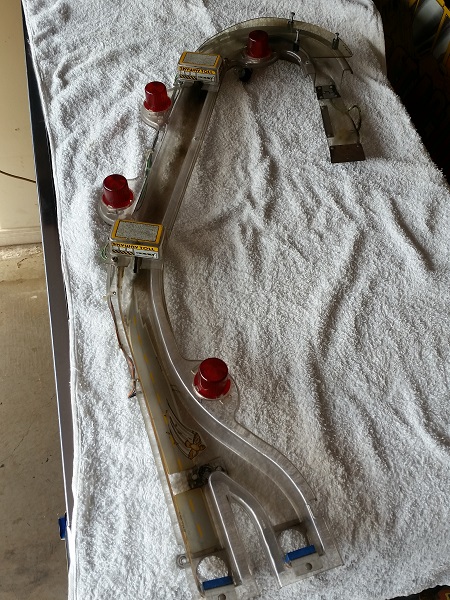
The 4 flasher bulbs are attached via a small plastic base piece. They clip into the top of the ramp, which the lamp plugs in to below and the flasher dome screws in to. Two of them were broken and barely holding the flasher into place. They broke on removal as the plastic was so brittle.
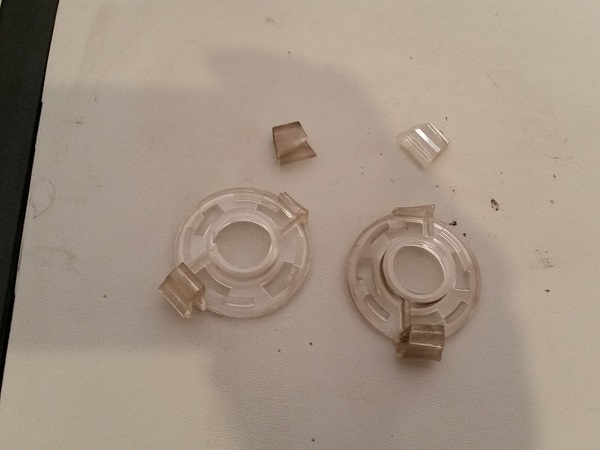
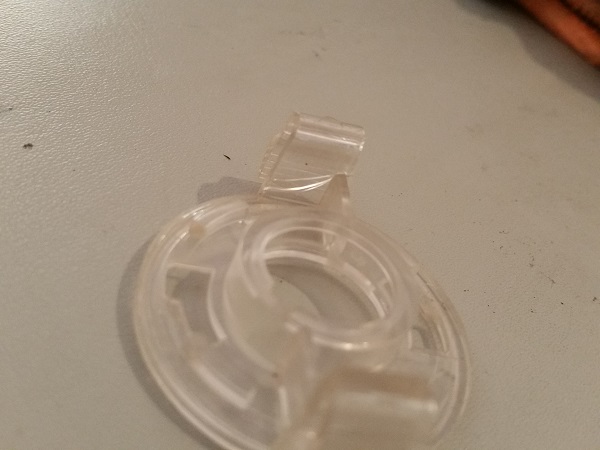
The other two were not broken, but close to it. There is a large crack already forming through one side. These are easy enough to replace though.
The ramp was cleaned up, along with all the other bits that form the ramp. The wiring and lamps had been removed to make cleaning easier. The wire was wiped down to remove additional filth. Everything was set aside, ready to reassemble and go back on the machine. The small plastic piece which covers the corner after the entry has some yellowing from age.
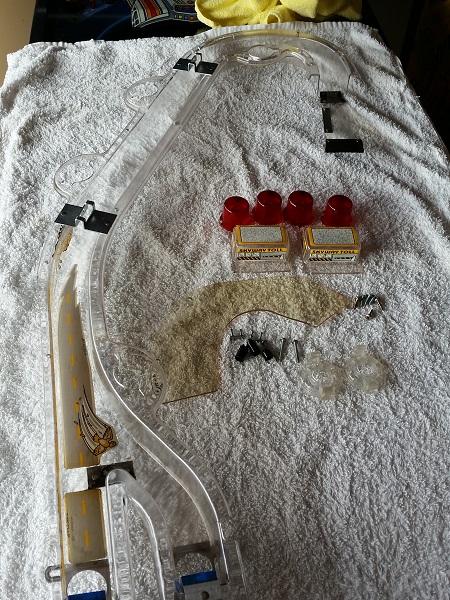
Firstly though, this ramp also has two of the blue pads to soften the ball before entry back to the playfield. They were in a similar condition to the one on the wireform. Filthy and sticky – we don’t want that getting on the ball and being spread across the machine.
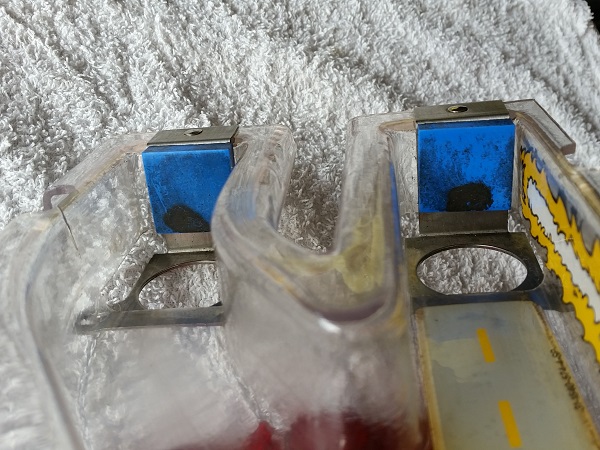
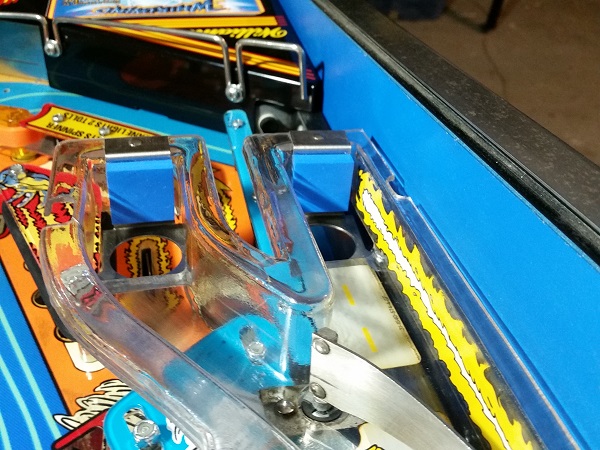
New pads were installed and then the ramp was put back onto the playfield. Finally everything was back on to the playfield for the first time in a few weeks.
When you compare a before and after photo, the effort really shows. Here’s how the playfield looked with the game switched on the day it arrived:
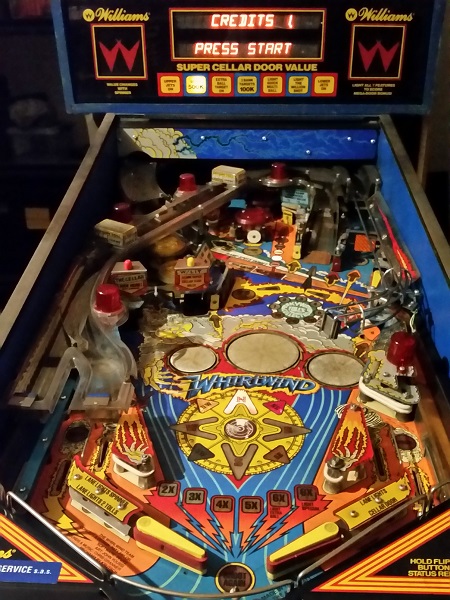
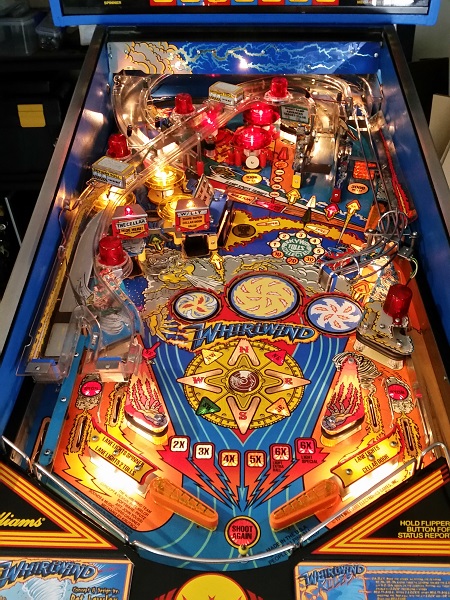
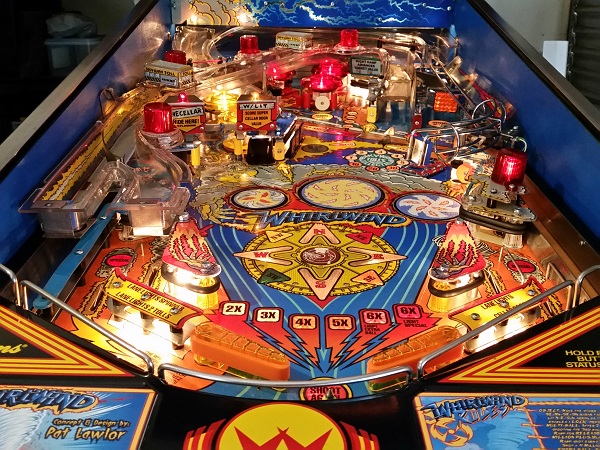
Now, after the machine has been completely serviced – it’s looking vastly different:
That completes another update. Not much left on my to do list now. With the playfield back together, I’ll be installing 3 new balls and giving the machine a good play test to see how it holds together. I also want to run through the test modes again (lamp, switch & solenoid) to ensure everything is working correctly after the rebuild. I still need to give the coin door some attention, but that’s about it. So probably just one more update to go until it’s complete and ready to go back to it’s owner.
