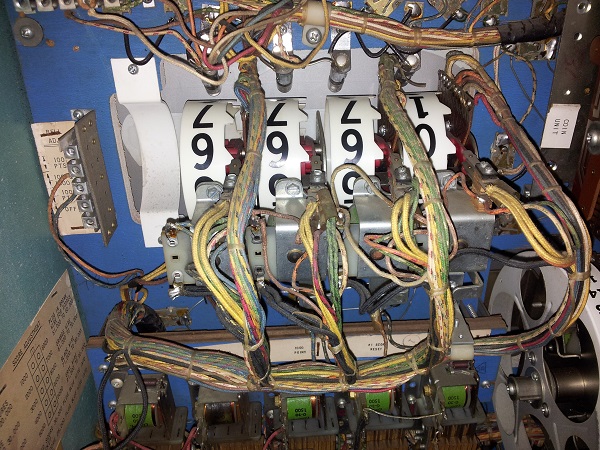
First task on the to do list after my last update was test the carry switches on all score reels for each player. Previously, I tested that the score reels all advanced when the 10, 100 and 1000 point relays were manually triggered. These work and the score reels advance. This testing was done in game over / attract mode, so only the 1000 point carry switch could be tested. I now wanted to expand my testing to check the carry switch on the 10’s and 100’s too. These can only be tested with a game started. I finished the last update with the machine successfully running a game – so I’m was ready to begin.
Pinball
All posts tagged Pinball
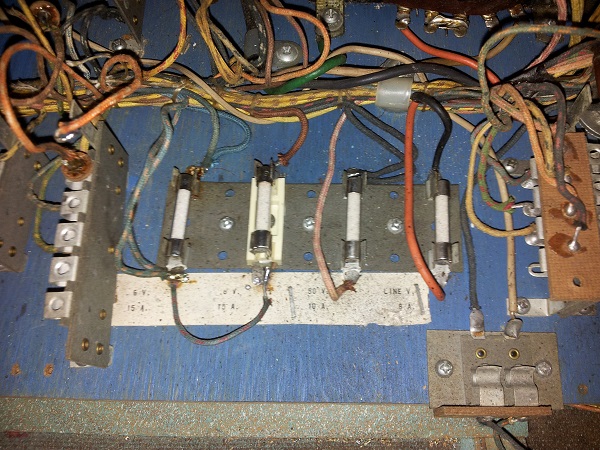
During my initial inspection of the machine in the first update, I had noted down a few things to look at before I attempted powering it on for the first time. This update will focus on these items. First on my list is the fuse panel. Located just inside the coin door, there is a small panel which is home to 4 fuses. My understanding is that the fuse clips on Bally EM’s are crap and a common source of problems as they often break. One of the fuse holders has already been replaced, with the new fuse holder being installed over the old one. The fuse holder on the far right (8A line fuse) is missing one of the clip arms, so this will have to be replaced.
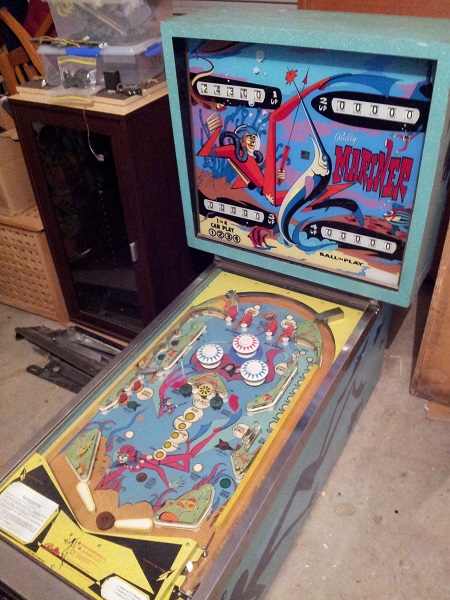
One of my favorite times has arrived again – it’s NEW project time! Just as good as NEW pin day in my book 🙂 This time around, I’ll be performing a repair and service on a 1971 Bally Mariner machine that has made it’s way here from Germany. I’m stepping outside the comfort zone I developed while working on solid state machines and diving into an EM project. All of my Pinball projects to date have been solid state machines that were built between 1979 to 1986. I’m pretty excited about this project as it’s a chance to look at something different and gain more experience with EM’s.
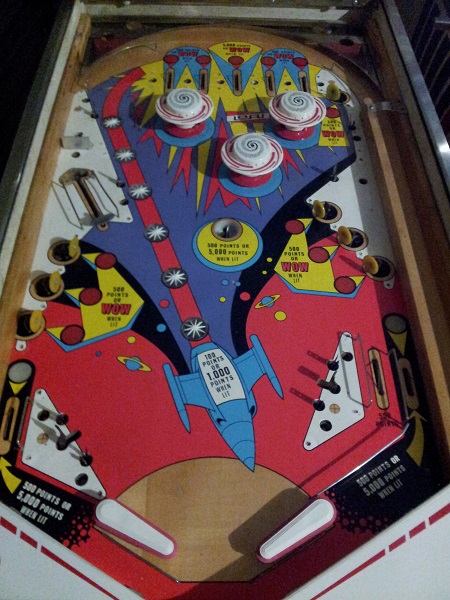
One of the last things I want to do on Space Orbit is give the playfield a good clean, followed by a polish and wax. The playfield layout on these older machines is quite simple, so removing just about everything from the top is not too difficult. The simplicity also makes it easier to get back on again without too many chances for mistakes. I started out by removing all the plastics, star posts, bulbs and lane guards. The pop bumpers, flippers and ball guides can stay though, i’ll clean around them.
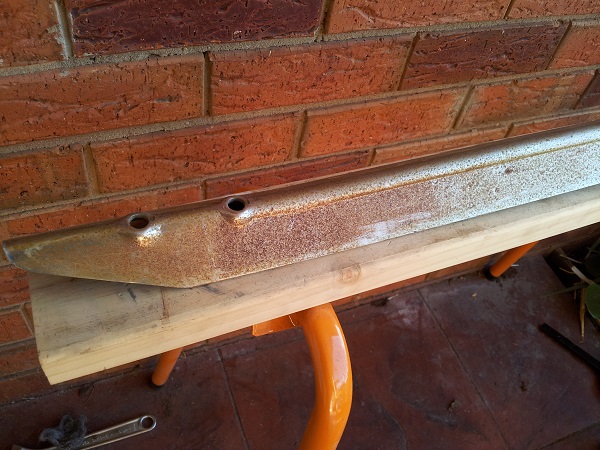
My work on servicing Counterforce is now coming to an end. It’s great news because now I can actually play and enjoy it! This project has gone quite quickly compared to my others (just over 2 months in length). First task for this update was to clean the legs up a bit. They are old and have some rust, but I’ve certainly seen worse. I have a two options I can consider. First is to clean them up and the second is to clear off the rust as much as possible and spray them. I guess a third option is buy a new set – but these legs are still good and I think a clean will do. New legs on a machine with faded and scratched cabinet art won’t look right anyway. Each leg was placed onto my work horse to have the rust cleaned up. This was done mostly with a wire brush attachment for my drill.