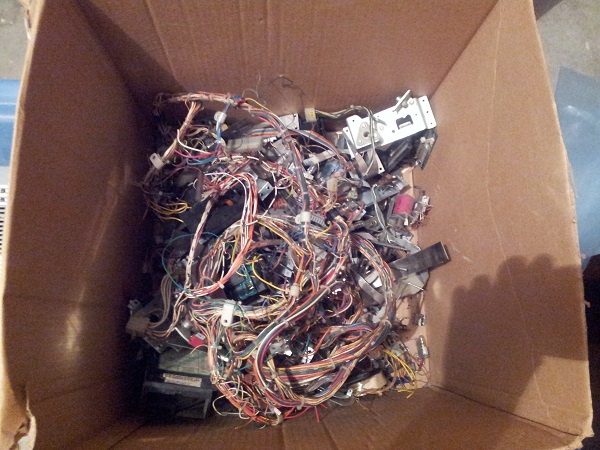
I’ve managed to build up a backlog of crap boxes to get through. I’ve been focusing on various projects and the spare parts boxes are a low priority. That means they have been sitting around collecting dust. I’ve stopped buying them now as I’ve got more spare parts than I know what to do with. The boxes have come in handy on recent projects, so purchasing them has been worth it. But with my shelves full, there is no need add to it. This post will cover crap box #4 which will be followed by #5 and #6 when I get to them. At a grand total of $21 for the content in this post, it makes the box the most expensive crap box to date, but there was one part here I really wanted. This box looks to have a nice mix of things in it too, so time to dig in 🙂
parts
All posts tagged parts
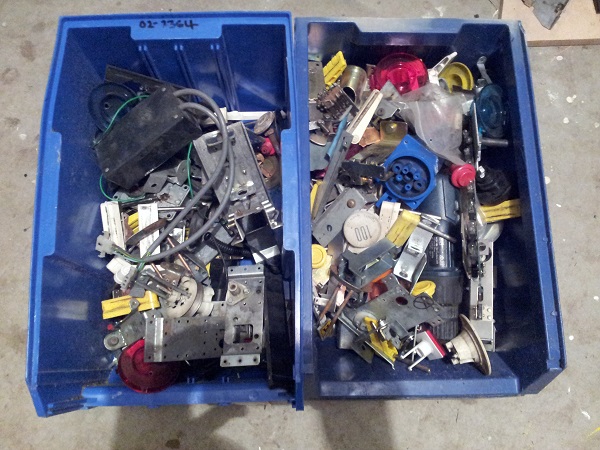
It’s time to once again dive into a pile of trash pinball parts and see what sort of gems I can uncover. This lot of pinball spare parts (or crap box as it’s also termed) cost under $16AU. There wasn’t anything in the original photos that caught my eye, I just wanted more spare parts available at hand for my projects. So, let’s have a look.
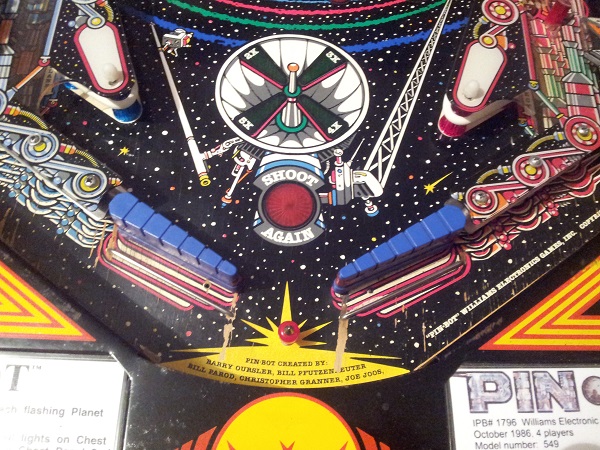
It feels like forever since I was last working on Pinbot (in truth it’s been about 4 weeks). A project I started last year and then set aside for 10 months while Pinball took over my life needed to be completed in November. That was successfully done and now it’s time to turn my attention back to my beloved Pinbot machine and continue its rise to awesomeness. The last part of the playfield to do is the flippers. To be more specific, rebuilding both and sorting out the right flipper (which does not work).
So the starting point. Normally Pinbot has white flipper bats. This machine came with some ribbed blue bats. They don’t really do anything for me, so i’ll be looking to replace them. The rubber is dead (and I’ve since removed it) so that will be replaced also. As mentioned, the right flipper does not work, but the left is fine. There is some playfield damage in this area, but it’s not an issue since the whole playfield be will replaced shortly.
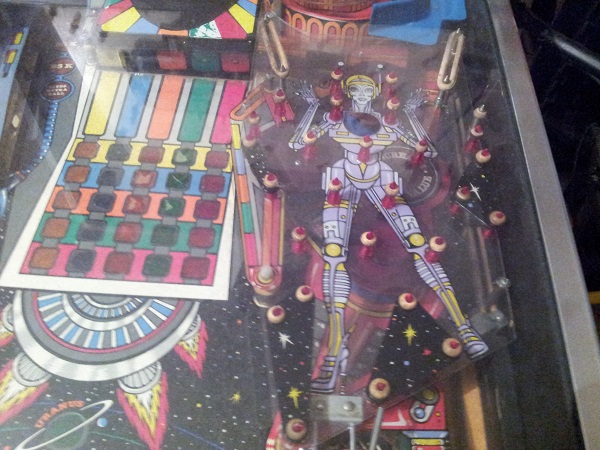
An area of the playfield I’ve been looking forward to working on is the mini playfield and the pop bumpers that live beneath it. I’ll also take the opportunity here to look at the bank of 5 stationary targets that sit just to the left of the pop bumpers. It’s going to be a long update I think and lots of photos to look through. So hopefully you hang in until the end 🙂 The starting point is good. All plastics and posts are there. The mini playfield itself is in one piece, although I can see some small cracks at a few point that will need to be looked at.
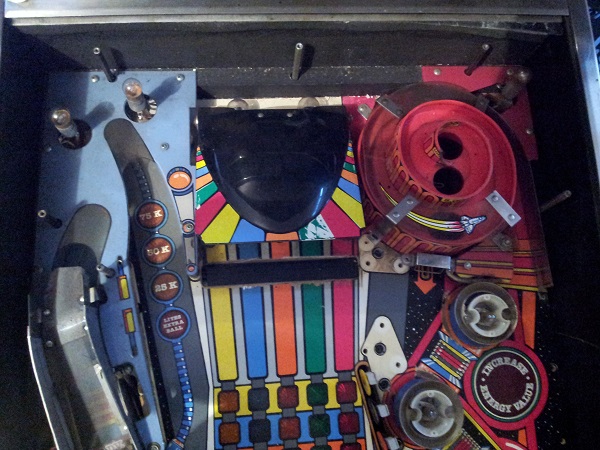
Now it’s time to look at the visor. I’ve successfully managed to put this off for awhile, but I’m fast running out of things to do before I get to the restenciling of the cabinet and playfield swap. So I guess now is the time to look at it. At first glance, the only obvious issue is the damage to the colour stripe decal. The motor is operational and will raise or lower the target bank. It seems to get slightly stuck along the way, but does correct itself – so that will be something to look at. There are also two eject holes I will need to rebuild. I’ve decided to split this update into two. The first will focus on the playfield and parts. The second (which I’ll post once complete) will cover the motor and target bank.