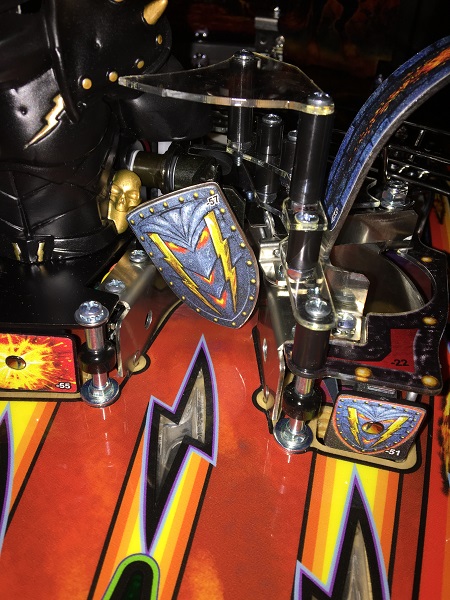
When my Black Knight arrived, I wondered how long the shield would last before issues kicked in. It’s a part of the machine that takes a real beating during play, so I’d expect it to wear out over time. I didn’t expect to experience issues on the second night of owning the game however. Part way through a game, I noticed the shield was no longer sitting correctly and was now on an angle.
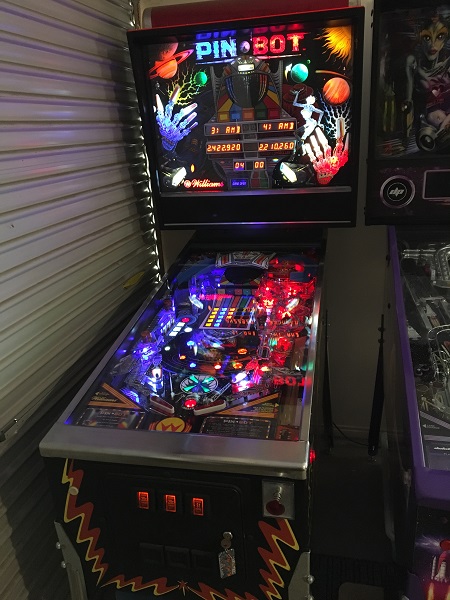
For quite awhile now, I’ve been toying with the idea of doing my own home brew pinball project. The idea first crossed my mind around 4 years ago, but I didn’t give it much time. Thoughts about doing it came again and again since that time, each being stronger than the last. But again I had always pushed it off as building a machine from scratch is more work than I was willing to do. It was more work than I could even get my head around. What about extending something that already exists though? Now that was something I could start getting my head around. Enter Bride of Pinbot 2.0. Owning a BoP 2.0 allowed me to see just what was possible with extending an existing game and how it all hooked up hardware wise. I was impressed with what a platform like P-ROC could do and the fact it was all reversible, means the game can be switched back to stock configuration again. I don’t have a large collection of machines that I could choose from in order to do this project, but there was one in my line up that stood out the most. Pinbot.
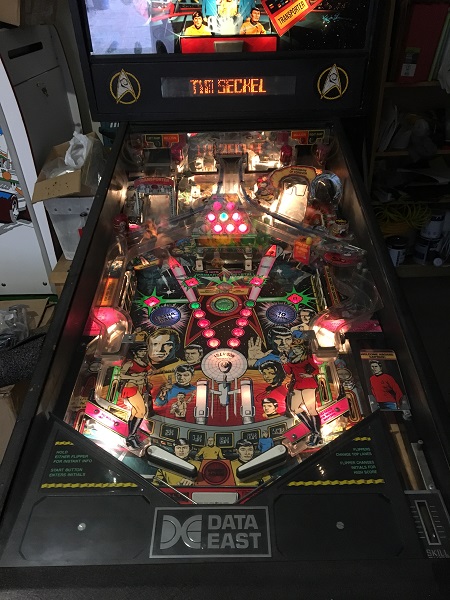
Time to dig deeper into the Star Trek overhaul and look at the middle playfield section. This area is home to two banks of drop targets, a VUK and also a swinging target that moves during play. There is a large ramp that covers the sections of playfield I need to get to though, which will need to be removed. Once that’s off, it will remain off until I’ve finished working on the playfield as it’s a pain to get on and off again. There is also a subway ramp below the playfield that links up the top left and middle scoops to the VUK which can be removed in this update too.
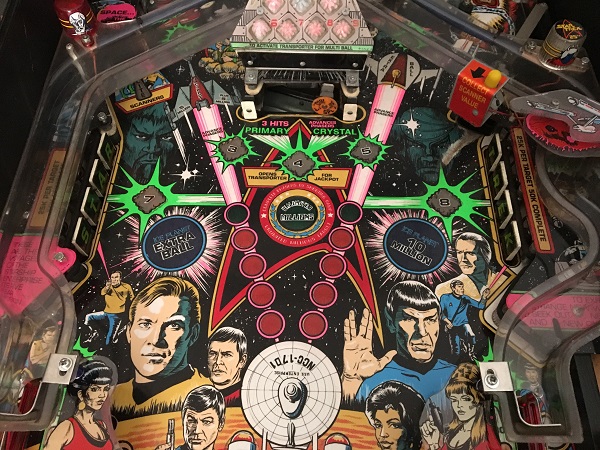
The newest game to arrive in my line up (and next on my to do list) is a Star Trek: 25th Anniversary. The game was released by Data East in late 1991, with 4400 machines made. Being one of the early DMD games, it features the smaller 128×16 pixel DMD. I love the artwork on this game as it contains so many references to the 3 seasons of the original Star Trek series. It’s a shame that some of it is covered by various playfield parts. The game arrived working well, with just a few small things needing to be looked at. It needs a good clean and a rebuild though, which is what I’ll be focusing on.
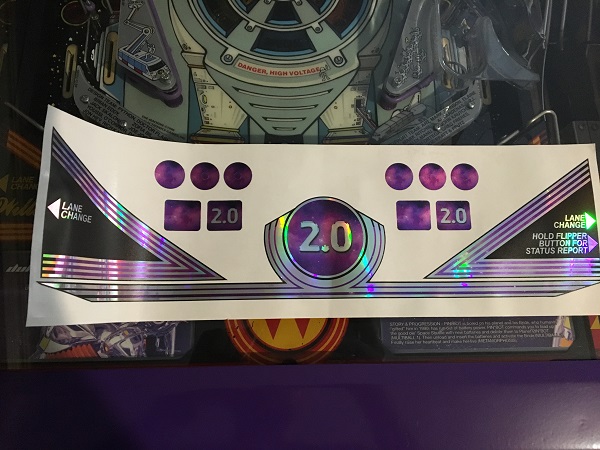
After all the work I’ve done to the cabinet and playfield, there was one part that still stood out as needing attention. The apron. It’s by no means terrible, as I’ve seen much (MUCH) worse. But it now stands out as being below standard when compared against everything else done to the game. So it’s time to give the apron a face lift. There were two options in front of me to consider for the face lift. The first is a set of black decals to keep it looking original. The second option (which was more appealing) is to go with a fancy set of 2.0 apron decals from Retro Refurbs. These are printed on a chrome style material and give a cool looking rainbow shine effect when light reflects off the surface. The perfect look for a 2.0 machine with this theme!