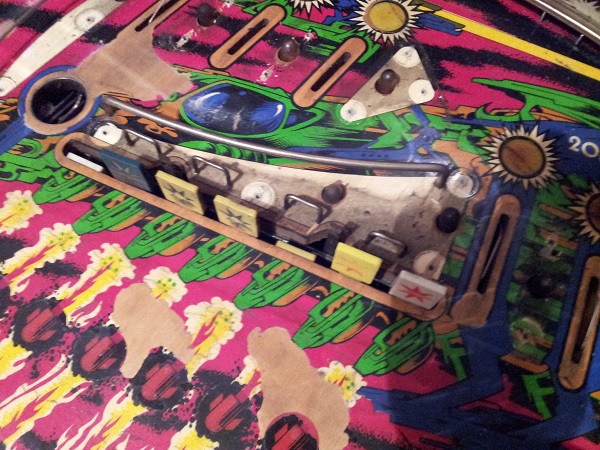
The drop target bank has waited, or more accurately, been put off for, long enough. Time to pull the assembly to pieces and clean it all. When I first got the machine home, the 6th and 7th yellow drop targets were broken. I replaced these back in update #2 so I could start a game and test out the switches. At this point, the drop target bank functions correctly. That includes all switches. So this is a good starting point. If I mess anything up in rebuilding the assembly, I’ll know it’s my fault. The plastic, posts and old rubber had been removed awhile back. This photo is also from awhile ago too as you can see all the areas around the drop targets are incomplete (but have since been finished in previous updates).
switches
All posts tagged switches
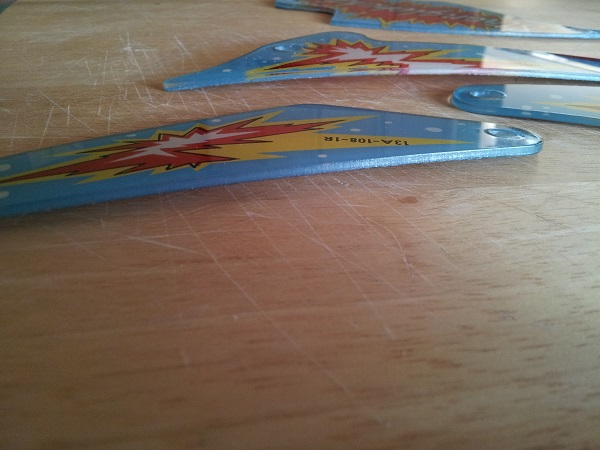
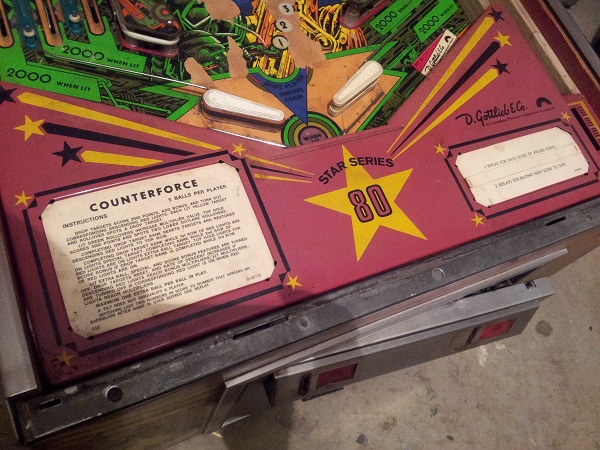
Progress on Counterforce has been good over the last few weeks and the machine has served as an excellent introduction to the System 80 platform by Gottlieb. My attention is now turning towards the playfield and the various assemblies that make up the game. I like to start working from the bottom of the playfield and progress up to the top. It helps break the overall task down into a more manageable state and also allows me to test things as I go. So first up on the playfield will be the apron and ball serve assembly. The apron and shooter cover are in reasonable condition and won’t need much more than a clean. I have the alternative score and instruction cards that were unused and can go on once complete. The shooter rod has already been removed and rebuilt (included in my last update).
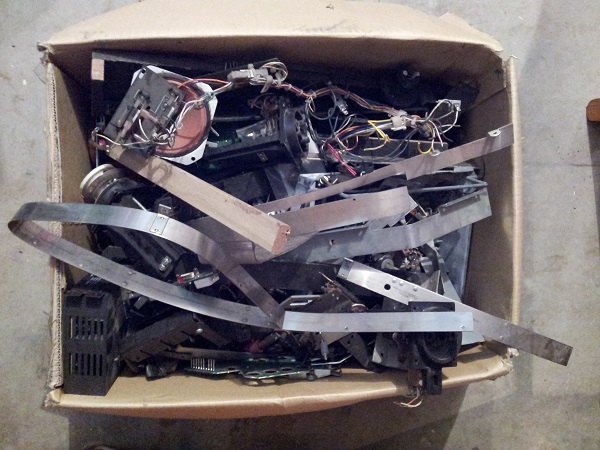
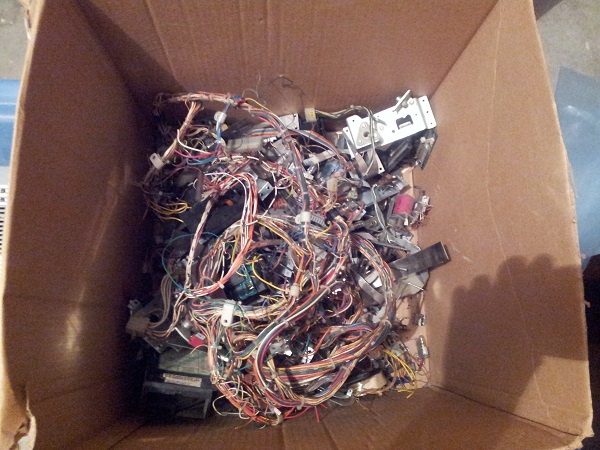
This time I’ve got a serious pile of second hand pinball parts to sort through. Some 40kgs+ of assorted bits and pieces from various machines and manufacturers. This is actually two lots joined together truth be told. I purchased both at the same time and when I collected them, they were all tipped into the same box to bring home. So instead of somehow splitting them up and doing two write ups, I’ve decided to just do single post covering everything. There really is a lot of stuff here to get through. The total cost for the box was around $35AU, which isn’t too bad considering the bulk of it all. There were some items I was specifically after but most of the content is a mystery. I can’t wait to see what’s actually in here 🙂
I’ve managed to build up a backlog of crap boxes to get through. I’ve been focusing on various projects and the spare parts boxes are a low priority. That means they have been sitting around collecting dust. I’ve stopped buying them now as I’ve got more spare parts than I know what to do with. The boxes have come in handy on recent projects, so purchasing them has been worth it. But with my shelves full, there is no need add to it. This post will cover crap box #4 which will be followed by #5 and #6 when I get to them. At a grand total of $21 for the content in this post, it makes the box the most expensive crap box to date, but there was one part here I really wanted. This box looks to have a nice mix of things in it too, so time to dig in 🙂
It’s now been 12 months since I came into possession of my first pinball machine. The Nugent has received a lot of play time over the year. I rebuilt the machine back in January / February this year and at the time was learning a lot about how pinball machines worked in general and the ways to clean & service them. Since then I’ve gone onto restore a Fireball Classic and also well underway with a Pinbot machine. I’ve learnt a lot since working on this machine and I decided that I’d revisit my Nugent for a 12 month service. I don’t plan to rebuild the machine like I did last time. It’s running really well, but needs a bit of a surface level clean. There are a few small issues I’d like to sort out (very minor) and I’d also like to apply some of the skills I’ve learnt since working on it to improve it further. The first thing to look at will be the plastics. A number of the pieces are warped.