It’s now been 12 months since I came into possession of my first pinball machine. The Nugent has received a lot of play time over the year. I rebuilt the machine back in January / February this year and at the time was learning a lot about how pinball machines worked in general and the ways to clean & service them. Since then I’ve gone onto restore a Fireball Classic and also well underway with a Pinbot machine. I’ve learnt a lot since working on this machine and I decided that I’d revisit my Nugent for a 12 month service. I don’t plan to rebuild the machine like I did last time. It’s running really well, but needs a bit of a surface level clean. There are a few small issues I’d like to sort out (very minor) and I’d also like to apply some of the skills I’ve learnt since working on it to improve it further. The first thing to look at will be the plastics. A number of the pieces are warped.
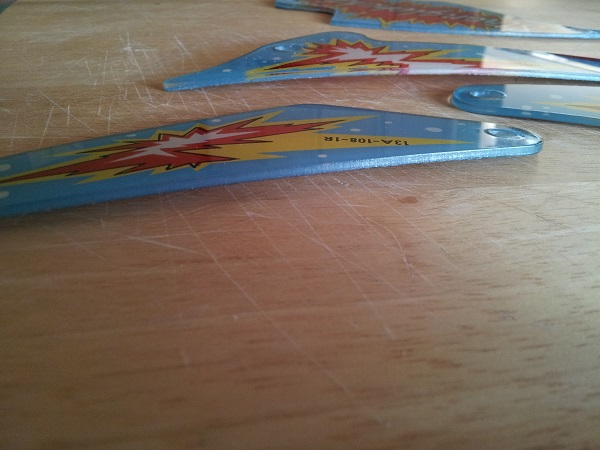
Some are worse than others. The most obvious are the two large blue pieces that sit at the top of the playfield. The ends on each are the worst affected.
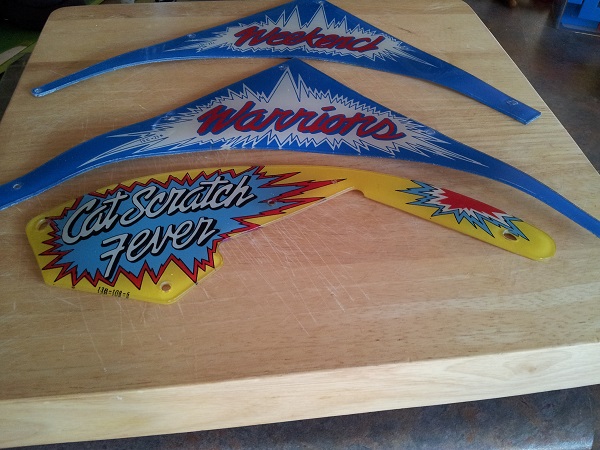
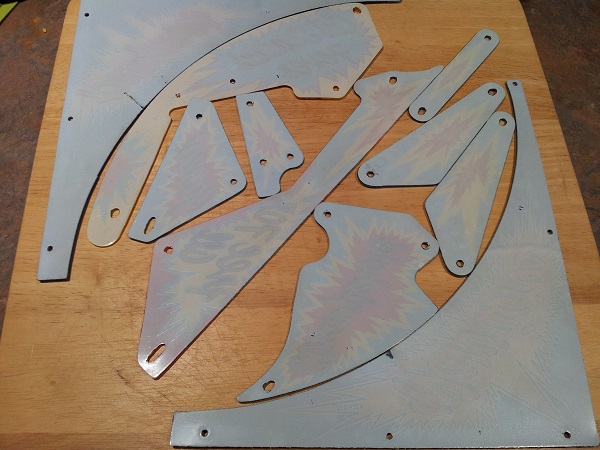
I did the plastics in 3 sets in the oven. Each time the oven was heated to 105 degrees (centigrade) and the pieces put onto a biscuit tray lined with baking paper. I’d keep an eye on the plastic and wait for it to flatten out. This took about 3 – 4 minutes. The pieces were then removed and put between sheets of glass and heavy items sat on top. This resulted in a complete set of flattened plastics.
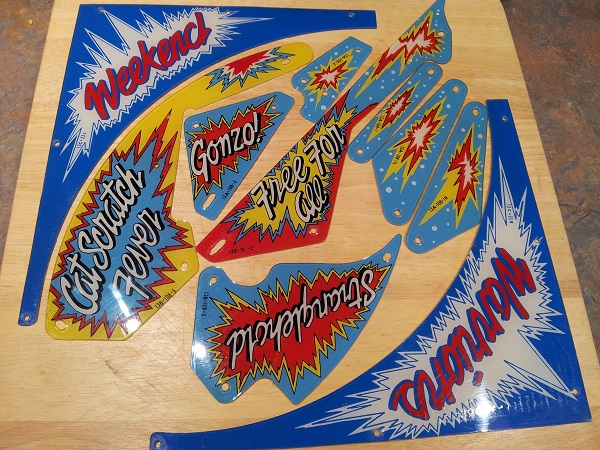
With the pieces flat, I needed to address another issue with them – the rear side of most pieces was quite dirty. First time around I was too damn scared to really touch the plastics. With lots of practice under my belt now, I wanted to clean them up properly.
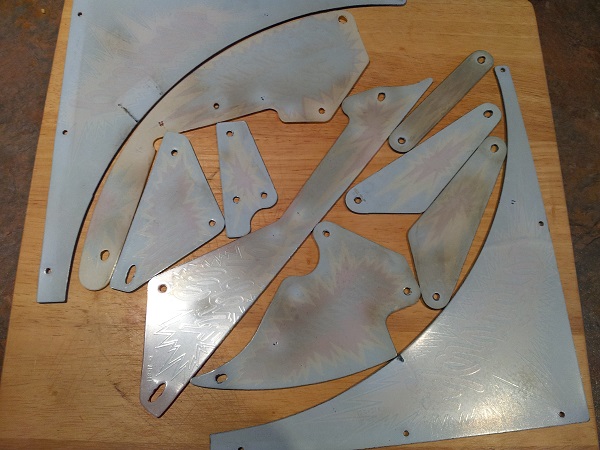
With a little effort, each piece was gently cleaned until the dirt and crap was removed. There are a few minor scratches, but given their age I’m quite happy with their condition. The only problem I have with them is the yellow “Cat Scratch Fever” piece which has had an extra hole drilled in it. This hole was added and a post added behind the bonus multiplier drop target at some point in the past. I’m not sure why. In fact a post could easily been added without a hold added to the plastic. The bonus collect saucer ejects the ball in this direction and it’s possible to adjust the strength the ball is released at – so I’m thinking that perhaps at one point in time it was being released with too much force, causing the ball to hit the target bank with excessive force.
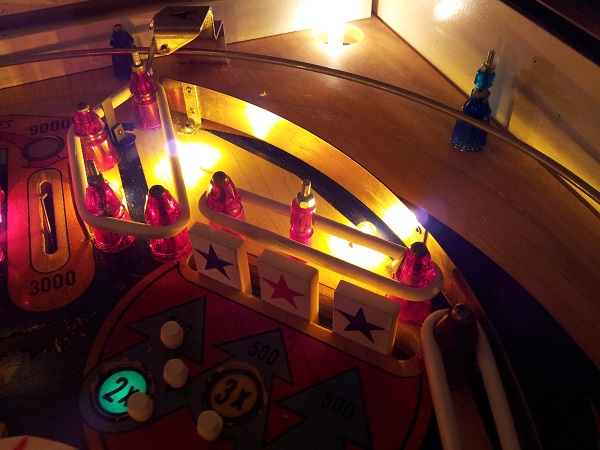
Thankfully it’s not an obvious fault when looking at it installed in the machine – but it’s there, and I know about it. The next issue to look at was the bulbs. On the playfield there were two bonus lamps not working (10K and 1K). The 1K bonus lamp turned out to be the wire connected to the lamp socket – it had snapped off. The 10K lamp was simply a bulb. I checked all other bulbs at the same time and found everything was OK except for two #455 flash bulbs I had in the backglass. These were looking quite burnt and were replaced.
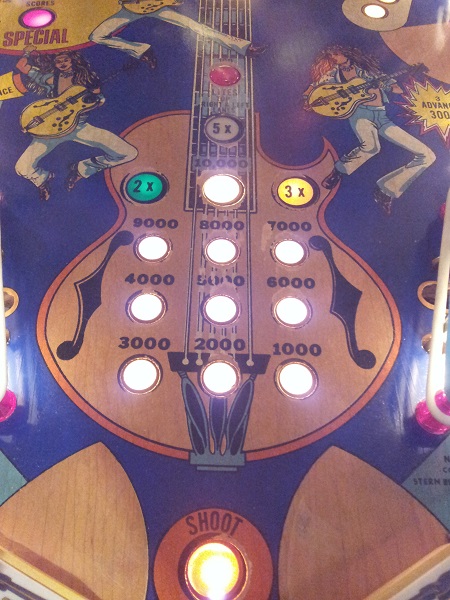
The last lamp to look at was the 5x multiplier lamp. The bulb was OK and the lamp socket connected properly. So I had a look at the boards and found a dodgy transistor. This was replaced with a new one and the 5X lamp was back working again. While I had the board out I went through each transistor and checked the solder joints on the connectors for any cracks.
My attention now turned to the shooter lane guard and apron area. These areas were cleaned but never polished up nicely. I wanted to take some time to restore some shine to the metal. The lane guard was up first. It started out looking quite dull from age.
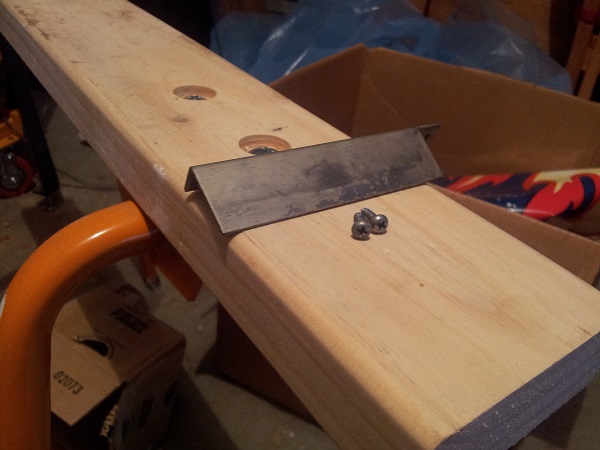
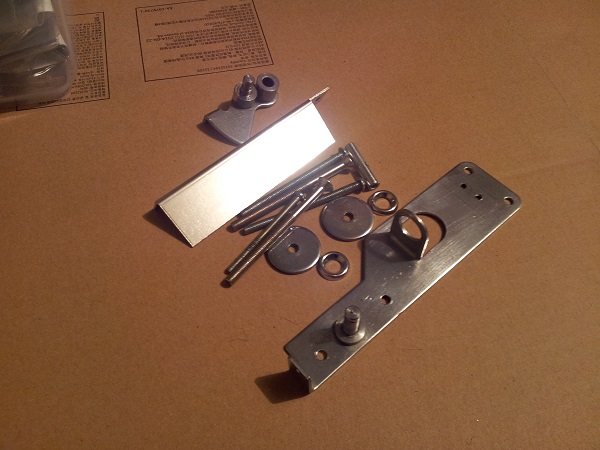
It was a chance to use my new tumbler. I loaded the tumbler up with lots of metal parts and media and let it run for 8 hours. The results were fantastic. The lane guard looks much better as do the screws, bolts and washers. The ball serve assembly was also dismantled and polished up.
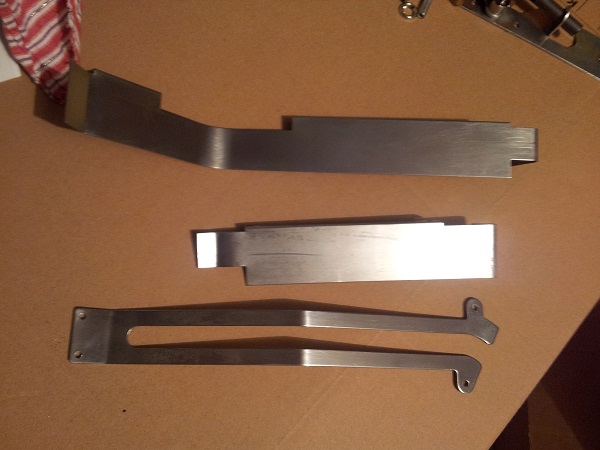
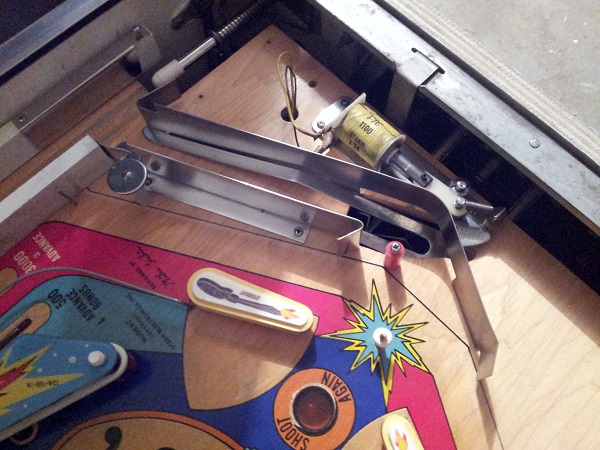
The ball ramp metal parts were removed from the playfield for polishing too.
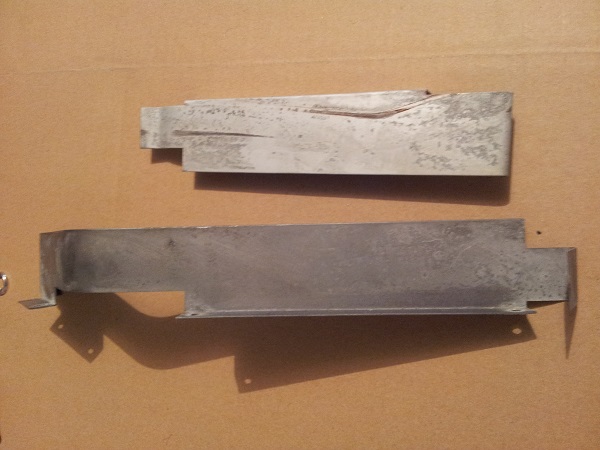
Due to the size, there were done by hand and not the tumbler. They are looking much better now.
The playfield area under the apron wasn’t too bad. There was a small surface layer of dust in most areas. There was some crap under the ramp. Looking back at my photos from earlier in the year, I couldn’t find any of the ramp removed. So it’s possible I did not remove the ramp last time and simply cleaned around it.
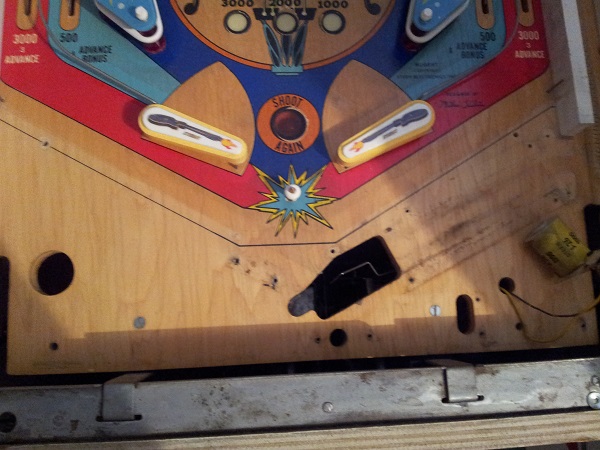
The area was cleaned with eucalyptus oil and the polished with Novus 2 and 1.
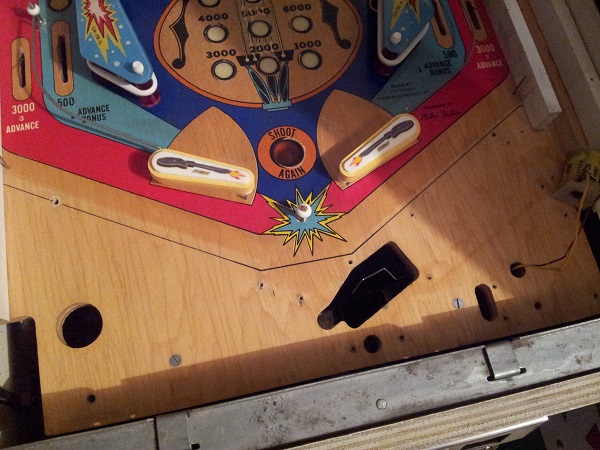
The metal parts were all installed back into position and the ball serve assembly rebuild. With this assembly, I replaced the spring as the arm was not being pulled back into position correctly.
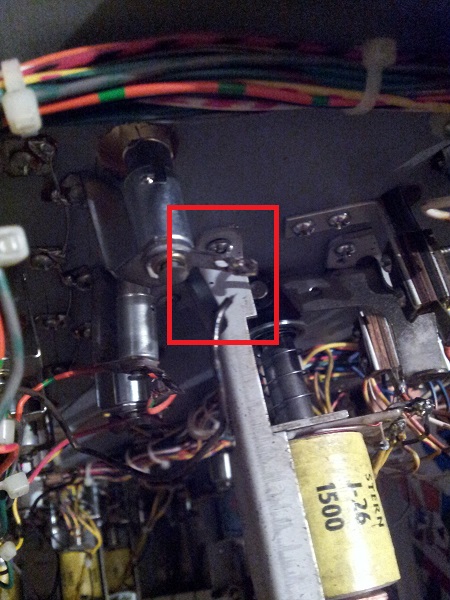
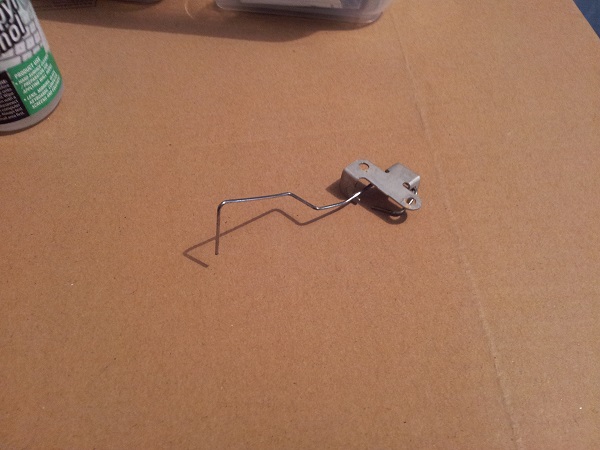
The last thing to look at here was the ball drain switch. This was removed from under the playfield and cleaned up also. Before removing it though, I noticed something interesting. The metal arm was sitting below one of the switch blades. As you can see in the photo, there is a switch blade between the wire and the playfield. This blade should sit below the wire. This explains an issue I had been seeing. At random times, the ball serve coil would fire, usually directly after a ball had just been served. Looking at the switch closer, I noticed that because the wire was below this switch, it was not opening the switch correctly (and causing the ball serve assembly to fire again).
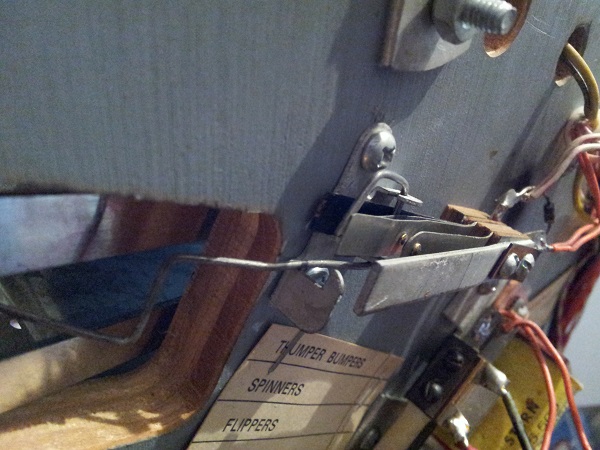
The switch arm was cleaned up and polished also.
A new white rubber tip was added to the shooter rod and a brand new high polish ball added. As part of the 12 month service, I decided the machine could have a new ball and new rubbers. The current rubbers have build up some dirt over the last 12 months, so a new set will help maintain the clean state. There is still more to do and I’ll go into that in the next update. There is a source of dirt that is getting pushed around and I want to address this before moving onto anything else.
