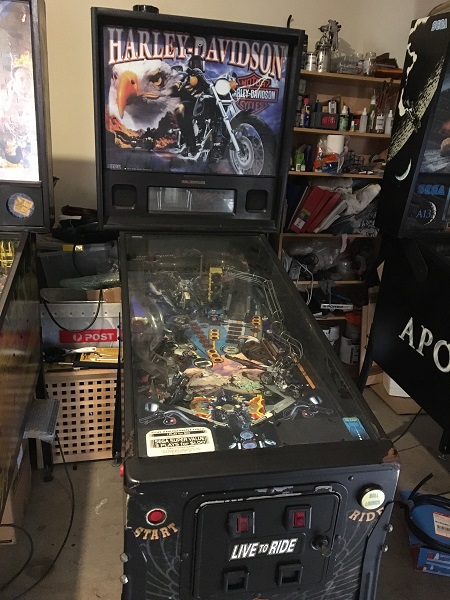
There was a time where I would have weeks (often months) between pinball projects. Not any more though. As one machine goes out the door, the next one rolls right on in. This time it’s back-to-back SEGA’s with a Harley Davidson replacing the Apollo 13. The last SEGA game before Stern took over. It was released in 1999 and there ended up being 3 editions released. The first from SEGA, which Stern then continued once it took over. That was followed by 2 additional editions a few years later by Stern. The game powers up, but has a few issues to look at. It needs a really good clean, but that’s typical of most games that come my way. The main issue I’m concerned about is (seemingly) random resets, which I will get to shortly. It has some mechanical issues, but those won’t be a problem to sort out. Let’s get started!
repair
All posts tagged repair
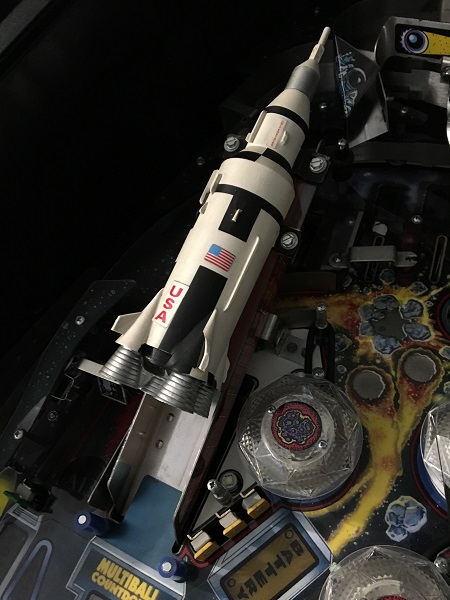
Time to wrap up the work on Apollo 13 and get it back into one piece for testing. First item on my to do list in this update is the rocket assembly, as it’s the last outstanding part of the playfield to get a clean. Then I can go through the process of getting everything back together (which is mostly the rails) and test the game. The end is in sight, which is exciting as I’m keen to play (…test) it. Time to get started! The rocket ship is the shot responsible for working towards the 13 ball multi ball mode. There is a ramp you shoot the ball up and a small assembly at the top which traps the ball, updates the countdown and then returns the ball back to the player. It is connected to a motor below the playfield, which performs a lift off and drops the ball into the large red ramp below the playfield.
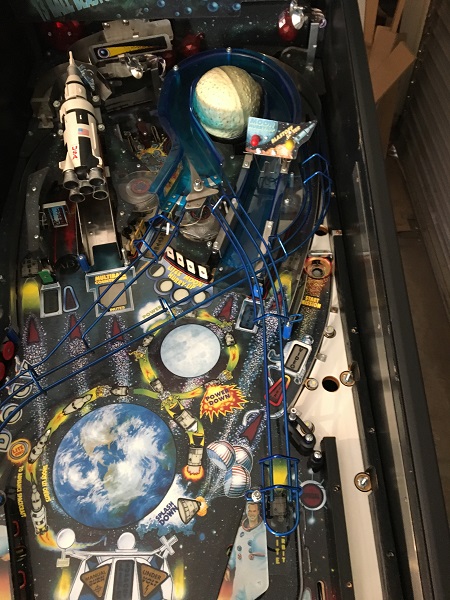
Having worked through the lower and middle sections of the Apollo 13 playfield in previous updates, it’s time to turn my attention to the upper section. There aren’t that many assemblies to get through, but quite a lot of parts to remove, clean and then install again. So it’s still a time consuming process. My first area of interest in this update will be the pop bumpers. But before I can get there, I have a few things to remove. In previous updates I had already removed a couple of the blue rails, but now it’s time to remove the rest so I can get to the pop bumpers.
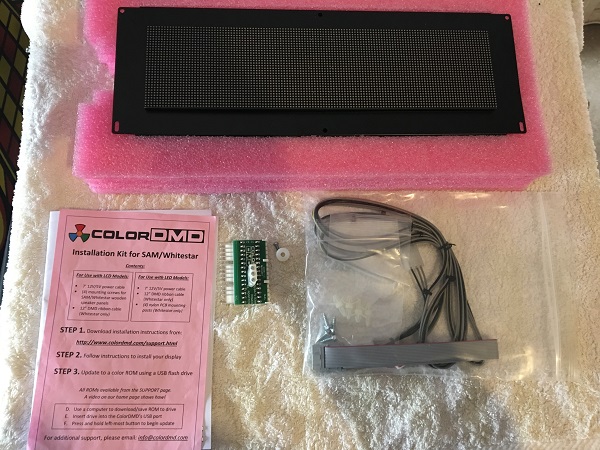
Colour displays on pinball machines are awesome! That’s probably stating the obvious, but once you’re playing in colour, it’s hard to go back to boring old orange and be satisfied. The owner of this Apollo had been thinking of adding a colour display from ColorDMD and decided to go ahead with it. There are two versions of colour display you can get – LCD and LED. This one’s the LED version and comes with everything you need to get it installed – it’s designed to be simple to install. Let’s get that new Colour display installed and see how it looks!
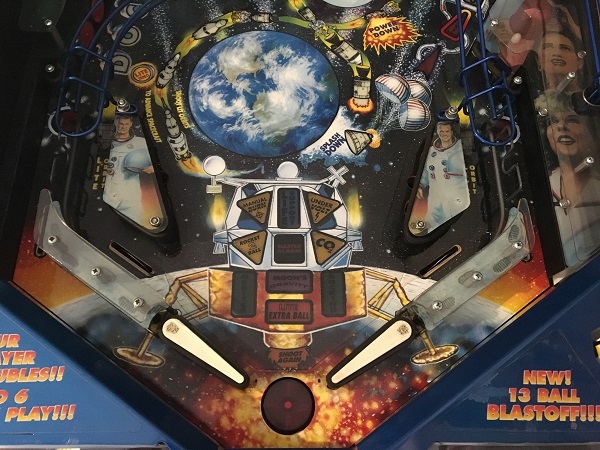
The Apollo 13 overhaul has continued over the last couple of weeks. Sometimes progress can feel like slow going, but it’s surprising how quickly time gets sucked up as you work through sections of a machine. Plus, it’s getting cold at night time, so working on games once the sun has gone down is getting tougher. The previous update was heavily focused on the apron area of the playfield. Shifting my attention 30cm higher up the playfield, this update will be focusing on the next lot of assemblies – so things like the flippers, up post (ball save), ball return VUK and sling shots. Technically the VUK lives under the apron area, but i’ll ignore that fact for the sake of including it in this update instead of the last one 🙂 I also want to get the CPU controlled lamps switched over to LED’s as the kit arrived. So let’s get started and begin removing some parts!