
The Apollo 13 overhaul has continued over the last couple of weeks. Sometimes progress can feel like slow going, but it’s surprising how quickly time gets sucked up as you work through sections of a machine. Plus, it’s getting cold at night time, so working on games once the sun has gone down is getting tougher. The previous update was heavily focused on the apron area of the playfield. Shifting my attention 30cm higher up the playfield, this update will be focusing on the next lot of assemblies – so things like the flippers, up post (ball save), ball return VUK and sling shots. Technically the VUK lives under the apron area, but i’ll ignore that fact for the sake of including it in this update instead of the last one 🙂 I also want to get the CPU controlled lamps switched over to LED’s as the kit arrived. So let’s get started and begin removing some parts!
First step was to remove the ball return plastics and posts, along with the sling shot posts and rubbers. I also decided I’d remove the two adjustable posts on each out lane for this update too. All the metal posts and spacers were set aside to go into the tumbler. The playfield had already been given a general wipe down, but there was still plenty of filth under the sling and return lane plastics.
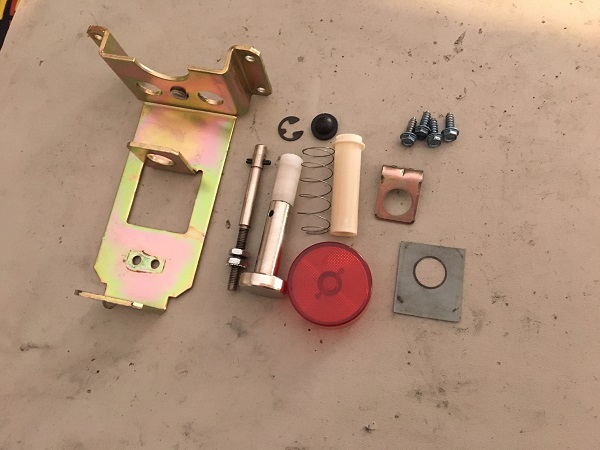
The first assembly to look at is the up post. This rises up during play to prevent ball drain down between the flippers for a certain period of time.
At first glance the assembly didn’t look too filthy. But once I started removing it, my hands became covered in black dust.
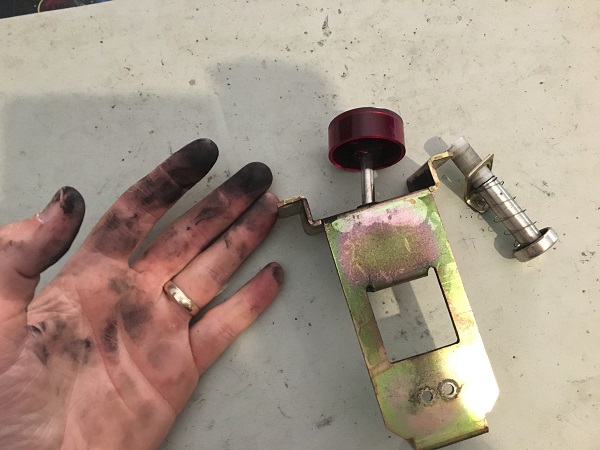
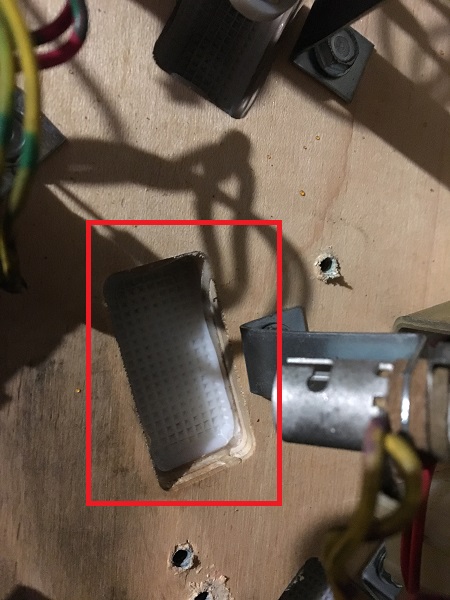
The entire assembly was pulled apart and pieces cleaned. A new coil sleeve and grommet were purchased to replace the old parts.
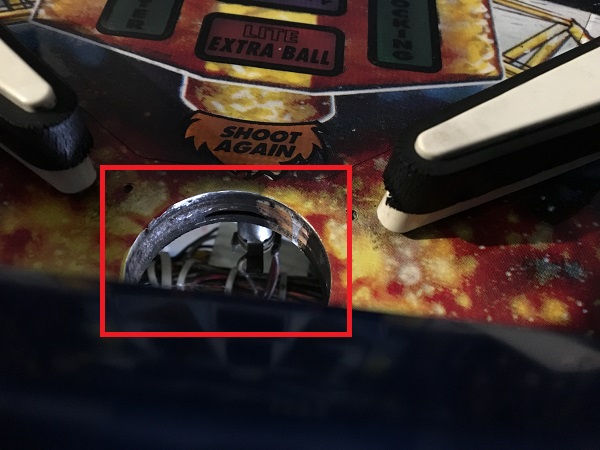
I noticed a lot of filth built up on the playfield surface just inside the up post. A lot of black dust from the years of play and close proximity to the flipper assemblies.
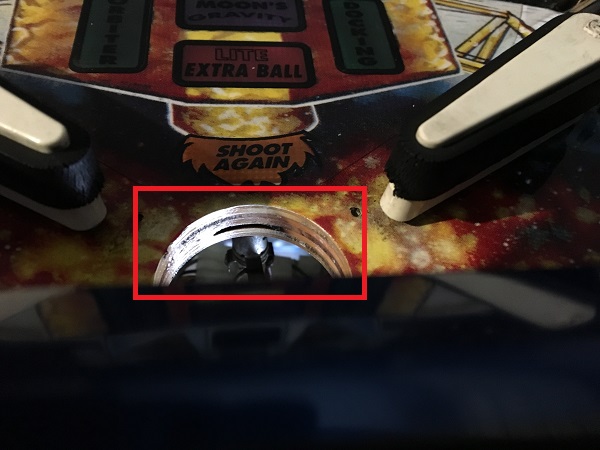
A gentle wipe with a cloth takes care of it though. It’s well worth taking the extra time to clean this sort of stuff out of your machines.
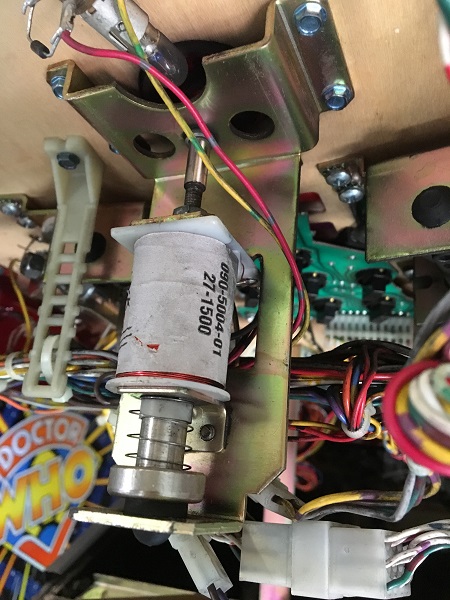
The next assembly to get a clean is the VUK (Vertical up kicker) responsible for returning the ball from the under playfield ramp into the trough. To get it out though, the large red ramp from under the playfield needs to be removed from the game first. Getting the ramp out of the game was far more challenging than it should have been thanks to all the wiring and lamp sockets in the way. Once removed though, the ramp was set aside for cleaning. I’ll come back to cleaning the ramp later. For now though, I could then get the VUK assembly off the playfield.
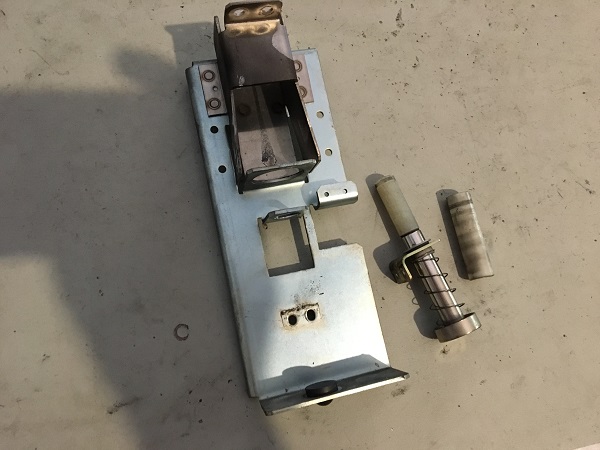
The VUK assembly was disassembled and everything cleaned. A new coil sleeve and grommet were purchased to replace the old parts.

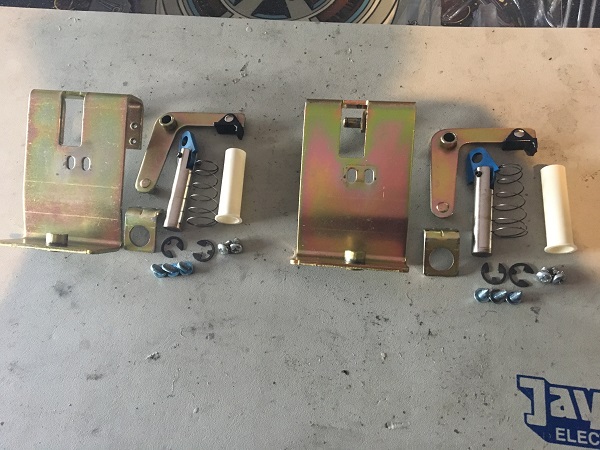
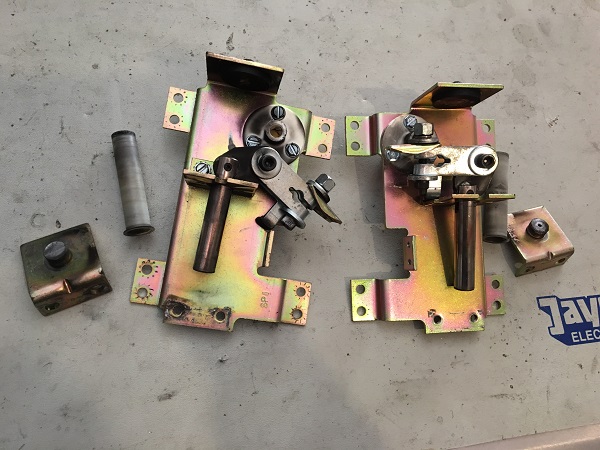
The next assemblies to come out of the playfield are the sling shots. The sling switches are attached directly to the assemblies and need to be removed first before you can pull them out of the game for cleaning.
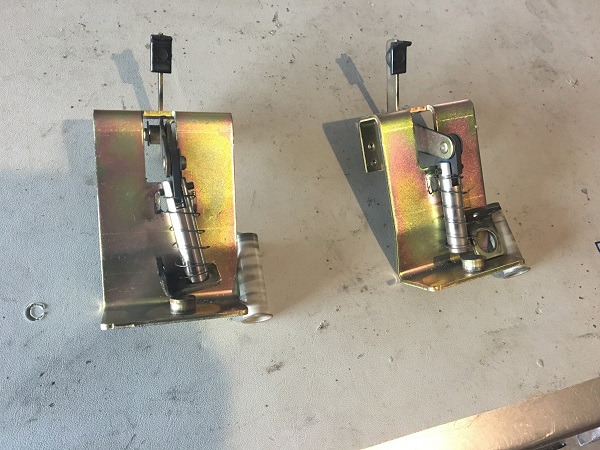
Both assemblies were disassembled and all parts cleaned. New coil sleeves were purchased and installed when put back together.
The owner has purchased a full LED kit from CoinTaker. It’s the premium version with non ghosting LED’s, which is good for SEGA machines.
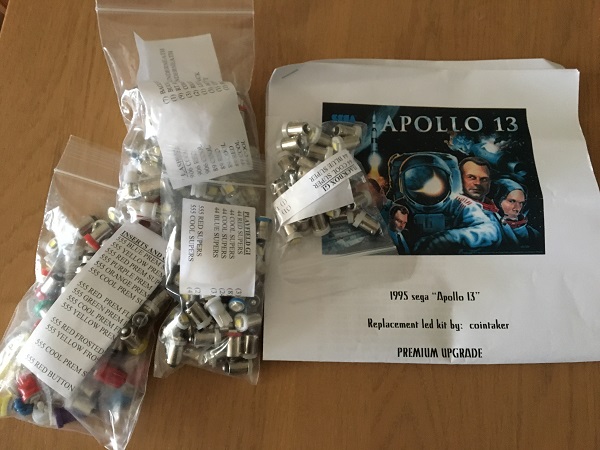
I decided to start with the headbox LED’s. I hit a small problem though. The kit comes with a series of #906 flashers for the headbox, but the game requires #89’s. This was communicated back to the owner who is now in contact with CoinTaker sorting the issue out. Hopefully they can send the correct flashers out and also update their kit information for anyone else buying it.

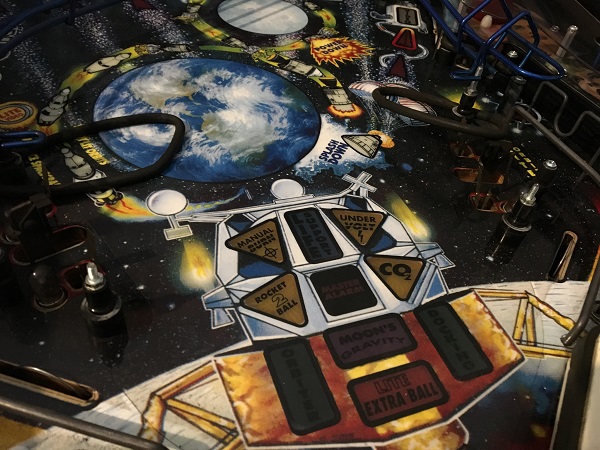
With the headbox LED’s done (except for the flashers) I lifted the playfield up to install the insert LED’s. During this process I always take time to wipe down the underside of the inserts as they often attract filth over the years.
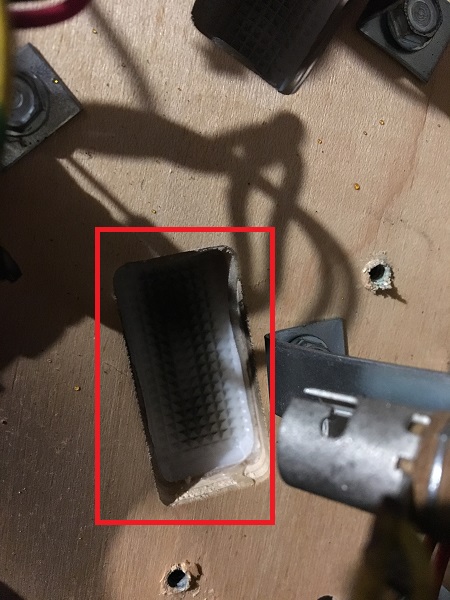
A gentle wipe down with a cloth and Nifti removes the build up and allows full light to shine through the insert. It’s well worth doing and takes little effort.
Many of the games insert lamps live on a series of small lamp boards that attach under the playfield. These often attract coil dust and filth over the years. The ones next to coil assemblies often end up really filthy. Can you guess which one of these lives right between the two flipper assemblies? 🙂
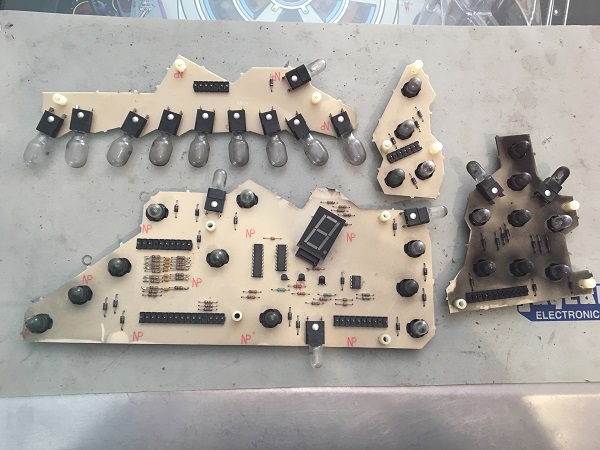
With the goal of removing as much filth from the game as possible, I like to take the time and clean them up. It doesn’t take long and is simple to do. To get at the dust between (and under) the components, I use a small paint brush to wipe it away. The appropriate LED’s from the kit were installed too. I noticed after taking the photo I had forgotten to install one of the LED’s. This was added before installing back into the game.

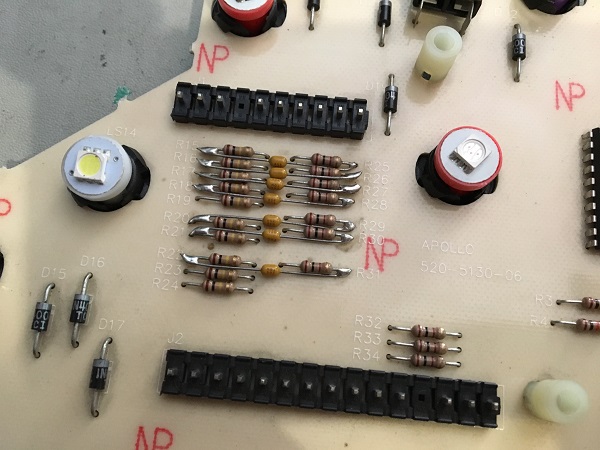
Something interesting caught my eye while cleaning the large board with the digit display. It looks like some tech work on the resistors. Not sure if it came from the factory like that or has been worked on as some point.
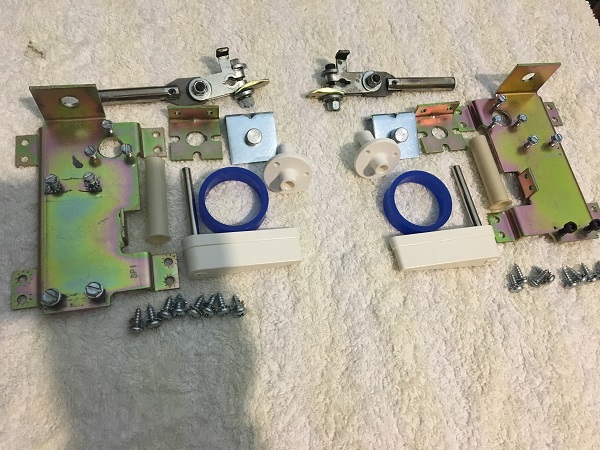
The last set of assemblies to look at in the lower playfield area are the flippers. The owner was happy with the strength, so a full rebuild won’t be done. Doesn’t mean they shouldn’t be cleaned though, so the assemblies were removed from the game.
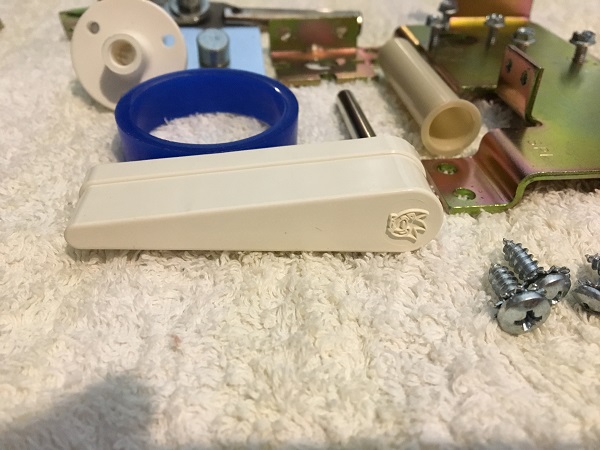
I decided to replace the coil stops, bushings, coil sleeves and grommets though. So I guess it’s getting a mini rebuild. New flipper bats (with the correct Sonic logo) were purchased as the white on the old ones had faded. New blue super bands were purchased for the flippers.
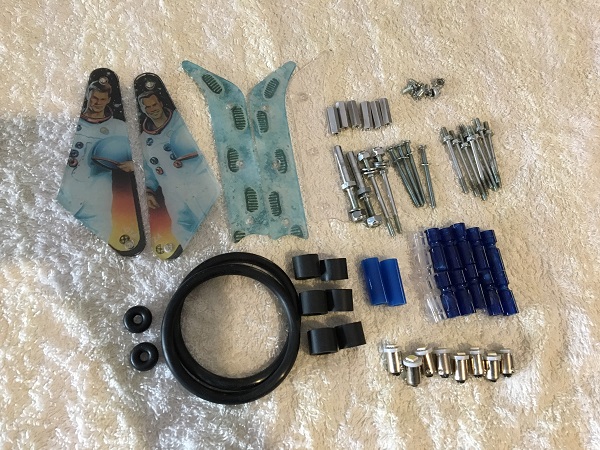
The plastics that had been removed at the start of the update were cleaned up. There was quite a bit of filth on the underside from years of use over the slingshots. The small metal spacers and posts went through the tumbler for a clean and polish. New rubbers and post sleeves were purchased. I’m replacing some of the old black posts with transparent clear and transparent blue which I think will go really well with the whole space theme and new LED’s.
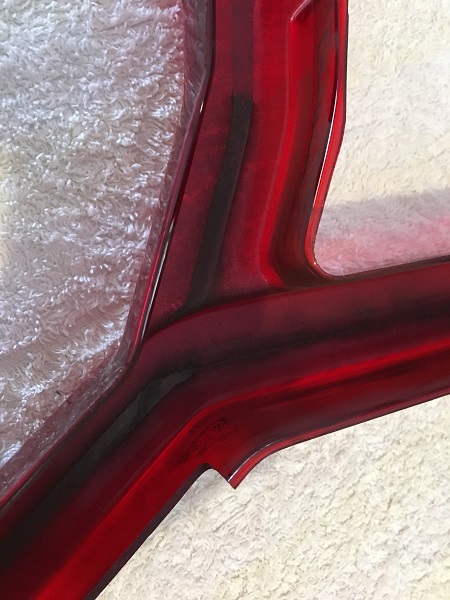
I had earlier removed the large red ramp that resides under the playfield to allow access to various assemblies and lamp boards. While I don’t plan to install it back onto the game for awhile yet, I thought I may as well give it a proper clean now.
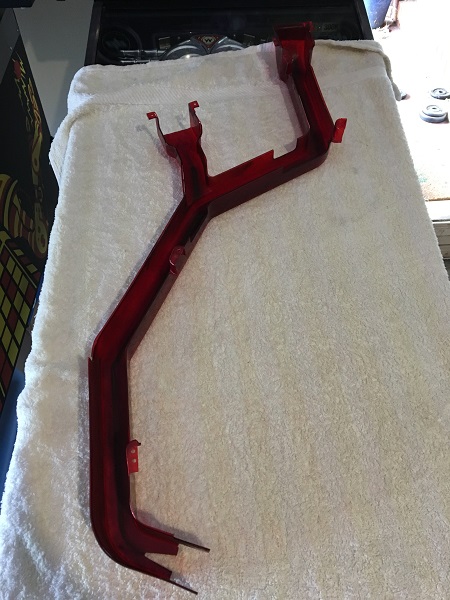
It’s really filthy, with lots of worn in ball marks. These under playfield ramps are a great collection point for the crap that gets pushed around the playfield.
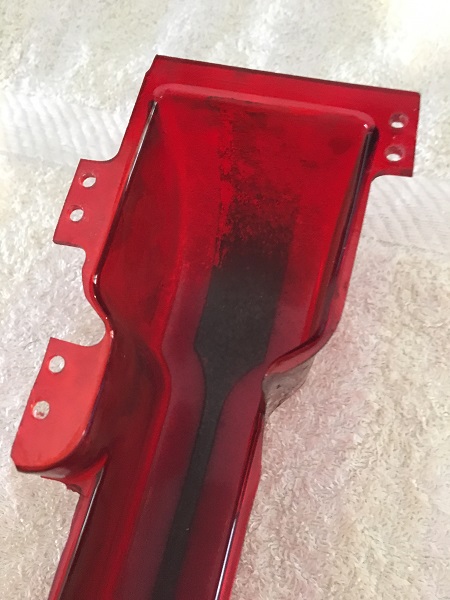
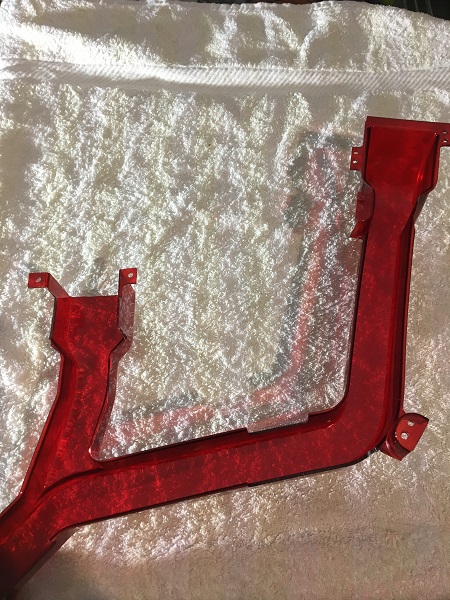
Armed with a cloth and some Nifti I was able to remove most of the worn in filth. Next step was to use Novus. The result is a nice and clean under playfield ramp again.
The ramp was put away for safe keeping until the end. Because the ramp covers such a large area, it covers various post bolts, screws and lamp boards which I still need clear access to – so better to leave it off until i’m ready to test the game. Next step was to get all the lower playfield parts back onto the machine. I started with the assemblies, so sling shots, VUK and up post were all installed again. The posts, rubbers and sleeves were all installed too, along with clear lexan washers on the sling shot corners to protect the plastics. Due to the new rubbers being installed on the sling shots, I had to adjust the 4 switch arms slightly.
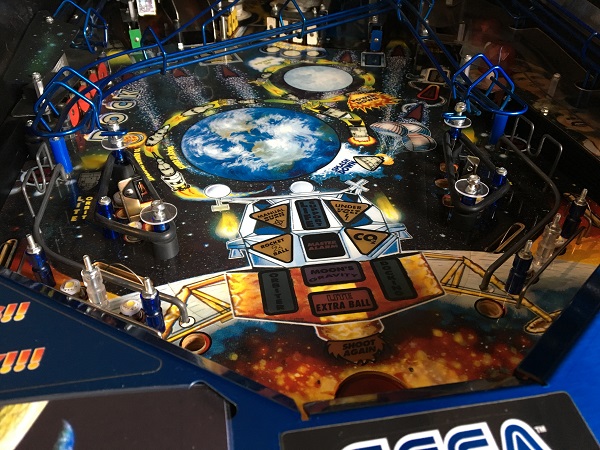
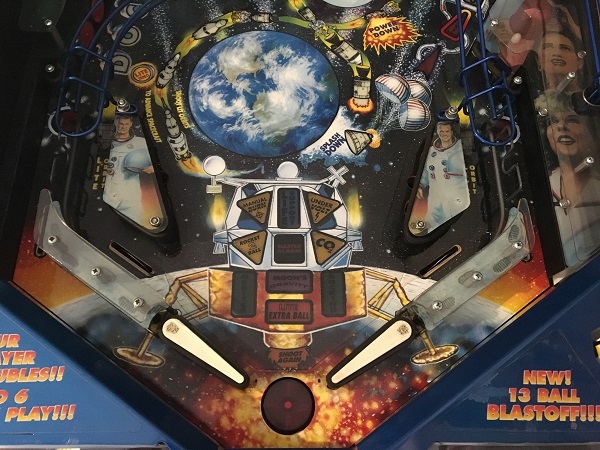
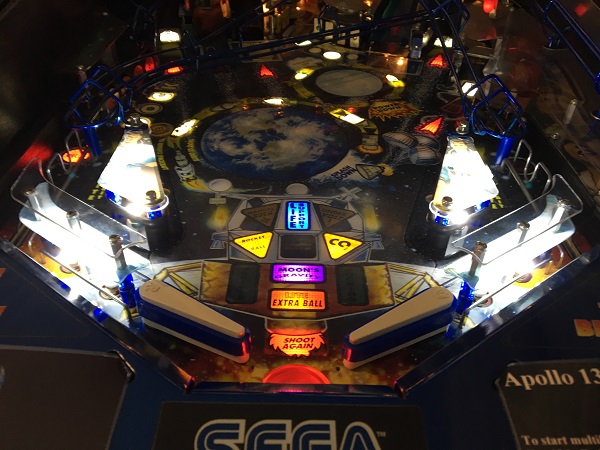
I then put the plastics on to see how it looked lit up.
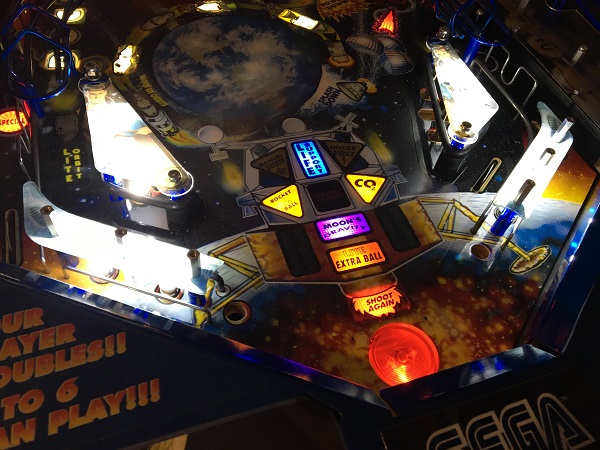
For comparison, here is how it looked with the dirty inserts and bulbs. You can barely tell the blue life support insert is lit.

Huge difference! Last step was to get the flipper assemblies back on to the playfield, along with the remaining clear plastic pieces on the return lanes. I like how the transparent posts are looking with the LEDs and allow more light across the playfield.
That finishes off work on the lower playfield area. The LED’s make a huge difference in terms of lighting and suit the space theme well. In the next update I’ll be looking at the middle playfield section along with cleaning up the ball launch handle and may find time to swap the DMD display over with a Colour LED display.