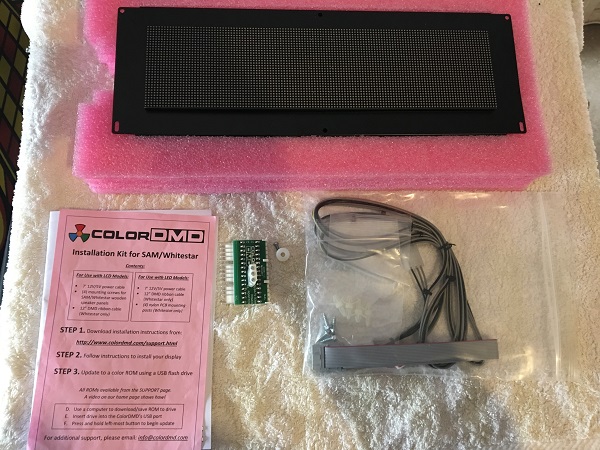
Colour displays on pinball machines are awesome! That’s probably stating the obvious, but once you’re playing in colour, it’s hard to go back to boring old orange and be satisfied. The owner of this Apollo had been thinking of adding a colour display from ColorDMD and decided to go ahead with it. There are two versions of colour display you can get – LCD and LED. This one’s the LED version and comes with everything you need to get it installed – it’s designed to be simple to install. Let’s get that new Colour display installed and see how it looks!
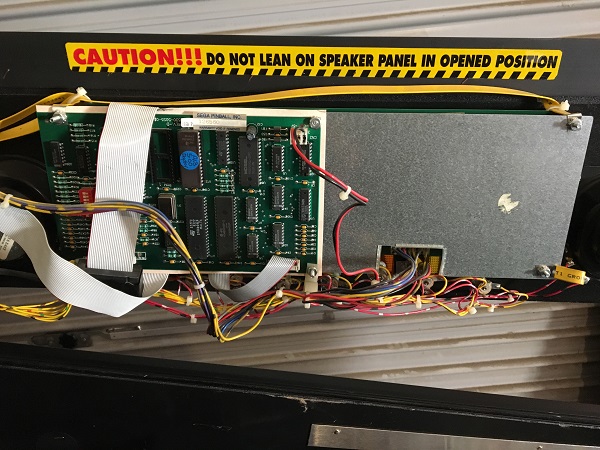
First step is to remove the old display. It’s attached via 5 bolts to the display panel of the headbox. The swing out design of the panel makes it super easy to work on.
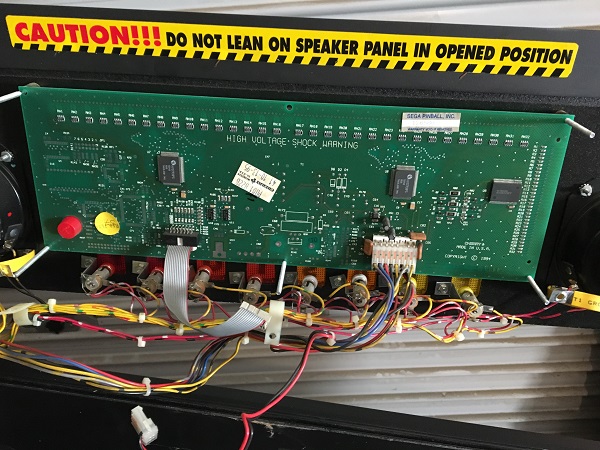
The display board is removed first, which then allows access to the actual DMD panel. The high voltage connector needs to be removed and the panel can then just slide out.
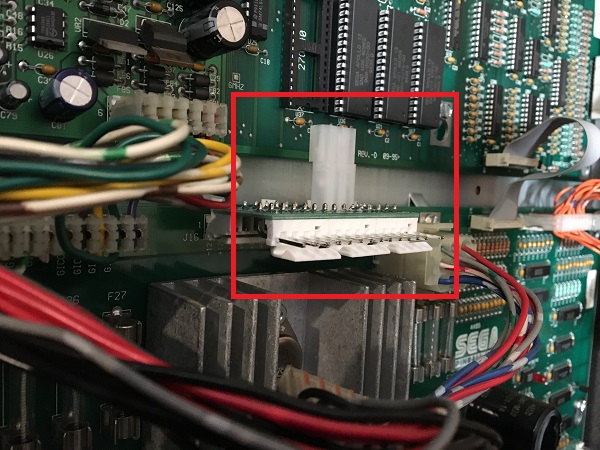
To power the new colour display, it comes with a small piggy back adapter which plugs into the 15 pin CN2 connector on the power board. The IDC connector that normally plugs in here then connects into this adapter, and the power cable for the display connects on top to draw 5V and ground.
The colour display then installs directly into the spot where the old display was. The ground connectors are hooked up again to the exposed metal sections of the panel and the display board connects to the back of it.
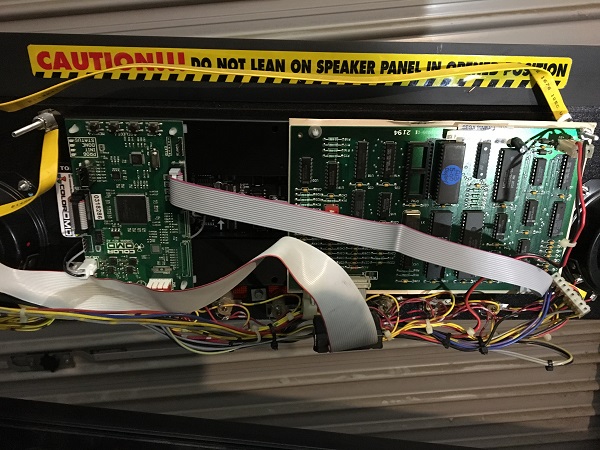
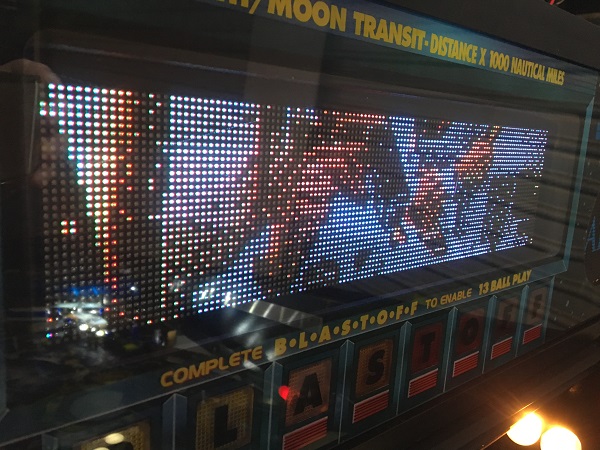
When you start the game up, the display lights up, but looks mostly like garbage. Next step was to install the correct firmware. This was downloaded from the ColorDMD website and copied to a USB stick. You then insert the USB stick into the ColorDMD board, and hold the USB button for a few seconds to begin the install process.
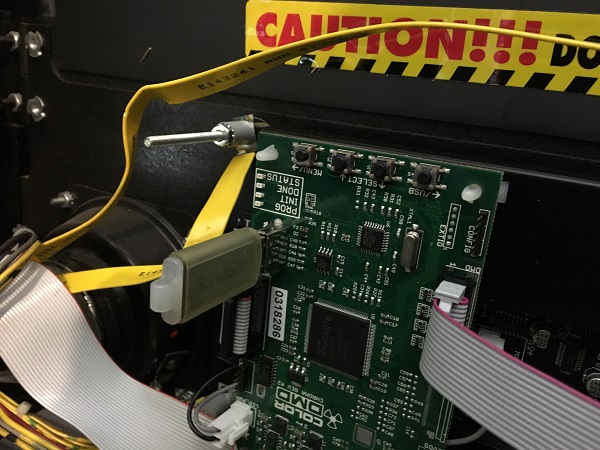
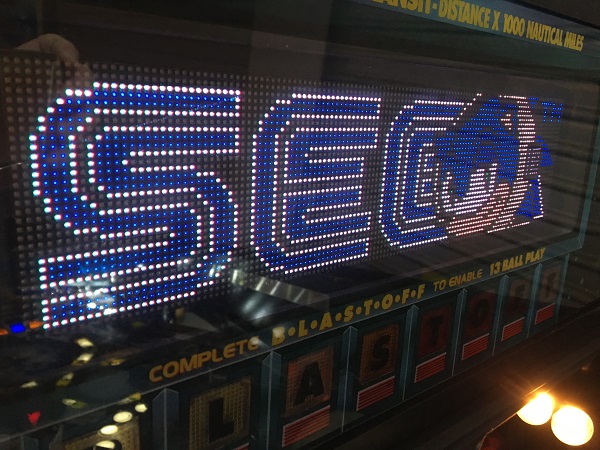
A minute later, the install was complete and the display ready to use. This one is the LED version, so looks much like the original DMD in appearance, only now in colour. With the new DMD now working, I tidied up the cables before moving on to the next task.
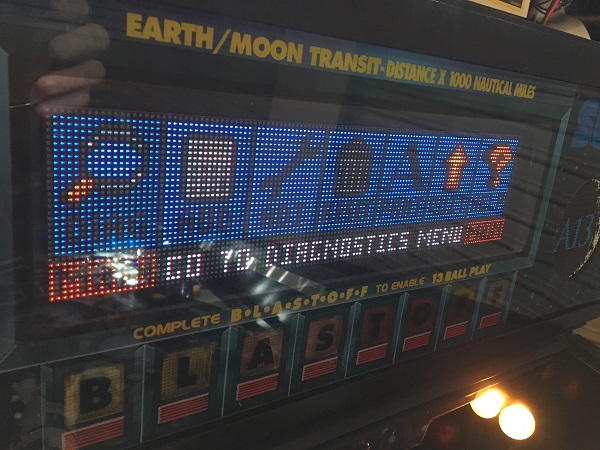
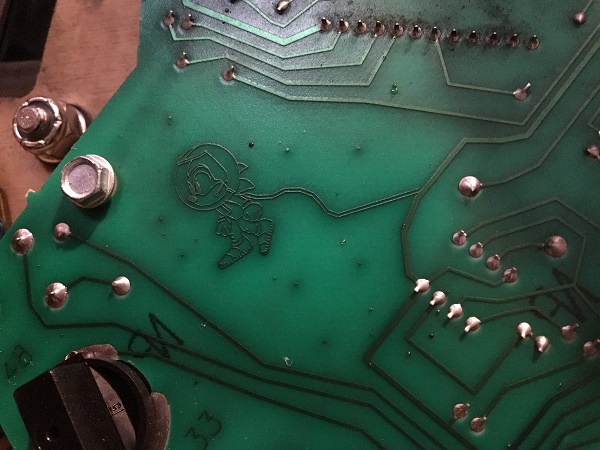
Something interesting to go with that picture of Sonic the Hedgehog in a space suit is it can be found on one of the lamp boards under the playfield! When I had the playfield up one day I noticed a strange etching in the lamp board.
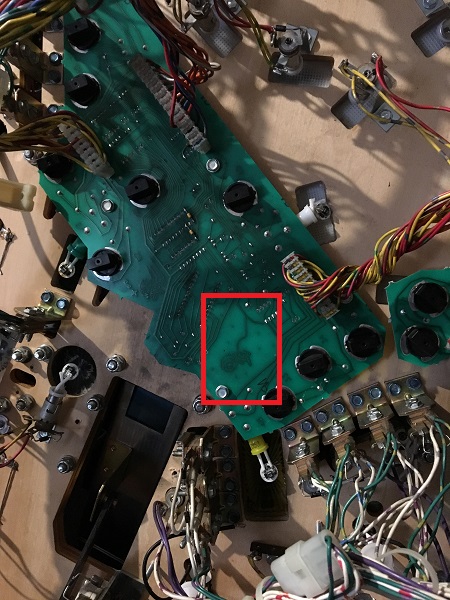
At first I thought “What a funny track to put on the board…”. On closer inspection, SEGA etched a picture of space Sonic into the lamp board. I love how SEGA put references to their console gaming history on their pinball machines. This one is very specific to the Apollo game too.
The next task on my to do list was to do a little clean up on the ball launch handle. This is attached via 4 bolts at the front of the cabinet and pretty simple to remove.
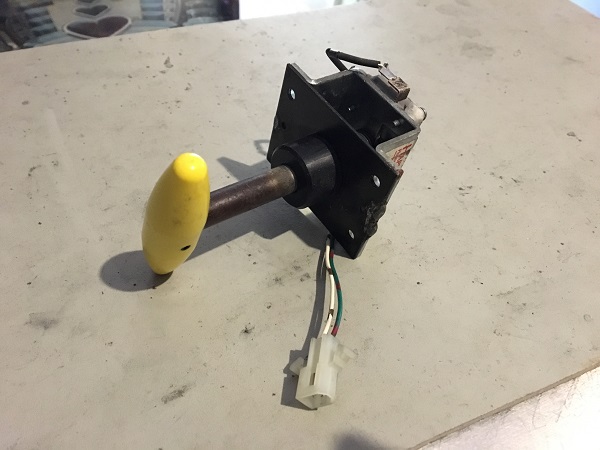
I had expected the handle to remove in two pieces, but found the frame and metal front plate were welded together. I’m not sure if it’s supposed to be like that or has been manually welded post purchase from HAPP. It makes it very difficult to disassemble the handle for cleaning or part replacement.
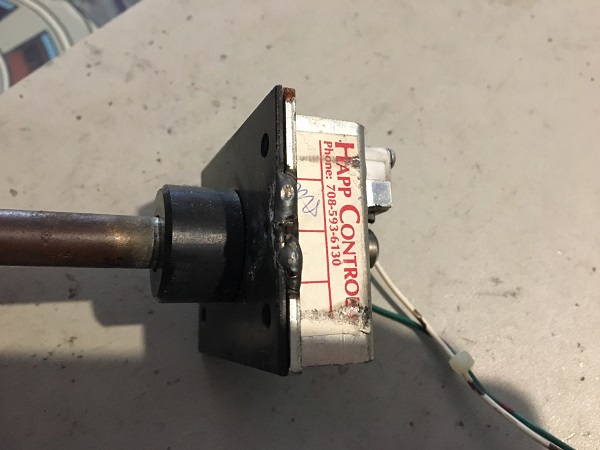
Not to worry though as the reason I wanted to remove it was to freshen up the metal shaft of the handle. It’s looking aged and I think a bit of paint will help it look much better.
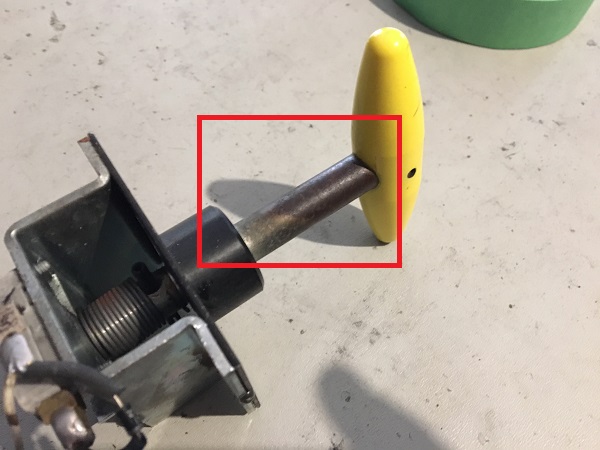
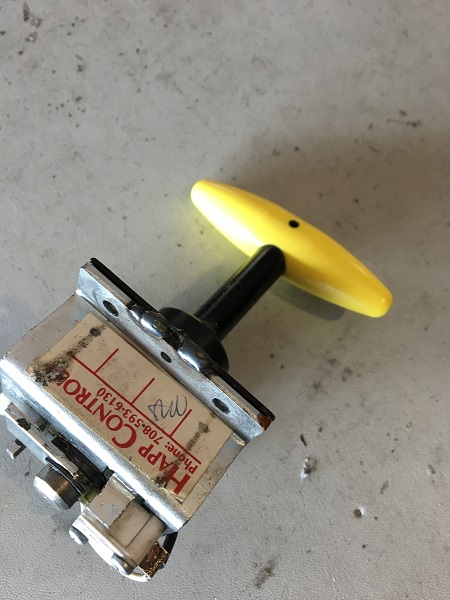
The handle and assembly were masked off and the shaft sprayed with satin black. It’s a small thing, but costs nothing to do and adds to the presentation of the game.
Alright, time to get a bit more work done on the playfield. For this update i’ll be focusing on the middle section. There actually isn’t much here – a few targets and a saucer. The main problem is getting to things as there are layers of rails and plastics to get through. On the right side there are two layers of plastics. One for art and the other clear protectors that sit above the art.
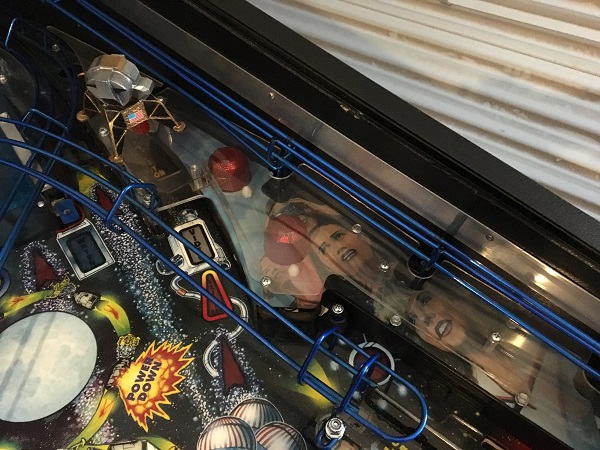
The left side is similar, although has two layers of art plastics instead of a clear layer.
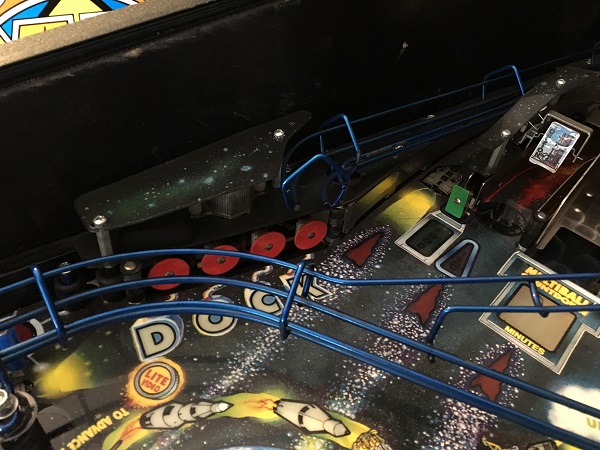
The plastics came off the right side first. The bulbs here are all dead, but will be replaced with LEDs. Not too dirty, although a nice layer of dust to clean away. Good to see no real wear around the saucer too. A few dark ball marks (across the start mission text), but those will clean away fine.
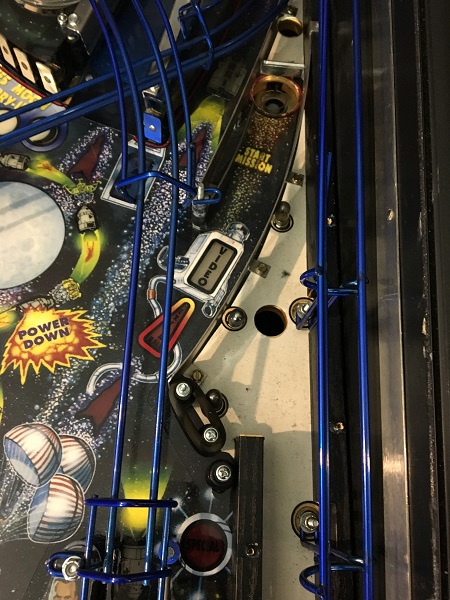
The left side was similar, although maybe just a bit dustier. The foam pads on the targets are all old and dirty – so i’ll replace these. The bulbs on this side were all dead too. With most of the GI bulbs dead in the middle section of the playfield, it made the game look quite dark. New LED’s are going to brighten this up nicely.
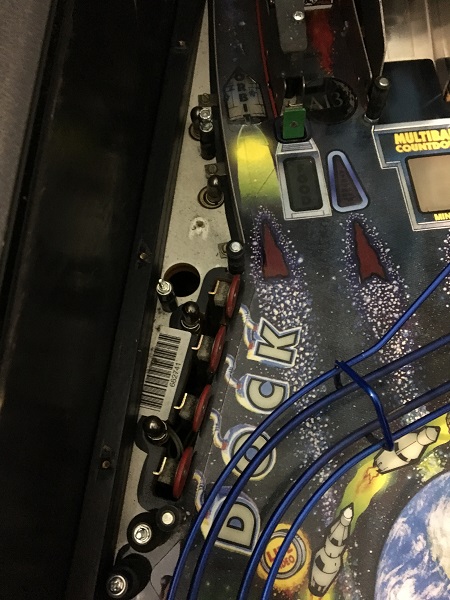
There is one assembly in this area of the playfield – the mission start saucer, which lives on the right side of the playfield. It’s very simple so won’t take long to clean.
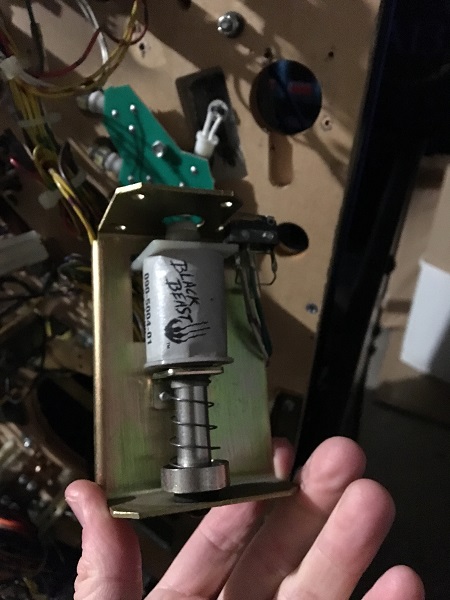
The frame and plunger were removed from the playfield for cleaning.
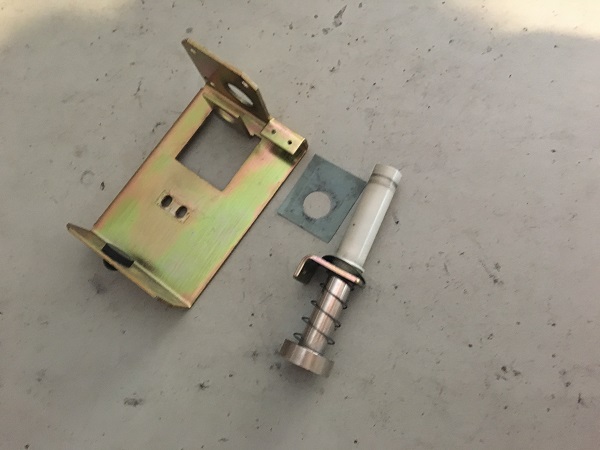
The assembly parts were cleaned up, with a new coil sleeve and rubber grommet purchased to replace the old ones. The switch (still in the machine) was cleaned up and the assembly was ready to go back into the game.
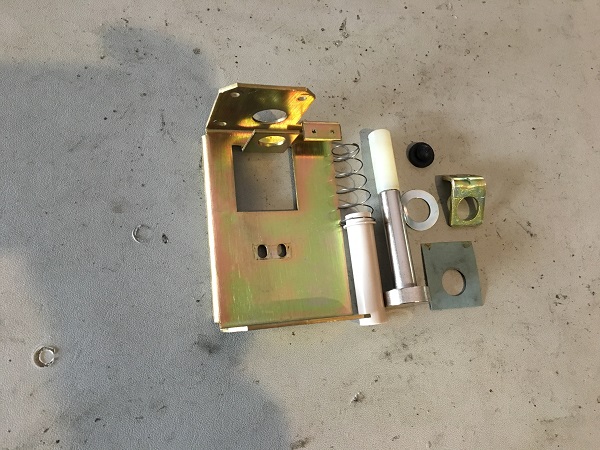
With all the parts off the playfield, everything was cleaned up. All the small metal pieces went through the tumbler for cleaning. New post sleeves and rubbers were purchased. I’ll be replacing a select few of the black posts with transparent blue ones to help more light shine through and give more blue to the playfield.
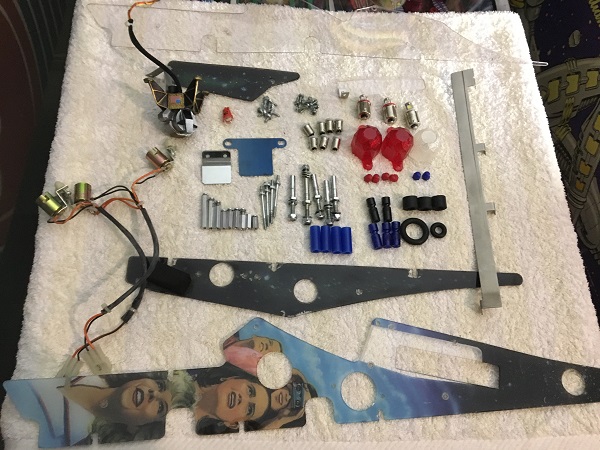
The playfield on the right side was cleaned up and then rebuilt. New rubbers installed, along with new blue post sleeves and LED’s. I had removed the large ball serve rail at this point too as it was getting in the way.
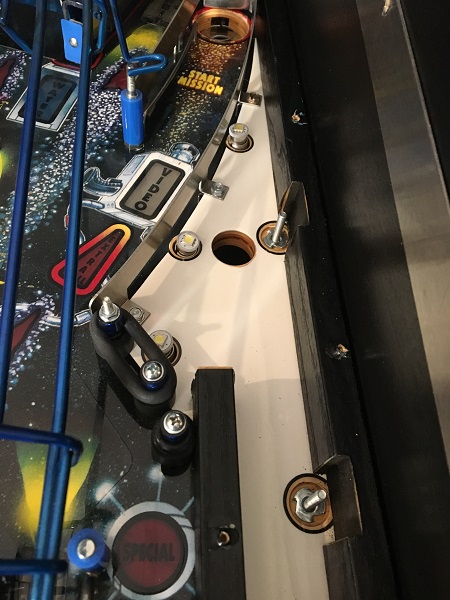
Over on the left side, the playfield was cleaned up and parts put back into the game. The foam pads behind the targets were replaced and new LED’s installed. The target faces were cleaned and polished too. The green target for food and blue target for water were also cleaned up and had new foam pads installed too.
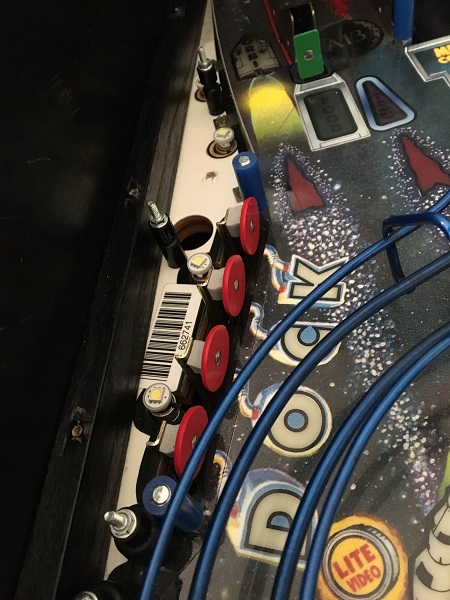
The plastics were installed back onto the right side, minus the large clear piece. Since I have to remove them again for the next phase (there are some screws for ball rails under the plastics), I didn’t bother installing the final layer. That can go back on at the end. There is no lighting under the lower section of the plastic so i’m going to try out a LED strip here and see how that looks.
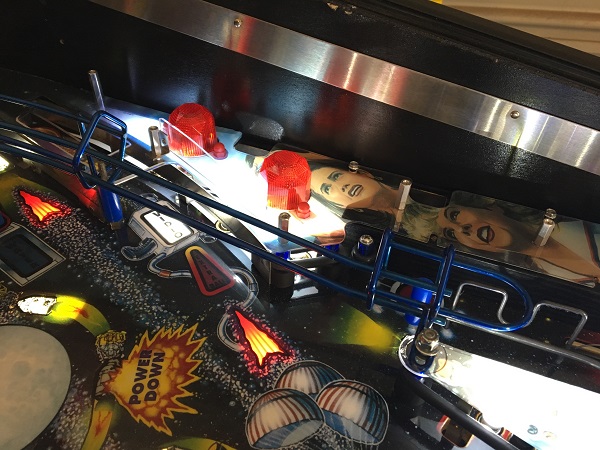
The plastics were installed back onto the left side too to complete it.
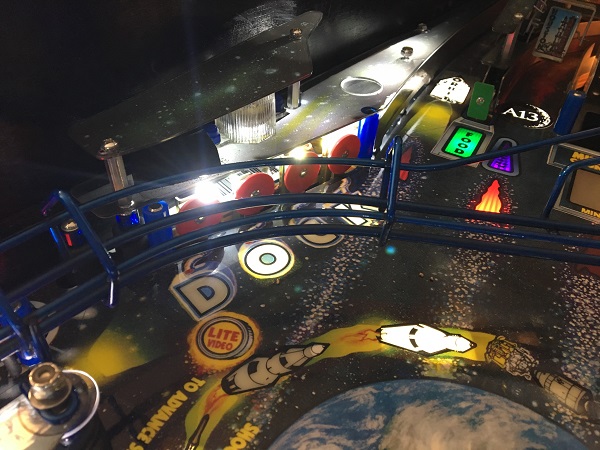
The lower and middle sections of the playfield are now complete and starting to look more modern (and clean).
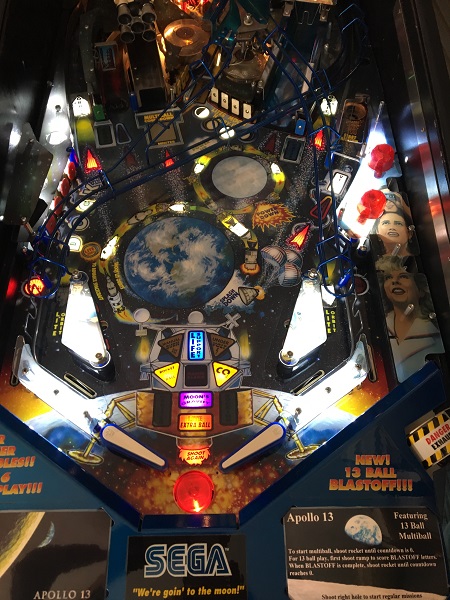
Following the last photo, I have been busy pushing ahead with the upper playfield area, so the rails and ramps are now all removed. But before I completed this update, I was keen to try out a small LED strip on the right side of the playfield, as this area is left dark with no GI lighting. This is wired up to the nearest GI socket under the playfield.
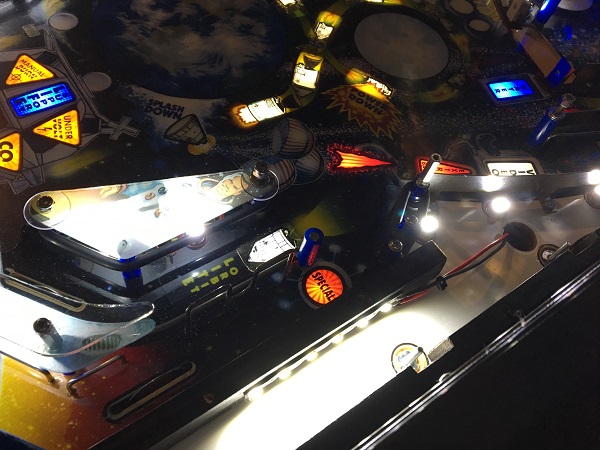
With the LED strip installed, the dark area is nicely lit now.
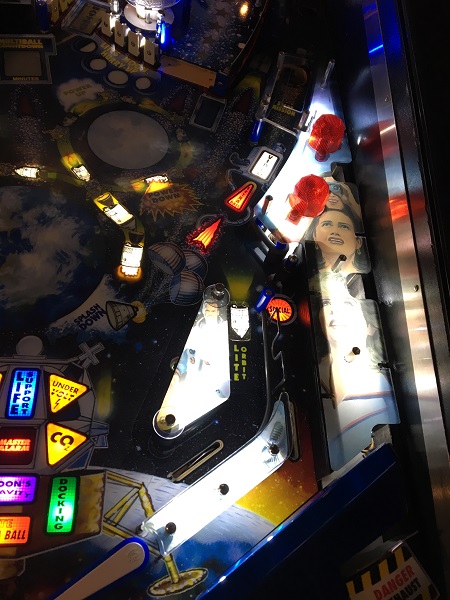
A bit of a shorter update this time, but as always chipping away at the to do list. I’m getting into the thick of it next update as I have removed the rails and ramps to get to the pop bumpers and the playfield at the top area of the playfield. I’ll also look at the ball trap in the pop bumper area too. I may actually forge on ahead and do the remainder of the top playfield section too – rather than split the next update up into smaller posts. I’ll see how it progresses. I can see why people talk about it being a more difficult game to fit LED’s too as there are a lot of plastics, ramps and rails to get off before you have access to the surface level of the playfield. It’s a great opportunity to give it a solid clean though and the game is cleaning up nicely.
