cabinet

All posts tagged cabinet

It’s been a few weeks since my last update. I’ve been getting small chunks of time here and there and progressing.

First on the to do list was cut the slot for the t molding. Thanks to a friend and the loan of his router bit, it was easy done. After making a few attempts on some scrap to get the right height, I attacked the side panels and got the groove cut in no time.

Continue Reading

Work has continued on construction over the last week and a half – although a little slower than I had hoped.

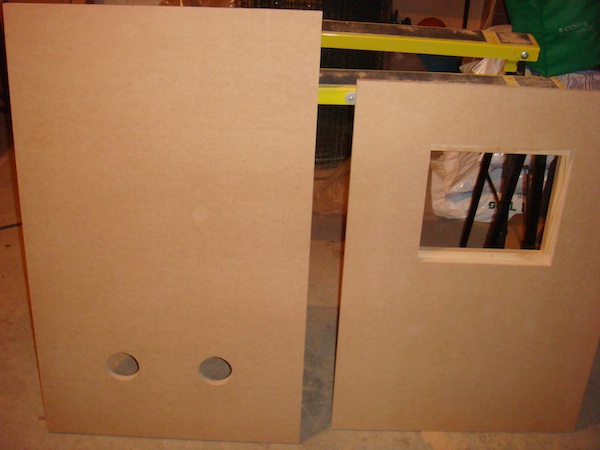
Firstly, I’ve cut out
– speaker hole below the marquee
– IEC switch hole at the back
– passive vent holes on the rear door
– coin door in front panel

I have some vented handles in the mail from Mikes Arcade, which will hopefully arrive in the next few days – so I will revisit the rear door once those arrive and cut out some holes for those too. All these cuts were done after assembly last time – and that was a mistake. Much easier to cut before assembly 🙂


Continue Reading

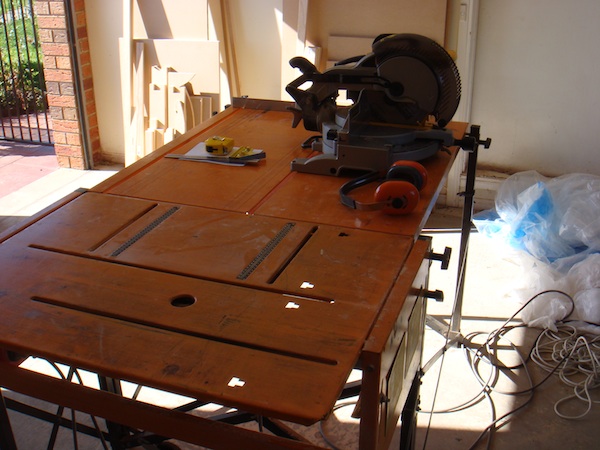
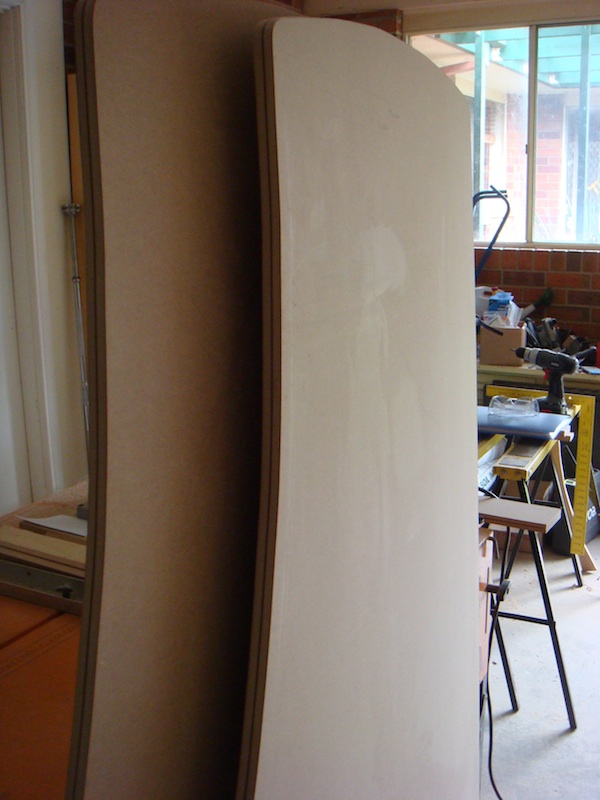
This weekend saw some more progress with the construction of the new cabinet. The hold up this week had been getting access to the super saws to chew through those massive 2400×1200 MDF sheets into the required panels needed. Late last week, my father in law dropped off some of his awesome saws for a loan. These things make the job of cutting up those 2400×1200 sheets easy as – plus fun (It’s not visible, but there is a saw that sits up from below on the orange table. With the correct sizes marked on the sheets, its just a matter of pushing them through to get a nice straight cut).


Continue Reading

My second project is now starting to gather some momentum, so I thought it time to post something more than just a few pictures to share my thoughts, plans and progress.

After being very happy with the results on my Galaga cab, it was inevitable I would begin another at some point. Thanks to an Aussie Arcade member it was sooner than expected with his sale (and my purchase) of an original Wonderboy board. This means the cabinet will be fitted with a horizontal screen. Given the number of games I’ve been playing of my 60in1 board on the Galaga cab, I plan to also install one of those 19 in 1 horizontal game boards also. The thought of twin sticks for Robotron is very appealing 🙂

My first thoughts were to research a cab shape I liked. I couldn’t find anything for Wonderboy that impressed me. I actually can’t recall the cab shape I used to play on all those years ago. I love my Galaga cab – I love the Galaxian cab – and I can’t help but love a good PacMan cab. The colour and artwork is top notch – and a hot looking cab means it will be allowed to live in the home :). Given my experience with putting together a cab with that shape, I decided that was the direction to take. There will be some modifications though which will mean it’s not a proper PacMan cab:
– Horizontal screen
– Screen artwork (will be custom pac man themed)
– Control panel (again pac man themed, not authentic)

It’s also an opportunity to do things a little different this time by addressing some of the issues I encountered last time.

After that was decided, I went through my Galaga plans, and mapped out a purchase list along with a plan. Given I’m on limited funds at the moment, the plan will help get the parts purchased in a good order to keep me working on it and not held up.

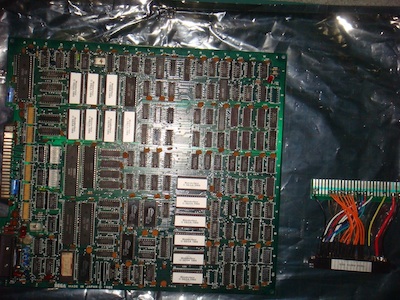
First purchase was the wonderboy board:
Continue Reading
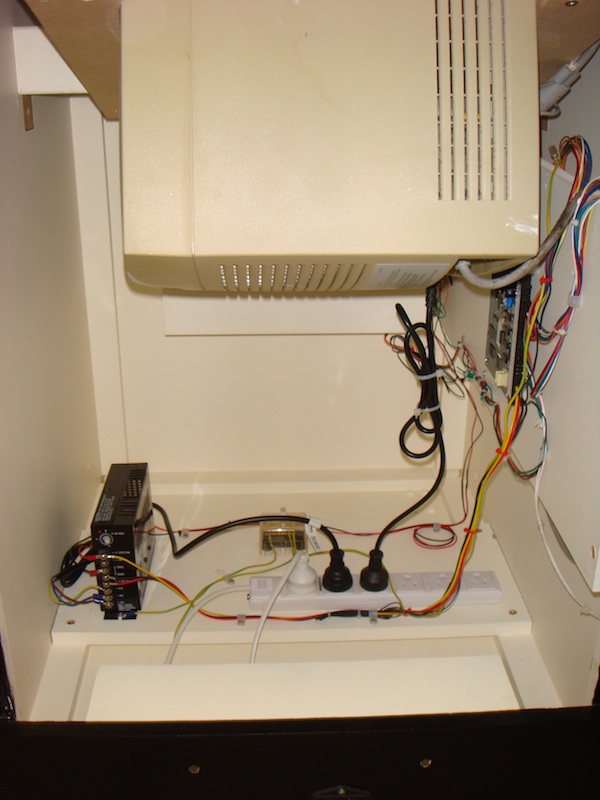
Tonight saw my Galaga cab project come to an end. The final touches done, and it’s ready to bring home. Firstly, the internal wiring was tidied up. The ‘step’ at the back encloses the 240V in (from the IEC switch, through the fuse, to the EMI filter and varistor and then to the powerboard. The powerboard supplies power to the marquee light and switcher. The small cube at the back is the earthing block. I’m really happy with how tidy it looks. There is plenty of room in there.


Continue Reading