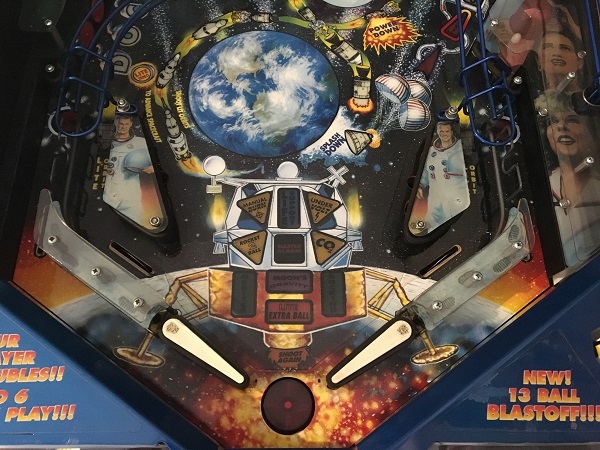
The Apollo 13 overhaul has continued over the last couple of weeks. Sometimes progress can feel like slow going, but it’s surprising how quickly time gets sucked up as you work through sections of a machine. Plus, it’s getting cold at night time, so working on games once the sun has gone down is getting tougher. The previous update was heavily focused on the apron area of the playfield. Shifting my attention 30cm higher up the playfield, this update will be focusing on the next lot of assemblies – so things like the flippers, up post (ball save), ball return VUK and sling shots. Technically the VUK lives under the apron area, but i’ll ignore that fact for the sake of including it in this update instead of the last one 🙂 I also want to get the CPU controlled lamps switched over to LED’s as the kit arrived. So let’s get started and begin removing some parts!
ramps
All posts tagged ramps
Time to wrap things up on Dr Who! First thing for this update is to clean up the two ramps, so I’ll start with the smaller one. The ramp has protection at its entrance which has prevented any damage over the years. The decals are pealing a bit along the side, but the ramp is otherwise in great condition (if you look past the filth).

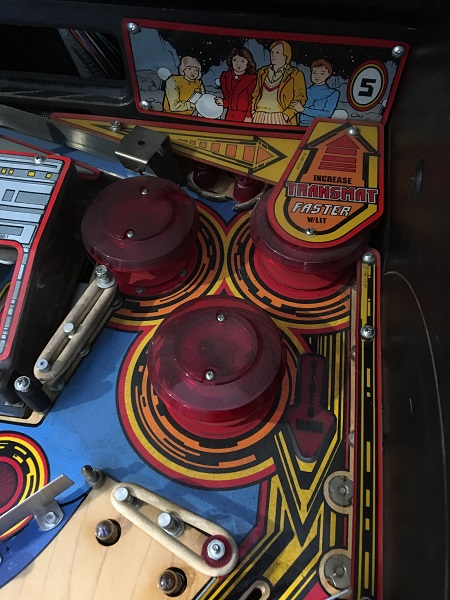
Progress on Dr Who has continued quite well over the last couple of weeks and I’m now down to the final section of playfield. This update will be focusing on the remaining assemblies at the top of the playfield – the pop bumpers and the mini playfield. My plan is to strip and clean the top playfield area (including the pop bumpers) and then move onto the mini playfield. The area is quite filthy, but nothing a good clean won’t sort out. Time to get started.
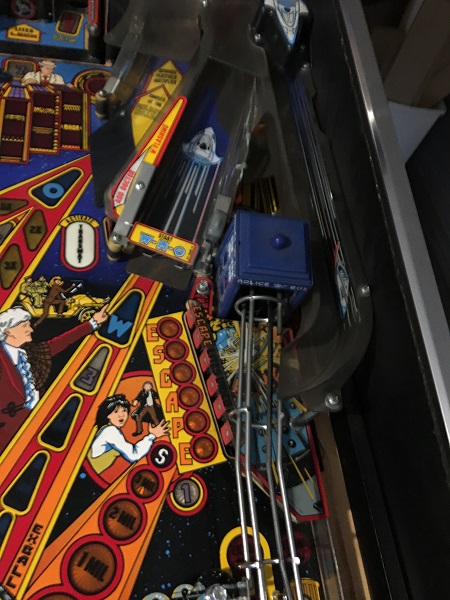
After the initial hold up (and frustration) with the board issues on Dr Who, progress has been moving along smoothly. Aside from that slow start, the game has been enjoyable to work on. In this update I’ll be focusing on the middle section of the playfield. In terms of assemblies, this area has the Tardis ball popper on the right, with the left side home to the upper flipper and trap door assemblies. The popper was mentioned in a previous update as I had to replace the optics which had been cut out. This time I’ll be removing the whole assembly for a service. As usual, all plastics, targets and posts will be removed for cleaning and the playfield will also receive a clean. I’ll need to remove the ramps for this part, and won’t be putting them back on until the end. Time to get started and I’ll begin with the right side.
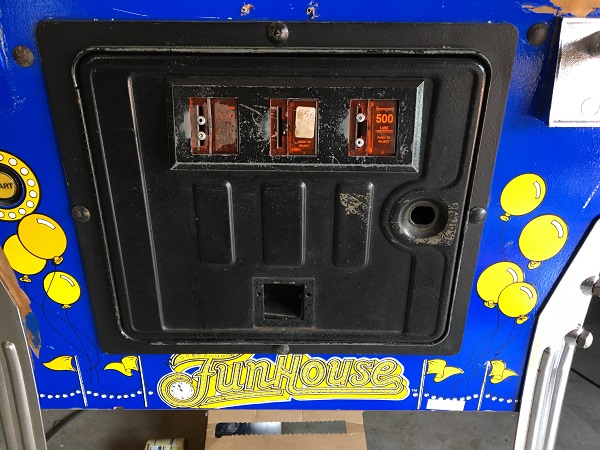
I had the goal of finishing off Funhouse in time for Christmas. I didn’t quite make it. I’ve been keeping myself busy on the repair & service over the last week and am on the final stretch. First thing to look at for this update is the coin door. It’s been on my to do list for awhile now and no more putting it off. The red and orange have long since faded from the artwork and the coin entry housing is a bit scratched up. There is also a section of the decal ripped at the lower left corner of the front panel. When dropping the machine off, the owner asked me to touch this up and possibly paint the red flags and balloons to give it a bit more colour. It’s also missing the coin return housing, which I will need to source.