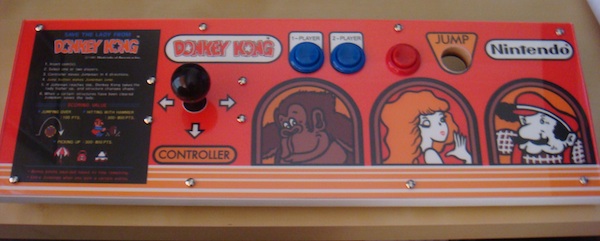
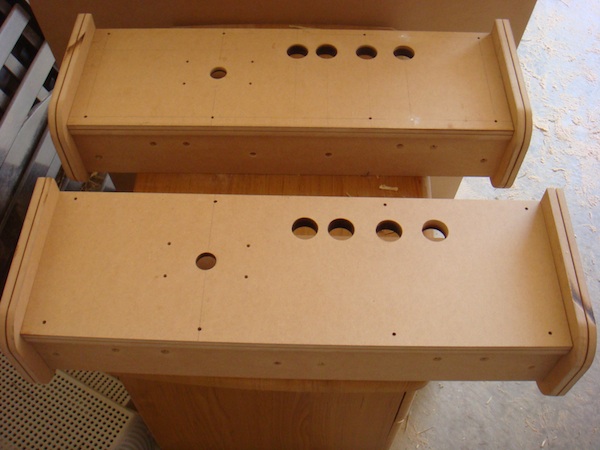
It’s been a busy 2 weeks on the cocktail cab. First up was a pair of control panels – for player 1 and 2. Note the strip of white t molding at the front of the control panel also (the picture doesn’t really show it) – keeping in line with the upright cab version. Also – yes – the orange jump button is missing – I’m currently sourcing two.
Cocktail
All posts tagged Cocktail
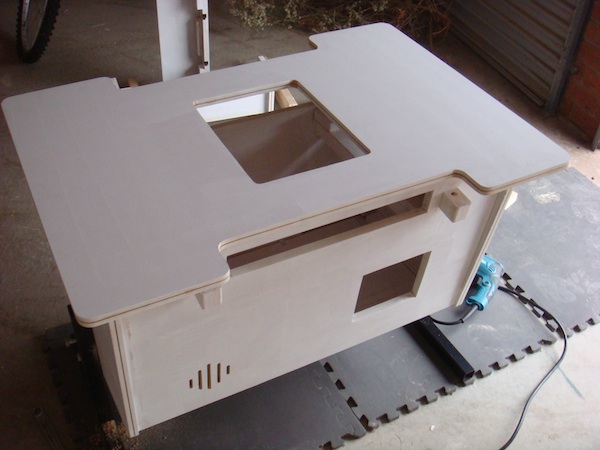
A minor update on the cocktail cab today – everything is now primed and ready for painting. The legs have also been installed to make sure thing thing is actually level.
Work on the cab has been a little slow of late. Lack of time, and at a stage where it’s mostly planning what next and how to achieve some things. But this weekend was very fruitful.
My first task was to get both control panels constructed and ready to attach to the cab (along with painting, applying artwork, etc). This was quite easy and just a copy of the first one.
I seem to have taken on too many projects of late (most outside arcade cabs), which has meant finishing my pac man cab and continuing on with the cocktail has slowed right down.
I did manage to get some time in the last week to move the cocktail forward, so here is the latest.
I turned my attention to the actual construction of the control panels. My first idea was to build it big enough to have the speaker grill on the front – just like you would see on the upright. This meant one of two things – the front of the control panel needed to be much bigger than necessary, or make the grill smaller. Neither of these two options appealed to me. The control face of the control panel is big enough as it is to support the artwork – it didn’t need to be any bigger to support a grill. Therefore, I have decided to move the grill to the lower left corner of the front and back panel. This means it will also appear on the P2 side, although it won’t have a speaker and will most likely just act as a passive vent.
Since I was not going to have the grill on the control panel, I went about drawing up measurements to ensure the buttons and wiring would fit and keep the rest of the panel compact as possible.
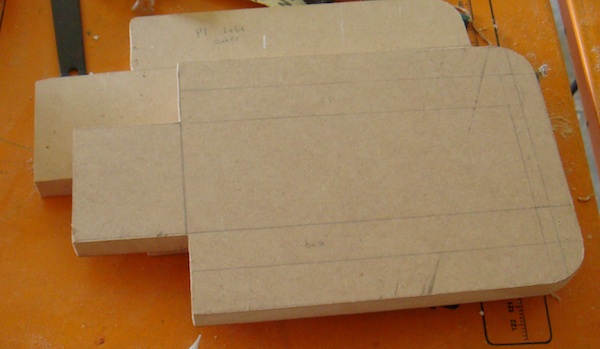
I have kept the white t-molding at the edge of the control face of the control panel and I wanted to have a rounded feel to the control panel edges. My first version of the control panel sides looked like this:
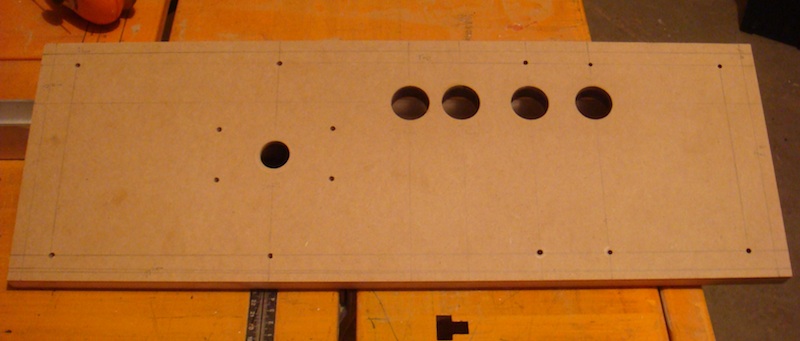
Over the last two weeks, I’ve slowing started getting the control panels together. First up was getting them sized – I used the dimensions of the artwork as a starting point and cut up some MDF to match. Next was getting the button holes cut out, along with some small holes for the bolts.
Because both control panels are the same, it was easy to mark everything out on the first panel, clamp both together and then drill the guide holes. Once the was done, I could separate and work on each one individually.

