I seem to have taken on too many projects of late (most outside arcade cabs), which has meant finishing my pac man cab and continuing on with the cocktail has slowed right down.
I did manage to get some time in the last week to move the cocktail forward, so here is the latest.
I turned my attention to the actual construction of the control panels. My first idea was to build it big enough to have the speaker grill on the front – just like you would see on the upright. This meant one of two things – the front of the control panel needed to be much bigger than necessary, or make the grill smaller. Neither of these two options appealed to me. The control face of the control panel is big enough as it is to support the artwork – it didn’t need to be any bigger to support a grill. Therefore, I have decided to move the grill to the lower left corner of the front and back panel. This means it will also appear on the P2 side, although it won’t have a speaker and will most likely just act as a passive vent.
Since I was not going to have the grill on the control panel, I went about drawing up measurements to ensure the buttons and wiring would fit and keep the rest of the panel compact as possible.
I have kept the white t-molding at the edge of the control face of the control panel and I wanted to have a rounded feel to the control panel edges. My first version of the control panel sides looked like this:
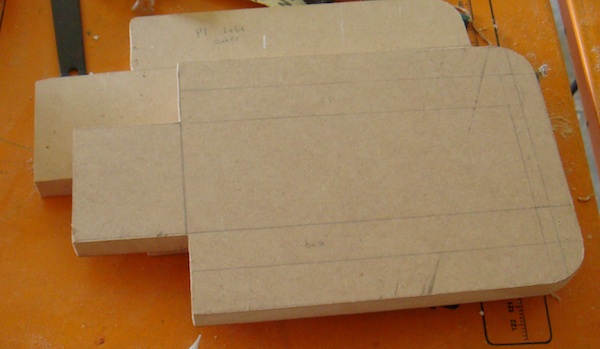
The idea was the extended tabs would be fitted into slots on the front/back panels of the cocktail and then attached from the inside. This didn’t work out as I had hoped since I couldn’t get all the edges flat enough (and the same), meaning it would sit uneven and have some gaps. Not good.
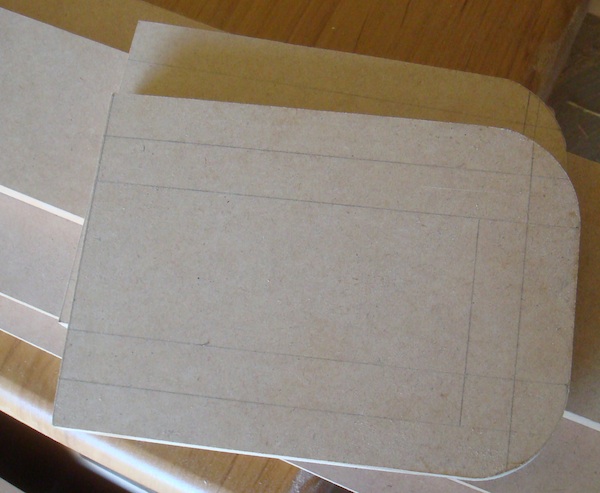
A second version scrappted the tab, and it will now be attached on the outside. The flat side means it will sit flush with the front/back. I also decided to use a thicker width of MDF on the front panel.
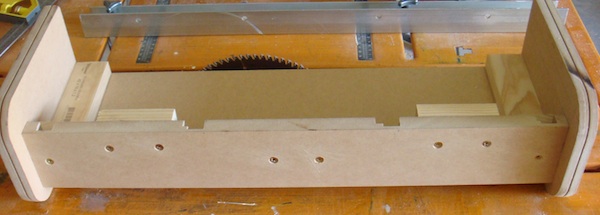
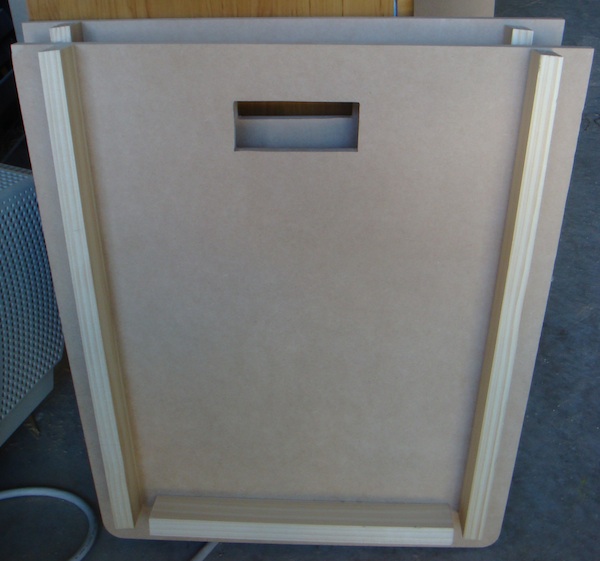
From here, I cut up the base and front panels for both control panels, and the pine to hold it all together. The sections on the front panel that have been routered out are where the bolts from the control panel top will sit. Originally i had planned to use those to help attach the control face to the actual control panel, but it wasn’t going to work well since the bolts at the front are hard to reach in such a small area, and I want the top panel easy to remove. It will now be attached using brackets in easy to reach spots with a screw driver.
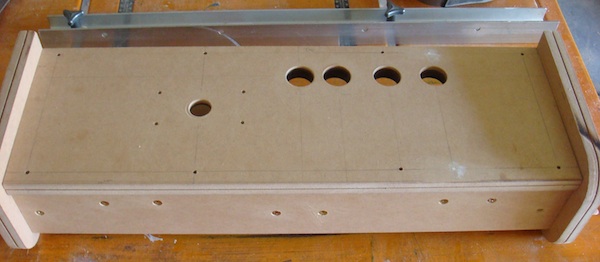
A rough idea of how the “unpolished” control panel will look. I have made it so the top panel can be taken off easily, which will help with final assembly, and maintaining the wiring / controls. The top panel also overhangs the front panel by about 7 – 10mm as per the actual upright control panel. As mentioned earlier, a strip of white t moulding will sit here too.
Finally, added some pine to the side panels. So they are ready for construction. I need to router those grill lines onto the side panels first though.
Next update should hopefully have two constructed control panels, and maybe a grill done.
