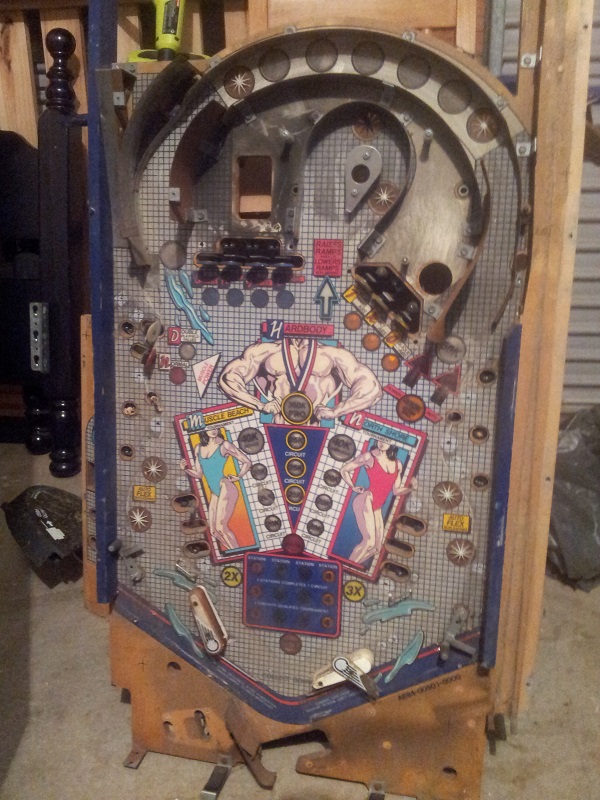
Having given the playfield a look over and making a few notes on things that will require attention, I decided to start working on it. The first thing I wanted to do was get the playfield stripped down. The small upper section of playfield was already stripped (both top and bottom sides). The lower section (large area) had lots of parts to remove.
Pinball
Documenting my adventures into pinball repair and restoration
So it’s no secret I love pinball. Not just the playing of these wonderful beasts, but (..and arguably more so) the learning about their inner workings and how to give them back their former glory. Like an overexcited apprentice, I want to understand everything right now and be able to do anything the veterans can. Thankfully I able to keep a level head (mostly :)) and respect the fact I’m still new in this area and enjoy the journey.
On my current pinball project (Fireball Classic), I had to do some minor playfield touch ups. Thankfully it was quite straight forward. But I was terrified given any mistakes could be hard to back peddle from. I also know what I did do could be done better – given experience. I wanted to get some more experience with playfield touch up and restoration and decided this could make an interesting side project to work on. If I could find some damaged playfields which could be written off in the worst scenario, then this would make a great learning exercise and benefit future playfield restoration work (like my Nugent for example).
Recently I acquired a playfield from “Hardbody”, a Solid State game from Bally in 1987. A bodybuilding theme – I found it amusing there was a pinball theme based on bodybuilding. Even at the height of my gym training a few years back (where I was training 5 – 6 days week) I think I would have been embarrassed to play this 😉 But anyway, it ticked all the boxes.
Continue Reading
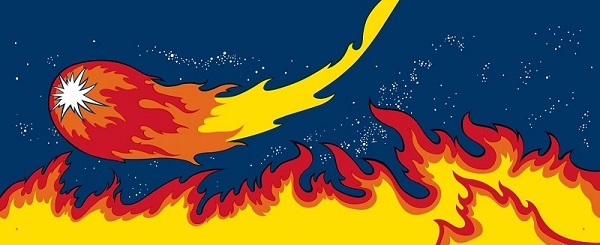
The Fireball Classic has some pretty neat side art. The one down side to it is it fades. Every Fireball machine I’ve see has suffered the same fate (to varying degrees). On mine, the yellow fire is white and the orange fire is yellow. The red and blue have held up better, but have certainly seen better days. The side art is actually printed on decals, which is the primary reason for the colour fade.
There are two options available to me – replace the decals or use stencils and paint. I explored the painting option first but backed away from that option. There are stencils available for the original Fireball machine, but none for the Classic. I could make my own, but it would be quite time consuming to get it right and I don’t believe it would provide an accurate high quality finish like the original.
That left decals. I did some searching but could not locate any for sale. Luckily I had a contact who is an artist and was up for reproducing the fireball decals. With his help, the head box and cabinet body decals have been reproduced. We went through a few revisions as some issues were ironed out, but it’s come up looking pretty good.
I’ve put the top right plastic issues to the side once again as I haven’t managed to get anywhere with it.
I decided instead to install the clear plastic in the top right and fire the game up to actually play it! I haven’t had the machine in a playable state since the first few nights it came home. Once I started to clean parts, I didn’t want to play it and spread all the dirt, dust and goo around the cleaned areas – so have held off playing.
It was great to actually -finally- play it. The small play session doubled as a good shakedown on the machine to see what sort of issues still remained and what required some fine tuning.
A few things turned up.
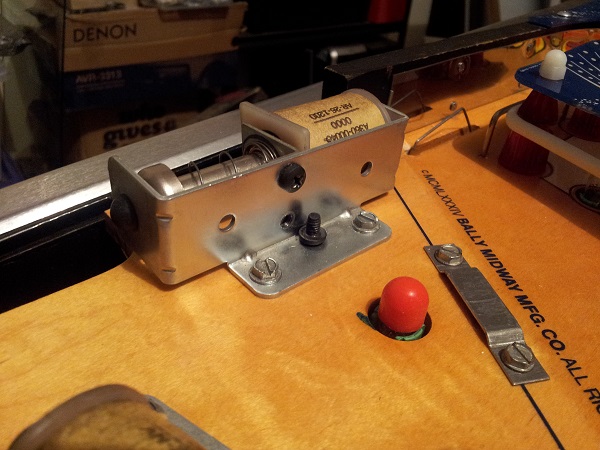
Firstly the ball save kicker was unreliable. Sometimes it would save the ball, other times it would kick out, but not make good contact with the ball. My first thought was the switch – perhaps not being sensitive enough. So I tested the switch, but that came up fine and was very sensitive. I removed the apron to have a look at the assembly. I found the coil was actually loose. The reason for this is there are two small screws which to the coil bracket and lock it in place. I had made the mistake of putting these on the outside when I reinstalled it after servicing it. The screws should sit inside. There is no thread on small metal bracket – only on the large assembly frame, so they have to be screwed in from the inside. Thankfully this was a nice easy fix.
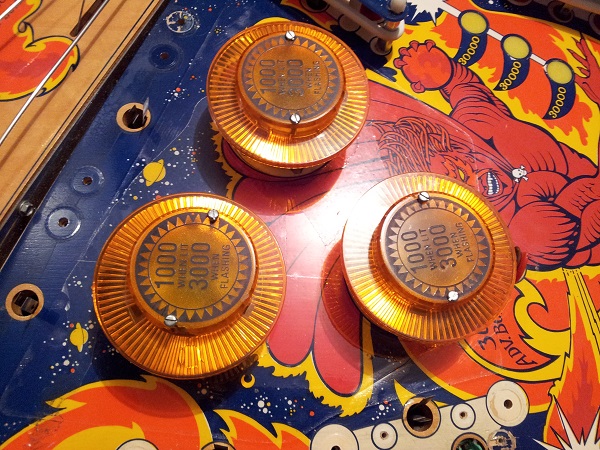
One of the final parts of the play field to get some attention is the pop bumpers. The main reason I had left these for so long was due to waiting on parts arriving from the US. There were some immediate issues I noticed with the pop bumpers. Firstly, the lower of the three should have a Medusa cap and not the “1000 when lit” instructions. The “1000 when lit” and “3000 when flashing” apply to the top two bumpers. These are activated by achieving one of the two skill shots on the upper area.