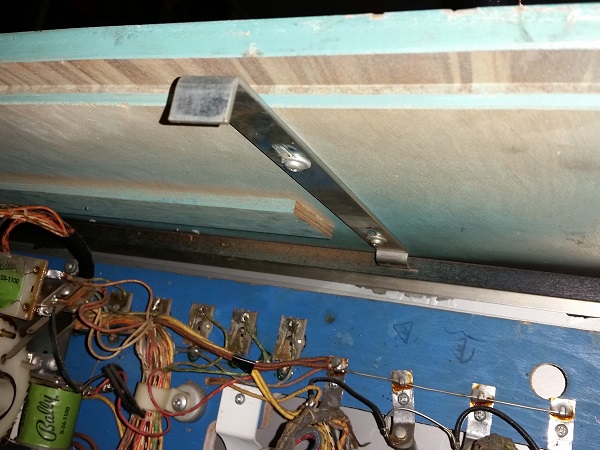
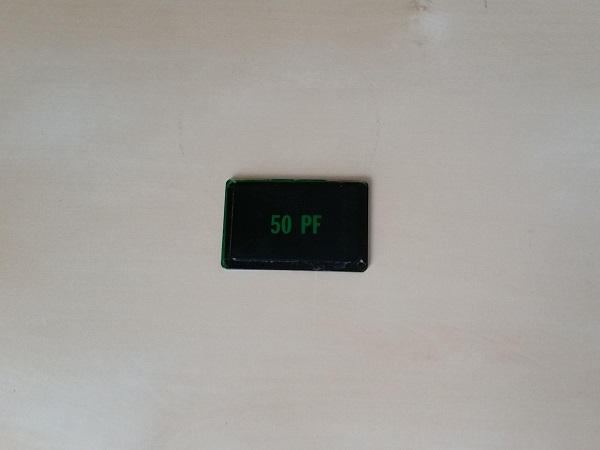
It’s been awhile since my last update on the progress with the Mariner. Thanks mainly to my skate ramp project which took over my Christmas and New Years holiday time. With the ramp mostly done, it was time to get back to working on this machine and edge it closer to completion. For this update I wanted to look at the pricing plates on the coin door.
Archives
All posts by Andrew Burch
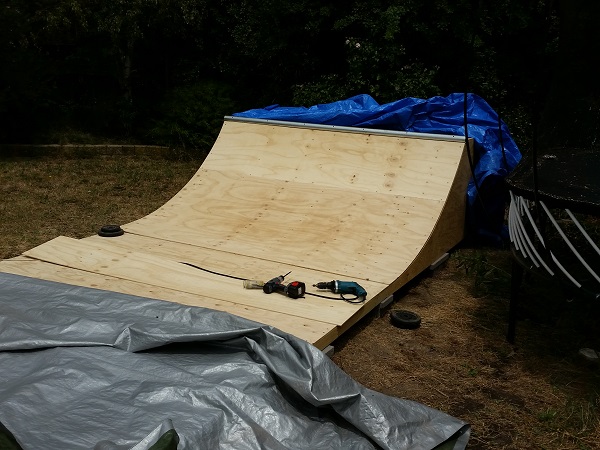
Progress has been a bit slow on the ramp, mainly due to the heat and being off work with the kids on school holidays. But it is coming along and should mostly be done before I’m back at work on Thursday. Getting the two layers of plywood onto the ramp was the next step in the project. Using 9mm thick ply, I began adding sheets of 2400×1200 at each end until they met in the middle. At that point a small piece was cut to fill in the gap that remained. With the first layer done, it was time to begin on the second layer. If I do this again, I won’t add sheets on both ends and simply work from left to right on the first layer and then right to left on the second layer to make things easier. The key thing is to ensure the seams are not at the same points on each layer.
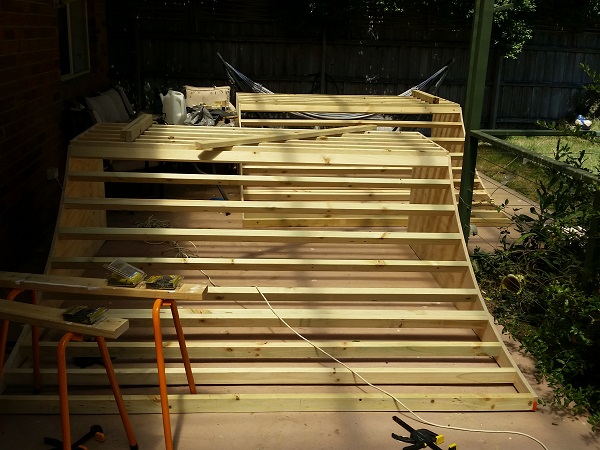
My holiday project continues to move forward, although not quite as fast as I had originally planned. First thing to do after my previous update was to get the second ramp built. This was an exact copy of the first, so I won’t go through the details and photos again as it’s all the same. In the end though, I now have two ramps ready to roll.
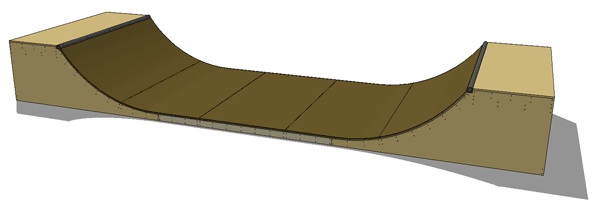
My planned “big project” for these Christmas holidays was to be the playfield swap on Pinbot. That’s been put aside for now to focus on another project I’ve been wanting to do for a long time – build my own skate ramp for use in the backyard. Around 7 or 8 years ago I would spend a lot of time going to different skate parts and spots around Melbourne with my inline skates. I always dreamed of having my own ramp or ledge to skate on. Now I have kids and they are of an age where skateboarding (and rollerblading) is in their scope of interest – so it’s a great excuse to build the ramp I always wanted. My kids will love it and I’ll love it even more. I had a few reminders this year of how short life is, so enough putting it off – time to build a ramp and enjoy it. I started out by doing some research into just what sort of ramp I’d like to have and found plans for this:
With all the globes on the playfield replaced in a previous update, it was time to give the same treatment to the headbox globes. While most were still working (these will be put aside as spares), I like to swap all the globes over when I get a machine. Maybe a bit of overkill, but I at least then know how old they are. Same goes for the rubbers, ball and batteries (not required here obviously). First step was to get the backglass out. Inside the top panel of the headbox are two metal leavers which you pull out – this then allows the backglass to be lifted.