
My planned “big project” for these Christmas holidays was to be the playfield swap on Pinbot. That’s been put aside for now to focus on another project I’ve been wanting to do for a long time – build my own skate ramp for use in the backyard. Around 7 or 8 years ago I would spend a lot of time going to different skate parts and spots around Melbourne with my inline skates. I always dreamed of having my own ramp or ledge to skate on. Now I have kids and they are of an age where skateboarding (and rollerblading) is in their scope of interest – so it’s a great excuse to build the ramp I always wanted. My kids will love it and I’ll love it even more. I had a few reminders this year of how short life is, so enough putting it off – time to build a ramp and enjoy it. I started out by doing some research into just what sort of ramp I’d like to have and found plans for this:
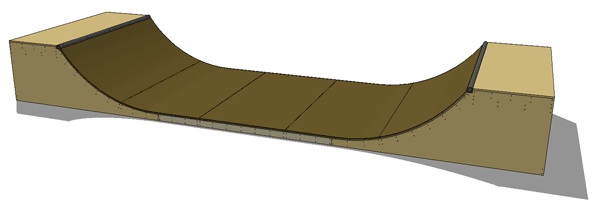
There are lots of different ramp styles and sizes that you can build. I wanted to make sure I’d have something that would be fun to ride now and into the future. Building a mini ramp like the one shown, it will allow me to skate back and forth with the ability to perform some air tricks and grinds on coping. It’s quite large, so will take up a fair amount of space in the back yard – but it’s the sort of ramp I’ll be riding from now until I no longer wish to own it. Plus, if I build it well enough, I should be able to sell it on in the future.
There is an excellent website with plans for different ramps: diyskate.com. The measurements are all in imperial, making the first step to convert everything to metric. That way I could research stock and prices for the required materials here. Once I had that, I started with Bunnings as their website is quite good for product and price referencing. The plans had the width of the ramp at 8 feet, which translates to just over 2438mm. The largest sheets of ply places like Bunnings stock are 2400mm wide, so I decided to modify the plans a little to work with the readily available sheets.
With some pricing and comparable materials worked out from Bunnings, I then headed to Home Timber & Hardware to get a price comparison. Home are more expensive in general I’ve found, but they are much easier to purchase from and quality seems to be higher. I spoke with one of the guys there about the project and got some advice on the treated pine and ply to use since the ramp will live outdoors. I plan to cover the ramp with a heavy duty water proof tarp to help protect against the elements throughout the year. Even so, it still makes sense to use materials suited for outdoor use. With the two sets of prices obtained, I went home to cost it all out.
Although I plan to knock the project over quickly (2 – 3 weeks), I wanted to work in a few stages. First stage is to construct the frame and get it set up in position. Stage two will be to add the ply and masonite layers. A final stage will be to “decorate” it with skate and inline stickers to give it a “sponsored” feel for my son.
The frame is constructed in 3 parts – 2 ramps and a flat piece for the middle. So i’ll begin by building the first ramp, followed by the second and then finally the flat piece. I’ll then get an area in the yard set up for it and bolt them together ready for stage two. With the materials planned out, I headed to Home to get enough to build the frame.
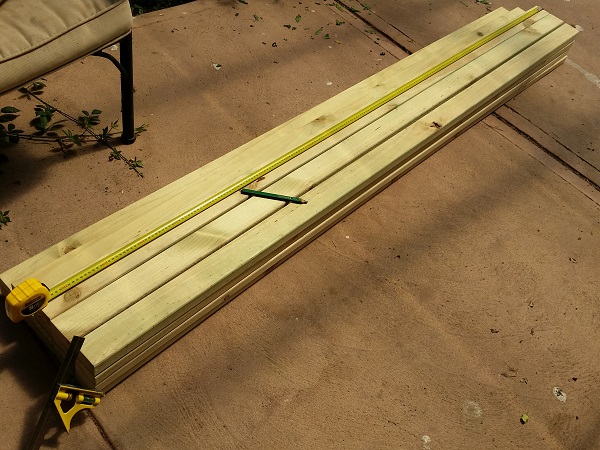
The ramp uses 18 studs between the side panels. I’ve used a mixture of 35x70mm and 45x70mm, with the thicker material used where more force will be applied on the transition (when riding it). I’m using 17mm thick outdoor ply for the side panels, which means the studs were resized to ensure the entire width of the ramp was 2400mm – perfect for the largest readily available sheets of play and masonite for the top layers.
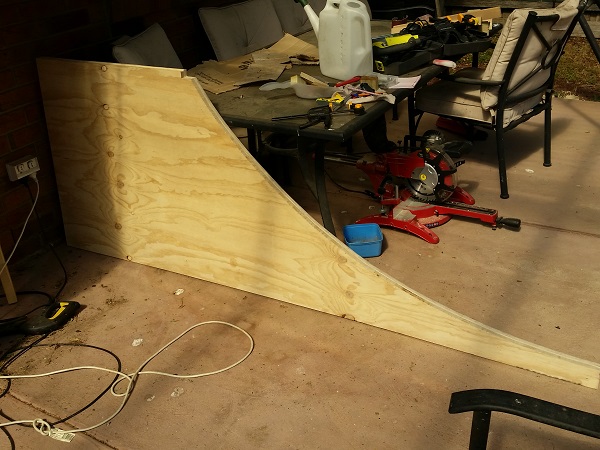
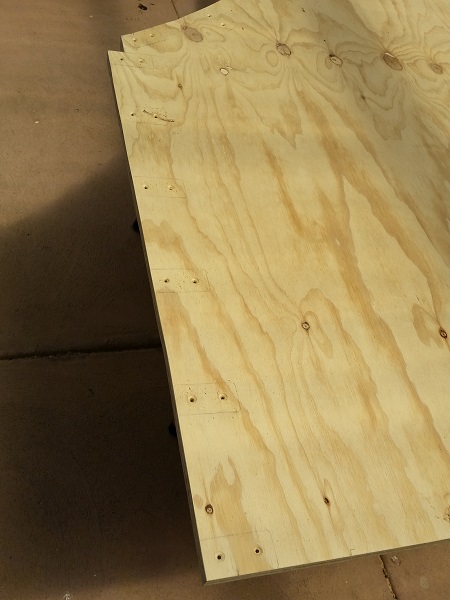
With the pine resized it was time to work on the side panels. The plans do a good job of outlining how to measure up the ramp sides and get the transition. Because my pine sheets are slightly smaller (2400mm x 1200mm) than their 8ftx4ft sheets, I made some small changes to get the design on the sheets. The two sides were cut out.
The side panels were clamped together and the transition sanded. This also allowed me to tidy up some of the small differences in the cuts between the two panels.
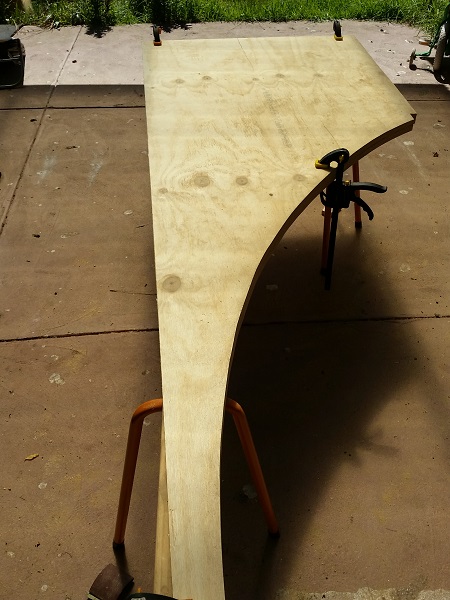
Once I was happy with the smoothness of the transition and the panels matching in shape, I marked out where all the pine pieces would attach, and prepared countersunk screw holes for each.
It was now time to start putting the first ramp together. I started with some selected points to give the frame some stability while I installed the remaining pieces of piece. From there, I worked from the back, down the transition.
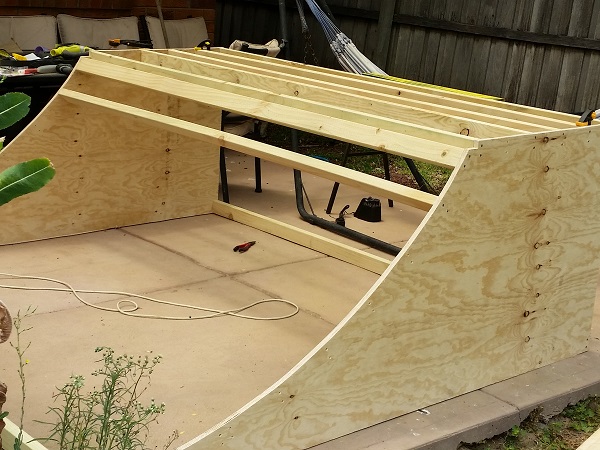
Slowly but surely, each piece of pine was positioned, predrilled and installed into the frame using countersunk screws specifically for treated pine. I now had the first part of the ramp frame complete.
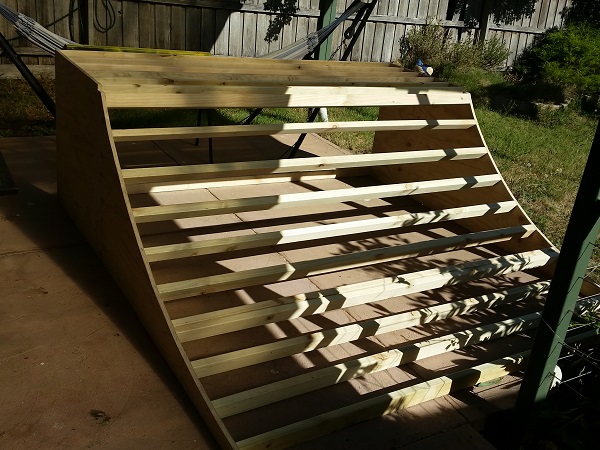
I now need to repeat the above steps for the second side of the ramp. This is well underway and I hope to have the second side completed over the next few days. Then it will be onto the middle flat piece and i’ll be ready to join them all up. I’ll post up another update soon once I’m ready to assemble.