Progress has been a bit slow on the ramp, mainly due to the heat and being off work with the kids on school holidays. But it is coming along and should mostly be done before I’m back at work on Thursday. Getting the two layers of plywood onto the ramp was the next step in the project. Using 9mm thick ply, I began adding sheets of 2400×1200 at each end until they met in the middle. At that point a small piece was cut to fill in the gap that remained. With the first layer done, it was time to begin on the second layer. If I do this again, I won’t add sheets on both ends and simply work from left to right on the first layer and then right to left on the second layer to make things easier. The key thing is to ensure the seams are not at the same points on each layer.
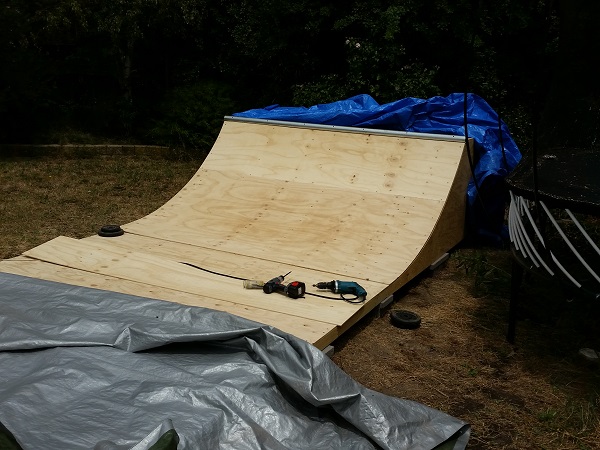
The second layer of plywood was added, sheet by sheet until complete.
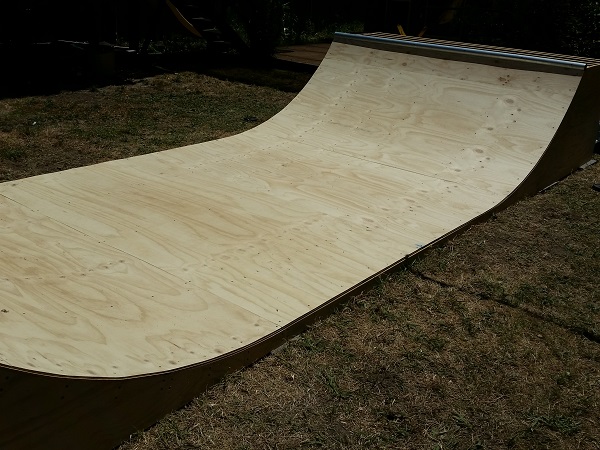
Next up I added a 15mm thick layer of ply to one end of the ramp. There is a bit of waste from a 1200×2400 sheet for this area as it’s about 800×2400. If I every do another one this size, I’ll either shorten this to 600 or extend it to 1200 to leave minimal material waste. This ply is nice and thick, so only one layer is needed.
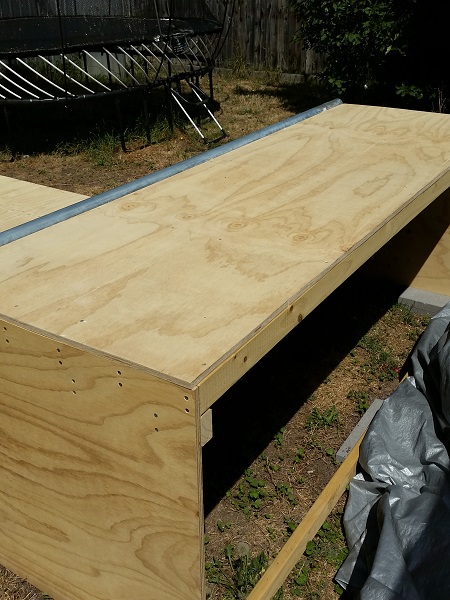
To complete the surface on this end, masonite was added. The masonite is nice and smooth. The coping sits up nicely to allow locking on with rollerblades too. I find most skate parks are built around skateboards and scooters, so things like coping are positioned to better suit them. I like it sitting up just a little higher to allow for better locking on with soul plates.
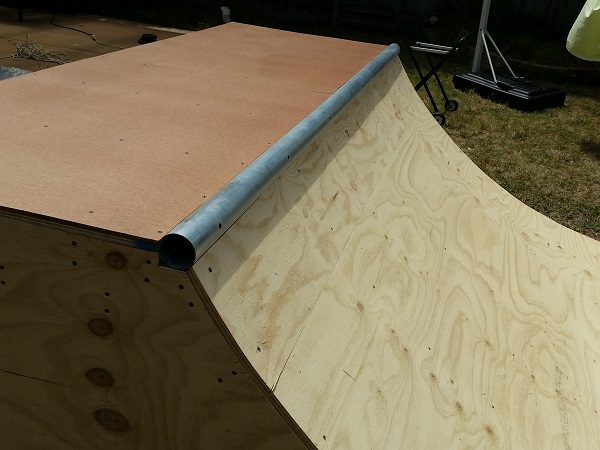
I was short on materials to do the other end at this point, so turned my focus back onto the transitions of the ramp. It was time to start adding the layer of masonite. These masonite sheets are sold in sizes of 1220 by 2440 (compared with the 1200×2400 ply sheets). I’ll trim them back to 2400 wide before installing. I started by spacing them out to get an idea of where they would line up with the pine studs under the ramp.
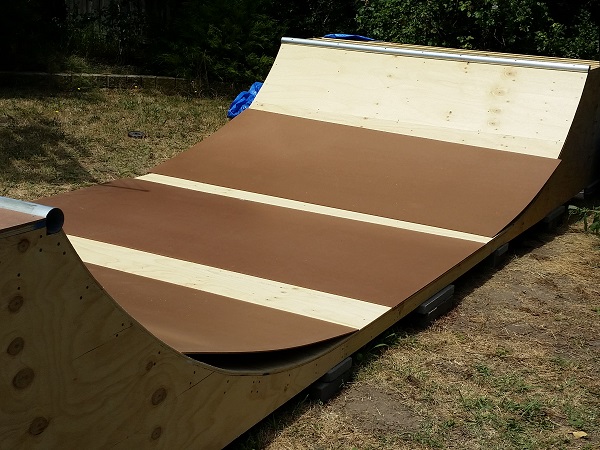
One by one they were installed. This is a tough job doing it on your own as there is a bit of weight in them. Getting them into position and keeping them there while you get the first few screws in can be quite a workout. Finally the layer of masonite was complete.
Another sheet of 15mm Plywood was obtained for the other end of the ramp and installed, along with it’s layer of masonite.
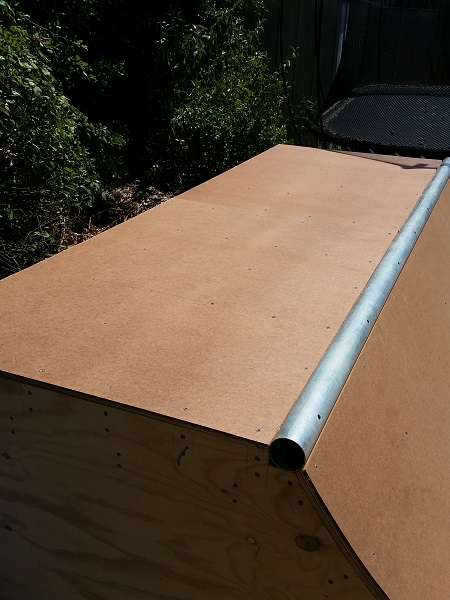
At this point I went over all screws on the ramp to ensure they were in far enough not to catch on anyone falling, or cause wheels to jump. The ramp is almost done. It’s at least in a usable state to test.
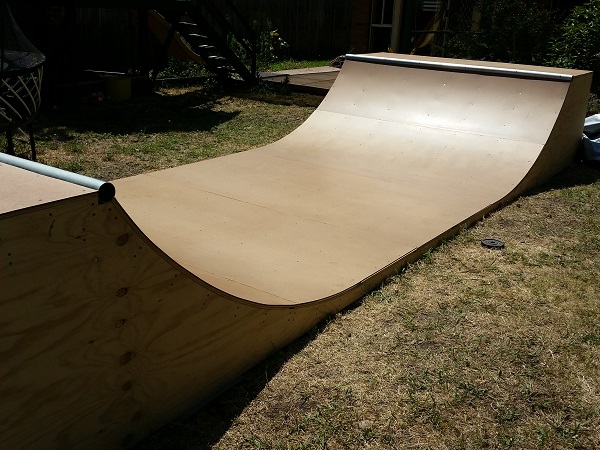
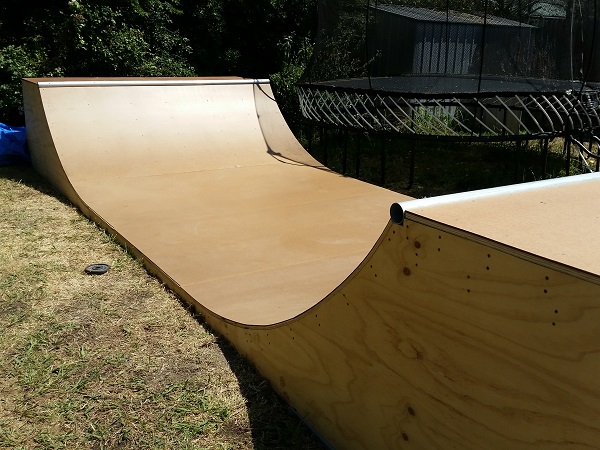
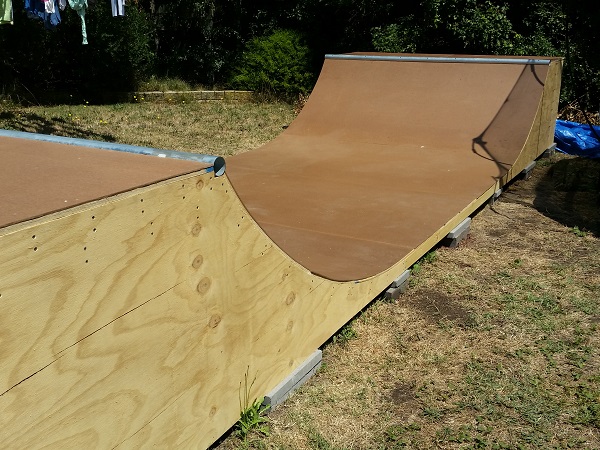
I had a quick session this afternoon with my kids and the ramp held up well (so far). I found a few spots I want to add some additional screws in to secure the masonite a bit better. I next want to add railings to each end to prevent people from flying off if going too fast (and also something to hold onto while standing up). I also plan to decorate the ramp a bit with skateboarding and inline skating brand stickers / decals. Once those steps are done, it will be project complete 🙂
