It’s been awhile since my last update on the progress with the Mariner. Thanks mainly to my skate ramp project which took over my Christmas and New Years holiday time. With the ramp mostly done, it was time to get back to working on this machine and edge it closer to completion. For this update I wanted to look at the pricing plates on the coin door.
To get to the pricing plates out, you can remove the metal frame that surrounds them. They are attached by 3 nuts each on the inside of the coin door.
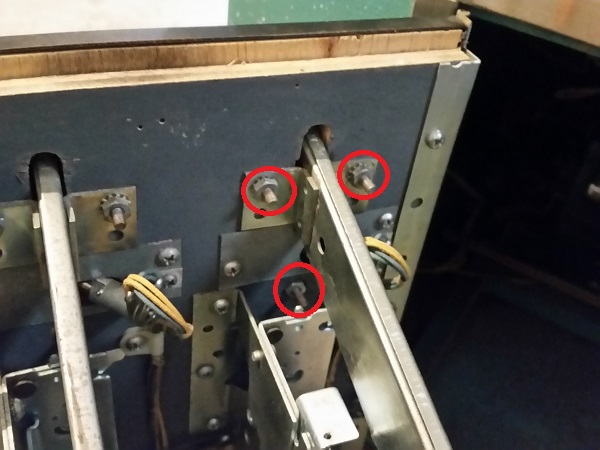
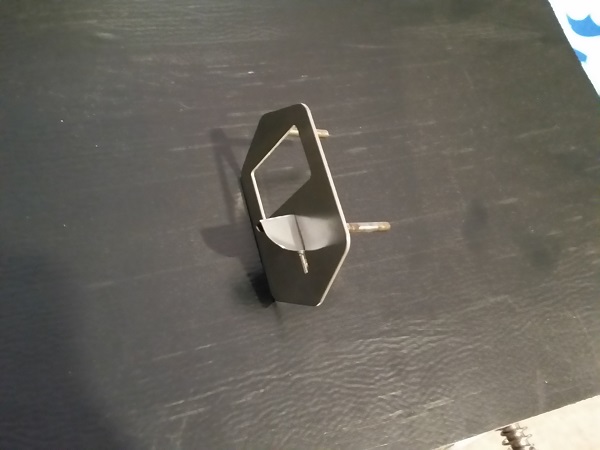
The frame can then be removed for cleaning and the pricing plate will drop out.
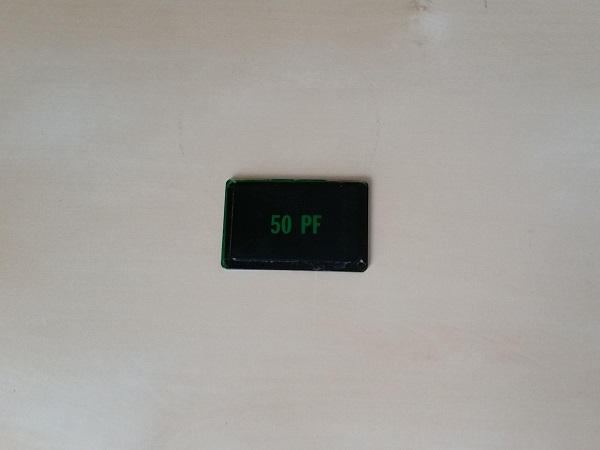
The machine started life overseas, before making its way here to Australia. As such, the pricing plates are for foreign currency and not much use to me. The plates themselves are in decent condition, but having foreign currency displayed on any of my machines doesn’t interest me. I don’t plan to hook coin mechs up to the machine as I set it to free play (covered in an earlier progress post), so I’d prefer to have some kind of free play or general Bally logo on them. After have a look around at what pricing plates I could get, none showed up that would be suitable replacement for these. The price is printed onto the reverse side of the plastic, much like the plastic on the playfield. I decided I’d get a Bally logo onto them as it would look a bit nicer than the current design.
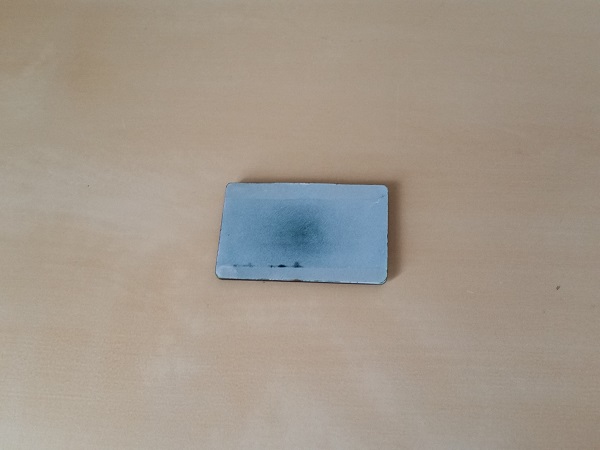
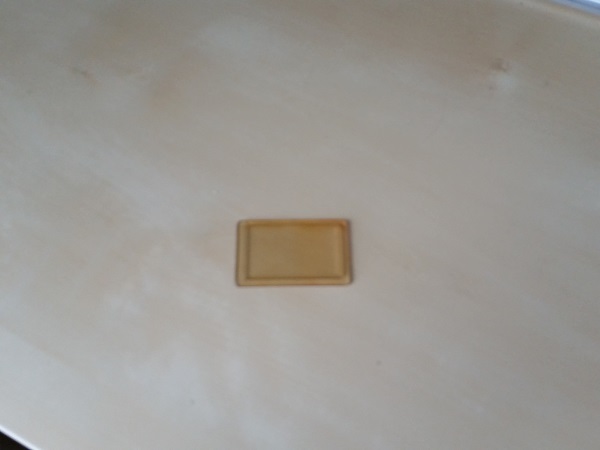
I don’t have the ability to print to the plastic, so I wanted to try another approach. I could get a logo on to them using the stencil cutter that was used for the drop target decals on Counterforce. I could use black vinyl to block the light out (except the the logo) and use some tinted headlight film to give it colour. First step was to remove the old pricing so I was left with clear plastic. It has yellowed a bit with age.
I went to Google to find a Bally logo to use and found one that had a nice resolution (this is a smaller version).

This image was then fed into the stencil cutter software and sized to suit the pricing plate. The software is then able to use the colour in the logo to determine where to cut the vinyl. Once happy, the image was flipped (since it’s to be attached to the rear side of the plastic) then cut stencils out of black vinyl. The vinyl was then covered with a clear layer of transfer tape. This transfer tape will allow me to life the entire logo (including the small black sections in the “a” and “l”, keeping them in the correct positions during transfer).
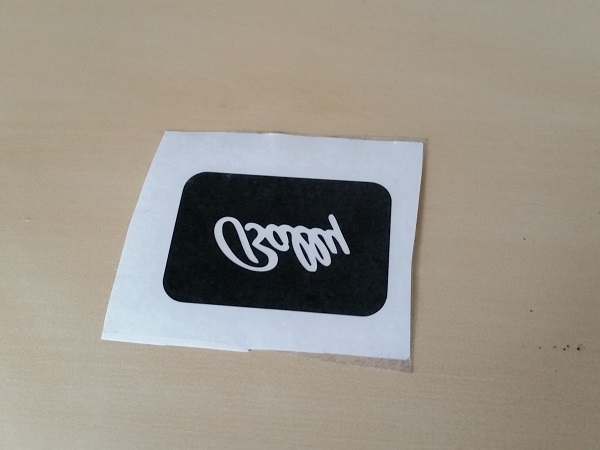
The decal was then pealed off its backing (with the transfer tape still attached) and applied to the reverse side of the pricing plate. The transfer tape then peals off, leaving the vinyl stuck to the plastic.
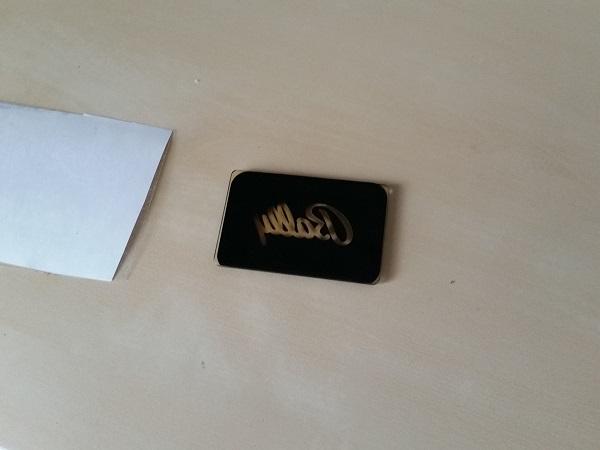
Flipped over, it looks good and the small bits inside the “a” and “l” transferred correctly. Despite being a small logo, the stencil cutter (normally used for scrapbooking and card making) has done a great job on the loops and corner.
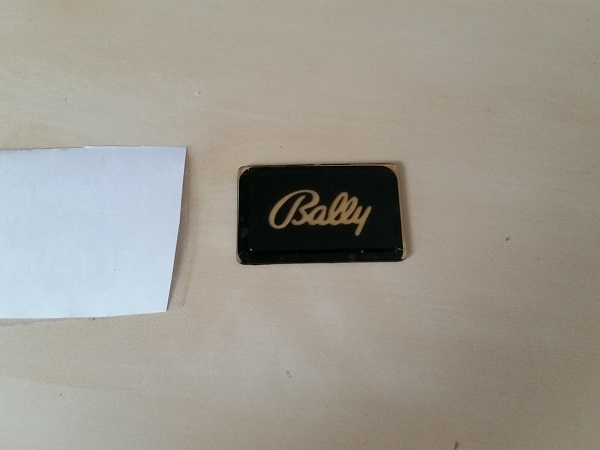
Now to add some colour. I purchased some red tinted film from ebay that is used on the inside of head lights on a car.
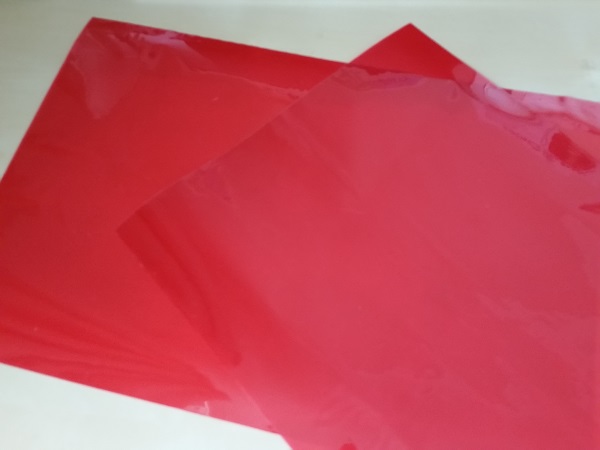
I cut out multiple pieces and stuck them to the reverse side, laying them over the top of the vinyl decal. I did multiple layers to give it a deeper colour red. I think it’s come up looking quite good. The red isn’t quite as as sharp as the printed version, but it’s not bad.
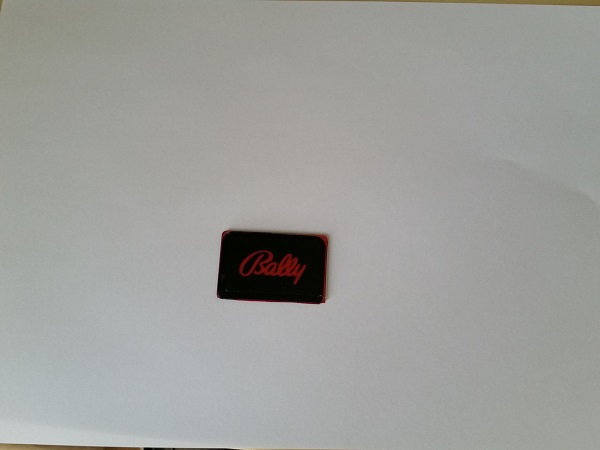
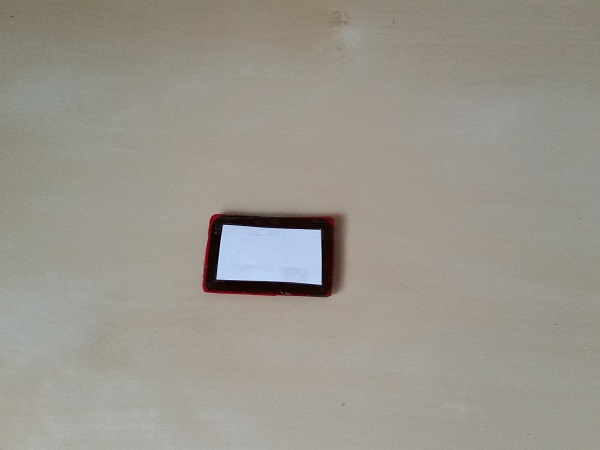
Even with 3 layers, it’s still very transparent with a light shining through the rear side. To tone this down, I added a white backing.
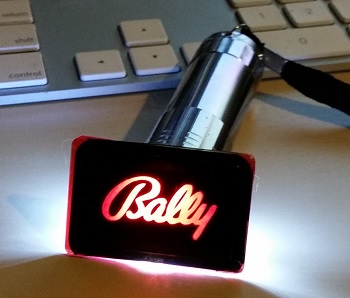
Testing it with a small LED torch, it looks good back lit. I’ll be using regular bulbs on the coin door, not LEDs – but this at least gives me an idea of how it looks lit up.
This was then repeated for the other two pricing plates on the coin door. The door itself was given a clean up. A new lock was also added to replace the original drilled one. The metal frames that sit over the pricing plates were cleaned up and then everything was put back into place.
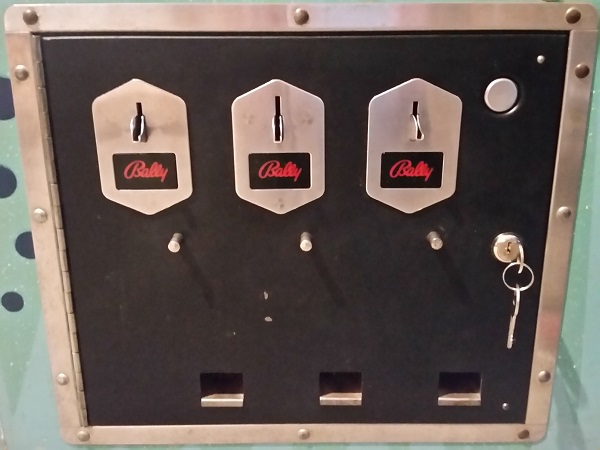
With the machine switched on, the pricing plates shine nicely, with light only appearing through the lettering. The photo is a bit deceptive as it shows the red to be far brighter than it actually is. In the flesh, the colour is a much deeper red lit up. I always find photos I take of of lit up pricing plates (even the ones professionally done that can be purchased at places like Marcospec) don’t look at good as the real thing.
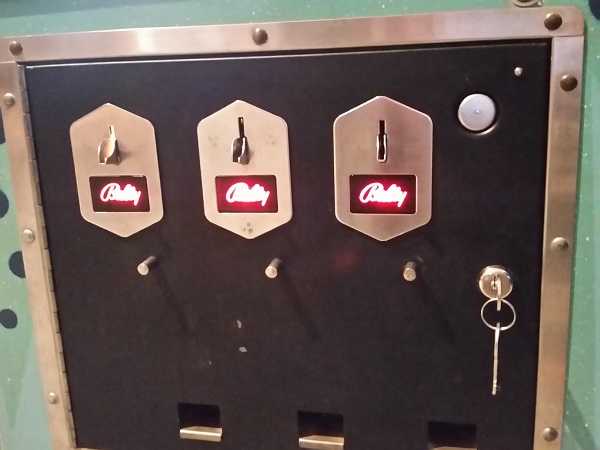
I’m really happy with how the pricing plates turned out and I think they look far better than having some foreign currency displayed. If I wanted to get fancier, then next time I’ll include the words “Free Play” on the stencil and cover them in a different colour. I might use the same process on my old 20c plates for my Nugent as the price on those has eroded over time.

Hello,
I’m the proud owner of a Bally Paragon 1979. Can i buy 2 of these wonderful looking plates for my Bally coindoor?
Gr. Richard Weggen
richardweggen@home.nl
Hi Richard, Congrats on the nice pick up! I don’t think I have any left, but will double check for you.
Hello Andrew, Can you make me 2 new ones for my bally coinplates? I will pay for it of course. Tell me what you want for it? Gr. Richard.
Hi Richard, I may be able to print up a couple of the Bally decals for you this coming weekend. Keep in mind you will need to use your existing coin plates as these are simply black vinyl decals that install to the rear of them. I used very fine sand paper to remove the old pricing first. I still have plenty of the red transparent contact that sits behind the vinyl that I can supply. I’ll be in touch early next week. Cheers, Andrew.
Hi Andrew, If you gonna make some decals please look for a Bally Paragon coindoor because it is a different size. Look at http://www.bradberryman.com/PINBALL_Paragon_2011.htm for the picture of his coindoor. But what must i pay for it incl. shippingcosts to Holland? Gr. Richard.
Those ones are completely different to the sort on Mariner and the decal I made up won’t work on those. Have a look at Marcospec as they have coin plates that are probably what you need. For example https://www.marcospecialties.com/pinball-parts/C-826-BALLY and https://www.marcospecialties.com/pinball-parts/C-826-FREE