Once again I’m well overdue for an update on my PINBOT 2.0 project. Huge steps have been made since my last post in July, so let’s get started. With the display panel completed in the last update, it’s time to get the boards installed to actually drive this 2.0 project. PINBOT has an MPU board that consists of both a CPU section and driver section for the coils. Before removing anything, all connectors were labelled.
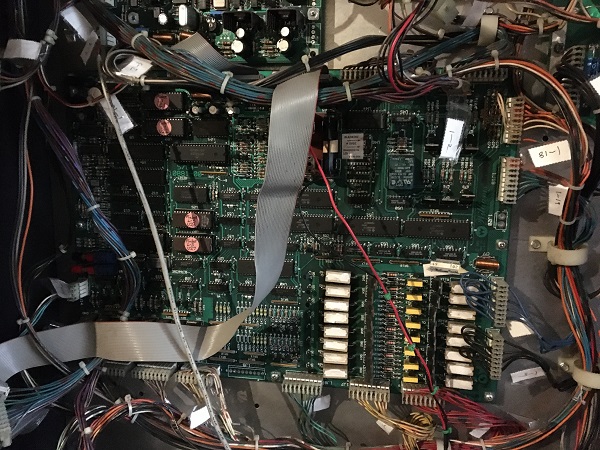
The System 11 MPU board was removed first from the headbox and stored in a safe place.
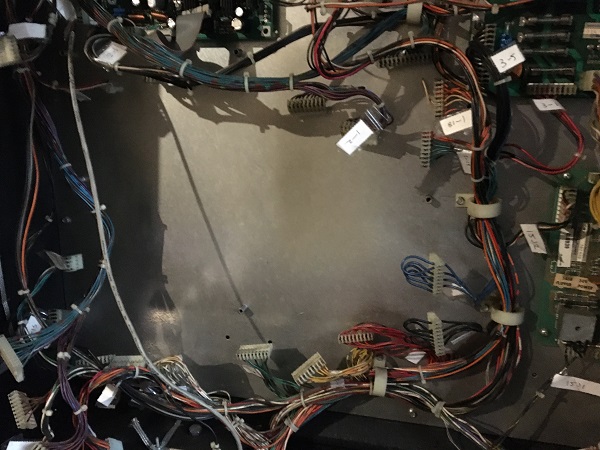
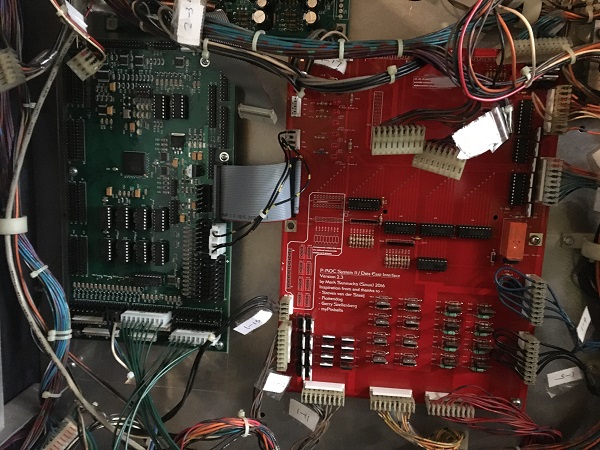
To use a P-ROC with a System 11 game, you need a second board that is a driver board for the lamps and coils. This was designed to slot into place using the existing mounting holes. The connectors are marked to match that of the System 11 MPU board, which makes hooking it up easy.
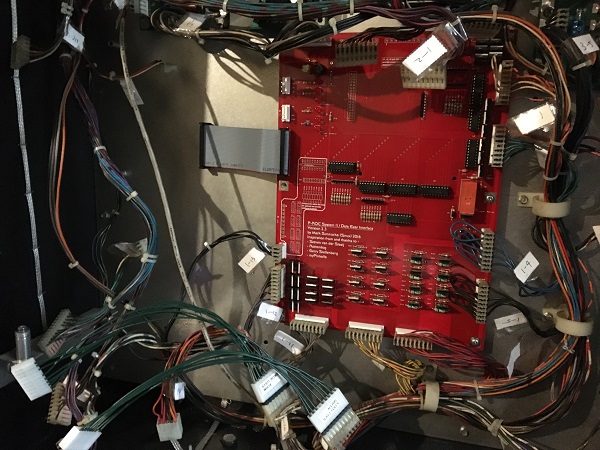
I was now ready to mount the P-ROC board into the headbox. The board is already mounted to a frame that’s designed to slot right in on a Williams WPC machine as it’s essentially a replacement for the existing CPU board. That sadly won’t work here on a System 11 machine since the MPU board is both a CPU and driver board in one and the mounting holes don’t line up.
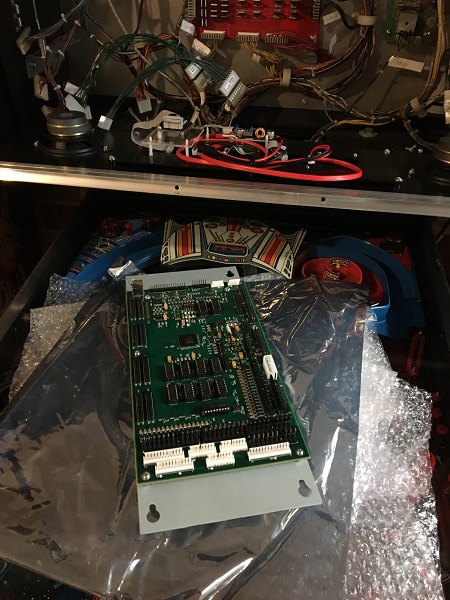
Since the P-Roc is on loan, I have no intention of modifying the frame. Instead I put together a new frame that makes use of the mounting holes available so it can line up in the correct position next to the Snux driver board.
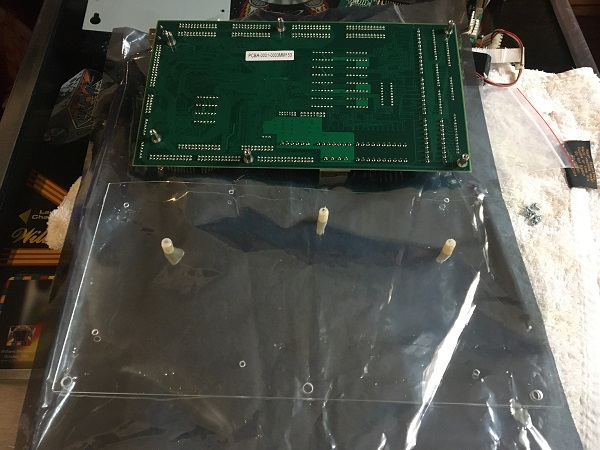
With both boards installed, all connectors were hooked up to the boards. The loose connectors at the top of the Snux board are for the old alphanumeric displays, which I won’t be using on this project.
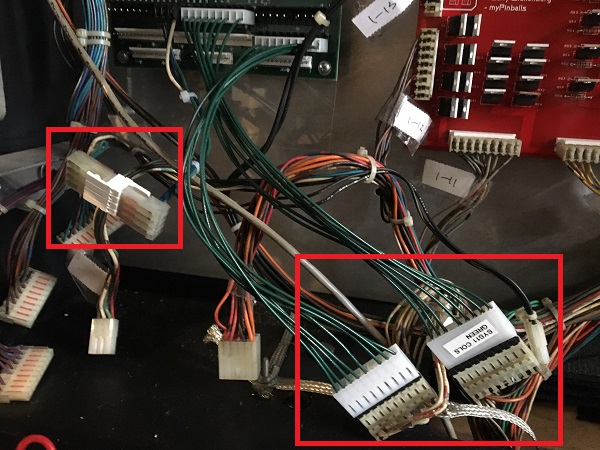
One more thing that is needed are adapter cables for the switches. These need to hook up to the P-ROC board. I also created a third adapter for direct switches. These are the switches just inside the coil door for Credit, Advance and Highscore reset. They are not part of the switch matrix and connect to a different header on the P-ROC.
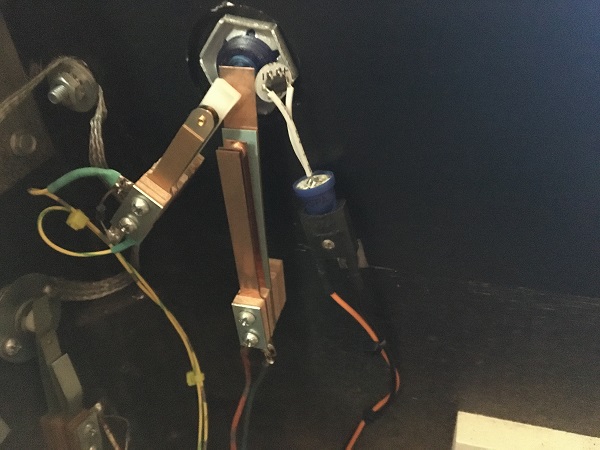
After installing the auxiliary flipper switches in my previous update, I found they just weren’t activating reliably when stacked with the existing flipper switch. I decided against stacking the switches and instead placed the auxiliary switch into a different position. This now activates correctly each time the flipper button is pressed.
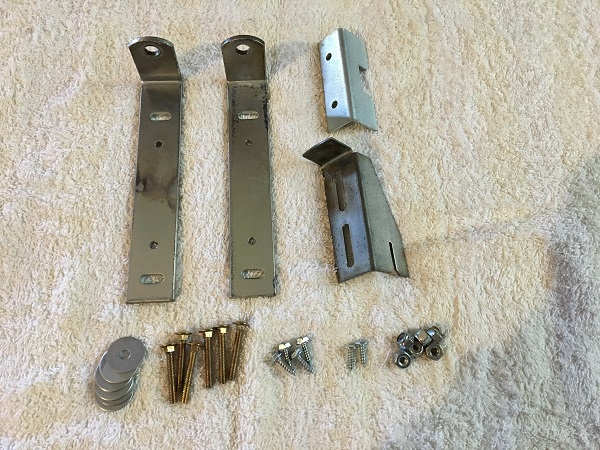
In my last update, I was in the process of putting together a new light panel for the headbox. I put some feelers out for a set of bracket and latch so I could mount it correctly. I could use the set from the existing PINBOT light panel, but it would be much easier to have a second set that I could permanently attach to the new light panel. A set was tracked down and purchased.
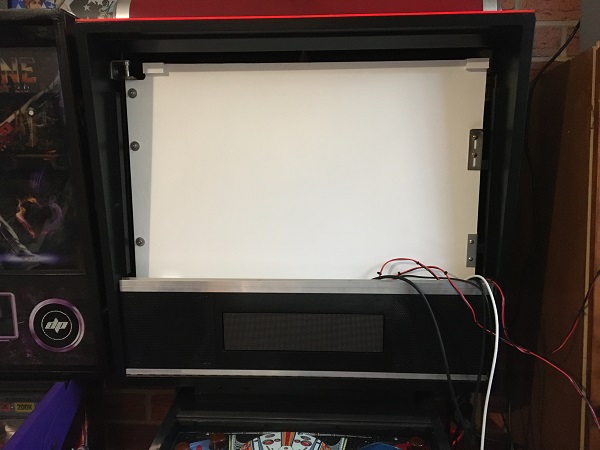
The light panel was painted white, the brackets added and then installed into the headbox. I need to adjust the height of the panel as it’s a little too tall and won’t open with the display panel up. But this will do for now.
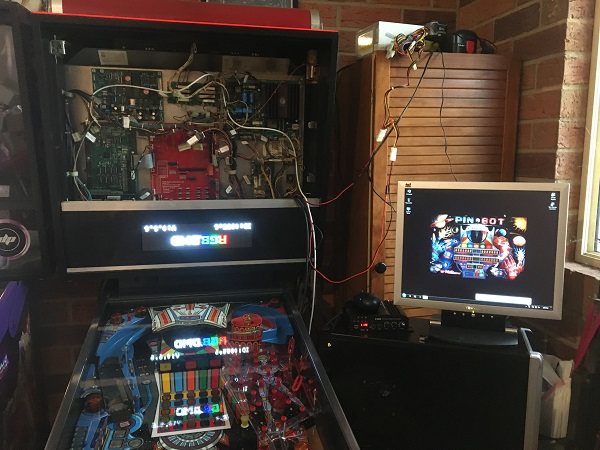
At this point I quadruple checked everything and started my power on. The display came on, but of course it’s upside down. I only had a 50% chance of getting it right…
The next step was to get the game running the new code using MPF. This next step took a few days due to several issues. Most things were simple like missing drivers on my PINBOT PC while others were a little more complicated to track down like incorrect config settings in MPF. But eventually, I got there and had the game running in attract mode! It’s looking messy with the cables all coming out of the headbox, but that’s how things will stay during development.
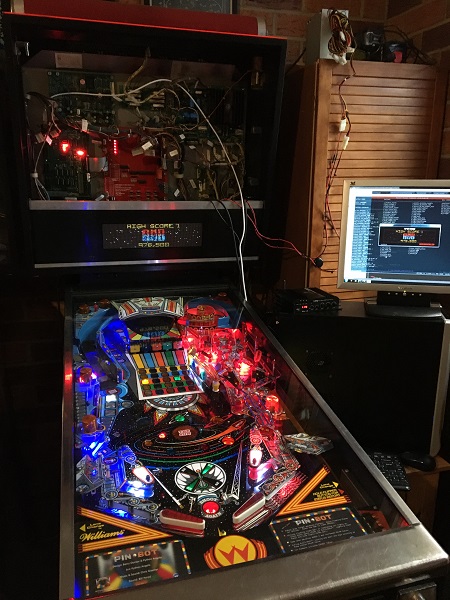
Here’s a short video of the attract mode in action:
From this point, the last few months have been heavily focused on developing the game code. Each week has seen the game grow and grow. I’m planning to start a developer diary series this week to help cover the progress. I’m also wanting to put together some short videos showing the current state of things with the game. I think it will be interesting to look back on and see how various components evolve over the course of the project.
