
First task on the to do list after my last update was test the carry switches on all score reels for each player. Previously, I tested that the score reels all advanced when the 10, 100 and 1000 point relays were manually triggered. These work and the score reels advance. This testing was done in game over / attract mode, so only the 1000 point carry switch could be tested. I now wanted to expand my testing to check the carry switch on the 10’s and 100’s too. These can only be tested with a game started. I finished the last update with the machine successfully running a game – so I’m was ready to begin.
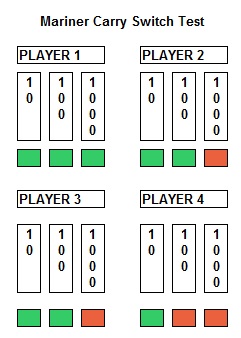
I started a game up and added 4 players. Next step was to again manually trigger the 10, 100 and 1000 point relays for the first player and ensure the carry switch on each reel worked. After testing each reel for player 1, the player unit was advanced and player 2 tested. After testing all score reels for all 4 players I had a list of reels where the carry switch was not operating correctly. In one case the carry was being applied every step. In the other cases the carry was only applied 1 out of 5 times where it should.
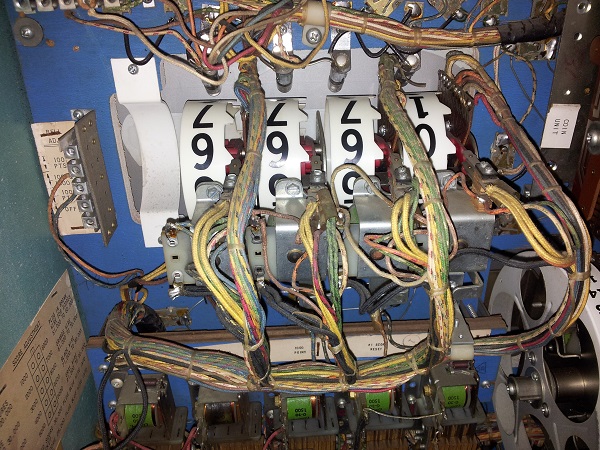
The switches that control the carry are visible without removing the score reel, but it’s a bit tricky to get your fingers into without risking the state of surrounding switches and wires. Better to remove each one individually, observe and adjust / clean as required. How to get them out? Each score reel is ‘locked’ into position with a metal arm. To remove a score reel, you need to left the arm up and then gently pull the score reel back.
At the base of the score reel is a small metal plate which slides into a raised slot – this ensures the reel lines up with the window and also helps to minimise any movement when the coil triggers. There is also a small metal tab at the front which the base plate slots into too – again to ensure correct alignment. With the lock arm lifted, the score reel can be pulled back and slid out for inspection.
Before jumping onto one of the dodgy score reels to try and fix it, I wanted to observe one of the reels that was functioning correctly. This would allow me to compare it and be sure what I was going to adjust was indeed correct. One of the good reels was removed for a close look.
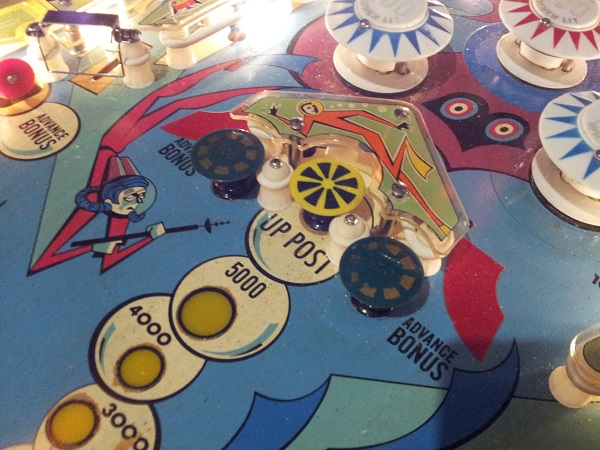
On the score reels, there are 3 switches. You can manually advance the score reel by pulling the red arm attached to the coil plunger in and releasing. There are two small red arms at the rear which control the state of the 3 switches. When checking the state of the switches during their 0 to 9 state, it’s important to observe how these arms affect their state. In the zero position, all 3 switches must be open. The two red arms will be at their highest point, lifting the switch blades on the top two switches.
When the score reel advances to 1 (and then through to 9), the top two switches must be closed. The small red arms move down, allowing the switch blades to connect. The bottom switch (carry switch) will remain open until the 9th position.
When in the 9th position, all 3 switches will be closed. The red arms are at their lowest point here, closing the carry switch. This lets the game know that on the next advance, the carry must be applied to the next reel up the chain.
I watched the behavior on the good reel and then removed one of the dodgy reels to observe the difference. The switches were actually adjusted correctly – correct contacts were made at 0, 1 – 8 and 9th. But the carry rarely worked. I got out some flexstone and gently cleaned the switch contacts on the carry switch. The reels were installed back into the machine and that reel tested. The carry was now much more consistent. Still not perfect through. More cleaning of the switch contacts was done.
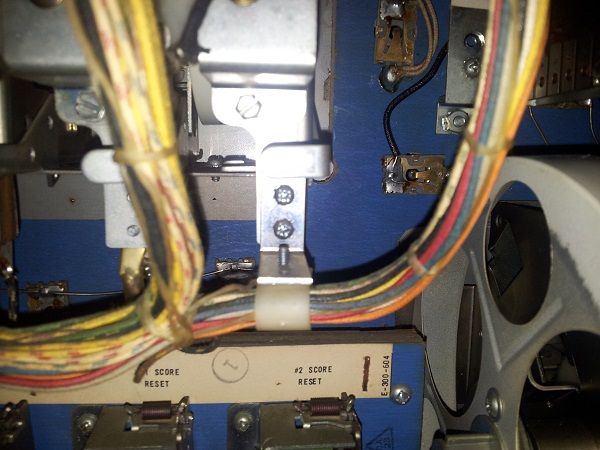
I went through each of the reels where the carry was not correctly being applied. In only 1 case was the carry switch incorrectly adjusted – here the carry switch was always closed and required a small adjustment to ensure it only closed on 9th position. In the other 3 cases, the switch was correct, but it required a clean. It took a few attempts to get right, but after this, the score reels all advanced and carried correctly. All other reels where the carry was being correctly applied were left alone.
Since I was fixing the carry switches for all 4 players, it seemed like a good opportunity to ensure that the player stepper and ball count stepper were functioning correctly across a full 4 player game. I manually simulated a game, scoring points for a player and then letting the ball drain. The ball count would remain the same and then advance to the next player. Point scored would then correctly apply to the next players. After all 4 players had a turn, it was reset to player 1 and the ball count advanced. This was repeated until game over.
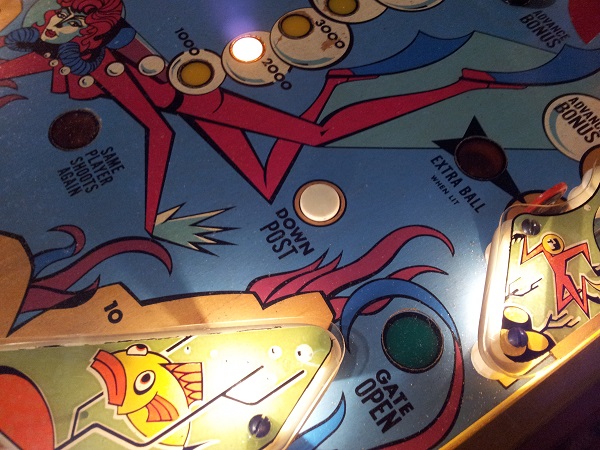
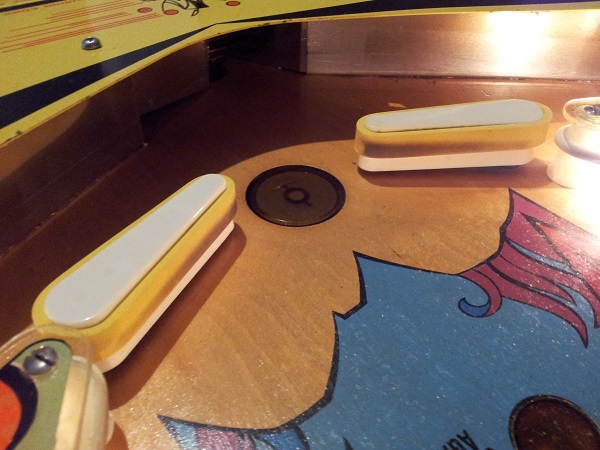
While testing the game in 4 player mode, I noticed some inconsistent (and incorrect) behavior occurring with the ball save post. Be default, this post should be down. When a switch is hit the post comes up and when other switches are hit the post should go down. The post was not going down in many instances where it should.
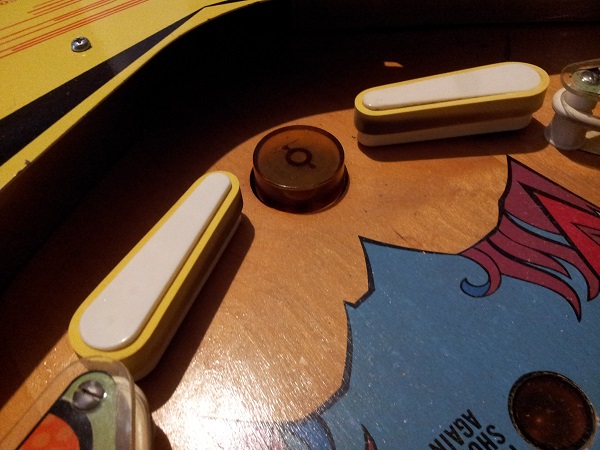
How should the post function during game play? There is a single target on the playfield that will trigger the post to rise. A small mushroom bumper directly up from the flippers. Hitting this target will cause the score motor to turn and activate the relay controlling this post.
Elsewhere on the playfield, there are two small roll over buttons which will cause the post to go down again.
Hitting these targets manually would result in inconsistent behavior. It got worse the more I tested it. I popped the playfield up to look at the assembly. It’s pretty simple and is a single coil which will pull in to lower the post and release to raise the post. There are two lamps between the metal plate and the playfield which light up when the post is raised. Nothing looked out of the ordinary here.
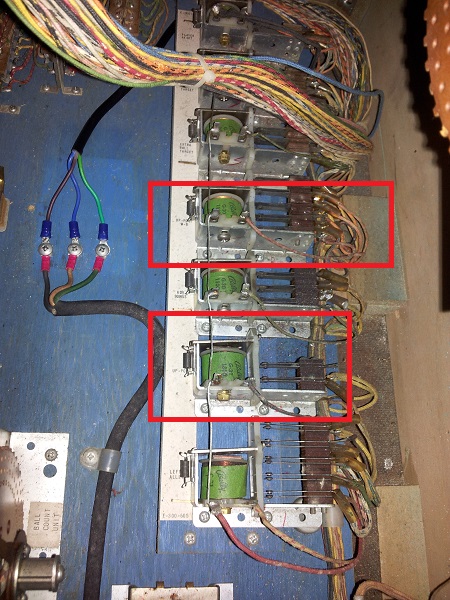
No doubt the post is controlled by some relays in the game. On the base of the cabinet, there are two relays marked for post up. I examined the switch adjustment on the two relays and both looked ok. Clean contact was being made and the switches had a nice swipe motion. I gave each switch a clean with some flex stone, which removed some crap that had collected on them.
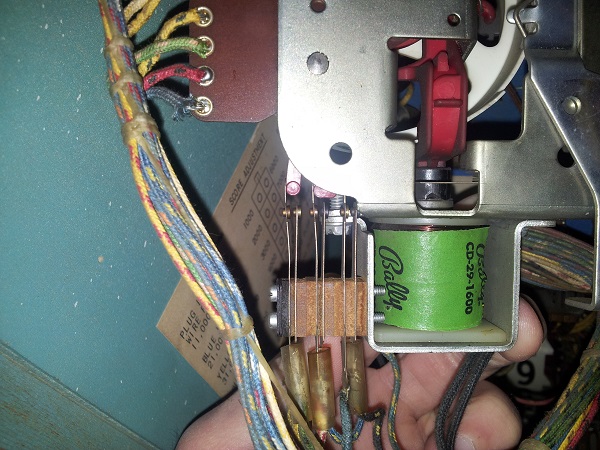
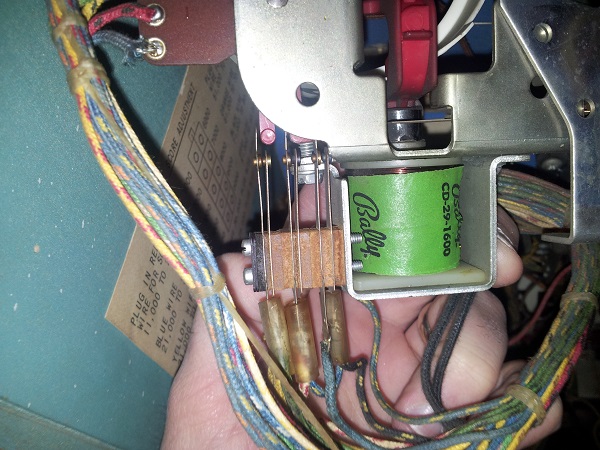
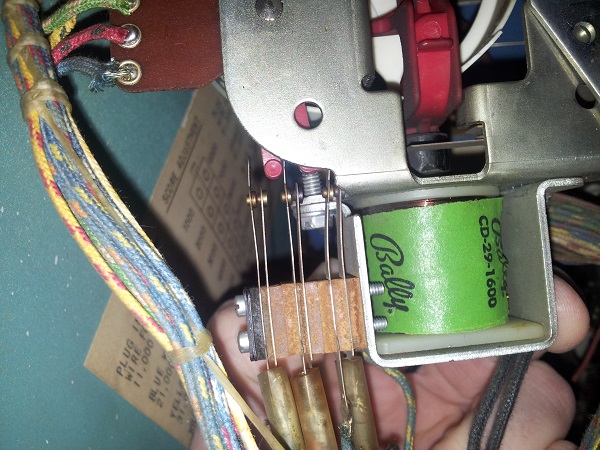
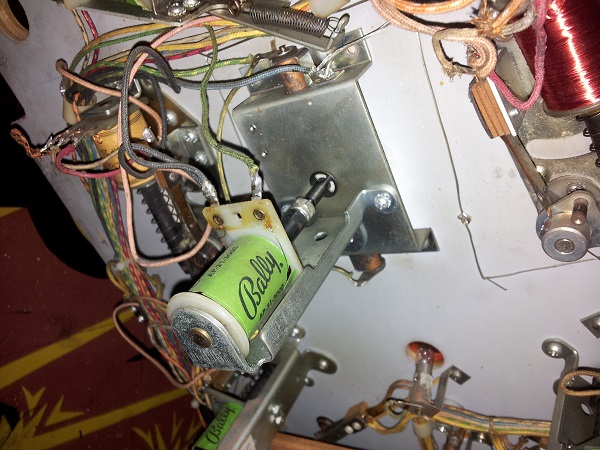
I switched the game back on and tested again. Same inconsistent results with the ball save post. I lifted the playfield again and looked around for a relay that may control the post being down. Some of the relay labels have broken off, so I’m not sure what a handful control. Attached to the playfield though is a small bank of relays, with one marked as “post”. This looked promising. The coil wrapper shows signs of stress – which doesn’t surprise me given the default position of the post is down – so this relay is probably pulled in for some duration of the game. Although stressed, the coil still tested OK.
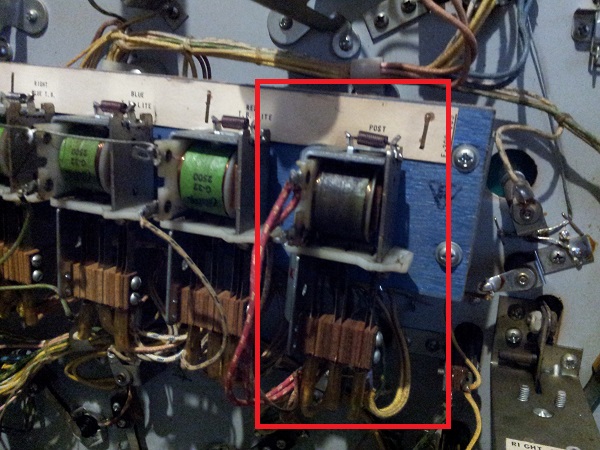
I examined the switches on the relay and noticed that one was not making good contact when the relay was engaged. This switch was given a very small adjustment. All 3 switches were then given a clean with some flex stone. The machine was powered on again and the post tested. Success! By default at the start of a ball, the post is down. When the post up target is hit, the post lights up and rises.
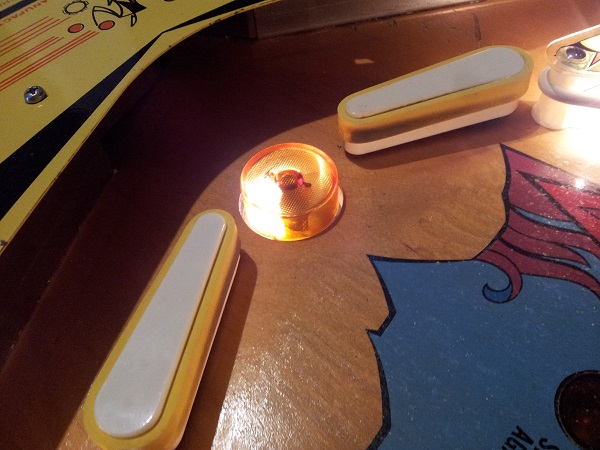
When either post down switch is activated, the light goes out and the post drops once more. The post also starts in this state at the beginning of each ball.
There isn’t much I can do while waiting for parts to arrive. I have a new copy of the schematics arriving in the next day or two, along with a bell which will hopefully fit the 10 point assembly on the continuous stepper. Still looking for a 100/1000 point bell assembly though. When the schematics arrive I plan to examine the coin chute settings and may look at the tilt and knocker assemblies too. That should pass some time until my parts boxes arrive 🙂
Nice job finding the problem!
I find it odd that Bally had a coil stay energized to keep the post down. I was just working on my Williams Stardust lamp post and it is basically identical, except where those two empty screw holes are on your Bally mounting plate there is an extra coil, switch, and plate on the Williams game. When the big solenoid pulls the post down, it physically locks in place, and the second coil and plate release it to pop back up. The switch lets the game know the state the post is in. Nothing stays energized that way. It seems like a simpler, less coil burning solution, but I guess Bally wanted to save on parts.
Be patient on the 100/1000 bell. I had to wait a couple of years before I was able to get one for less than 20 dollars. I don’t know why people remove them in the first place. It’s not like EM games are whisper quiet just because they don’t have bells in them. 🙂
I too found the set up strange as it seems like a sure fire way to burn the coil up. The setup you detail on your Stardust is what I was expecting to have seen. I saw a very similar set up to control the ramp on Pinbot. One coil to charge and lift the ramp to lock it in place. With a second coil to release the latch and lower the ramp. No constant charge to any coils. It’s a nice solution, so not sure why Bally didn’t include it here. I’ve been told that on machines that were originally exported (to countries like Germany and Italy), they were shipped without bells. Not sure why, but seems it was common. The 100/1000 point bell was never installed on my Mariner which would support this theory. I can see where it was designed to go, but no screw holes in the headbox and also the coil wire has not been touched. Completely agree on the noise level though – an EM without bells (or chimes) just isn’t the same though as it’s a huge part of the charm 😉 I’ll keep looking though. Pinball Resource sell Gottlieb versions that can be converted, so I may end up going that route.