When I set out on my journey to develop a 2.0 project with PINBOT, I hadn’t expected there to be an 8 month gap between my initial post and this one. I found myself busy with many projects last year (in and outside of pinball) which ended up seeing virtually no progress made. I had started to recreate the rule set of PINBOT in MPF, but that didn’t get much further than setting up some files. I may still do this once the project progresses far enough along as I’d love to set this up like Bride of Pinbot 2.0 from Dutch Pinball and let the player select between old and new rule sets. Two games in one is a big win when you consider how much space our machines take up. At the end of last year I was getting the urge to give this project more attention over the Christmas break and into 2020. In December, work was tossing out a lot of old hardware. I will need a PC to run my game on when hooked up to my Pinbot machine, so a freebie sounded like a good starting point.
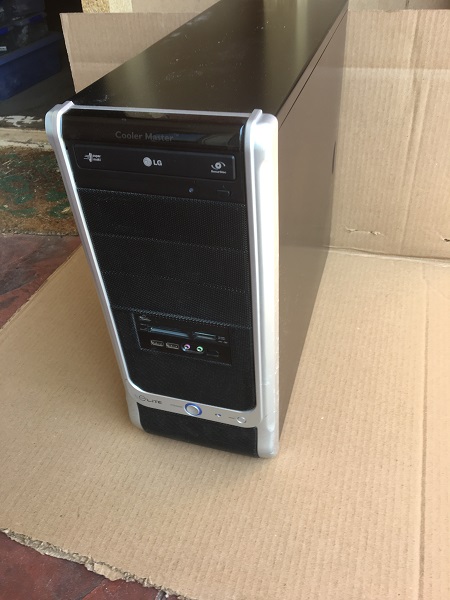
It’s older hardware and has seen a lot of action at work, but for my purposes (especially during the development stage) it’s perfect.
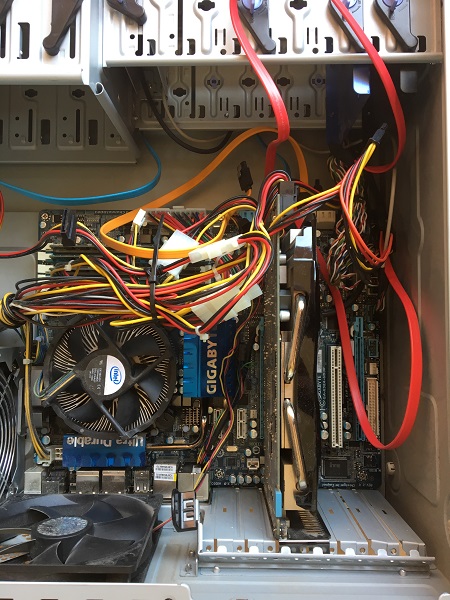

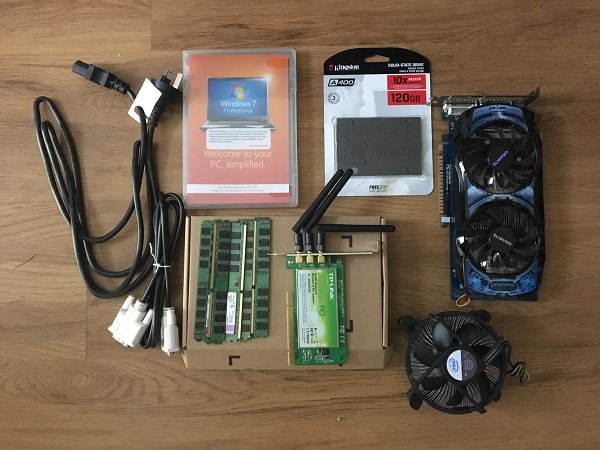
With the PC, I also grabbed a bunch of other spare parts that were being tossed out. I don’t expect I’ll need the display card or RAM, but figured why not grab them just in case. Windows 7 is now end of life, but I won’t have this machine hooked up to the internet for any reason other than to update MPF. When the project progresses far enough along, I plan to switch to a small NUC style PC that will be installed into the headbox like in BoP 2.0. I’ll probably upgrade to the latest version of Windows at that point too. For now though, this mini tower will be fine. I had to purchase a cheap SSD drive to install though.
To get the project moving again, my first step was to get this new dev PC up and running. It was coated in dust, so was first off cleaned and the new SSD installed. Windows was then installed and all available updates applied. I then installed the Mission Pinball Framework, along with a series of tools I’ll need during development. Some of the main tools (outside of MPF) include:
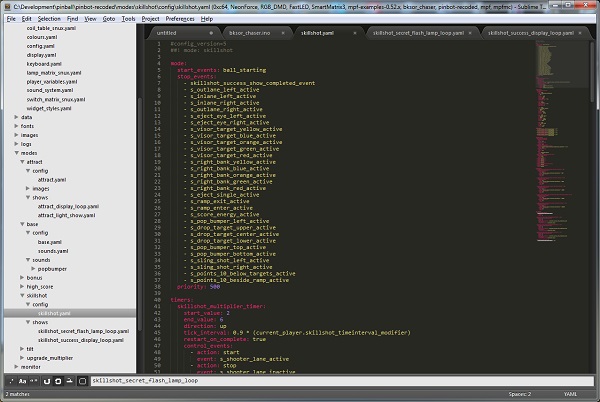
For code development, I use Sublime Text 2. It has a features and extensions list a mile long and is what I use at work every day.
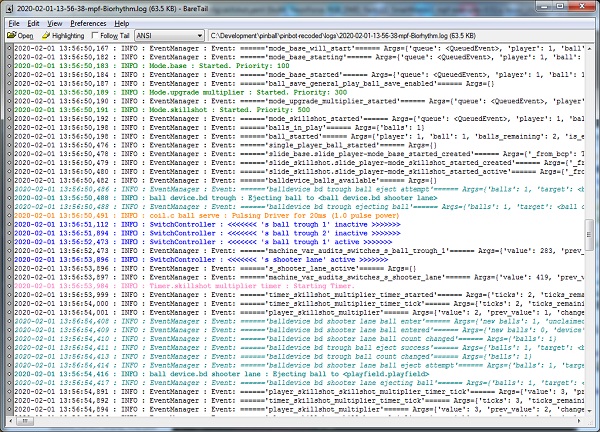
MPF has a lot of logging that gets output while it’s running your game and it’s important to be able to follow the log live while the game plays out. I use a tool called baretail which lets me tail the log file to get live updates as new data is written to it. I can also set up highlighting to mark specific lines like errors, warnings or game events (a mode starts / ends, etc). There is an open source variant that works just as well too. But I was already using this so have stuck with it.
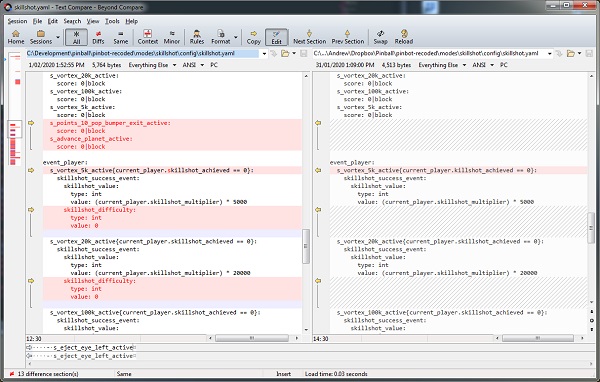
For file comparison I use Beyond Compare 4. Again it’s a tool I use at work a lot, so I use it for my home projects too.
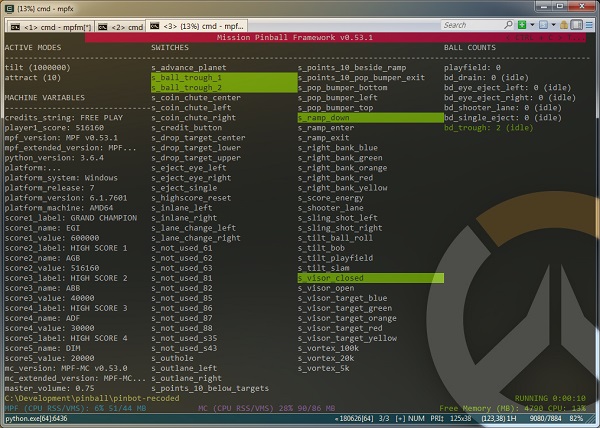
For console commands I use ConEmu which is a super charged version of the windows command prompt. I mainly switched to it years ago mainly for the transparency features. While MPF is running, you are able to view the current status of switches and game variables, so this gets used a lot during testing.
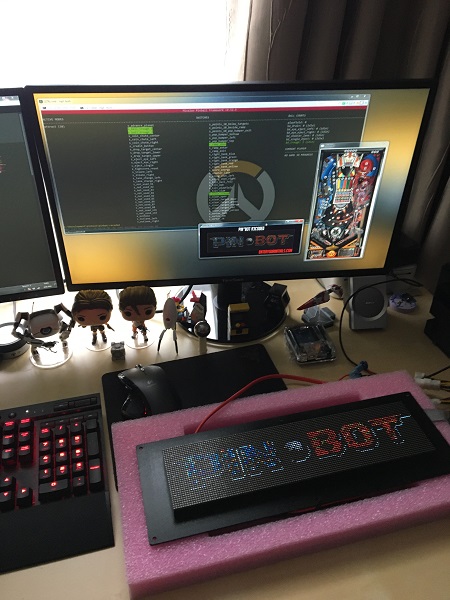
Having 2 monitors for this is a must as I need to have quite a few windows open at once to interact with the game and seeing MPF respond.

With the dev machine up and running, it was time to actually get some code happening for this project. MPF has an excellent tutorial to follow that gets you running with a basic game and display. I spent time over the next couple of weeks setting up a new project from scratch. It’s a bit of a stop / start process as there is a lot of documentation to look through as you go. The tutorial gives you the basics, but only scratches the surface. After the first couple of weeks I had a basic game running that I could simulate on my development PC. This covered the basic flow of pressing a start button, loading a ball into the shooter lane and then simulating switch presses through the skill shot mode, normal game play mode and then end of ball sequence. Repeat this across 3 balls and then it would advance to game over. Not very exciting from a rules perspective – but exciting to see my project running a full game.
In my previous update, I had set up the “monitor” tool with a layout of the PINBOT playfield and all switches and coils defined and placed in position. The squares on the playfield are the switches and circles are the lamps. I can click the switches with my left mouse button to simulate and activate / deactivate sequence (like a ball hitting a target) and I can use the right mouse button to hold the activation which you would see on something like the ball trough or a saucer. The two green squares in the lower right show that I have 2 balls set into the trough by default. I set up a simple attract mode first which runs through a sequence of slides showing the game name, high scores, last game scores, etc. I also have a keyboard mapping set up to simulate switch presses too, but it’s so much easier to just use the monitor and click with the mouse.
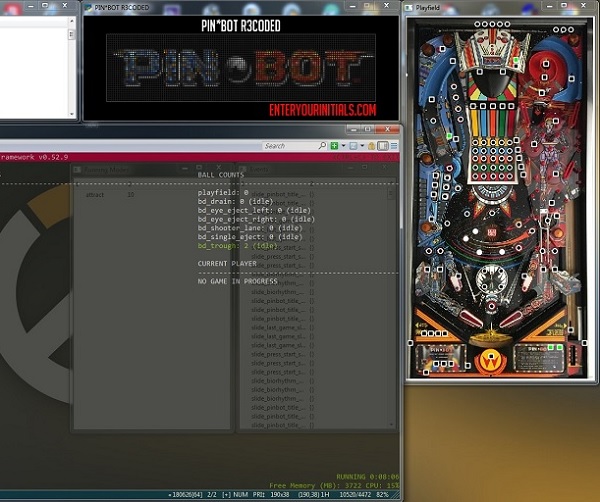
After you press the start button and pop a ball into the shooter lane (you will spot that only 1 switch in the trough is now lit and the shooter lane switch is now active) the game will start and put you into the skill shot mode. As with the original PINBOT, the skill shot is still the vortex ramp, but with a small difference. The multiplier lamps cycle 2x -> 3x -> 4x -> 5x. When you launch the ball, the multiplier cycle stops and the shot you hit on the vortex ramp is multiplied by the lit multiplier value. Every successful vortex hit from the skill shot will speed the cycle up. I’ve also added in a secret skill shot and a super secret skill shot that can be achieved too for much larger points.
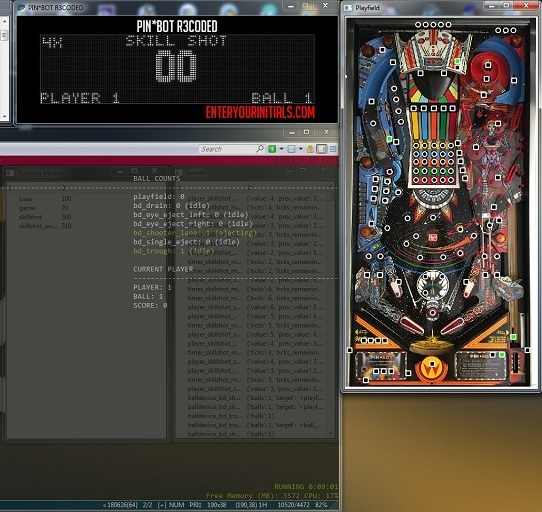
I have many basic slides added to the game for now when events happen. Like hitting the skill shot for example. You will see the display flash with the award. These are all very simple slides and will be improved upon later once the project develops.
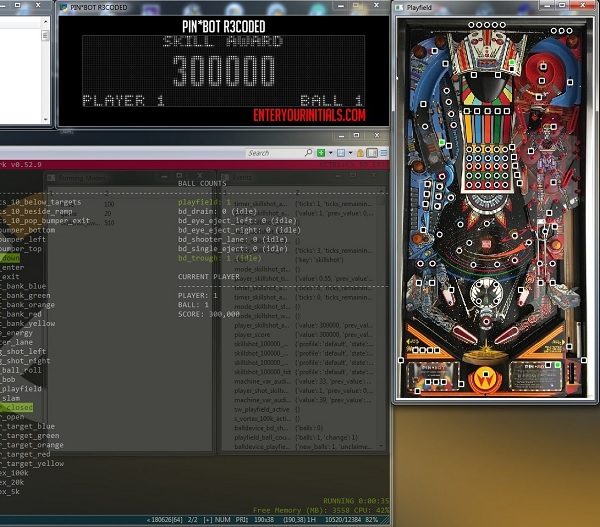
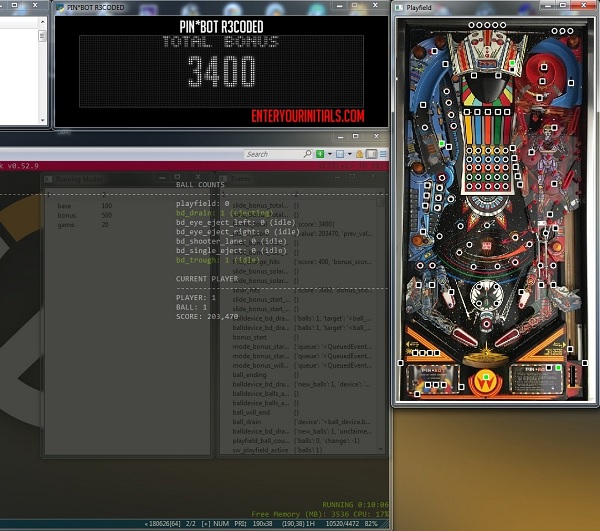
At this point the ball is in play and you can hit switches to add points. Once ready, you can activate the outhole switch to end the ball. This runs through the bonus mode and awards bonuses for features and applies any multiplier you have achieved.
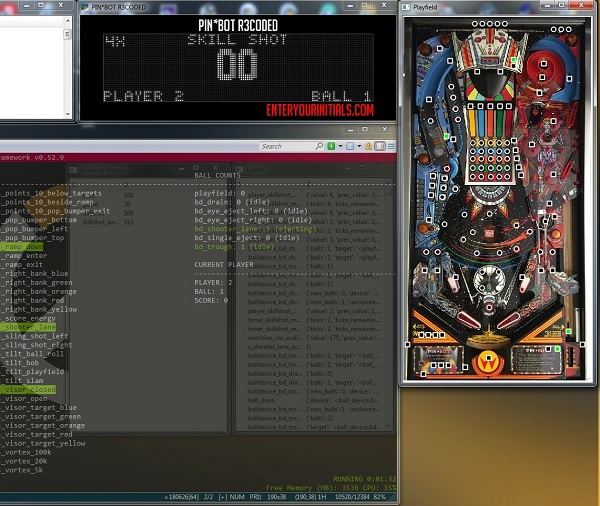
Then it’s on to player 2 for their first ball and skill shot. Then repeat until all 3 balls for the players are complete.
Before I went any further, I decided to get the display hooked up and running with my new project. I copied the display set up from the demo program in my last update and powered up the display. Everything went smoothly and I was able to watch the attract mode of my 2.0 project playing out on the PIN2DMD display.
I’ve been working away in MPF now for the last month and have made some excellent progress on game. Right now you are able to play a 1 to 4 player game with:
– Attract mode
– High scores (GC + 1st to 4th).
– Skill Shot (Multiplier timing with vortex ramp, Secret Skill Shot, Super Secret skill shot)
– General game play scoring for hitting switches
– Bonus Multiplier increase via the green matrix switches (light all 5 to to go 2x, then 3x, etc)
– Upgrade features for multiplier, super pops, super ramps, super switches and mystery award.
– End of ball bonus
– Ball save
– Tilt warnings + penalty.
– High score name entry at the end of a game
– Sound effects on the pop bumper switches
Eventually I will have this running in my actual PINBOT machine. Everything is reversible, so restoring to the original PINBOT will be easy.
I’ve run into a few issues with MPF not behaving as expected, but there is an active google groups for MPF that the development team are a part of and have had a number of my bug reports either fixed or issues created for them to be addressed in a future update.
I’ll look at going in to some details on the modes and feature upgrades in future updates. Right now I’m focusing on fleshing out the rule set I want to create. I’d like to add more animations and sounds to the game, but think I’ll hold off on that until the game starts to take shape and ideas become more concrete. Everything right now in terms of display and sound is just placeholder. I plan to have at least 2 different multiball modes that players can work towards that are outside the main modes. Each planet will be a short mode, with the sun being the final wizard mode. The chest matrix will be used to upgrade feature (Bonus multiplier, super pops, ramp, etc). I also need to look in to purchasing a PROC board so I can get all of this running in the actual machine. I might see if I can find one locally first. There’s still so much to do, but it’s been very motivating seeing the game starting to take shape on screen over the last 4 weeks. It’s been so motivating seeing the game come together on screen over the last month and I’m looking forward to making a ton of progress over the coming months 🙂
