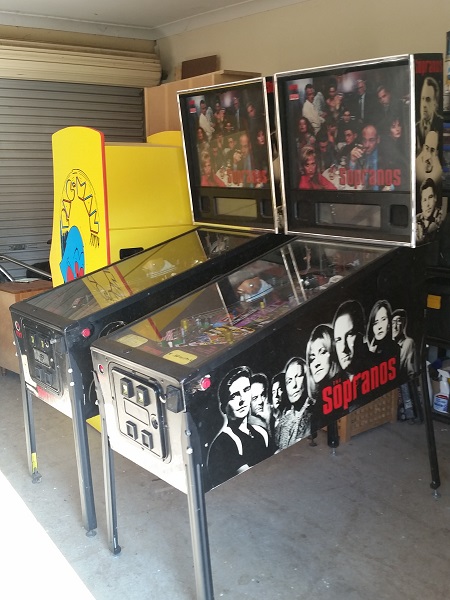
After finishing work on Baywatch recently and sending the machine on its way back home to the owner, it was time to advance to the next game in the queue. Only this time it’s not one, but two machines, making this a double repair & service log for The Sopranos. I have to admit – I’ve never watched the show and haven’t really been interested in it. But the game looks like it’s got some fun shots and lots of things to do during play. The owner of these machines will be keeping one (the machine on the right) and the other will be sold once my work on it is complete. Working on two of the same game at the same time makes sense as it saves the owner money in parts postage and also some time as I can do the same task on both machines together. Similar to my other threads, this isn’t a restore, but the game will be pulled apart, cleaned, serviced and rebuilt. Broken and worn parts will be replaced. Missing parts will be sourced where possible and anything interesting will be pointed out. The games arrived to me mostly working, with only a few minor faults to address before I get stuck in to them. They are in reasonably good condition (mainly dirty) – so should come up looking great for the owner once done.
When I start working on a machine, I like to go through the diagnostic menus first. Here I test the switches, coils, lamps and flashers, marking them off with a tick or cross so I can investigate any issues first. This allows me to get the game working properly first before I start rebuilding it – and also means that if something isn’t working at the end, I know it’s (most likely) my fault and retrace my steps to solve. I decided to go through the keeper machine first. When dropping the machines off, the owner let me know the left flipper on this machine was not working as a wire had fallen away from the coil lug.
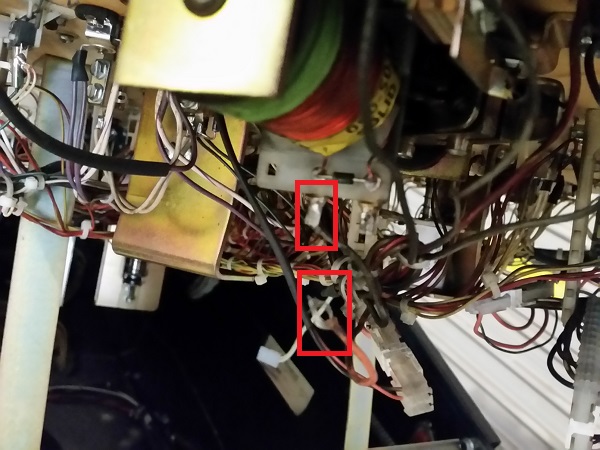
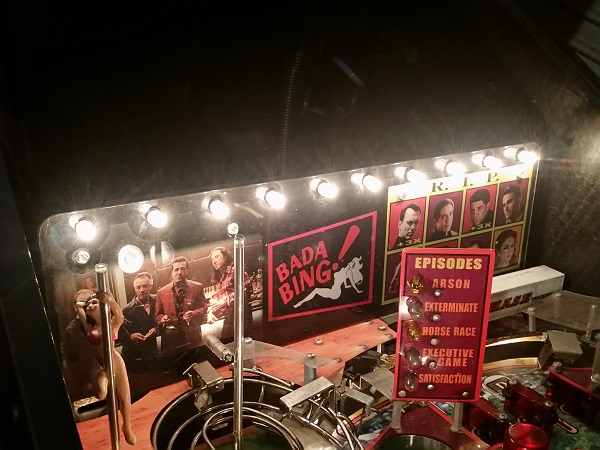
This was soldered back into place and the flipper was tested to ensure working again. Next I noticed that some of the GI was not running on the machine, primarily the GI at the back of the playfield. The wiring and connectors were checked and they looked good. I grabbed the manual and had a look at which fuses controlled the playfield GI. Once located, I removed all of the fuses for the GI and tested them. One was found to be dead and so replaced. This fixed the issue and the missing section of playfield GI was now working, highlighting the cleaning job ahead of me. I noted one of the missing pole dancers to find a replacement for too (which I found). The non keeper machine has both dancers.
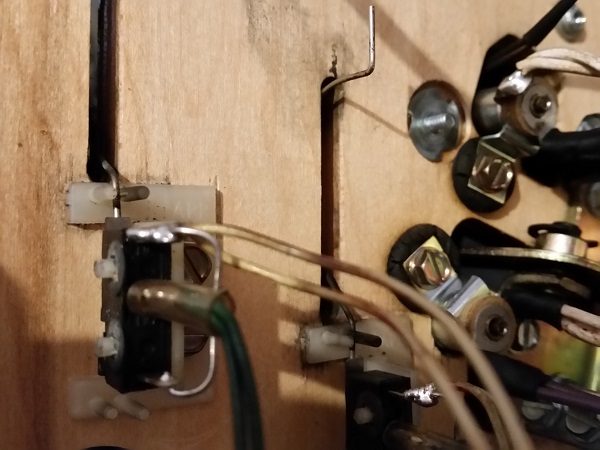
Running through the switch matrix diagnostics, I came across one of the yellow stand up targets failing to register. Under the playfield, I could see one of the wires had come away from the switch lugs.
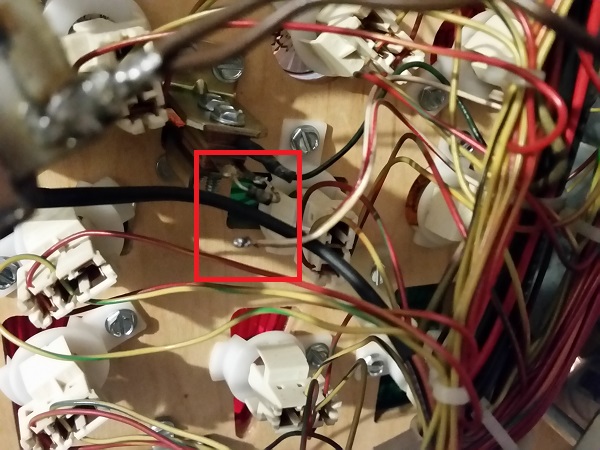
The machine was switched off and the wire soldered back into place. The switch was tested again and now registered correctly. Another switch issue I encountered was with the left return lane switch arm. It would get stuck in the playfield, and not return to its normal position once the ball rolled over it.
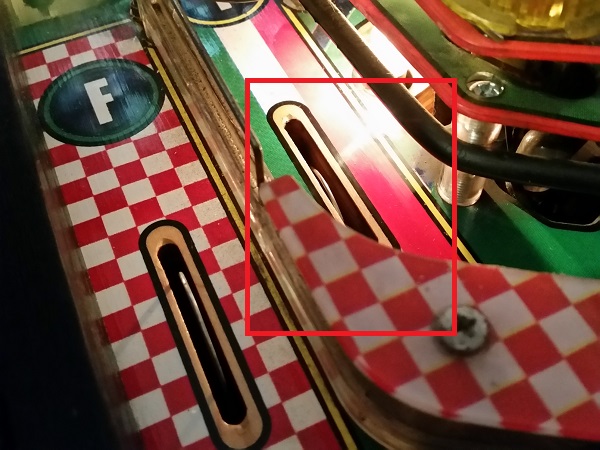
Beneath the playfield, there was nothing in it’s way. The switch arm was pressing firmly against the edge of the hole in the playfield. The two screws in the switch frame (attaching it to the playfield) were loosened and the switch rotated slightly to move it more central in the hole. This now allowed the switch free movement and it could return to its normal resting position. All coils passed the diagnostics, while a few insert lamps and flashers failed. These were due to dead bulbs and replaced to fix.
Jumping across to the machine on the left (the non keeper machine), I again ran through the diagnostics. I should note too that before I do this, I always print off the manual pages so I can write / mark my findings on them without damaging the owners manual. The coils and switches were 100% for this machine (except the safe – i’ll get to those 2 shortly). Some of the insert lamps were failing though and an interesting pattern emerged.
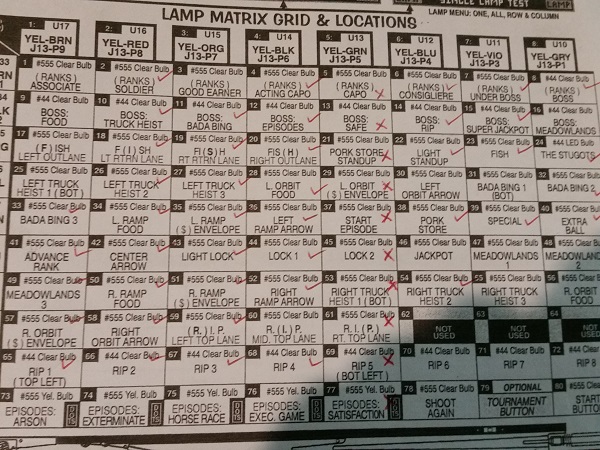
Once I saw the pattern forming, I ignored the other lamps and focused only on the column. All lamps in column 5 were not working. I continued through the rest of the matrix and all other lamps were fine. So what’s up with column 5? I lifted the playfield to have a look at each of the lamps in question to see if there was something shorting. Interestingly, I found the lamp socket at #13 (Boss Safe) had broken into two pieces.
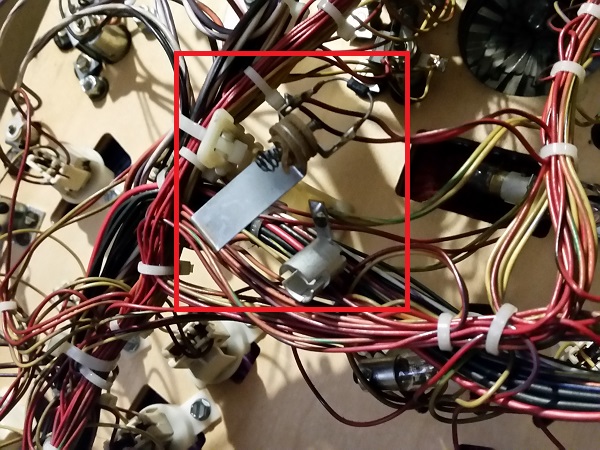
All other lamp sockets were fine. This one was replaced with a new socket. But the problem with the matrix column didn’t end there. The manual shows this column is driven by the transistor at U13 – Looking at the PCB in the headbox, I found the resistor sitting just in front of it was not in a happy state.
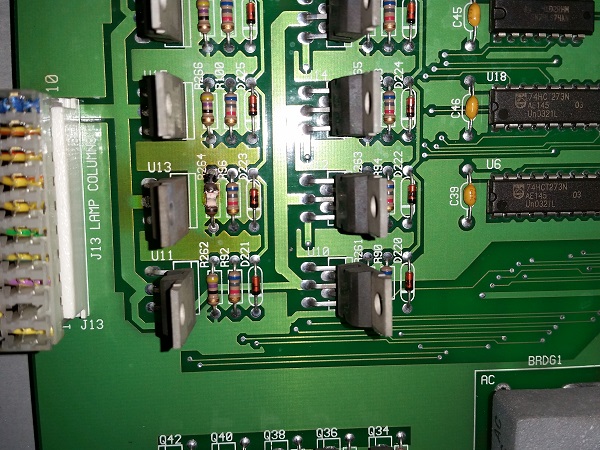
With the PCB removed, I could see clear burn marks between the resistor and also the transistor. Both components were sourced and replaced.
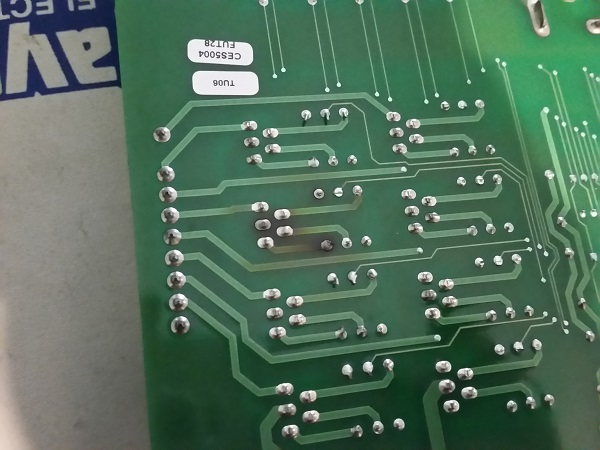
With the components replaced and the board installed back into the machine. The game was switched on and the lamp diagnostics run again – now all lamps in column 5 were lighting up.
Now about those safe switches I mentioned a few minutes ago. When the owner dropped the games off he mentioned that the two safe switches on this machine were dodgy and needed to be replaced. In diagnostic mode I could see them work, but only occasionally. He has planned ahead and provided me with two new switches.
The switches were replaced and then tested. Both were now registering 100% of the time. I was now happy to have the games at a point where I was confident the lamps, switches, flashers and coils all passed testing. At the end, once I complete all my work on the machines, I’ll run through the same sets of tests again to be sure both are 100% before the owner comes to collect them. Next up, updating the ROMs. The games still had their original Italian ROMs installed from when they were imported a few years ago. Again, the owner had been planning ahead and had already sourced the latest english ROMs – a set for both machines.
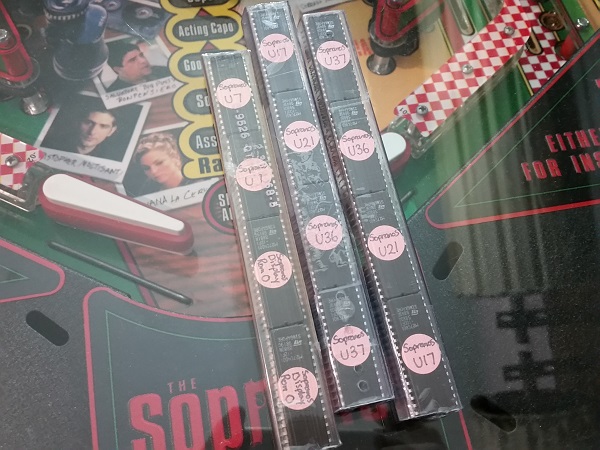
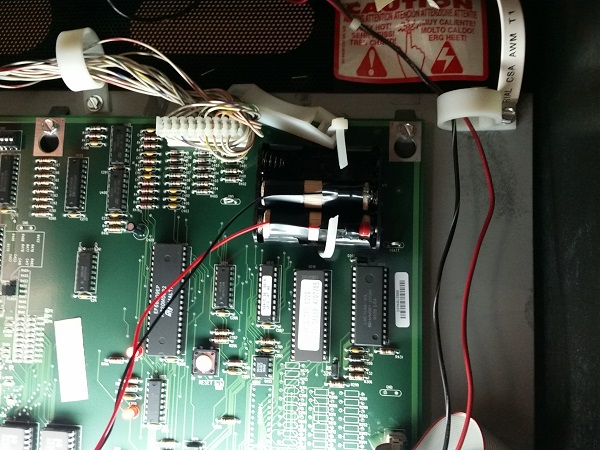
The ROMs were replaced on both machines. Since I was in the backbox, now seemed like a good time to build and install the remote battery packs. You can buy these pre built from some pinball parts suppliers, but they are cheap and simple to make – so I do it myself. I like this option since it leaves the CPU board untouched and can be removed easily. Plus, any battery leakage (if it occurs) is contained within the battery holder and is cheap to replace. Normally I use the 3 AA holders, but Jaycar they didn’t have any in stock, so I went with the 4 pack and ran a wire through the first slot.
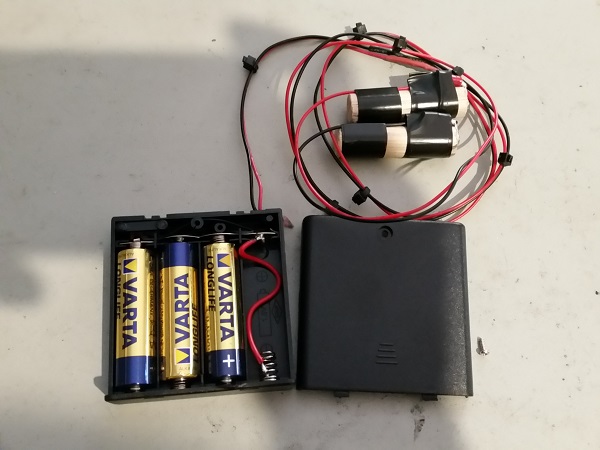
The kit was installed into the machine and the voltage tested to ensure a solid 4.5v was being delivered by the remote pack. The same kit was built for the second machine and installed. Both games were set to free play and then switched off and on to ensure the settings were being saved.
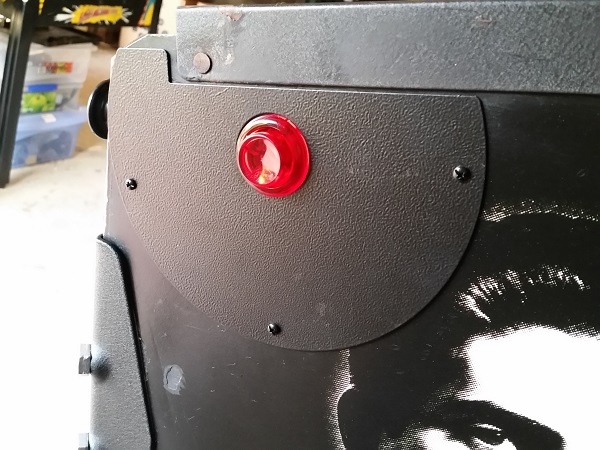
Now for something cosmetic to apply on each machine. The areas around the flipper buttons (on both sides and on both machines) are worn. Not a good look at all – but an all too common one at times.
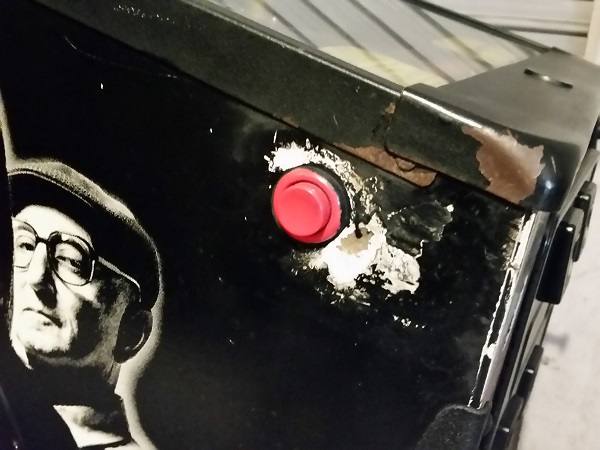
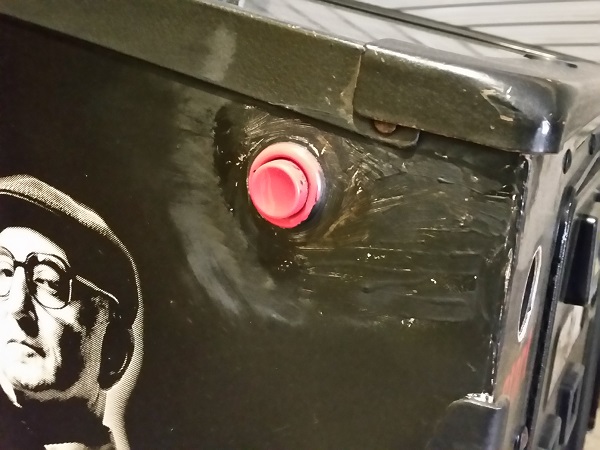
The owner was prepared for how he wanted this dealt with. Awhile back he had some shield made up which he wanted installed. I sourced some black screws to install them with so they would blend in. I also replaced the old tired looking red flipper buttons with sexy red transparent ones (which I think work well with the red across the playfield area).
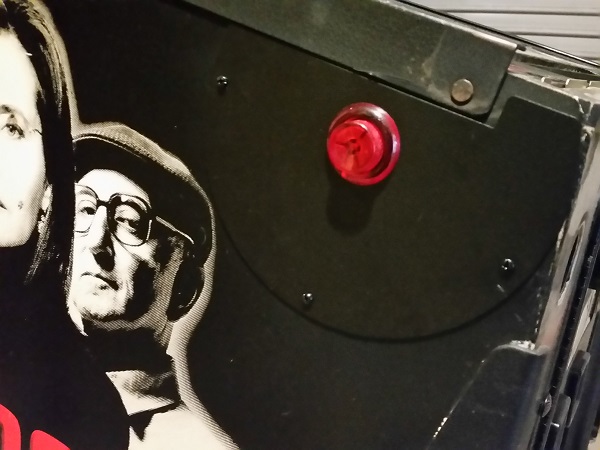
The shields cover the damaged areas perfectly and will prevent any future wear in the areas.
I haven’t quite worked out how i’ll post pictures of both machines in the coming updates. I don’t really need to post two sets of photos since it’s the same machine, same parts, same process and (hopefully) same result when rebuilding an area or assembly. Perhaps I’ll show photos for one machine and then only things of interest on the other – otherwise there is going to be a lot of image duplicating. In some cases though I’ll be able to photograph parts and assemblies from both machines together, which will make things easier.
The first assembly to get rebuilt on the machines will be the shooter rod. They are both quite sticky in their movement and don’t give the ball a really solid hit into play. The barrel spring on the keeper machine needs to be replaced too as it’s just about dead. Other than that, a good clean will make a world of difference.
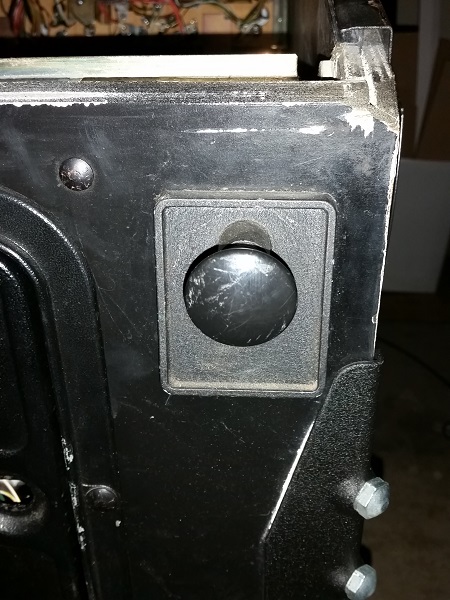
The shooter rods from both machines were removed from the cabinet for cleaning.
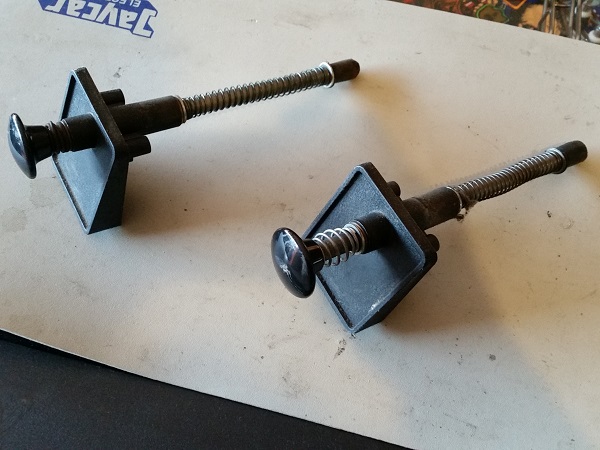
A new barrel spring and green spring were purchased for the keeper machine, along with a new green Titan rubber tip. I went with a green tip as it works well with the green plastic that runs beside the shooter lane, and the green across the drain area of the playfield. All other parts on the assemblies were cleaned up. The housing was cleaned up and looks like new.
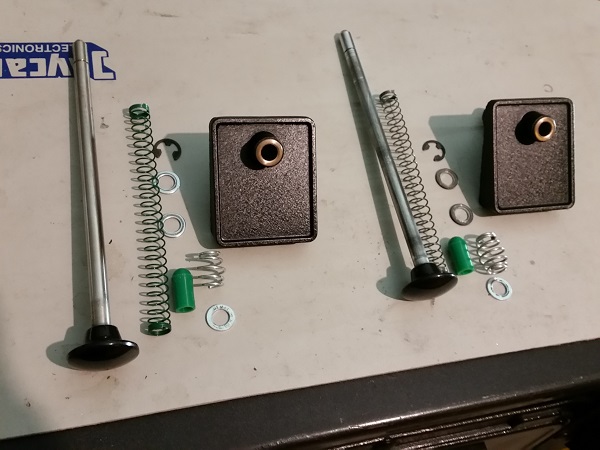
Both assemblies were rebuilt and now ready to be installed back into the cabinets.
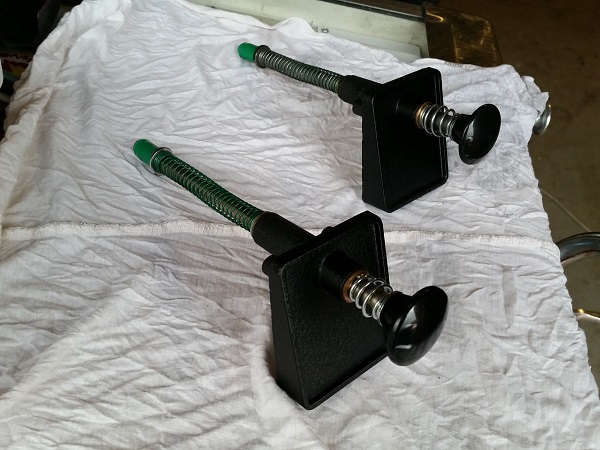
Once the shooter rods were installed again in the machines, they were tested to ensure there was no more sticking and the ball received a clean hit. Both were working well. Next up is the auto launch assembly. This allows the game to automatically kick a ball into play.
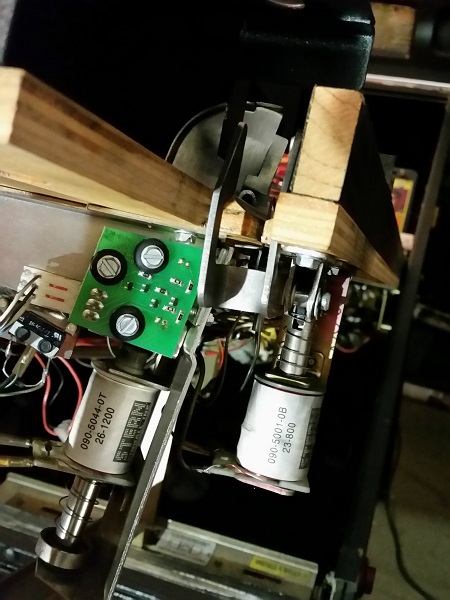
The auto launch assemblies for both machines were removed and set aside for cleaning.
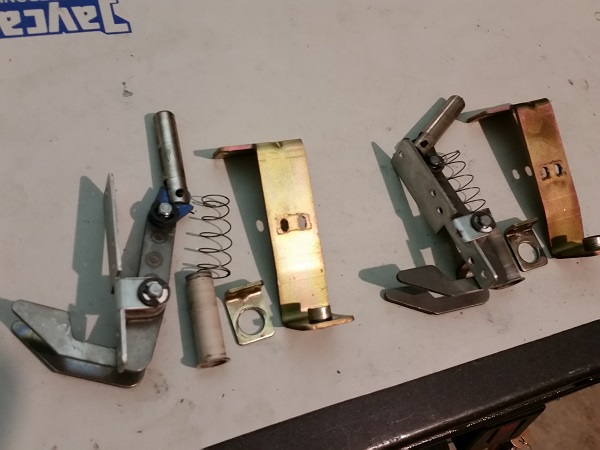
The assemblies were disassembled and each piece cleaned. New coil sleeves were sourced for the rebuild.
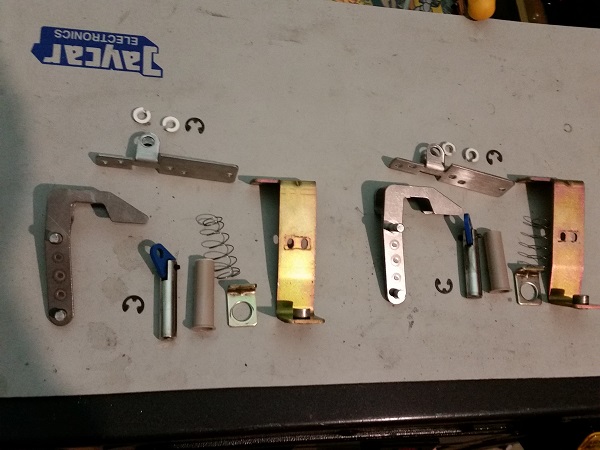
Both auto launcher assemblies were rebuilt and installed back onto the playfield. Now on to the apron area. This area is always good at collecting crap over time. It also gets onto the ball, which then pushes it around the playfield. Both machines come from the same operator. The keeper has #23 written on the playfield, which the other has #25 written just inside the coin door. The state of the trough area was the same on both machines.
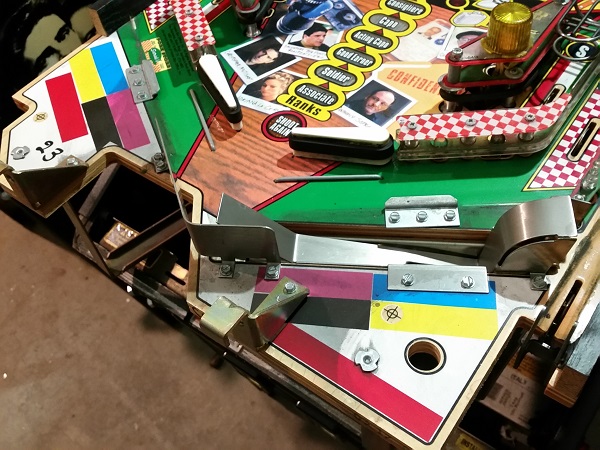
The ball trough and ball serve assemblies were pulled apart and cleaned. A new coil sleeve and rubber grommet will be installed when they are rebuilt. Any filth that had collected in the ball trough was cleaned out too.
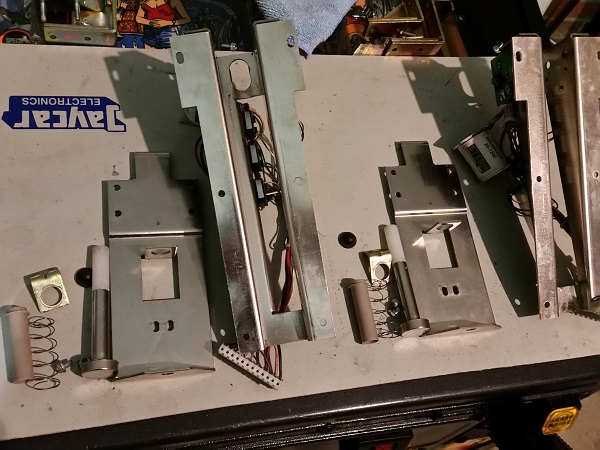
The other metal pieces around the apron area were cleaned up for both machines and are ready to go back onto the playfield.
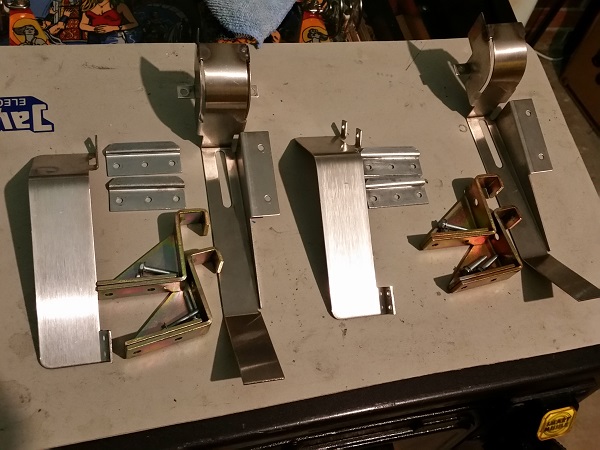
The surface area below the apron was cleaned up, removing all the crap that had collected there over the years. It wasn’t terribly filthy, but at least now had a nice shine to the surface.
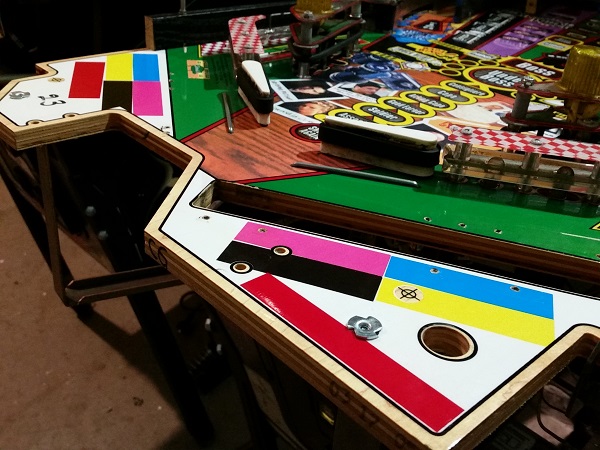
The ball trough was installed back into both machines, along with the other metal pieces that attach below the apron. The apron area was now looking much cleaner.
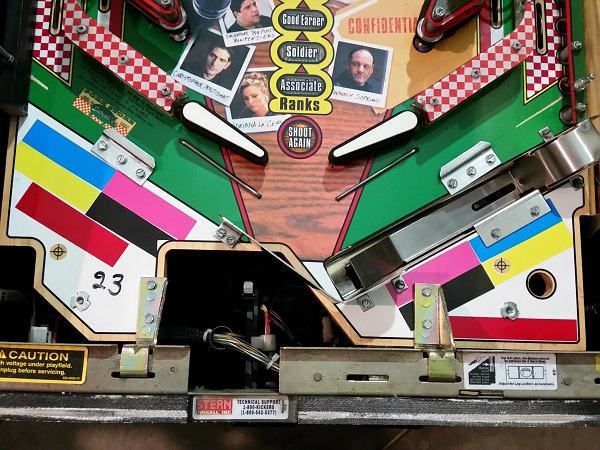
The last step for the apron was to print off some new pricing cards (from pinballcards.com) and add them. The aprons are both in really good condition, as are the decals on them – so they both cleaned up well.
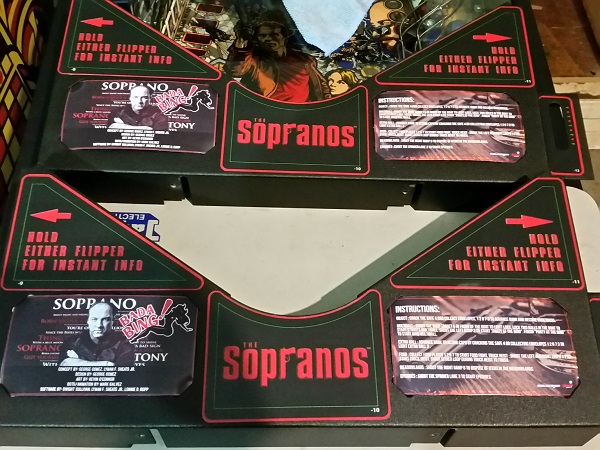
The completed aprons were installed back onto the playfield to round off the first update of my work. I’ve been working away on them over the last few weeks and already have much more progress to share. I just need to find time to write up the second and third updates. Next up I will be focusing on the flippers, sling shots and lower playfield area in general. After that i’ll remove the two rails and get stuck in to the mid and upper playfield areas. Lots more interesting stuff still to come. I think I’ll continue to try and keep photo duplication to a minimum – unless there there are points of interest on the second machine that deserve a photo to point something out. Maybe a focus on showing off the final state of areas on both machines – as seeing two sets of photos showing the exact same thing isn’t overly interesting. Stay tuned for the next episode soon 😉

Hi I have a Sopranos Pinball, and the dancers do not turn anymore, any tips on figuring out the problem?
Hi Kevin,
First thing to check is the motor below the playfield. From memory it uses a rubber belt to spin the two dancers. This belt can become hard and even break over time which result in the dancers not moving when the motor is running. Remove the balls from the game and lift the playfield. Check the belt is still attached to the motor. Also ensure any connectors from the motor are plugged in correctly. If all looks good, switch the game on and enter test mode. You can engage the motor from the coil menu. There may be a dedicated test option for the motor – I can’t remember. Check that when you engage the motor from the test menu that the motor itself engages. Even if the belt is still there, it may have become too hard and no longer grip well enough to spin the dancers. In this case you can just use a playfield rubber to replace it or buy a goodie bag like this that has a replacement band: https://www.pinballspareparts.com.au/sop-01.html