
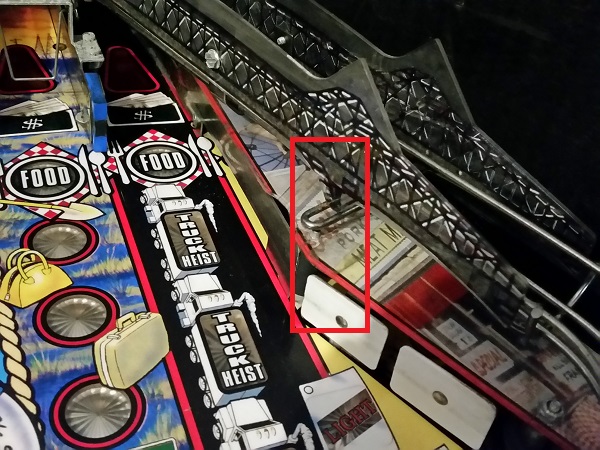
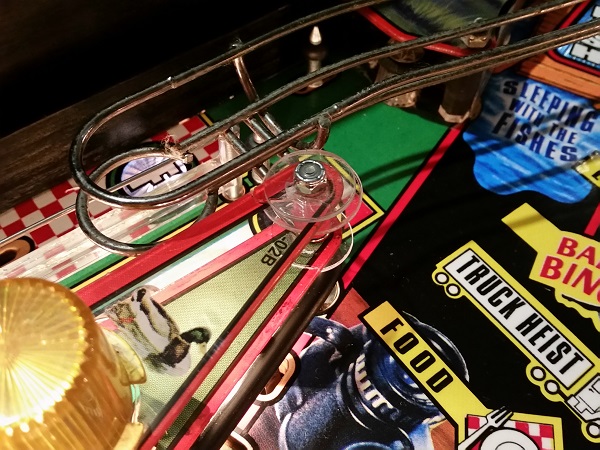
Back for the second episode in the series covering my work on two Sopranos pinball machines. To kick off this episode, I wanted to sort out a missing piece from the keeper machine. On the right side of the playfield there should be a spot light attached just above the two targets. This was completely missing and so will need to be replaced.
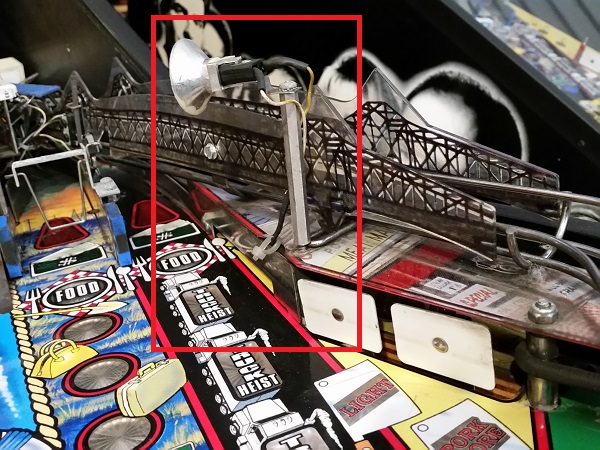
Thankfully, it is present on the second machine, so I could easily see how it should be constructed. This one will be cleaned up before I’m finished, but that will come later.
Something I noticed on the keeper machine was the rail that runs down the right side of the playfield had been re-installed too high and could not sit properly for a replacement spot light to sit. It should connect below the spacer at the top of the sling shot, not above it. So this will need to be moved down once I pull the slings off the machine and clean them.
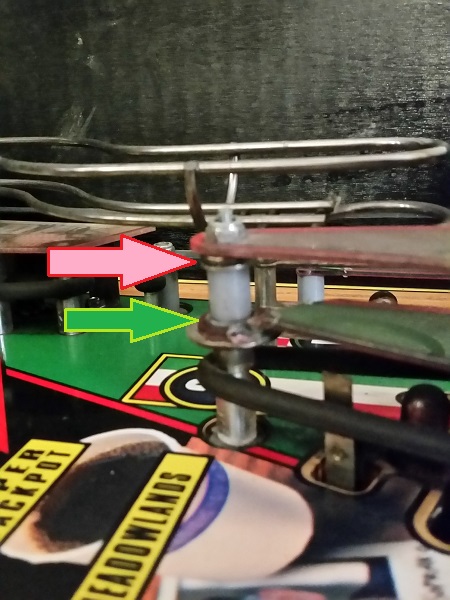
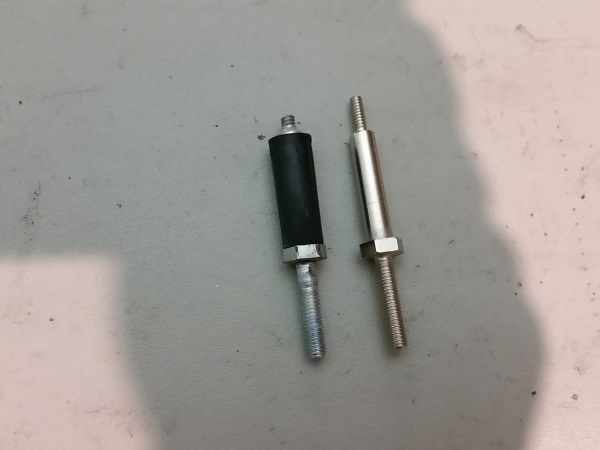
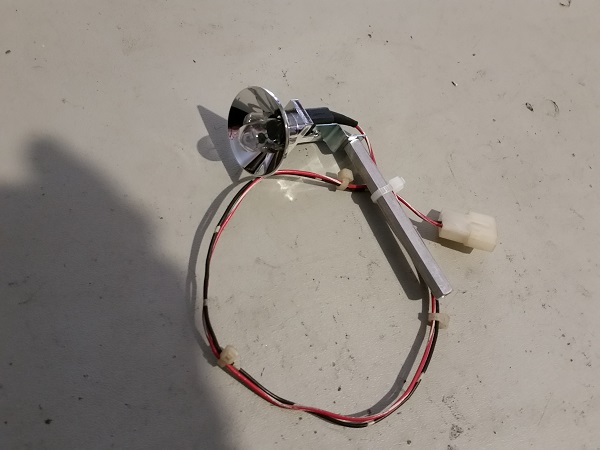
Another thing I noticed was the post that the missing spot light attaches too was broken and would need to be replaced. Here is the old piece along side the new one – notice the top section broken off. I’ll sort out a nice new post sleeve for it too.
All the parts that make up the spot light post were sourced so a replacement could be built. With some luck, I already had the wiring from an old junk harness which saved me having to track down the correct molex connector.

The spotlight post was assembled, ready to be installed. I’ve also purchased new reflectors to replace the other worn ones around both playfields when the time comes.
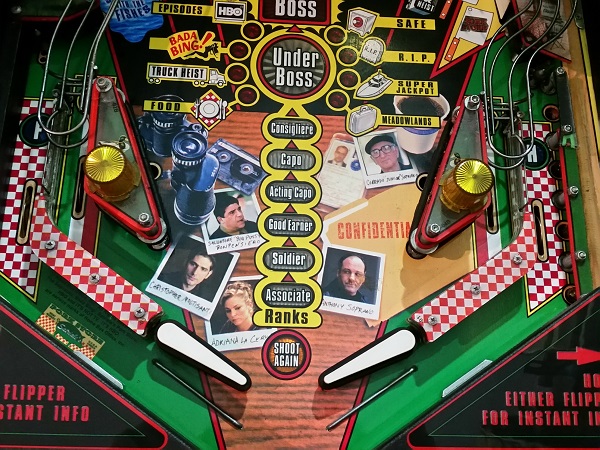
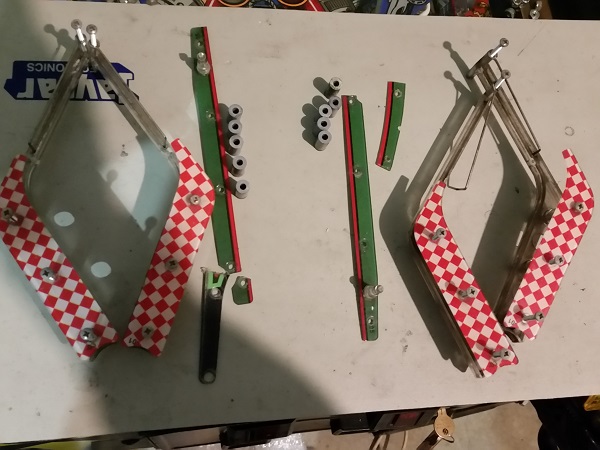
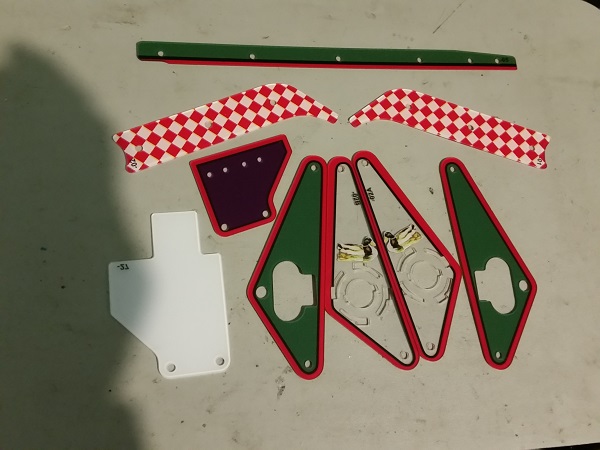
Time to get on to some interesting bits. For this update, I wanted to focus on the lower playfield area. That means the sling shots and flippers will be the primary focus. On the keeper machine, all the parts are there but some of the sling shot plastics are broken or cracked. Both areas around the slings are quite filthy too – but nothing a good clean won’t solve.
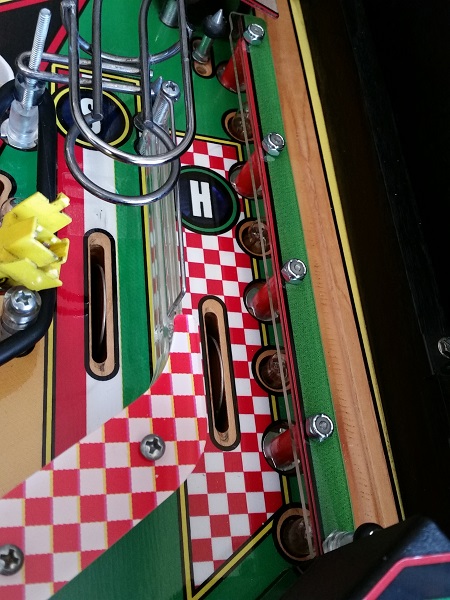
The shooter lane / right outlane plastic is broken. The ‘fix’ looks to be a broken piece from a different game. This seems to be a common issue on the Sopranos machines as the ball will smack against it on a drain and it has no protection. A few hits with a metal ball and – SNAP! Once the machine is fully cleaned, it’s going to speed up, so this piece will be more at risk than ever before. I will investigate adding some sort of guard for this piece before I’m done.
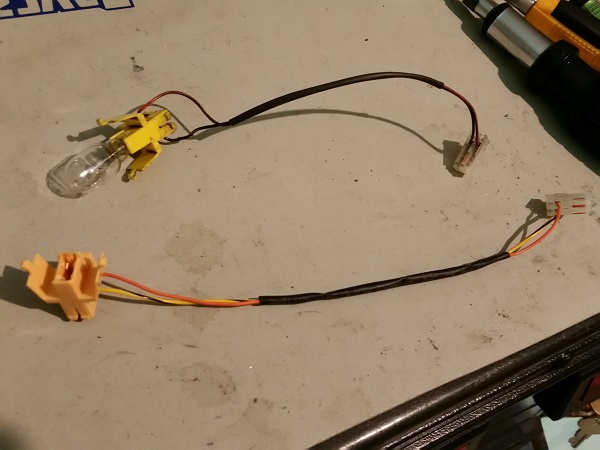
The sling shots on the second machine were not in the best way though. At some point in the past, the sling plastics had been replaced with some other slings and the Sopranos key tag glued on to them. The wiring for the flashers on the slings was missing. One was found inside the cabinet, the other had been cut off completely. I’ll be able to build a replacement one though easily enough.
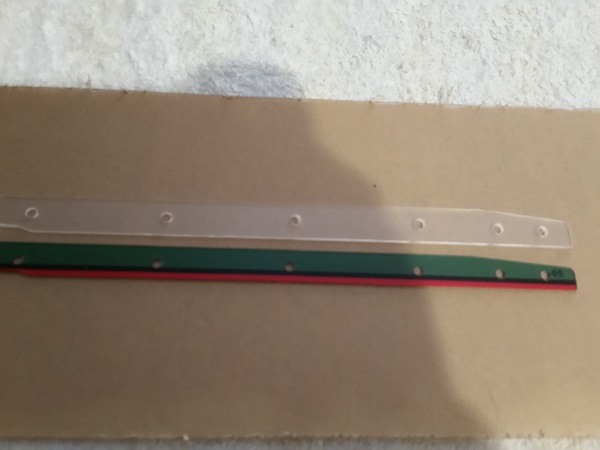
The return lane plastic was also broken on this machine, although “repaired” in a slightly different manor. I’ve sourced two new shooter lane plastic pieces, which will be installed when I begin putting everything back on the playfield.
The lower playfield area was stripped on both machines, showing the filth that had collected below. Both machines were in a very similar condition.
The return lane plastics and spacers were set aside for cleaning.
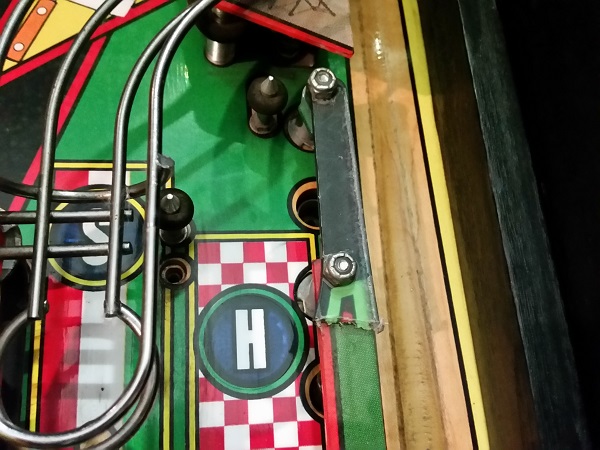
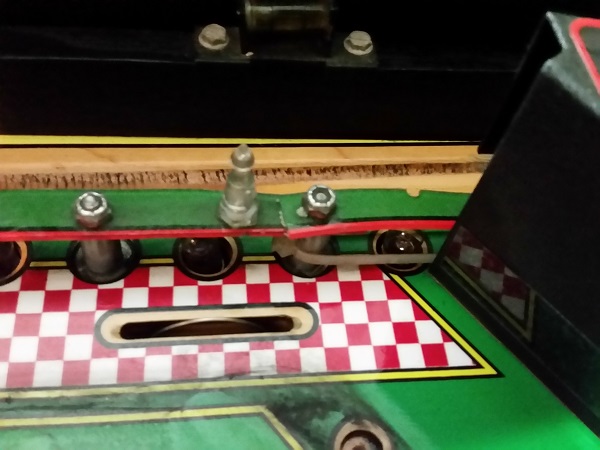
The way the slingshots and shooter lane plastic are attached to the playfield is with screws installed from under the playfield into t-nuts above the playfield. This means some part of the the t-nuts are visible on the playfield. The top side of the t-nuts were filthy on both machines, so I took the extra step to remove the screws and t-nuts for cleaning too. No good having a clean playfield soured with some dirty metal pieces visible.
Because one machine was completely missing the slingshot plastics, a new set were sought. Retro Refurbs has a nice mini set which includes pieces for the sling shots and also the shooter lane. You can also buy the shooter lane piece separate from Pinball Center. I think the quality of the Retro Refurbs set is way better though. This means I can clean up and move the best remaining pieces to the second machine. The sling shot plastics on the second machine won’t be perfect, but way better than the glued key tag versions that were installed there. It also means I can get the slingshot flash lamps back onto the second machine – the way it should be.
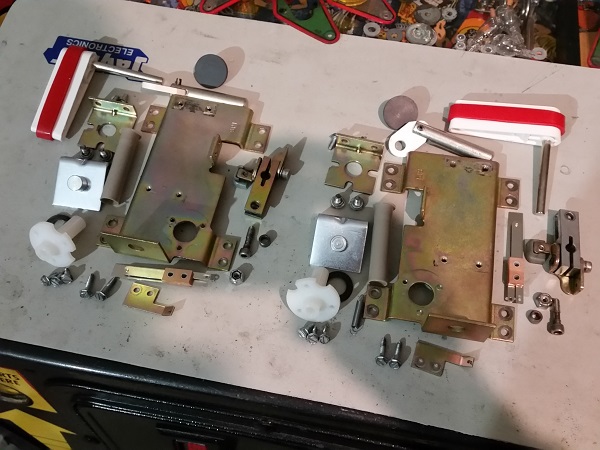
Now on to the sling shot assemblies. All four sling shots had been removed and set aside for cleaning. There were no nasty surprises here except for one of the coil sleeves crumbling on removal.
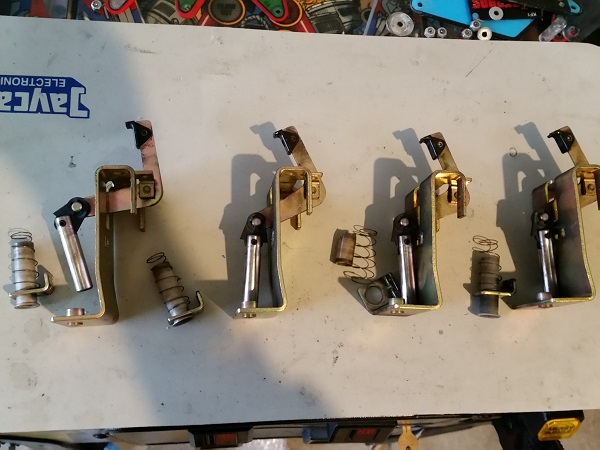
Each assembly was pulled apart and cleaned, with a new coil sleeve added for the rebuild. All parts cleaned up nicely and the assemblies were ready to go back into the machines.
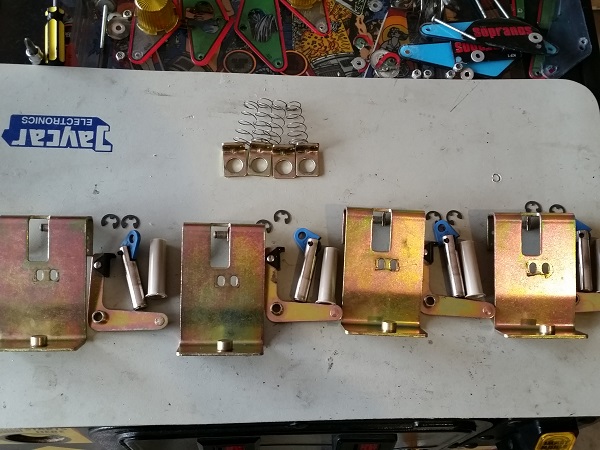
The lower playfield area was progressing well and it was now time to sort out the flipper assemblies.
Each assembly was pulled apart and each piece cleaned. Some new pieces were installed (coil stop, bushing, plunger, rubber stop, sleeve) and new Titan rubber was also added. This was repeated for both machines.
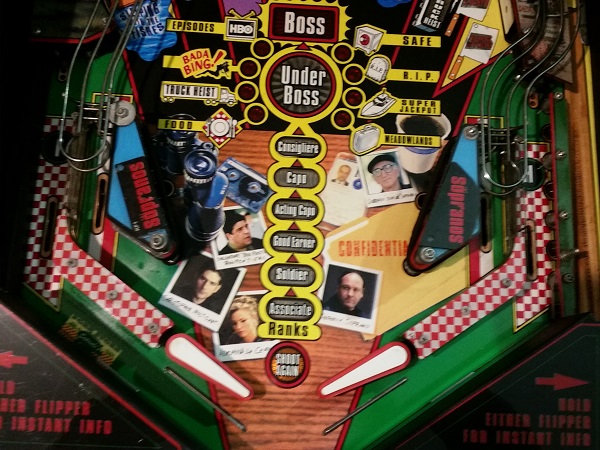
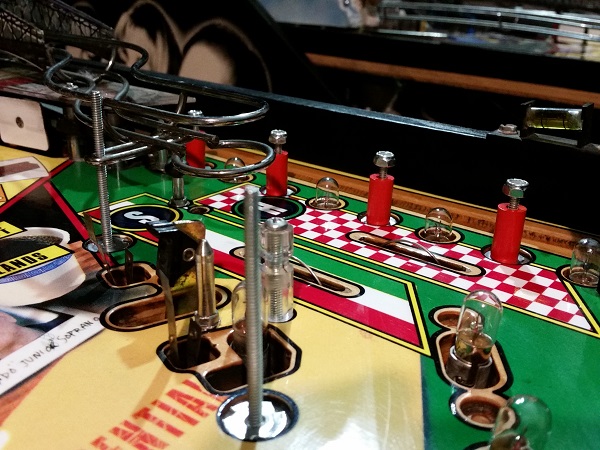
Something I wanted to improve were the grey spacers that make up part of the the sling shots and shooter lane. Why? Because I find the grey spacers boring. If they are hidden from site, then no worries, but these ones are out in the open and so dull to look at when you have nice colours across the playfield. I decided to spray these ones with a gloss red to fit with the red on the playfield in the area. I think they look 1000 times better. I also installed the cleaned screws, t-nuts and clear posts. The playfield has now also been cleaned and the bulbs wiped down. Any bulbs that were on their way out were replaced. Already the lower playfield area is looking much improved.
The rebuilt flipper assemblies were installed again, along with the clear return plastic rails that were also cleaned up.
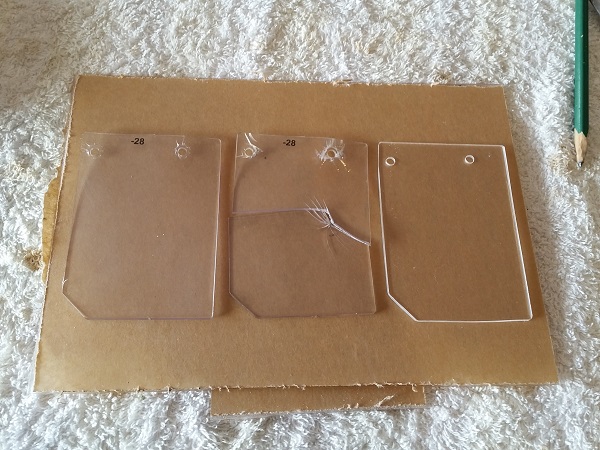
Before I install the the shooter lane plastic, I wanted to build a protector piece that sits below it to prevent the piece breaking. For this I used some clear 1.5mm thick acrylic. The piece was cut to be 2mm bigger on the playfield side so it will offer the plastic piece protection.
Installed on the machines, you can see it now prevents the ball from connecting with the plastic, which I hope will prevent the shooter lane plastic from breaking again. I’ll make up a few extra for the owner anyway just in case, so if it does break at some point, he can quickly install a replacement and protect that lane plastic.
While I was creating the shooter lane guard, I needed to craft a clear piece to replace a broken section that is installed towards the rear of the right side. The piece from the keeper machine was still together, but the piece on the second machine had broken in two some time ago. Again using 1.5mm clear acrylic, a replacement piece was created. The screw holes are slightly off alignment, but that’s how they are on the two official pieces. I made the holes slightly larger to allow room for adjustment when installing. I won’t be needing this for a little while yet, but thought I may as well create it now.
The sling shots were rebuilt, again the boring grey spacers were sprayed and now look much better in gloss red. Clear washers were installed around the sling edges to protect the plastics. I also installed two small mylar squares below where the ball drops from the return rails onto the playfield to add some protection to the playfield surface. Lit up, the area looks so much nicer now.
For the second machine, the missing flasher bulb piece was rebuilt with a new socket, 2 pin IDC plug and some wire.
Also on the second machine, some additional clear washers were used on the slingshots where the plastics were broken or cracked to help protect them. This is really the only difference between the two machines – otherwise they both came up looking the same.
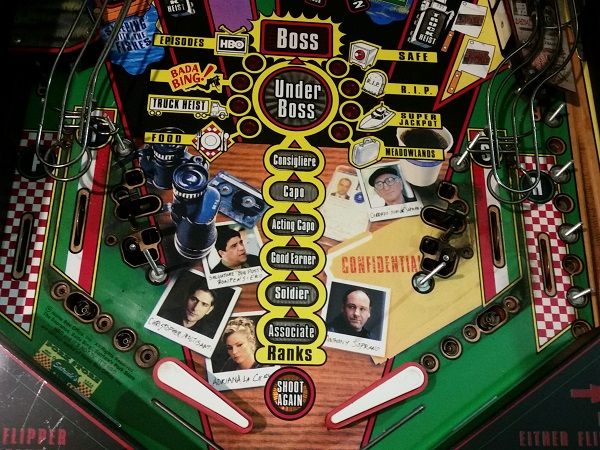
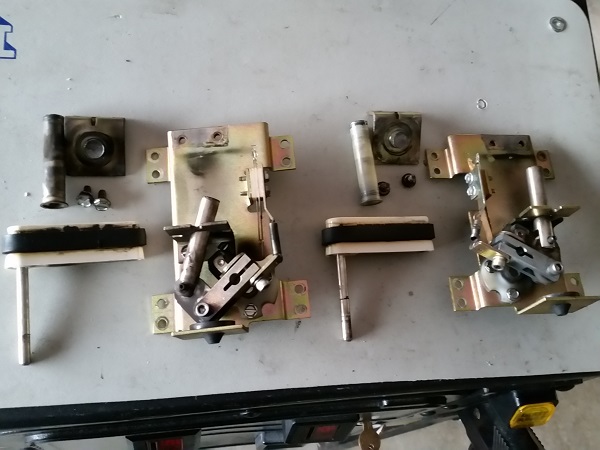
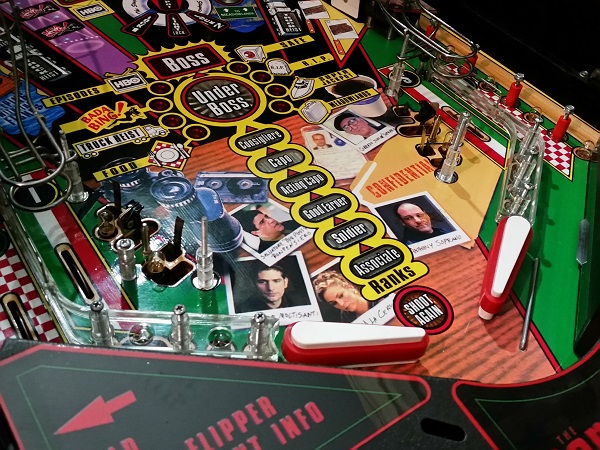
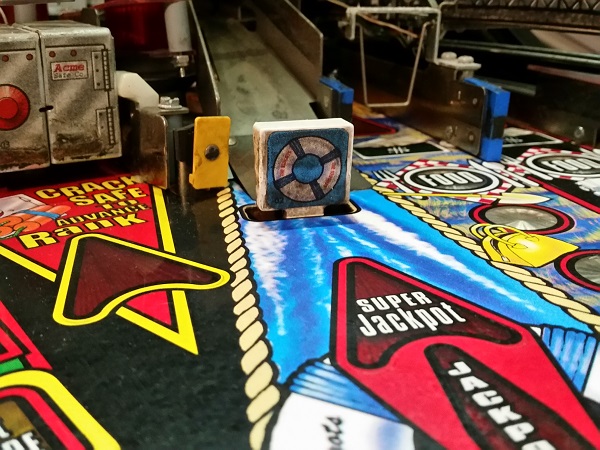
One last assembly to look to round out this update – the single drop target “bank”. I hadn’t planned on including it in this update, but I managed to squeeze it in before some of the other assemblies since it was easy to get to. I love drop targets on pinball machines, especially when they hide a target, or in this case a ramp. I’m also a fan of the inline drops on some machines line Eight Ball Deluxe. The drop target plastic is still in a solid condition on both machines, although the keeper machine has a much dirtier target. Just to the left of the target is a safe – and you’ll notice some wear along the decals. Part of the replacement decal set I purchased came with a new drop target decal – which i’ll install.
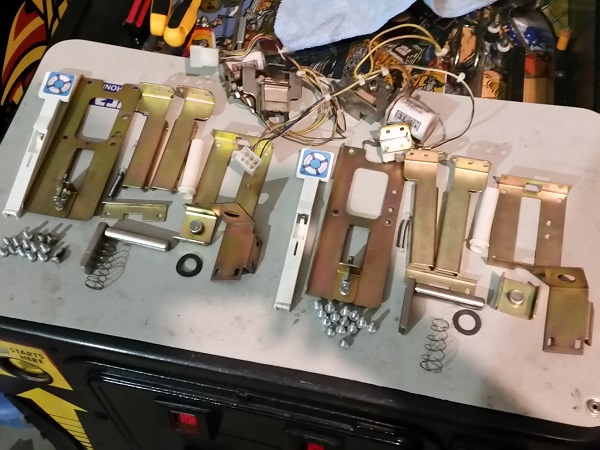
The drop target assembly was removed from both machines for cleaning. Something interesting to note here is the missing return spring from the left drop target assembly (from the non keeper machine). This will be replaced. The wiring is connected to the playfield via a molex connector, which is great as it makes removing the whole thing super easy.
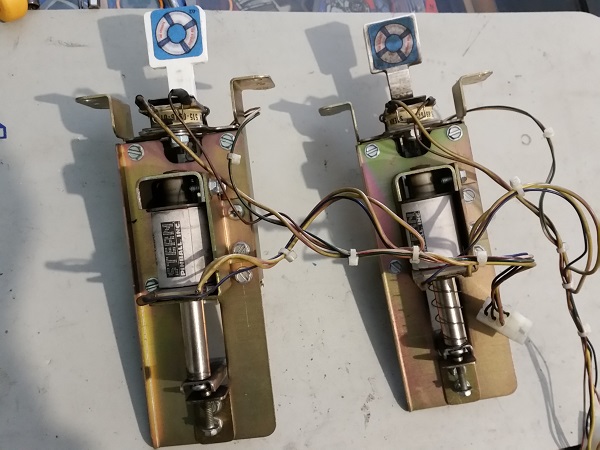
Both drop target assemblies were disassembled and each part cleaned. The replacement target decal was installed and the missing return spring sourced, ready for the rebuild. New coil sleeves were also sourced. Something of interest is the assembly contains two coils. One to reset and another for the CPU to trip the drop target automatically. No nasty surprised found on the assemblies though as both are in good condition.
The drop target assemblies were rebuilt and installed back into the machine. That completes the second episode in the repair and service of these two Sopranos machines. I was really happy with how the gloss red spacers came out, along with the shooter lane plastic protector. I’m interested to see how it holds up under play and I’ll make sure to create a couple of extras for the owner just in case. In the next installment, I’ll be moving up the playfield to start taking care of the middle and top sections of both machines. Stay tuned!