I’ve been having a lot of fun playing my Last Action Hero since it’s arrival. I’m not sure how it rates as a game among the pinball community, but I’ve found it to be really enjoyable and it’s a welcome entry to my Pinball fleet. My previous update focused mostly on small cosmetic things but in update #2, I’m starting to look at cleaning the assemblies to get the game running at an optimal level. First thing on my radar this time is the single scoop, located on the right side of the playfield.
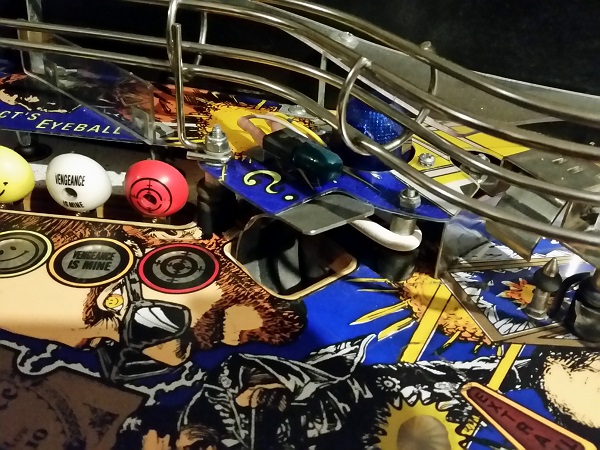
Under the playfield, the frame of the scoop is attached with 4 screws. Also attached to the frame is a small microswitch (similar to the ones seen on the double scoop) along with the coil and kicker arm.
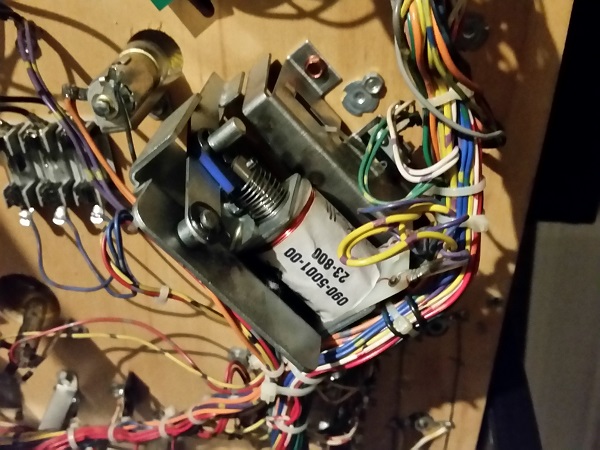
Best way to remove the assembly is to first unscrew the miscroswitch from the frame and then remove the 4 screws holding the frame to the playfield. This makes it easy to access the two screws attaching the coil mounting bracket to the frame. With the mounting bracket undone, you can then get the coil out and the frame out of the machine for cleaning.
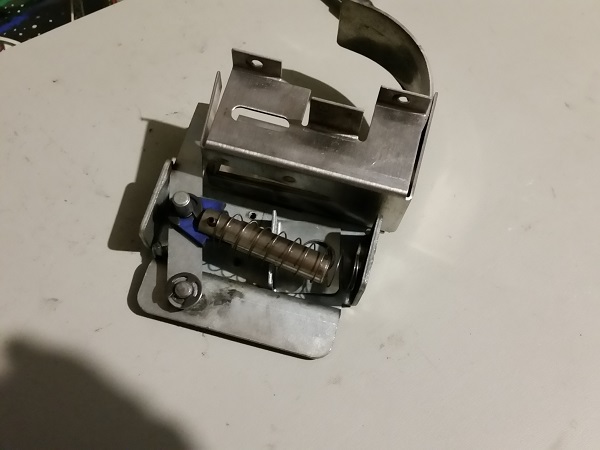
Now that I had the scoop frame removed from the playfield, I could disassemble it further to make cleaning more thorough and easy. The frame itself is two pieces held together on one side by a couple of lock nuts. These nuts were undone and the parts split. The plunger was removed from the kicker arm also. Compared with the project machines I’ve worked on, it’s not too filthy. But still there is room for cleaning and improved operation.
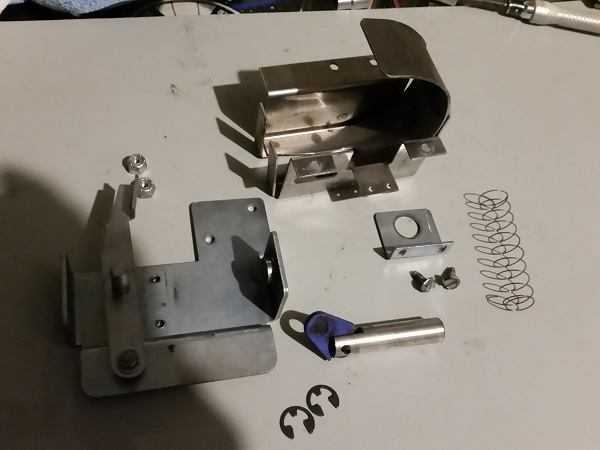
Steel wool, isopropyl alcohol and a cloth did most of the cleaning work. Each part was cleaned and set aside until all were done. A new coil sleeve will replace the old one.
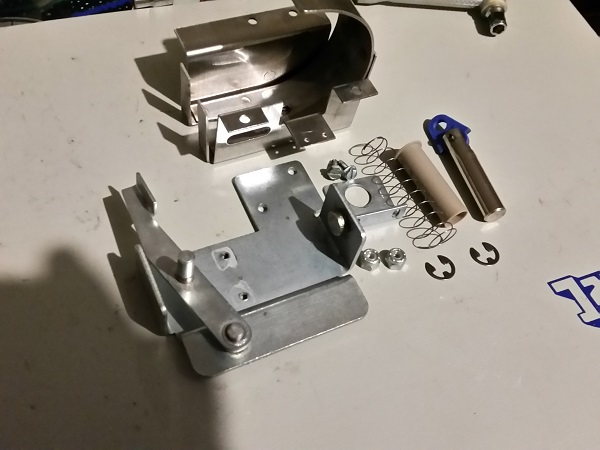
The scoop assembly was then rebuilt and installed back into the machine. Even though it was not too filthy, there is a noticeable improvement in the movement of the kicker arm and plunger on the assembly after cleaning. It took about 20 minutes to do and I think it’s time well spent. The assembly won’t need to be cleaned for awhile now.
The next assembly I wanted to clean up was the one in control of the ball serve. Located in the lower right of the playfield where you normally find the plunger. Given there is a skill shot from this coil, I wanted to get it cleaned up and operating as cleanly as possible.
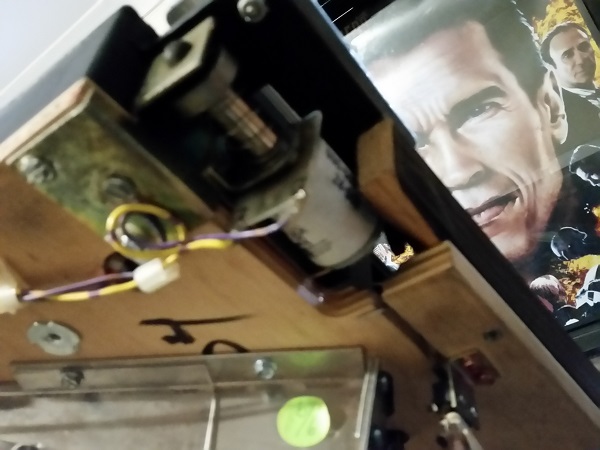
It’s attached under the playfield with 3 bolts. With the frame out of the machine, I could now give it a clean. There is the usual black crap built up, but it’s not too bad. A new sleeve wouldn’t go astray either.
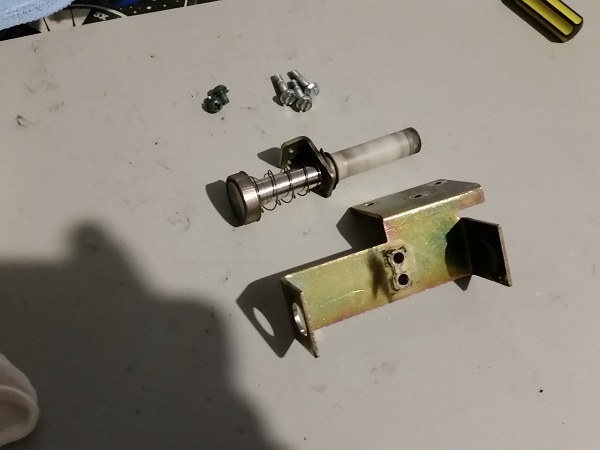
All parts of the assembly were then cleaned up and a new coil sleeve added.
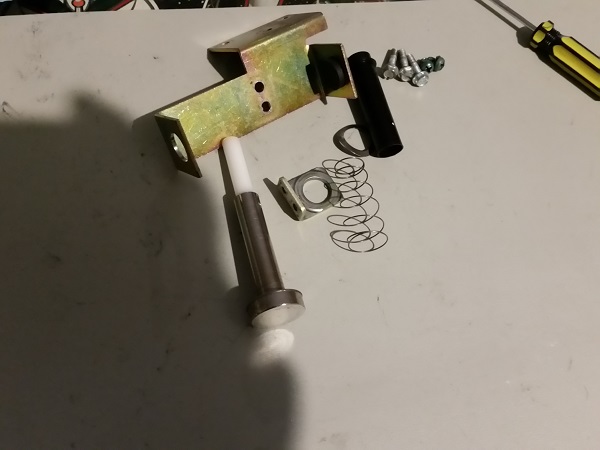
With the ball launcher assembly cleaned, I wanted to clean up the plastic and apron that sit above it.
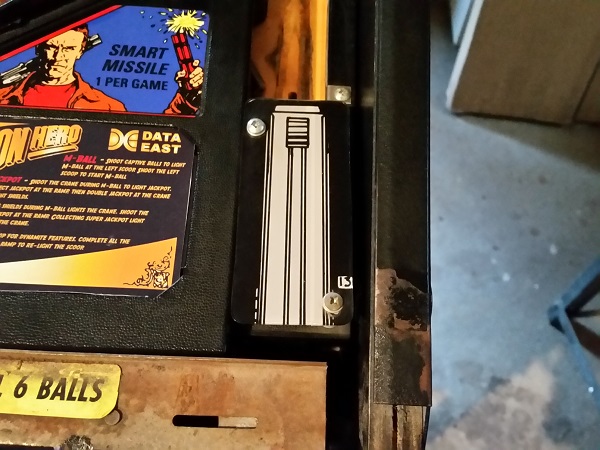
The plastic is attached to the apron via two bolts and lock nuts. These were undone to remove the plastic for cleaning.
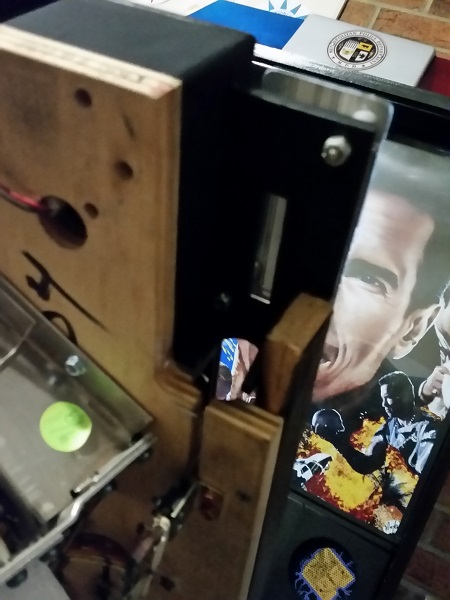
Under the plastic is a very dusty (and lame looking) shooter cover. Since the game uses the gun as a ball launcher, there is no need for the power meter. A wise move by the designers to cover this up with some artwork plastic. Before moving on though I will give it a wipe down.
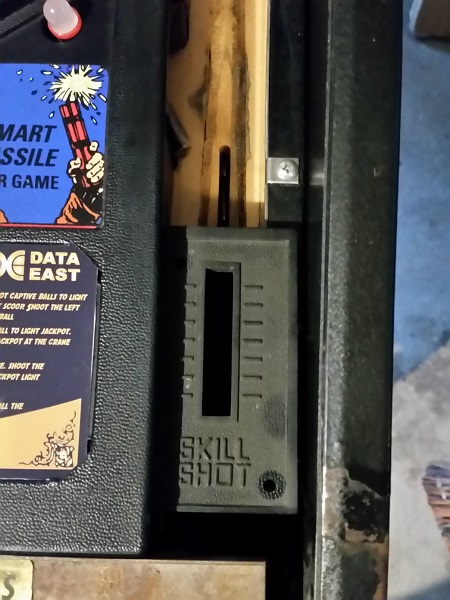
The plastic, posts and bolts were set aside for cleaning.
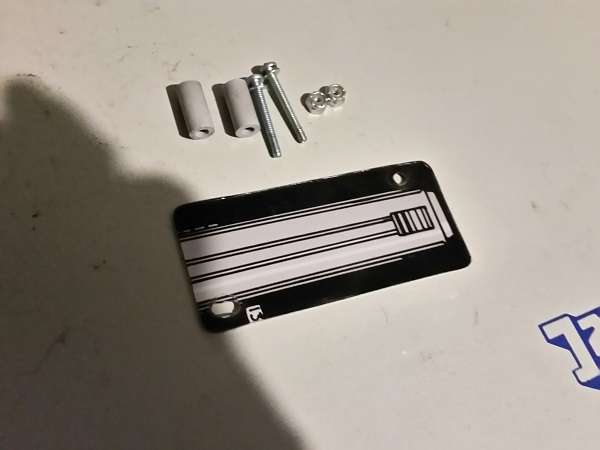
The bolts were cleaned up and the plastic polished with some Novus. The cover was then installed back into the machine, followed by the ball serve assembly. While in the area I thought I’d clean up the ball trough kicker. A similar assembly to the ball launcher, it’s attached to the trough frame.
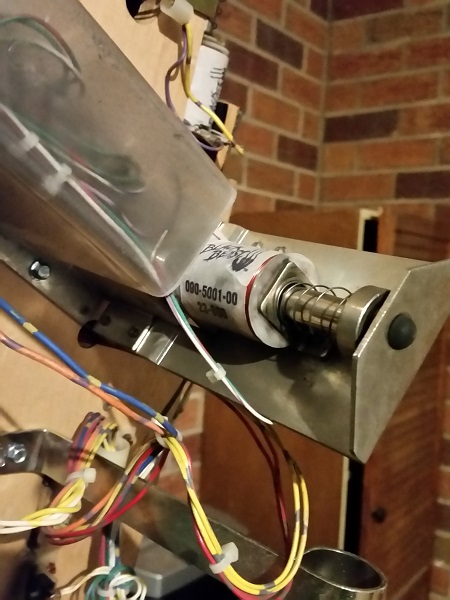
The coil was moved out of the way and the plunger, spring and retaining bracket removed for cleaning. The parts were cleaned up. The frame for the up kicker was also cleaned up, removing as much of the crap build up as possible.
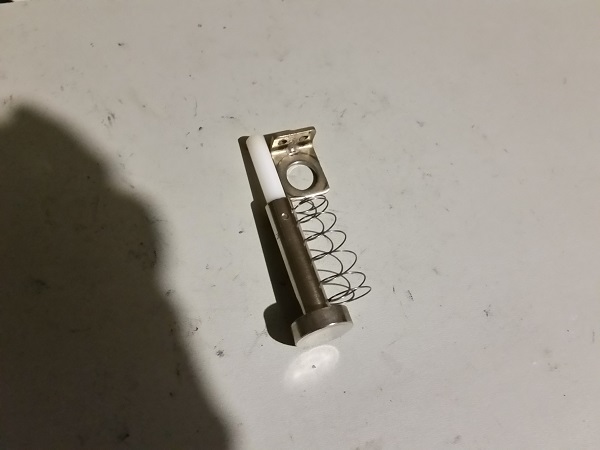
I plan to return later and clean the inside of the ball trough too, as I suspect it will have collected lots of gunk over the years. I will clean this at the same time I clean and rerubber the playfield.
Next up are a pair of very hard working assemblies – the sling shots. These guys get a solid work out in every game. I’ll be replacing the rubber shortly, so for now i’ll just focus on the assemblies themselves. Their frames are quite large compared with the ones I’ve experienced on Stern, Bally and Williams machines. Similar style, just more chunky. They are attached to the lower playfield with 3 screws each.
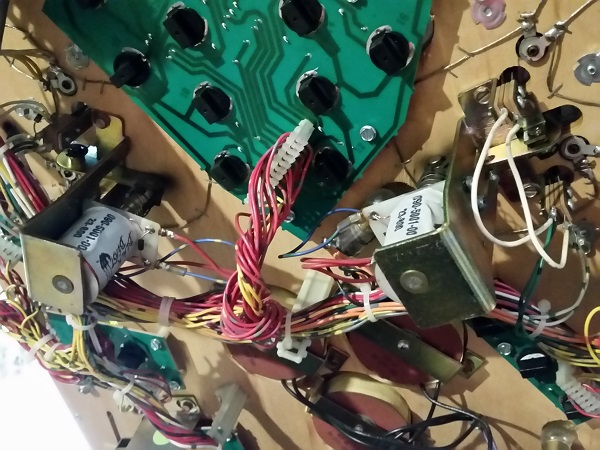
The two switches for each sling shot are also attached to the frames. To make things easy when getting the frames out, I’ll remove these first and set the screws aside.
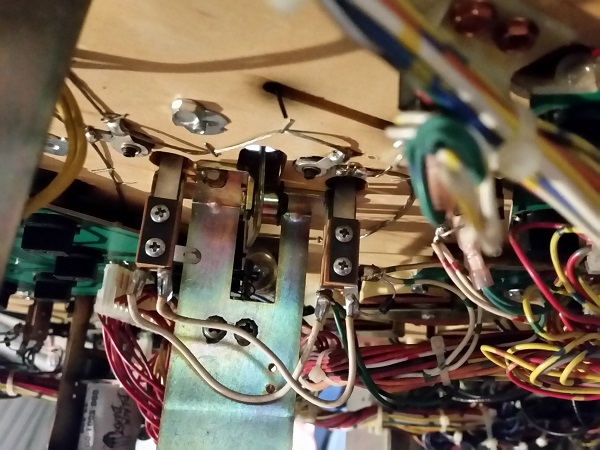
Both assemblies were in need for a good clean, especially around the plunger and links. The links should be blue, but are covered in the typical crap (as are the springs and coil retaining brackets). The sleeves are not too bad, but i’ll retire these and put some new ones in.
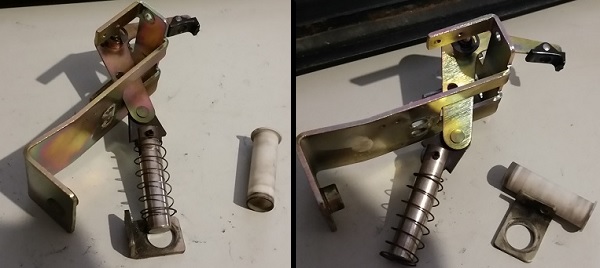
The arm and plunger are held to the frame with 2 e clips. These were removed and each piece individually cleaned to remove the crap. I can finally see the blue links on the plungers now. With both assemblies now cleaned, they were put back together and installed into the machine once again.
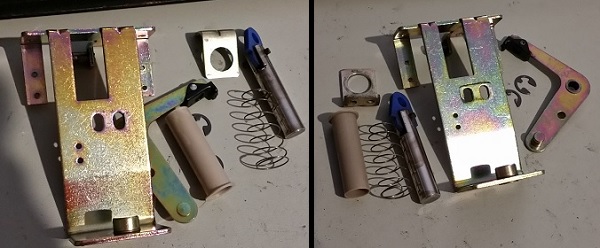
The last assembly to look at for this update is one of the least used, that being the knocker. Located at the floor of the cabinet, just to the left of the speaker, it’s a fairly typical set up. The knocker coil was removed from the frame, allowing the parts to be removed for cleaning.
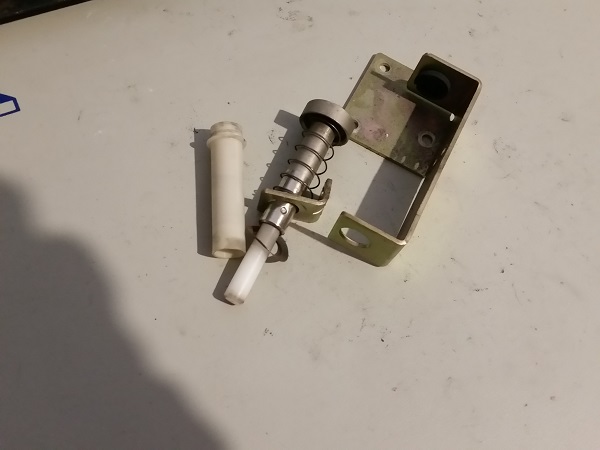
It’s not too dirty and the coil sleeve still quite reasonable. The parts were all cleaned up, ready to go back in to the machine. The small metal plate the knocker bangs against was also removed, scrubbed down with steel wool and wiped clean with isopropyl alcohol. The only issue this assembly had was the black grommet the plunger returns against. It was dried up and cracking. I was in luck, having one sitting in my spare parts collection. The grommet was replaced once the frame was cleaned.
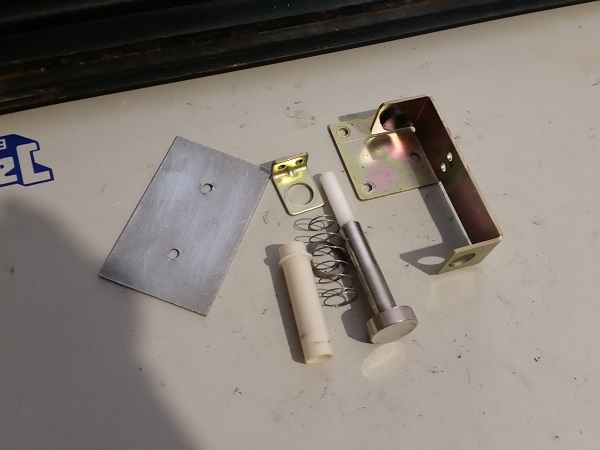
The knocker assembly was then installed back into the machine to wrap up my work for this update.
I ended up getting through more in this update than I had originally planned. Once I get started sometimes it’s hard to stop 🙂 There is still more I want to get through though, so will have another update coming along soon enough. Until then, time to put some more games into it and try pushing my best score higher!
