Normally, the new machines I bring home are projects and need a thorough service before even thinking about putting some play into them. This time it’s a bit different. I purchased my first DMD game “Last Action Hero” which was released by Data East in 1993 and it’s in fully working condition. There are a couple of cosmetic issues I want/need to look at, but nothing that’s preventing the game from being played. I still plan to give the machine a going over and inspect each assembly as I like my machines running as optimally as possible. Plus I can’t help myself, I love working on them.
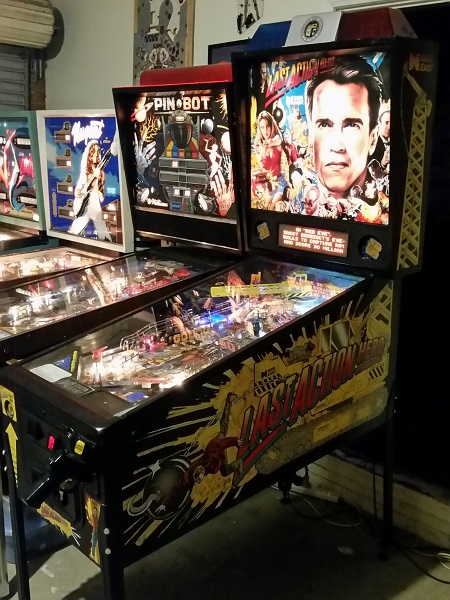
First up was the simple task of replacing dead globes. There were 7 in total, at various places around the playfield. Each bulb was inspected and found to be blown. New ones were put in their place. Eventually I will to switch across the LEDs, but for now I just wanted to have all bulbs in the machine working for game play. A quick test showed the replacement bulbs now lit up when required in game play.
Now onto something more important (and interesting). One of the return covers on the double scoop is broken (the left one). It had been snapped some point in the past. To keep it in use, the broken cover had been taped around a playfield post located just behind it. It’s a solution that allows the game to continue being used, but something I really want to address.
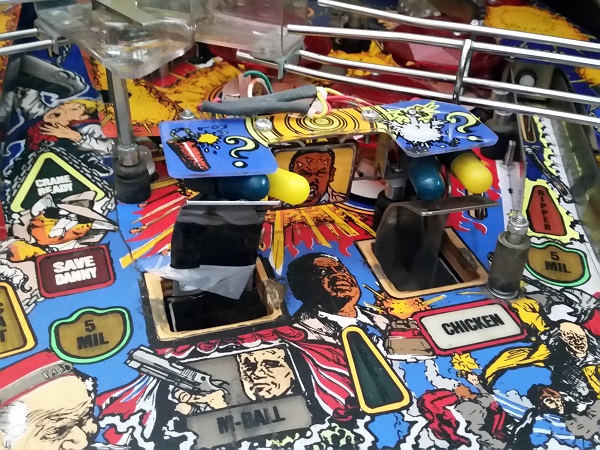
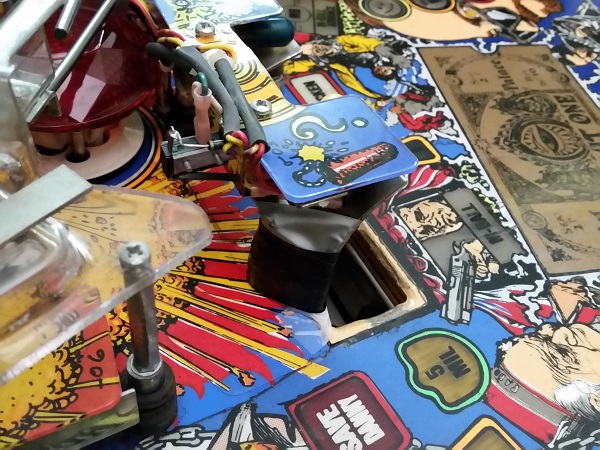
Although these frames are not readily available, by sheer chance I had acquired one about 12 months earlier in a pile of spare parts I purchased. I didn’t know what it was for at the time, but had set it aside for future use just in case. I’m very glad I did.
The tape was cut and removed, with the broken section set aside. Lifting playfield lifted up, I could get a good view of the current frame. It’s attached to the base of the playfield with 4 screws (3 at the front and 1 at the back). There was also 1 screw missing from one of the switches attached to the frame. I have some spare, so replacing it won’t be an issue.
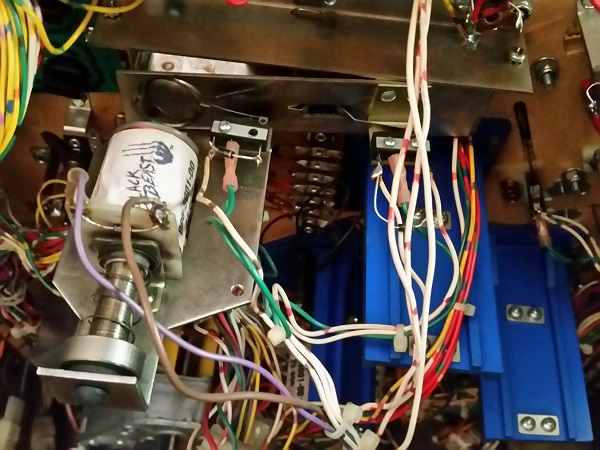
The frame was removed from the playfield. Here you can see the scoop cover had broken right at the join with the rest of the frame.
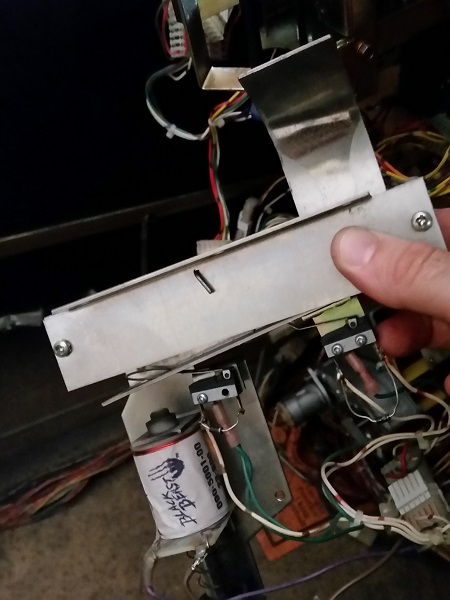
I removed the two switches and coil from the frame and set them aside. At that point I realised it wasn’t going to be as simple as I had first thought. Now that I had the current frame out of the machine, I could line them up together to compare. Turns out the replacement frame has an issue of it’s own that I had overlooked. Given it was in a junk parts pile, I shouldn’t be surprised 😉 There is a small section at the base which has broken off. This is where the plunger rests. Both scoop covers are there though, so I was keen to make use of it. I had an idea on a possible solution.
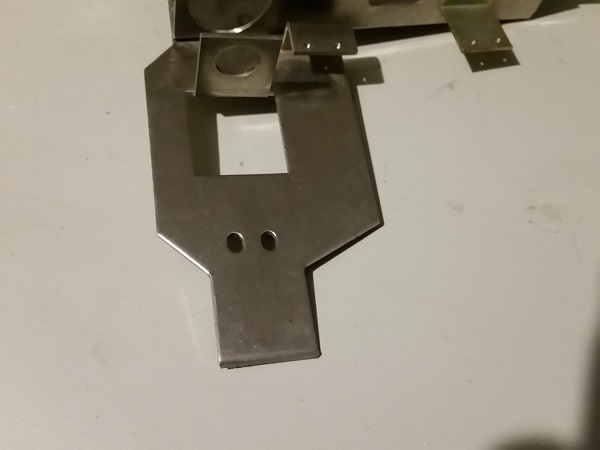
I went through my pile of spare coil stops, looking for one with a suitable size for the frame. I wanted to find a coil stop that could be attached, with the stop part drilled out and in its place a rubber grommet to catch the plunger on. A suitable coil stop was found and the stop drilled out. Two holes were drilled into the metal frame and the modified coil stop installed with screws and lock nuts to hold it in place tight. A rubber grommet was installed where the stop used to be.
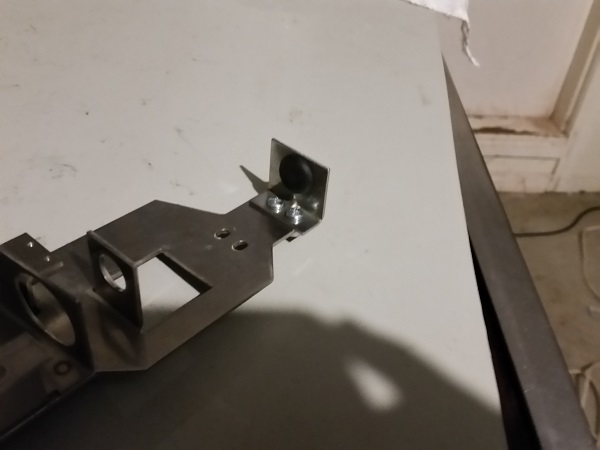
The wire gate and metal frame plate were transferred from the broken scoop frame to the replacement. It was now ready to be installed back into the machine.
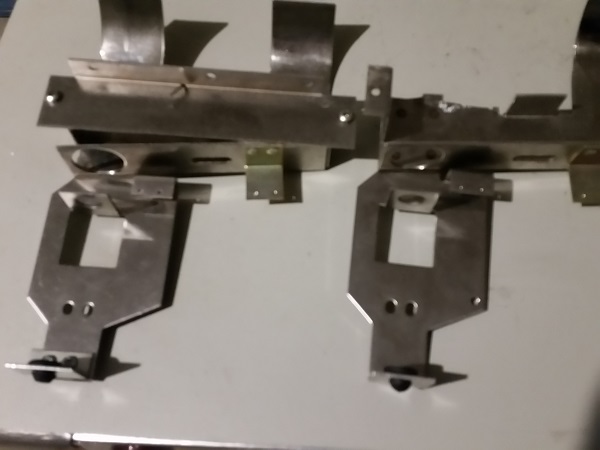
The two switches were installed back onto the frame, along with the return coil and plunger to kick the ball up. The frame was then screwed back to the underside of the playfield. All fixed and ready to test.
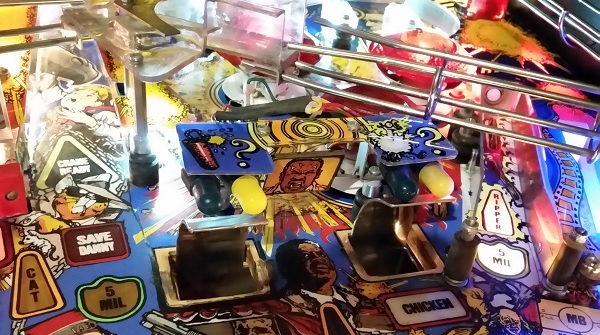
I played several games and noticed an immediate improvement in how the ball exists the scoop hole. So I think it’s a quite suitable solution and better than having a part taped to the playfield. After further playing, I’m happy with the result and how the modified frame is holding up.
A very minor cosmetic issue with the machine is the flipper buttons. One is red and the other black. Both different shapes and one is spring return, while the other not. Quite different really. This is simple to fix. Undo the pal nut on each to remove and swap over.
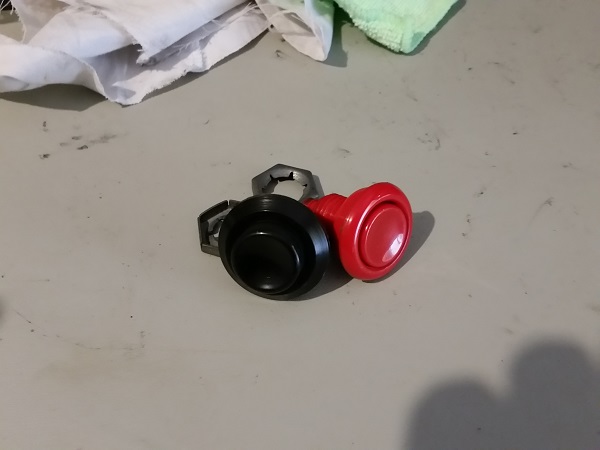
I went through my spare parts and found two very tidy, matching, red buttons that would suit. These went back in and I also took the opportunity to fine tune the right flipper switch, which was open slightly wider than I like. A few minor adjustments later, I was happy with it’s new position.
Next on my hit list was smart missile button. It functions correctly in game, but it’s a light up button and currently not lit during play. Most likely a new bulb is needed. To remove the button, the lamp socket and microswitch were removed first. Then the button nut undone and removed. The #555 bulb was indeed blown.
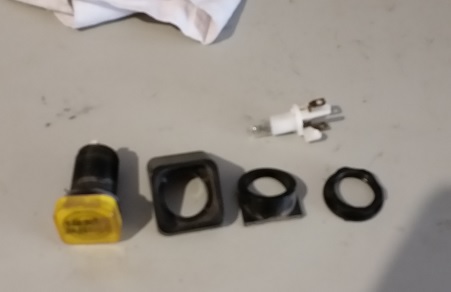
Since I had the button out, I decided to give the whole unit a clean. While removing the button I noticed that there was a black bolt missing from the ball launcher. I know I’ve got some spare black bolts, so should have one handy to replace it with.
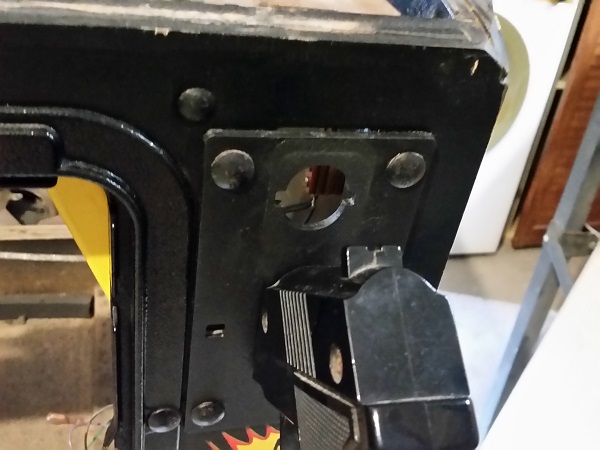
The smart missile button was reassembled and installed into the machine again. Cleaning it has made it much brighter. I found a spare black bolt I had that matched the others and added this to the gun also.
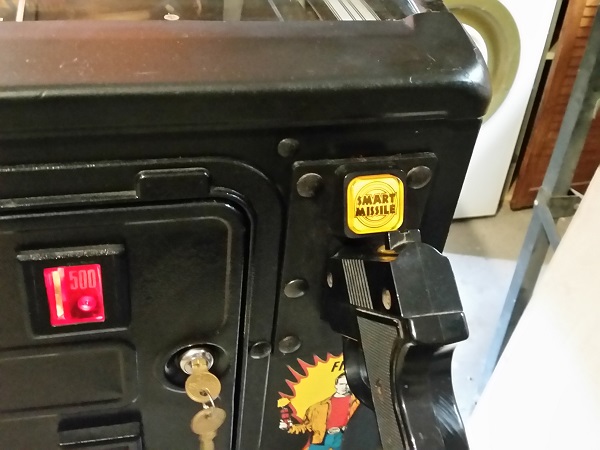
The start button is also a light up button, which was not lit when the game was switched on. Just like the Smart Missile button, this was simply a dead bulb. I removed the whole button and gave it a clean, also adding a new #555 bulb. The machine was then switched on and both Start and Smart missile lit up correctly.
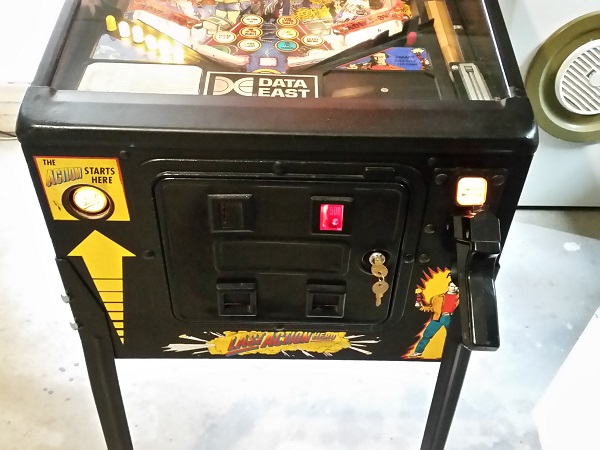
Since I was currently looking at the front of the cabinet, I decided to do something about the old pricing plate. The current one has “500” printed on it (see 2 photos above), no doubt for foreign currency. I have the machine set to free play, so wanted to replace it with something more suitable. I removed the old label, measured it up and then opened up Inkscape on my PC. I created a simple Free Play card to replace the old one. I would have loved to put some sort of LAH theme to it, but there is very little space to work in and make something that looks good. Some samples were printed to glossy photo paper and cut out.
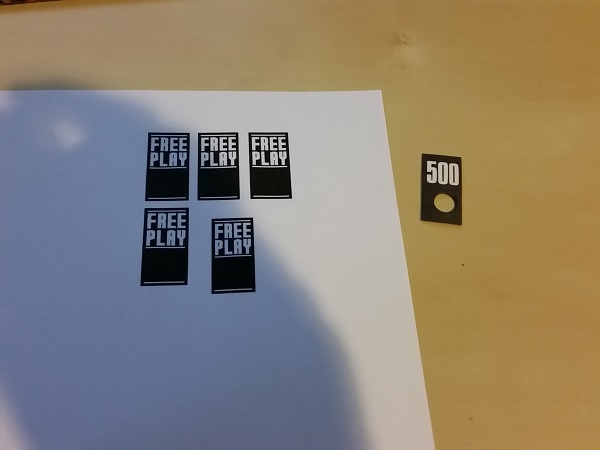
A hole was punched into the free play card to match the original and allow it to be inserted into the coin return plastic. The coin return was rebuilt with the new Free Play plate added and installed back into the coin door.
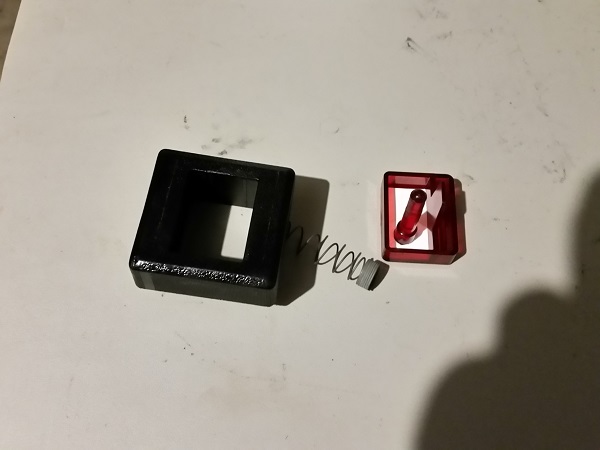
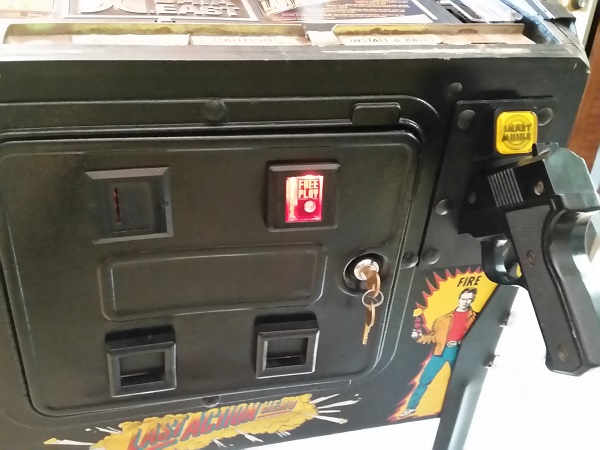
I wish I had a second red plastic coin return part to use on the left coin chute as it would visually balance the coin door out nicely. But after hunting through my spare coin door parts, I couldn’t find one. So it will have to stay as is unless one turns up some day.
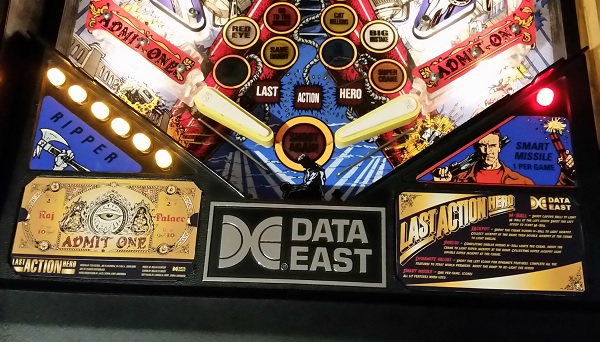
Now it was time to turn my attention to the apron. I replaced the yellow covered globes for the ripper with LED’s and did the same for the red covered globe for the smart missle with a red LED. I was keen to get some decent apron cards onto the game. There is a great set created by a guy at www.pinballcards.com. I printed these onto nice glossy photo paper and they came up great.
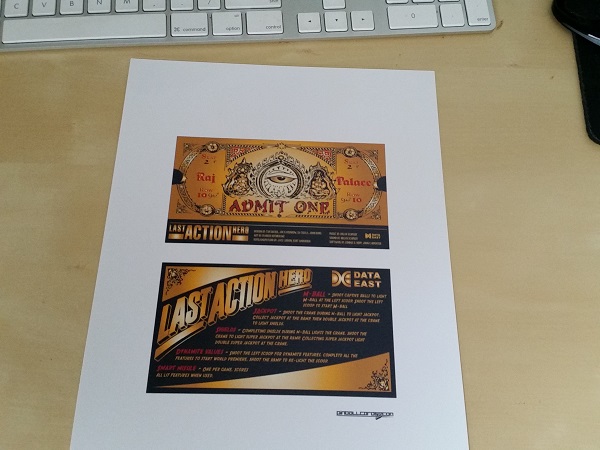
The cards were cut up and installed onto the apron. Much better than the standard white instruction cards.
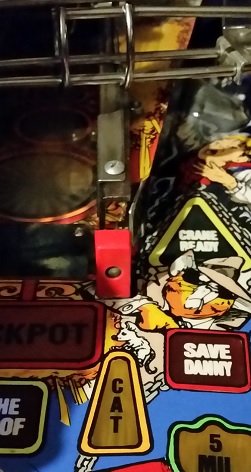
To one side of the ramp, there is a thin red stand up target. I noticed during play that this target would move around (left and right) when hit. With the playfield up I inspected the target to find it was missing one of the screws used to attach it to a small frame below the playfield. The screw that was there was very loose. The existing screw was tightened up and a second added to hold it in place on the frame correctly.
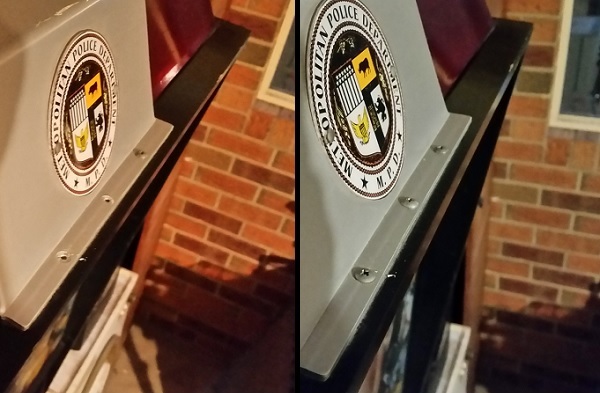
While wiping the topper down, I noticed there were two screws missing to hold it in place. A quick dig through my spare screw pile turned up a couple that matched the existing ones. Another easy thing sorted.
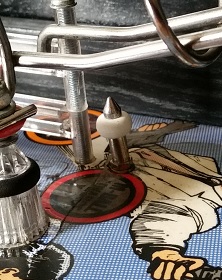
The in and outlanes on both sides have a post that sits between them at the top. On the left hand side, an incorrect post is currently in use (and it’s using a post cap rubber).
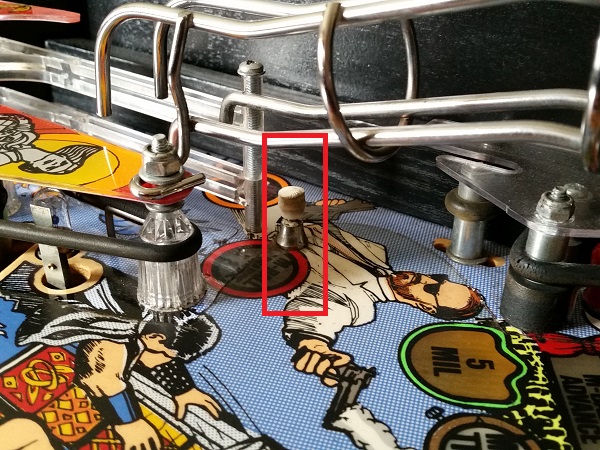
I have spares, so replaced it with the correct post and a fresh rubber.
To round this update off, I wanted to address a minor game play issue that became more apparent over the last week and a half of playing. During multiball I started finding the game would continue after the last ball had drained. Eventually the game would do it’s ball search, serve up a ball and would end once that ball drained. I only noticed this on 6 ball mode to start with, but as the week went on, it became more frequent in multiball mode in general.
After a quick Google search, I came across these two threads on Pinside going into the issue on Data East machines.
Thread 1 – Testing DE Ball Trough Switches
Thread 2 – DE Ball Trough Fix
After reading these threads (and watching the video in the second thread), I went back to my machine to observe the behavior. I was happy to see I had the same behavior and issue that had been detailed. A ball is being moved into position to be served, but isn’t. The issue now made sense. This is due to the 7th trough switch, which triggers the kicker to serve the ball up into the shooter lane.
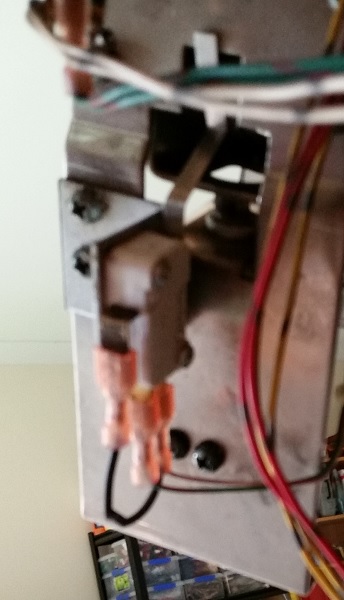
I didn’t need to replace the switch as others had done. I made some adjustments to the actuator arm to ensure the ball would trigger the switch when sitting ready to be served. After the small adjustments, I’ve not had the issue again.
That’s it for an initial look over the machine. Replacing the scoop frame was the most important thing here, and the trough switch issue was a bit of a surprise but turned out to be an easy fix. It was good to get some of the small and easy things sorted out too. Well worth spending the time on them to lift the presentation of the machine a bit higher. I want to organise a set of protectors for the scoop holes as they are showing signs of wear around the edges and I’d like to prevent further damage. I also want to replace the rubbers throughout the game. The machine has some LED’s on it already and I’ll be gradually converting the rest of the machine across. I also noticed a screw missing from the large blue plastic (tar pit) which I should be able to replace easy enough.
