Well it didn’t take long. Only a few weeks into owning a machine that I didn’t plan to do any work on, and am going to strip the playfield for a solid clean. Having had a much closer inspection now, there is a lot of dust and dirt at the top of the playfield, along the ramps and on the plastics located up there too. I really want to get it into a clean state – a base line – that I can reference to know when the machine was last given a service and deep clean. Since I’ve already worked through a number of the assemblies below the playfield, I want to give the playfield itself similar attention. While I’m doing that, I can clean the individual parts on the playfield and get fresh rubber all over it. Naturally, that means I won’t be able to play it for about a week – but it’s task well worth doing.
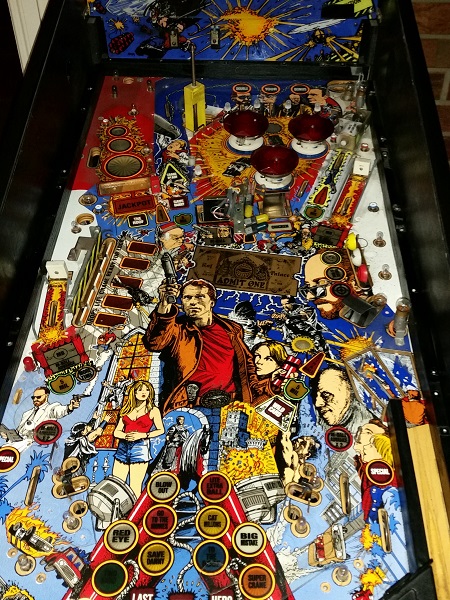
When I’ve worked on machines in the past, I could take the approach of doing the playfield in stages. So start with the flipper area, then the sling shots and continue up the playfield, completing each section until it was all cleaned and serviced. The playfield on this machine is a lot more complex than those I’ve worked on in the past however. Working on the lower area like the flippers and slingshots isn’t too bad, but after that, a few things need to be removed just to get to the different areas – and at the top of the playfield, even more has to come off. It didn’t make sense here to do it in stages – smartest move in this case is to remove it all (slowly and taking photos), clean everything and then put it back together.
The process to remove everything from the playfield took a few hours as I worked my way through it all. Thankfully, a number of lamps and switches that live above the playfield can be disconnected under the playfield, allowing for easy removal. No desoldering required. Slowly but surely I removed the layers of parts until I had just about everything off.

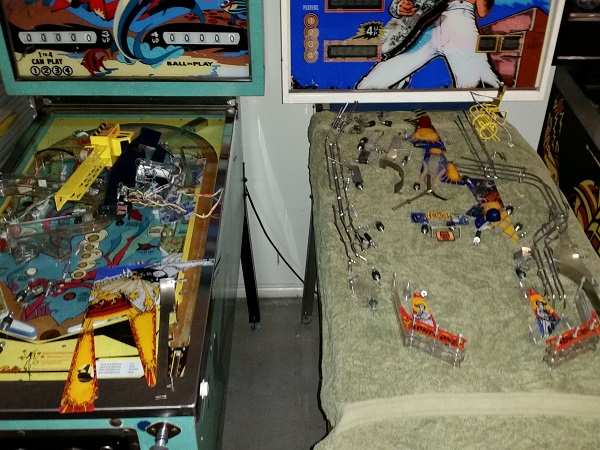
As the parts were removed, I took photos of the different sections and put the parts in a similar layout on top of another machine to help me remember what went where. The manual, photos and the layout will hopefully give me the best shot of getting it all back in the correct order when it’s time to reassemble everything. I took a lot of photos along the way, but in hindsight, I wish I had taken even more. You can never have too many!
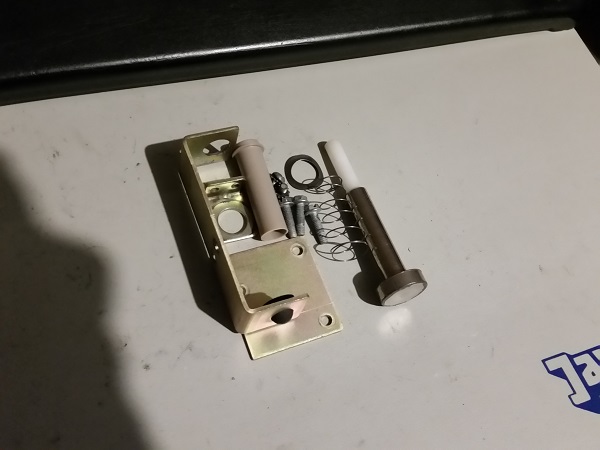
With the playfield now stripped ready to clean, I wanted to service the ripper assembly which sits up towards the top right hand corner. Unlike the other assemblies in the game, this one is installed on top of the playfield. Given how much stuff has to be removed to get to it, there is no time like the present to give it a service. It’s a simple assembly, almost identical to the other kickers on the machine.
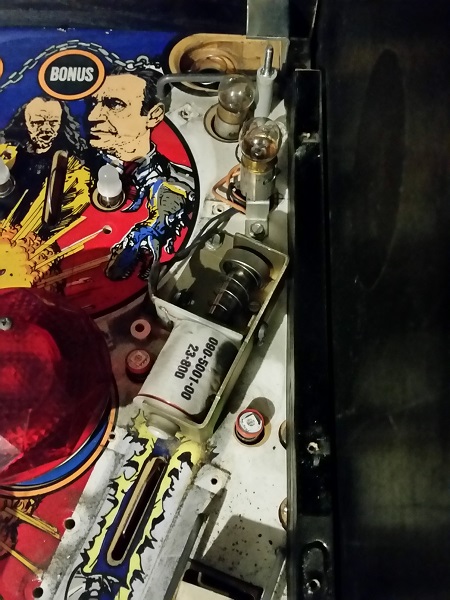
The assembly is attached to the playfield with 3 screws. These were first removed and then the retaining bracket on the coil was undone to get the frame and parts off the playfield. The parts were then set aside for cleaning.
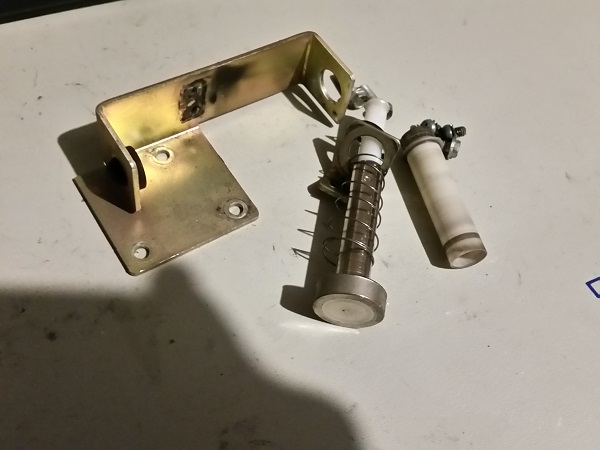
The tip of the plunger is showing some wear. Given the impact it makes with the ball during play, I’m not surprised to see it being bent back like this. It still works fine, but I have a spare second hand plunger that’s in better condition, so this will be swapped over.
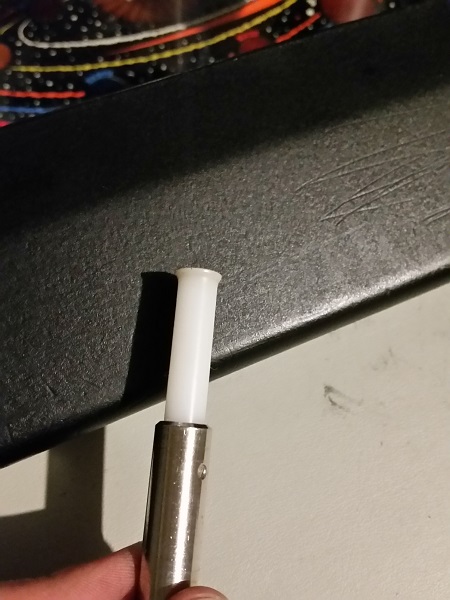
A new coil sleeve was located and the plunger swapped out. All parts of the ripper were cleaned up and it was now ready to be installed back onto the playfield.
The playfield area around the ripper was cleaned up and I also took a few moments to polish up the two white stand up targets (the ones for the captive balls) with Novus. The 3 eye targets on the right side of the playfield were also wiped down to remove the layer of crap that had attached itself over the years.
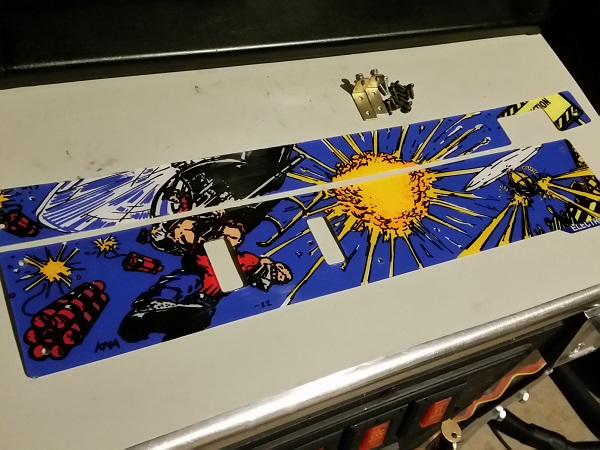
Before I begin cleaning the playfield and all the removed parts, there are two large art plastic pieces at the back of the playfield that could do with a clean and polish. The top one is attached to the cabinet, while the lower one is attached to the rear panel of the playfield. Both are screwed into place.
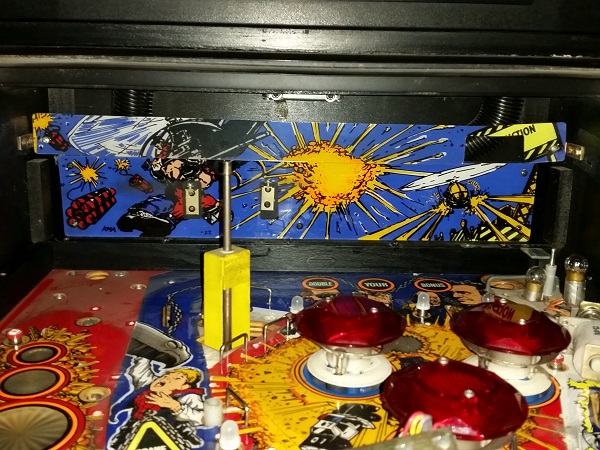
The two bits were removed for cleaning. They are not too bad, although there is quite a bit of dark crap towards the left side of the larger one. The two metal brackets are used to attach the clear ramp – these were also removed for cleaning.
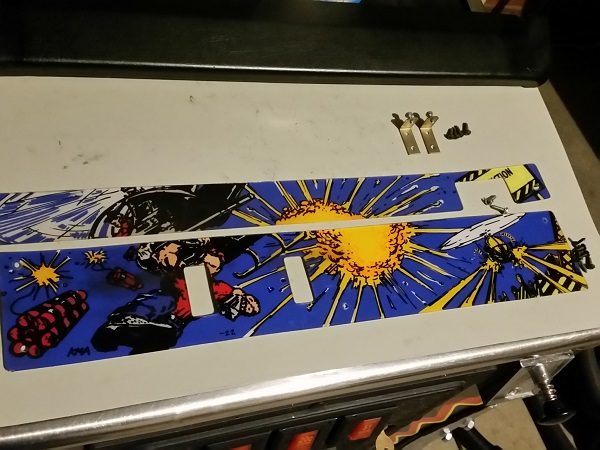
All parts were given a clean and the plastics then received a polish with Novus. The parts were now ready to go back into the machine.
Now to get the playfield cleaned up. First up I used steel wool to carefully clean the various wire ball guides installed on the playfield. I’m not worried about having them look brand new, I just want to get as much dirt, dust and crap off them to prevent it being moved around the machine during play. The whole playfield was then vacuumed to clean up the metal shavings from the steel wool, along with as much loose crap as possible.
The next step was to use a soft cloth to wipe up as much of what remained before I get the cleaning products out. This should help prevent pushing dirt and crap around the playfield when cleaning with products. If I can get most (or all) the loose top level stuff, then I can focus on the heavy filth that has built up. Lots of different approaches though – one thing’s for sure, it pisses my Wife off to no end when she sees how I fuss over cleaning a pinball machine, yet will wipe a bench or table down with little care or effort 🙂
Once the loose stuff had been removed, I hit the playfield with some Nifti and a cloth to remove the worn in dirt. This worked really well to get the marks that were remaining and even cleaned the dirty edges around the mylar really well. Once done, I used Novus to polish. The playfield was now in a MUCH cleaner state and I was happy with the result.
All the small metal pieces were sent off for a session in the tumbler. It makes a difference and cleans them up nicely.
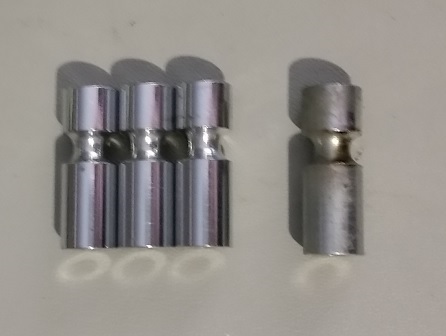
I began to reassemble the playfield, cleaning parts as I went. Metal scoop protectors were installed around the 3 scoop holes. The clear star posts around the sling shots were cleaned up and installed. The metal posts came back from the tumbler nice and shiny, receiving fresh rubber before being installed. The metal ball guides that could not fit in the tumbler were wiped down with steel wool to remove the crud layer and wiped with isopropyl alcohol and a cloth. All incandescent bulbs were replaced with LED’s, including the #89 flashers. The flipper bats were removed from the machine, cleaned and new red superbands added. Red cliffy posts were installed to replace the black posts around the captive balls.
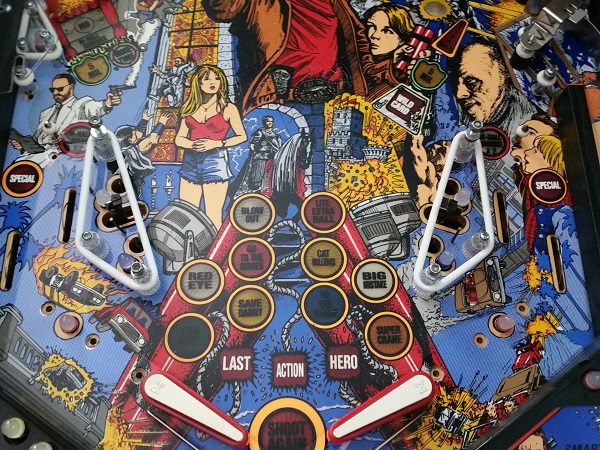
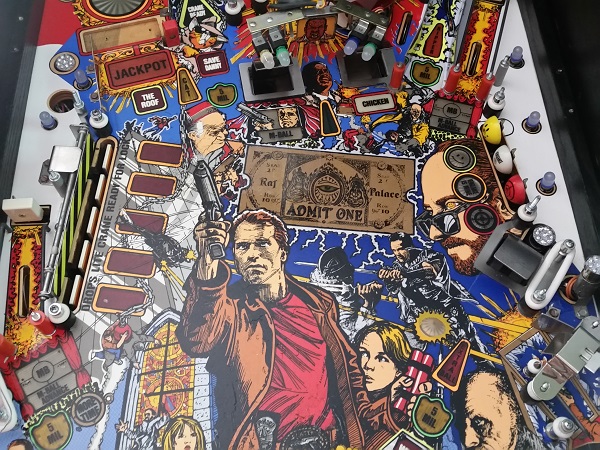
One small change I’ve made is to replace the clear lane guards at the top of the playfield with yellow. The pop bumpers will be serviced at another time, but for now were wiped down to remove any lose dirt they may spread across the playfield or onto the ball.
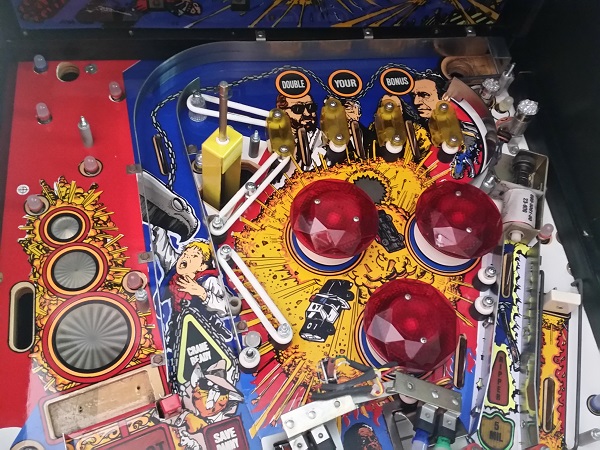
I continued on, cleaning parts and installing them back onto the playfield. The captive balls were added once again and the plastics were first cleaned and then polished before being installed back onto the machine.
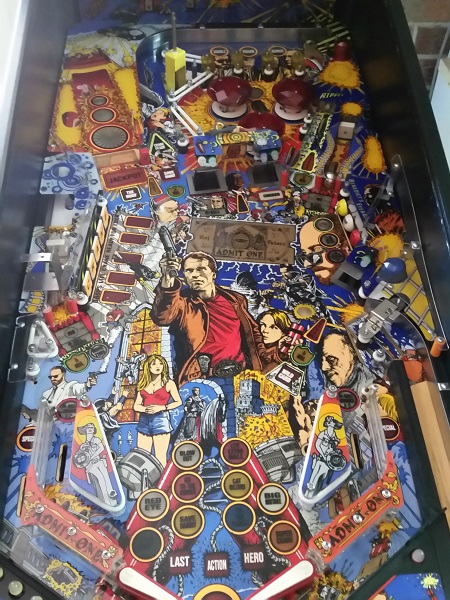
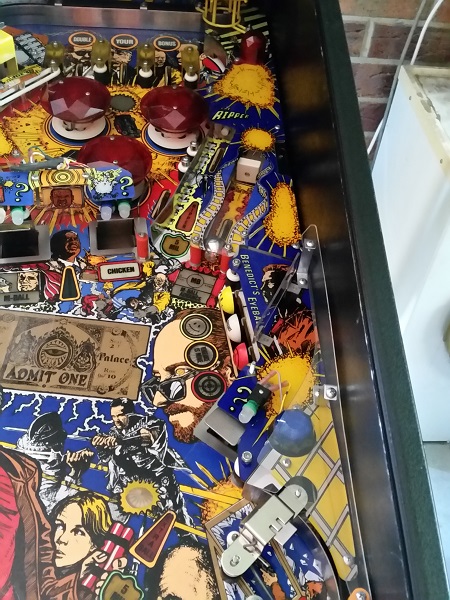
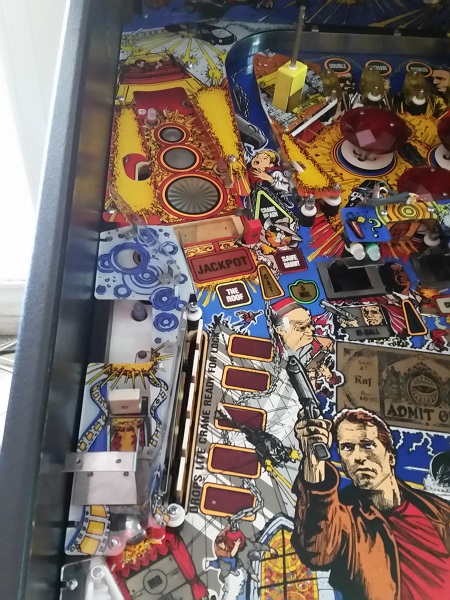
Putting the playfield back together is going well. It’s a slower process than stripping since I’m cleaning everything before it goes back on, but I’m getting there. The cleaning has left the playfield in a really nice state and the white rubber gives it a much cleaner look. In my next update, I’ll have everything back together again. I will also be servicing the assemblies for the ball diverter and tar pit ball capture. There is a small issue to fix on the crane lamps and also the ball trough needs a clean to prevent any crap residing in it from being spread back across the playfield. While the process is a little time consuming, the game won’t need another clean like this for a long time. Not far off now and looking forward to playing it again 🙂
