
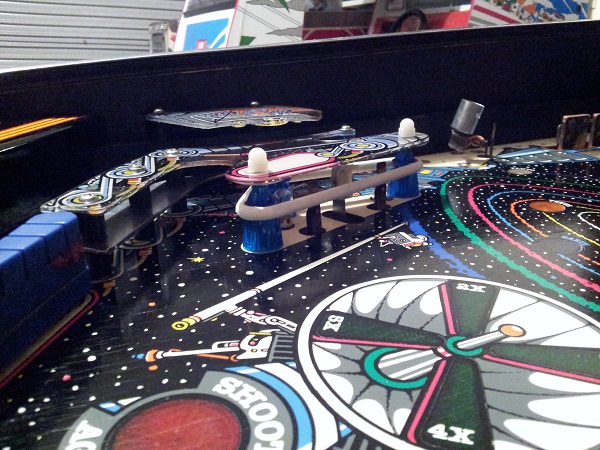
The parts I had been waiting on finally arrived for the sling shots. Actually the shipping wait wasn’t very long, I’ve just been looking forward to servicing this area of the playfield as the parts had been removed from the playfield within the first few days of having the machine home – but there were higher priorities to sort out first.
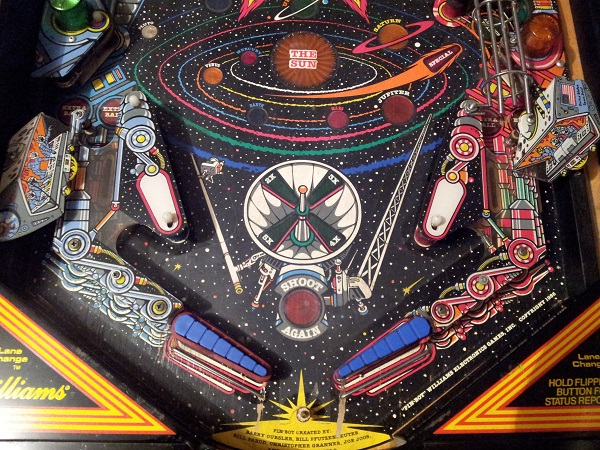
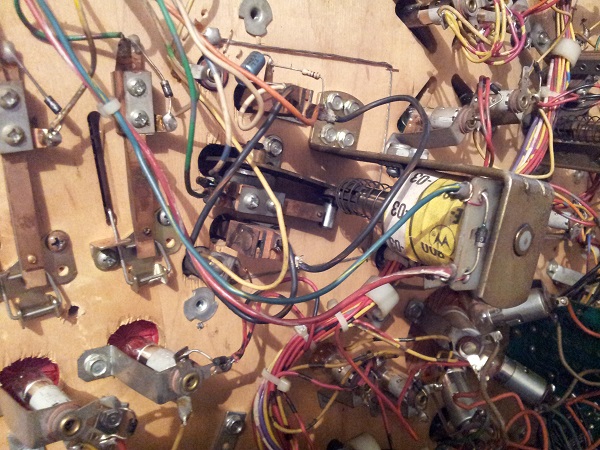
The starting point – All parts present, accounted for and thankfully, working. The right plastic is actually attached in the wrong position. It should be located directly above the shooter lane, but it’s been relocated attached to the outlane post. This is because (I assume) a small section has snapped off where the second screw would attach it. No matter, I’ve got an idea on how I can attach this securely.
First step was to remove the plastics, rail and posts. Here is where I wish I had taken more photos as there are a few steps involved but I figured I have it back together within the week. Normally I take lots of photos from multiple angles. Several weeks later I was finally looking at it and realised I should have followed my normal routine 🙂 Anyway, everything needs a good clean, new bulbs, new rubbers and maybe some new posts.

…and finally the star posts and rubbers removed too. Everything needs a solid clean. You can see some of the playfield wear on the right side. I’m a little surprised by this as it’s always the left side where my ball drains (at least when I play, I hate that left side – I’d have expected more wear on there 😉 ). Also note that the mylar has since been removed and the switch wires have been cleaned (covered in an earlier post – showing how far back these photos were taken).
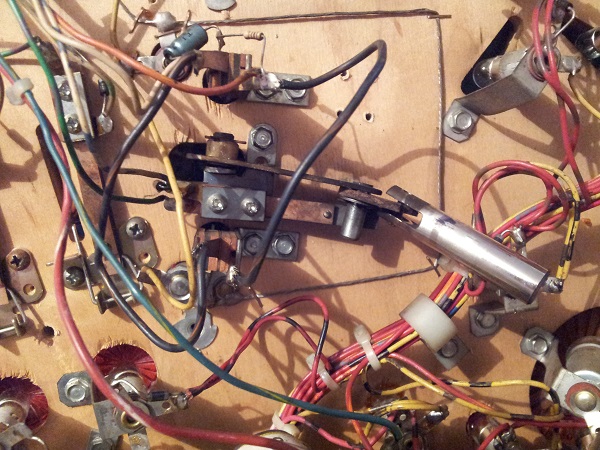
With the topside parts removed, I could now look at servicing the slingshots themselves. This is all starting to look familiar now, but it’s been great to have looked at Stern, Bally and now Williams versions slingshots. Two switches for the pop bumper, an arm assembly, coil and spring. Something new for me is the lane change switch attached which switches the “Extra Ball” lamp on the in and out lanes.
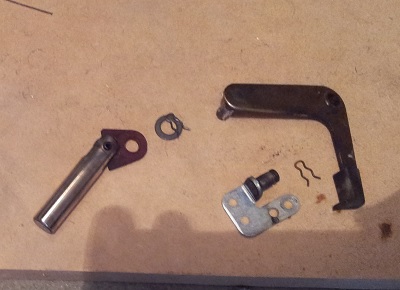
First step was to remove the coil and coil stop. This allowed me access to the plunger and arm. All of these need a solid clean.
All parts removed and ready for cleaning (and some replacement).
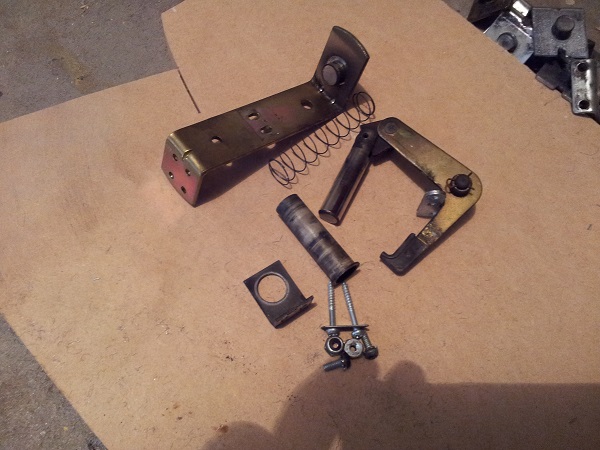
The arm is made up of 3 parts which can be disassembled by removing two pins. This helps with cleaning. Now it’s cleaning time.
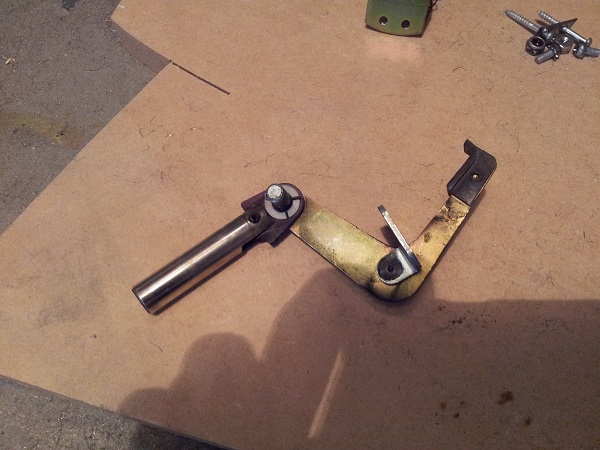
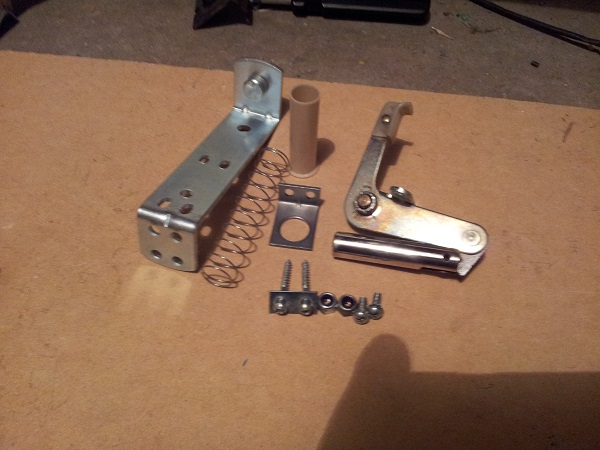
I decided to purchase two new coil stops and springs. Since the sling shots get used a lot, I figured it was worth spending a little extra on this area to help bring them back to their original quality. A new coil sleeve was a given. Everything else was cleaned up. The arm looks much better now.
The sling shot was then reassembled under the playfield, with some extra cleaning done on the 3 switches and the black dust that had build up in the area over the years. The right side slingshot was given the same treatment. I won’t bore you with the photos – it was in the same condition and the same work was done. New coil stop, spring and coil sleeve with the rest cleaned.
Now that the actual assemblies were clean, it was time to move topside again and get that rebuilt. The mylar had been removed by this point so that playfield looks in better condition. Since I’ll be doing a playfield swap, I’m not going to spend time with wax or patching up the wear spots – those will be done post swap.
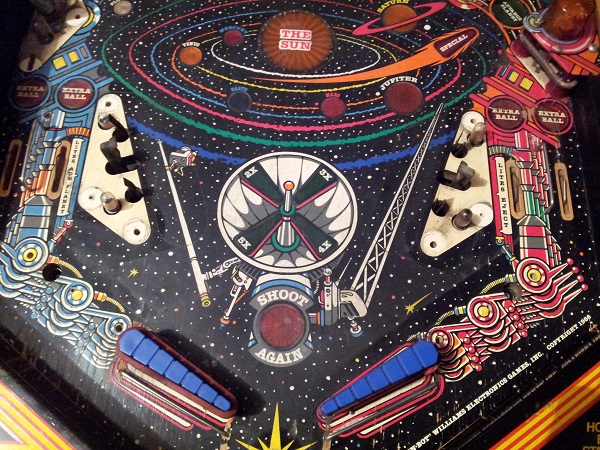
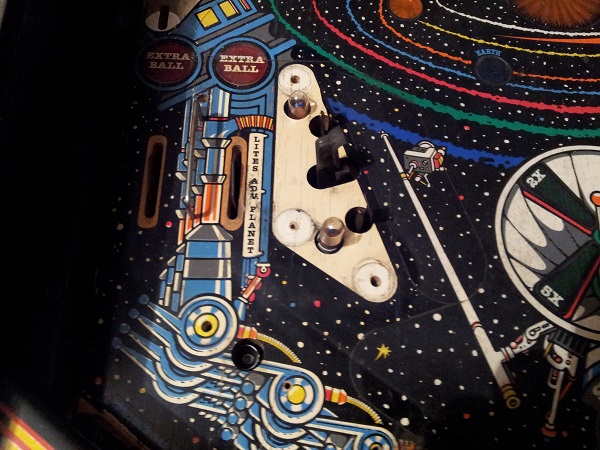
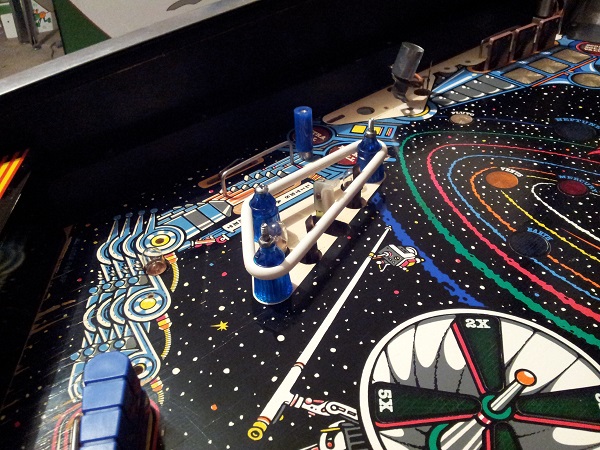
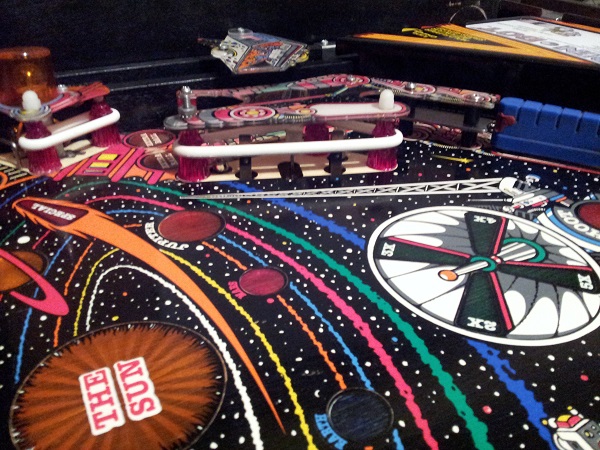
The left side was done first. New star posts, globes and rubbers. I also decided to use a cliffy post on the outlane. The blue matches the star posts very nicely and I think looks a lot better than the small white rings usually fitted. The screws and posts were also cleaned and then polished.
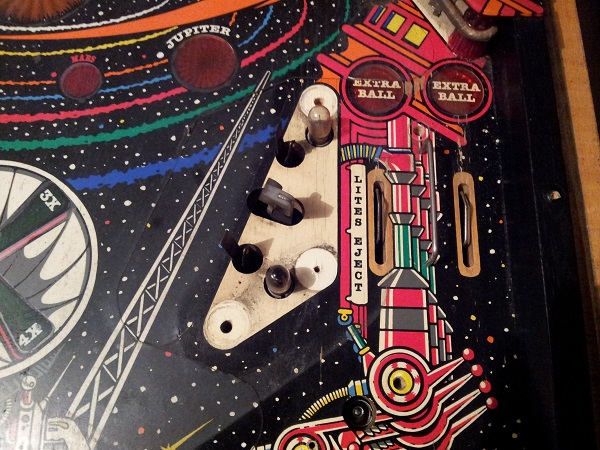
The right side was given the same treatment.
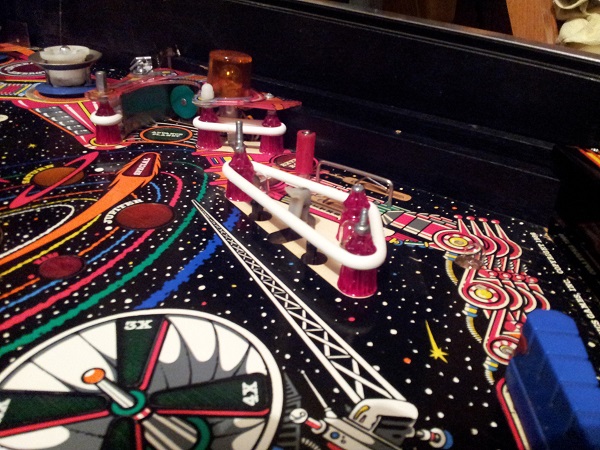
The plastics were then cleaned and added back onto the playfield. I’m tempted to flatten them out in the future – probably at the time of the playfield swap. Clear lexan washers were added to the corners to help protect the plastics. These look OK except for the two located under the white flipper on each plastic. The washer shows up when the lamp below it is lit – so I may remove these. I’ll give it some time first and see how much it bothers me.
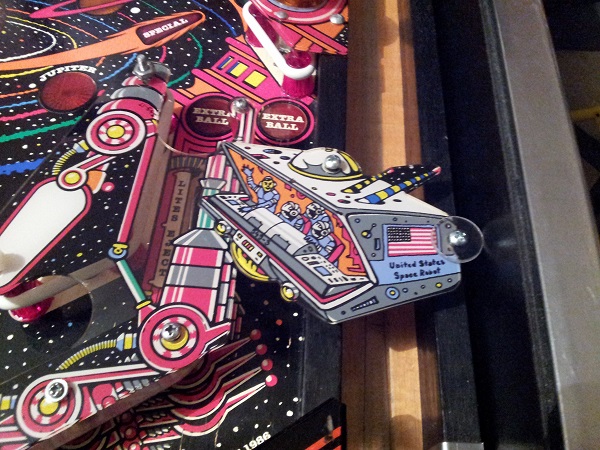
Finally, the position of the shooter lane plastic was fixed. I had some spare black posts in my kit so I could mount it and i used a small clear lexan washer on top to attach it to the post nicely. Since the photo I’ve gone back and filed off roughly 3mm on the right side so it doesn’t rub against the side of the cabinet when the playfield is raised and lowered.
The flippers still need to be done and are now a real eyesore given the rest of the playfield is starting to come together. I’ve picked out a nice colour combo for them – hopefully the flipper police will approve 😉
Next up is the drop targets, which I’ll post up very soon.