On the left hand side of the playfield is a bank or 3 drop targets. These drop targets are used to advance the planets during game play. A cool feature during game play is they reset if not hit within a certain time frame. It adds a nice element of urgency to hitting them. A few updates back I fixed a small issue with the bank where the game could not detect all 3 targets had been hit (there was an issue with one of the switches below the playfield). It’s now time to give them a service. The first think that stands out is the green lamp cover (which has been attached using pop rivets) should be orange. Should be easy enough to replace though.
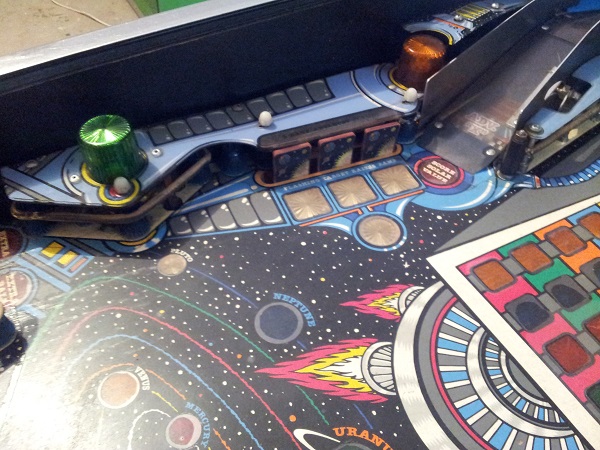
First step was to get the plastic off. Thankfully this part is still in once piece. Some of the test has worn away along the drop target bank, but it’s no big deal. The green flasher cover should be orange however and I’ll be replacing this. The usual dirt and crap has collected under this area. The lone blue star post next to the ramp entry was almost impossible to get out. The metal post was screwed in so tight it had dug into the top of the star post and I could not get a proper grip on it and in the end the star post was destroyed in order to remove it.

Once all posts, rubbers and bulbs were removed, the surface was ready for some cleaning.
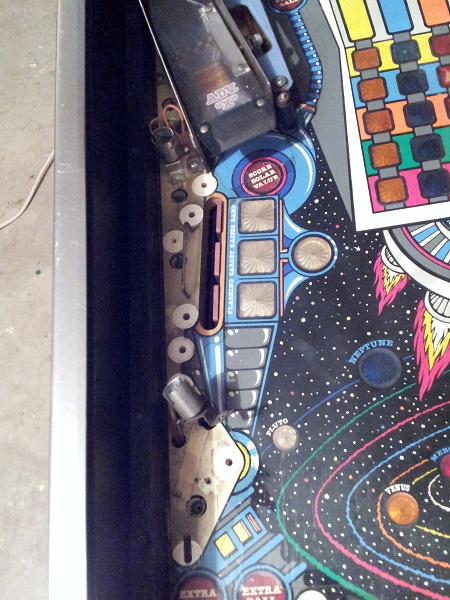
Before I cleaned the area though, I wanted to remove the drop target assembly. I found this assembly much more fiddely to remove than the two on the Nugent. Not so much because of the design, but with inserts located directly in front of the assembly and lamps for each, getting access to all the screws was not straight forward. Like everything, I needs a good clean, but is otherwise fine.
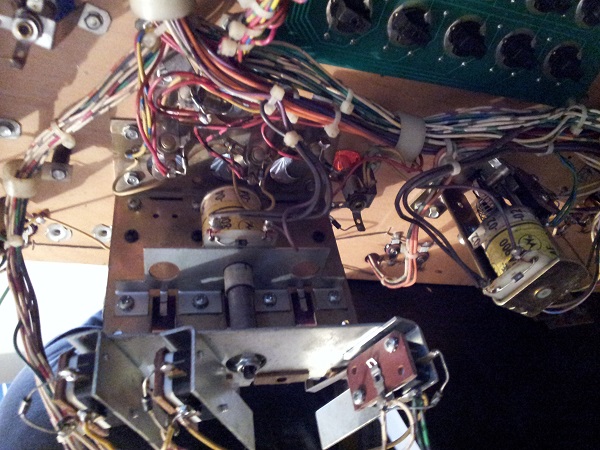
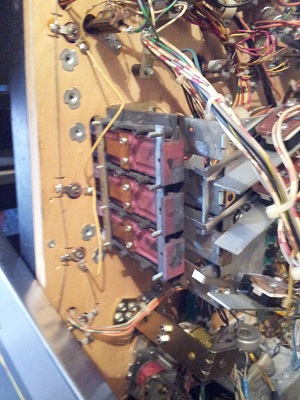
With the assembly removed from the machine, I was ready to disassemble and clean.
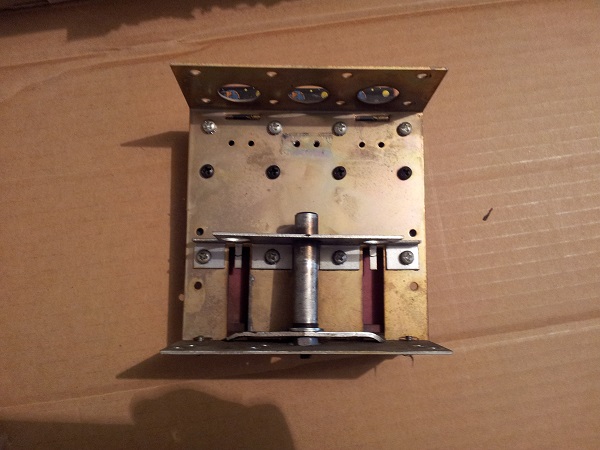
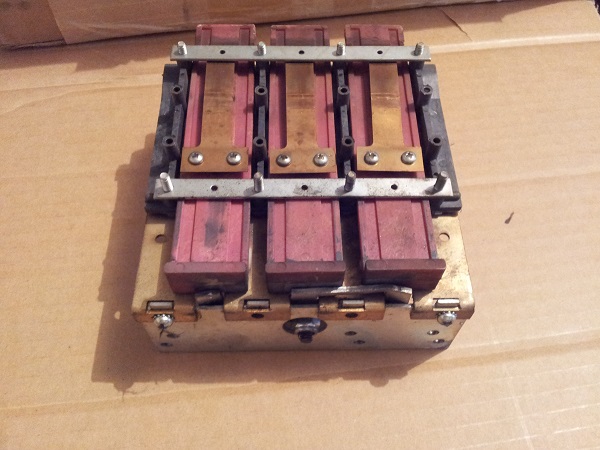
The whole assembly was disassembled into its individual pieces for cleaning. I had new springs ready to go on it, along with new decals.
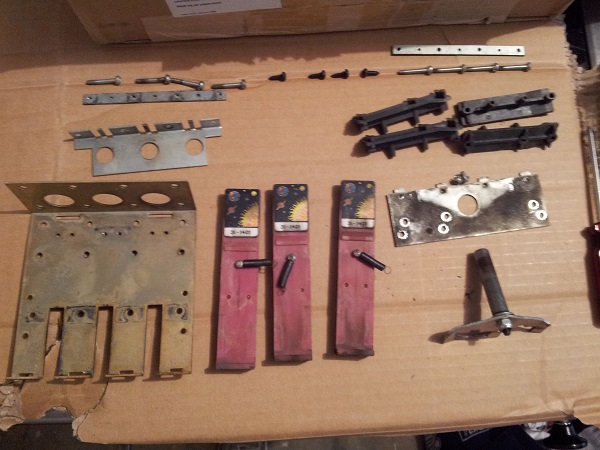
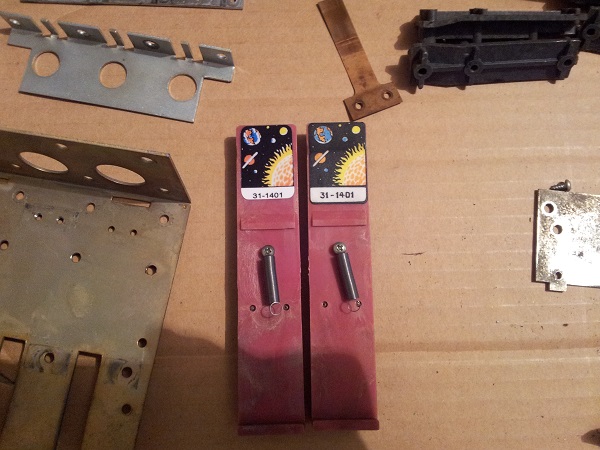
I really wasn’t happy with the decals though. As you can see here lined up next to each other – old and new – the new decals are smaller and leave more of the drop target exposed. I’m not sure why they were designed like this, but given the look I decided to clean up the spare second hand set I had and retain the original decals (after some cleaning).
Sadly I misplaced the photo I took of all parts cleaned 🙁
Each drop target was cleaned and given a new spring. Each piece of the assembly also cleaned and the whole unit rebuilt. A new coil sleeve was added, along with a new coil stop. The assembly was then put back into the machine and new bulbs added.
Top side, the playfield was given a good clean, new star posts, rubbers and bulbs were added. A blue sleeve was added to the post on the right side of the ramp entry.
The mylar had been removed too and the area given a solid clean – looking much better than where it started.
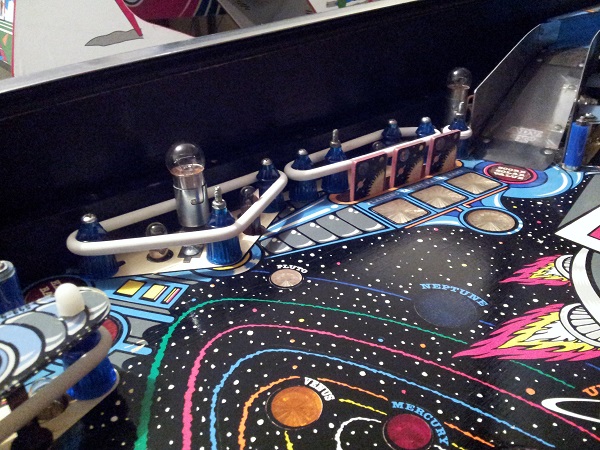
I’m leaving the two plastic pieces off for now until the ramp has been done (which basically means it’s off until the end). The green cover has been replaced with an orange one however and now white nuts are ready to go on top once the plastic is attached.
The coin door is not far off being complete and I’ll also be making my way to the top of the playfield to get under the ramp, replace the vortex ramp and service the visor.
