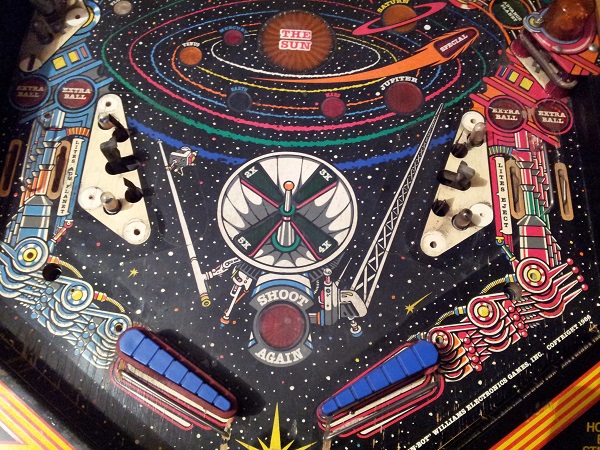
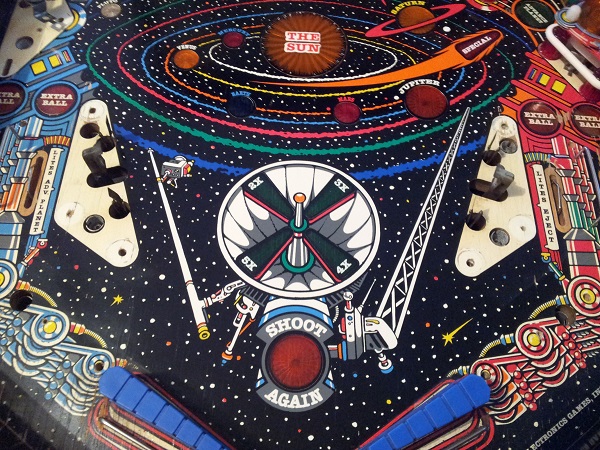
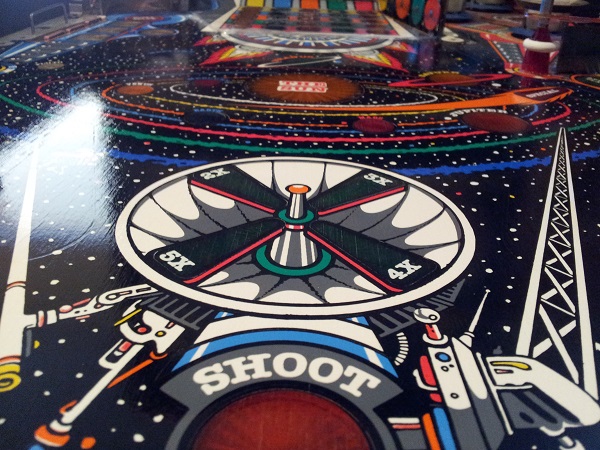
I had intended to remove the mylar from the playfield post playfield swap, but decided not to hold off and do it now instead. I’m currently waiting for a few parts orders to arrive and I’m also spraying the coin door – which doesn’t give me much else to do.
The mylar was bubbling in countless sections across the playfield, plus dirt and crap had collected under other areas too. The mylar has certainly seen better days, but it had done it’s job and protected the playfield over the years. You can see the areas where mylar was not present as they have not held up as well.

I decided to do the mylar removal in sections as it’s quite time consuming removing the goo. The mylar layer itself was very easy to remove. I used a hair dryer and slowly peeled the layer back. I took extra care around the inserts as this is the area I usually lose some paint with. Thankfully there was next to no paint loss. I know some people will only use freeze spray (or an air can upside down). I haven’t used this method so cannot comment on it. Another method is a heat gun, but I worry about the margin of error it offers. I’ve used the hair dryer method on my Fireball Classic and now Pinbot with great success.

The goo removal is always time consuming I find and requires a mixture of methods for success. I’ve taken to using plain flour and rubbing with my finger dipped in isopropyl alcohol to start with. I find this helps get through the bulk of it (although need to be careful about getting blisters). I then switch to using Eucalyptus oil and a goo removal product called “De Solv-it”. I also switch between using a cloth and small plastic scraper (in place of a credit card).
To break the task up, I’ve taken to doing it in sections. I have manged to get through the lower and middle playfield. I still need to remove the mylar from the lamp matrix at the top of the playfield and the pop bumpers. That way I can do it across nights as time can be limited.

Still more to do 🙂
