While waiting for parts to arrive for the flippers and slingshots, I decided to focus my attention slightly further up the playfield at the advance planet target. The plastic needed a good clean and under it the playfield and parts could do with some attention. The target itself works fine as does the point switch above it. The lamps too function correctly.
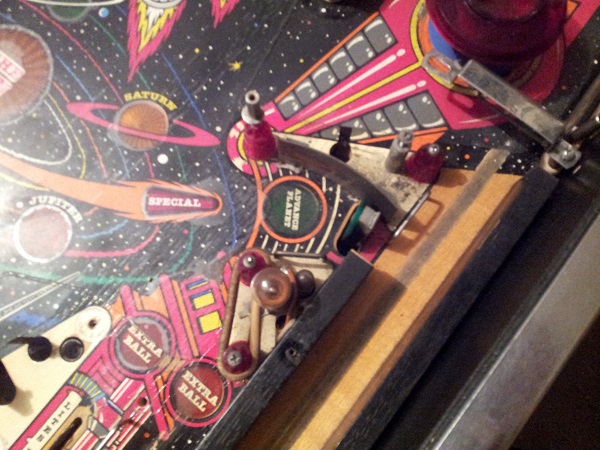
First step was to remove all the parts. The shooter lane is really dirty in this area too. You can see some of the playfield artwork worn away over time from the (rusty) ball going through the gate. Everything here needs a good clean.
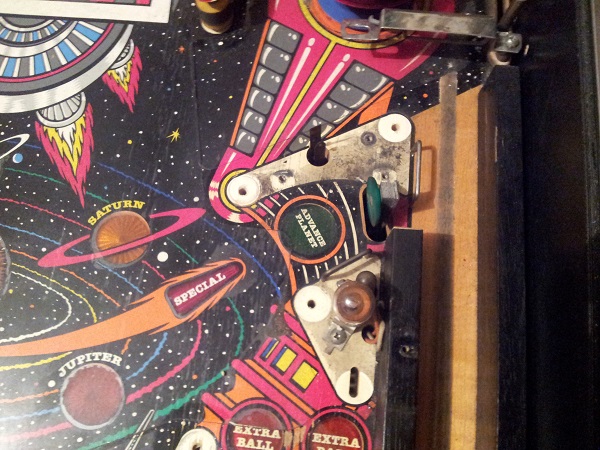
The playfield in this area was given a good clean. The shooter lane is looking a lot better now too. There is some dirt build up under the mylar (to the left of the #89 lamp). This has me tempted to remove the mylar sooner rather than later. There are a few spots that require paint touch up, but I won’t be doing anything about that until post playfield swap.
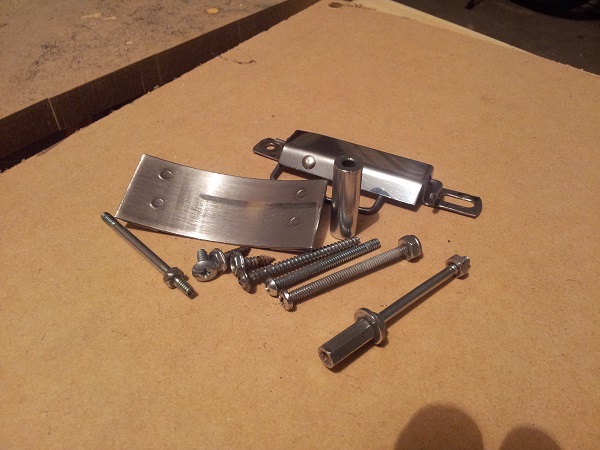
Meanwhile, the metal parts (including the screws) were all cleaned and polished. The gate has a small rivet on the front left. Not sure what his is about. Perhaps this gate was taken from a different machine?
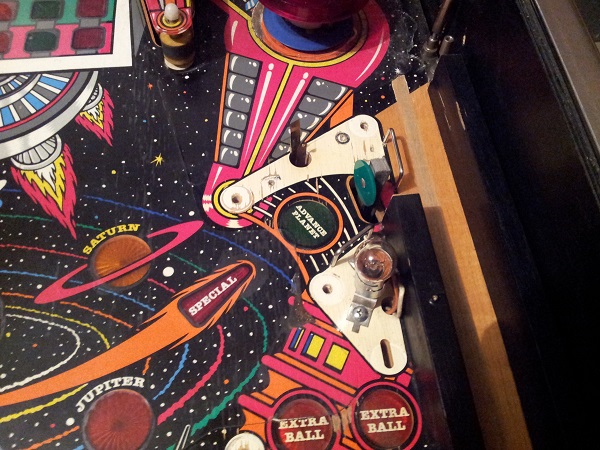
Now it was time to start putting the parts back onto the playfield. The two small metal wire frames were also cleaned. I have ordered a new pad to sit behind the target also and I’ll apply that once it arrives. New star posts, new globes and new white rubbers were added. Clear lexan washers were added to selected posts to help protect the plastic once it’s installed and in play. I always love how white new rubbers look when placed on the playfield for the first time.
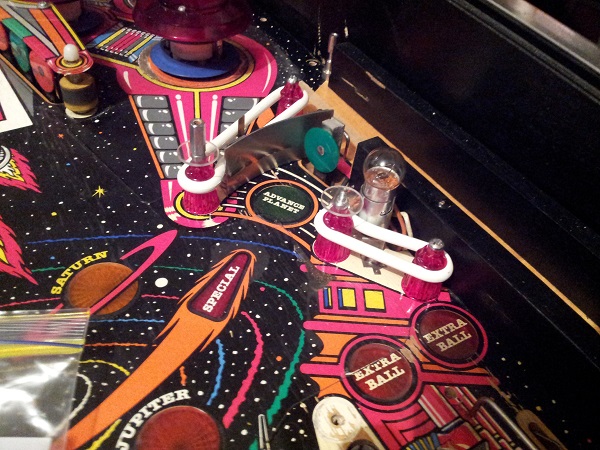
Last bit to do was install the plastic and gate. I added a second clear lexan between the gate and the plastic to prevent further scratching and marks on the plastic.
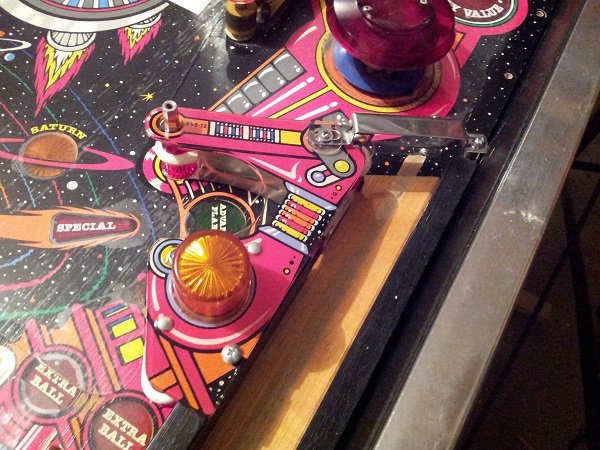
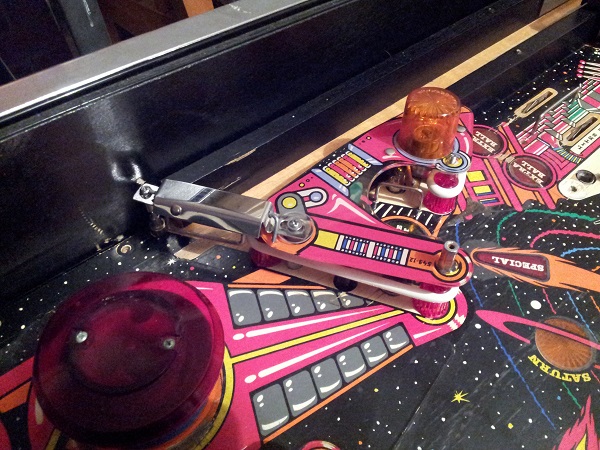
After seeing the parts back in place, I’ve decided one of my next steps will be to remove the mylar and clean the playfield . Since I’m waiting on parts to arrive, I may as well keep busy and I’d like to get rid of the dirt sitting beneath it.
— update —
I decided to go ahead with the mylar removal. I still need to remove the section from the pop bumpers, but it’s made a real difference in terms of presentation. I’ve been able to remove the dirt that had collected under certain areas of the mylar and also the areas where the mylar had bubbled up are now gone.
That “special” insert will need to be leveled as the tip has risen. There are a few inserts that need to be pushed back down, but that can be done post playfield swap.
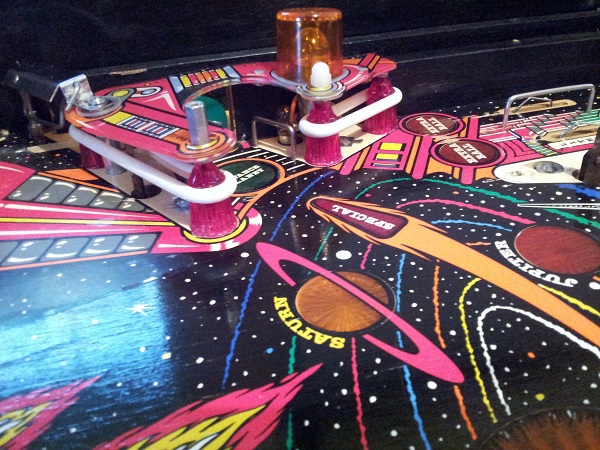
The mylar removal was quite straight forward with the use of a hair dryer. Slow and steady and next to no paint loss, which was a really good outcome. The left over goo was cleaned up with a few methods. Flour and alcohol have become my first port of call and gets through a solid chunk of it. From there I go to eucalyptus oil.
There are some areas where paint loss has occurred over use in the past. I’m not going to bother patching these up now since I will be swapping in a new playfield once the machine has been rebuilt and I’m happy with how it’s functioning.
