About a week ago, a replacement Capacitor kit arrived in the mail for the power supply board. Great Plains Electronics sells a number of kits for Williams power supplies (among other things). The caps on the power board were old so I was keen to replace them with brand news ones.
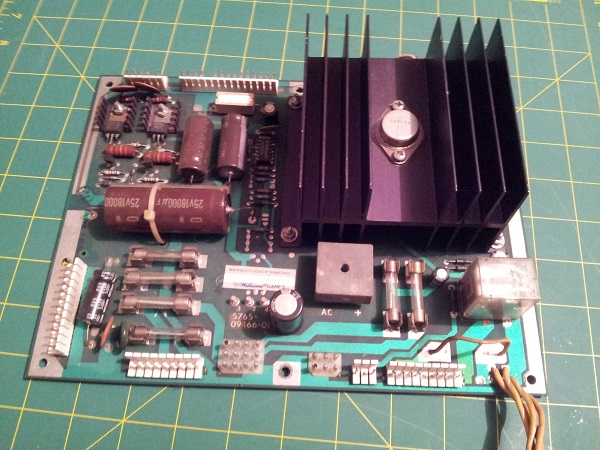
There were 8 caps in all to replace. A pretty straight forward task and something I can check off my to-do list. I also ordered the high power kit at the same time, which I’ll get around to doing shortly.
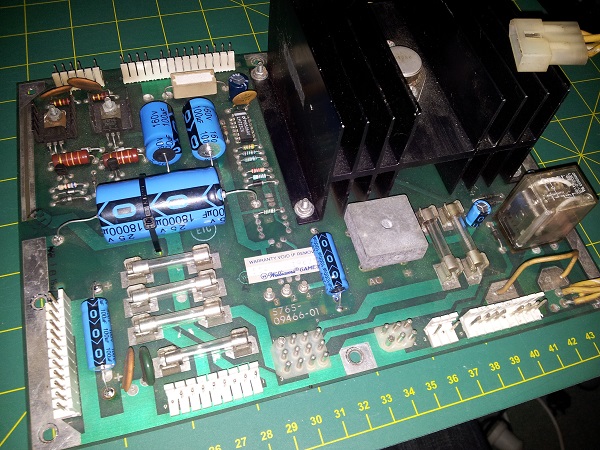
When I looked inside the body of the machine for the first time, I noticed that the tilt plumb bob and hook were missing. The tilt ball was also missing, although I wasn’t surprised as it is missing on my other machines too. Since it seems to be a common thing missing, I sometimes wonder if there is a huge pile somewhere. I was keen to at least get the tilt plumb bob replaced as nudging is a skill in pinball (something I’m very poor at) and I don’t want to be able to get away with doing it non stop – there needs to be some risk involved. Thankfully it’s a cheap thing to sort out.
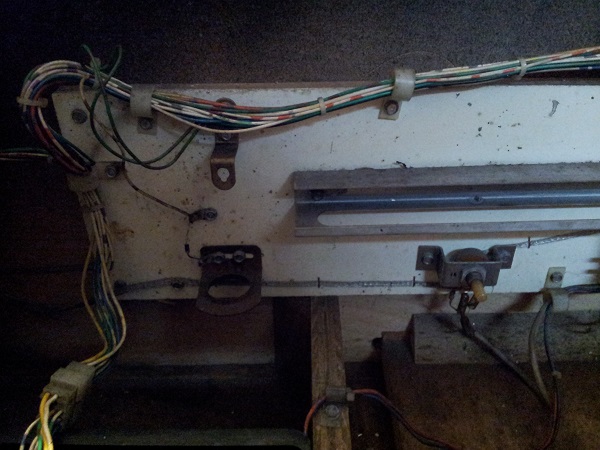
My first thought was to just get a new hook and bob set and install. But then I decided I’d spend a bit more time on it. The inside of the cabinet it quite dirty and this was a good excuse to clean the front end of the cabinet up a little. With the effort I put into the head last week, I felt it would be worth spending some extra time here. So I decided I’d pull the entire panel out to clean. I could then also clean the whole tilt assembly and the inside of the cabinet. At the same time I could give some attention to the volume pot and do a general tidy/clean up of the cables.
First step was to remove the panel with the tilt assembly. As you can see, it’s quite dirty. A rub down didn’t provide much in the way of improvement.
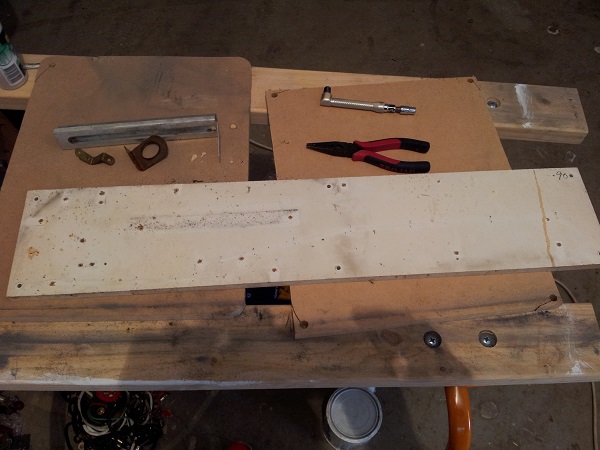
The tilt assembly was also in need of some love.
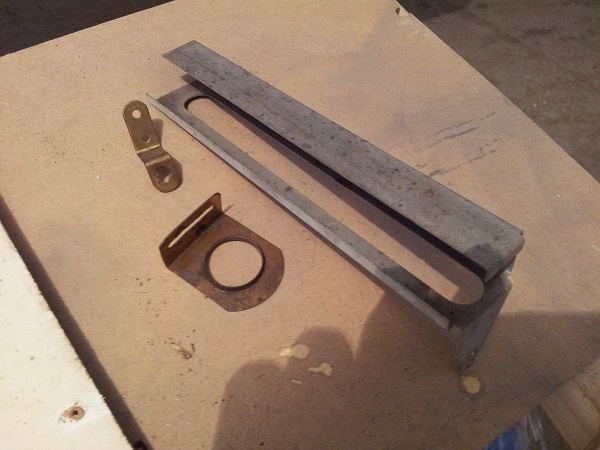
Sourcing a new tilt plumb and hook was easy as they are readily available. I would have been just as happy to pick up a second hand one, but in this case a new one was cheap enough and required no searching.
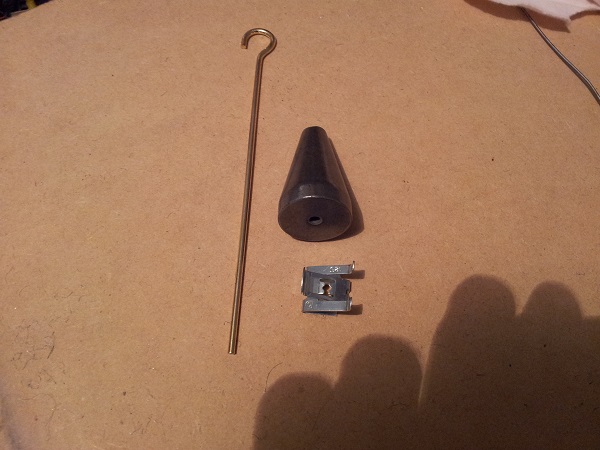
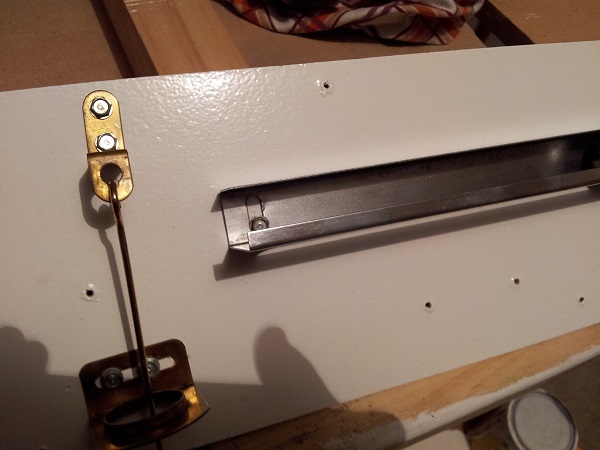
I decided to paint the panel white to give it a nice clean look (that no one will ever see). I again used the gloss white that was used on the headbox door simply because it was there. After a light sand and 3 coats it was done. While the paint was drying I cleaned and polished up the tilt assemblies before installing them back onto the panel. A ball was added for completeness.

Something that had not occurred to me before, there are a few ways to adjust the sensitivity of tilt. The angle of the ball rail for example can be adjusted up and down. The plumb can of course be adjusted up and down in height for tweaking its sensitivity. I’m going to go back to my other machines now and tune them up a little. The Nugent is REALLY sensitive and I’d like to make it a bit more lenient 🙂
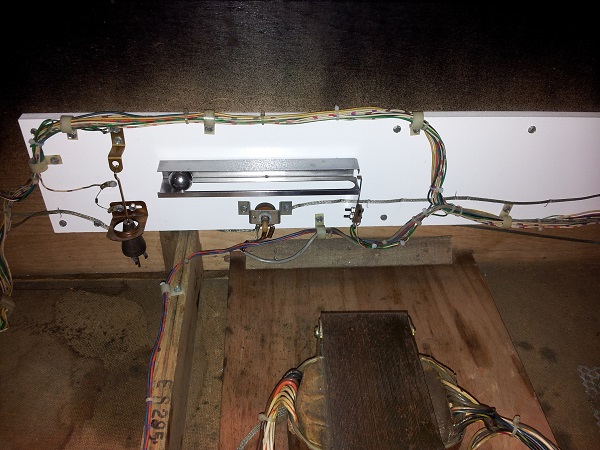
Before installing the panel back it to the machine, I gave the volume pot a clean and also lightly applied some contact cleaner inside the pot. Once done I turned the pot left and right several times to help clear anyway any dead spots that may have built up over time. This made an improvement on both my Nugent and Fireball Classic machines, so felt it worth doing here too.
The panel was then installed back into the machine and the wires cleaned up a bit. I took some time to wipe the wires down with isopropyl alcohol and used a damp rag to clean up as much dust and crap that had collected on the base of the cabinet as possible.
Since I was under the playfield, I may as well pull the playfield arm out and give it a clean too. Not sure if anyone ever bothers cleaning these, but I’d hate for it to feel left out – so out it came ready for a clean.
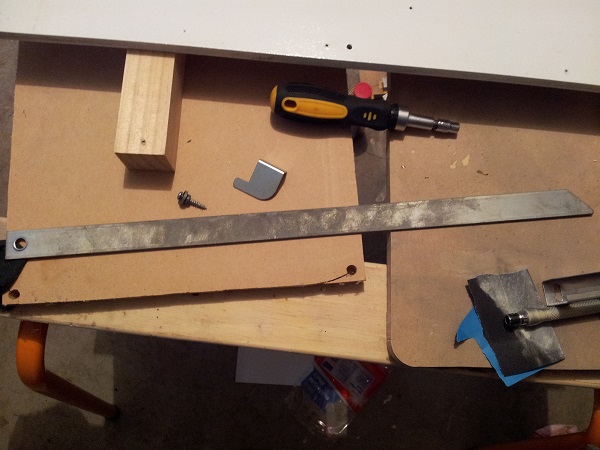
After a clean and polish it was ready to go back in the machine.

I gave the right side of the cabinet a wipe down also to clean away the dirt and dust and installed the arm back into the machine ready for use. (Looking at the base of the cabinet, you can see which part has not been given any sort of cleaning yet).
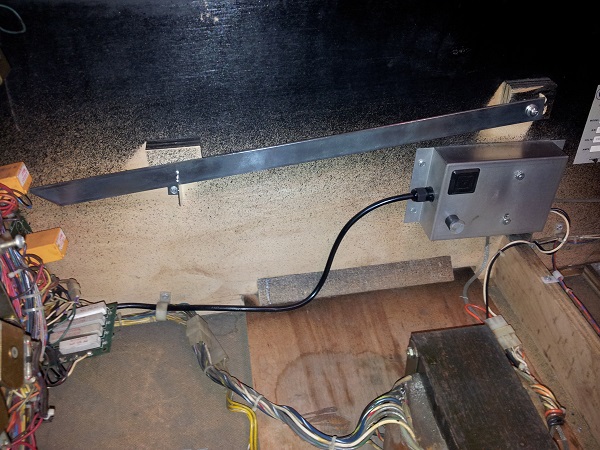
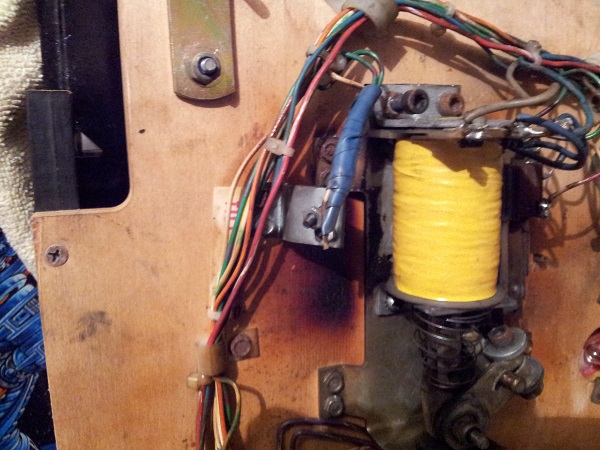
Carrying on with the tilt feature, there is a tilt switch which is attached to the playfield (next to the left flipper coil) – at least, there should be. Mine was missing. (Note the lovely burn marks around that left flipper coil from some incident in the past).
Thankfully I happen to have a spare second hand one ready to go.
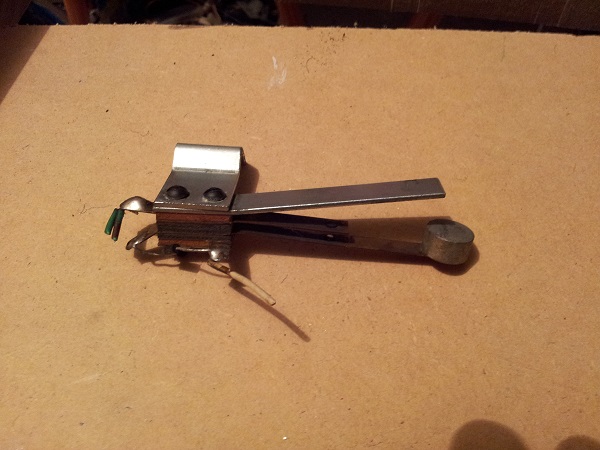
This was then installed into the machine and wired up ready to go. I’m looking forward to revisiting this area when I rebuild the flipper to clean the surrounding area up.
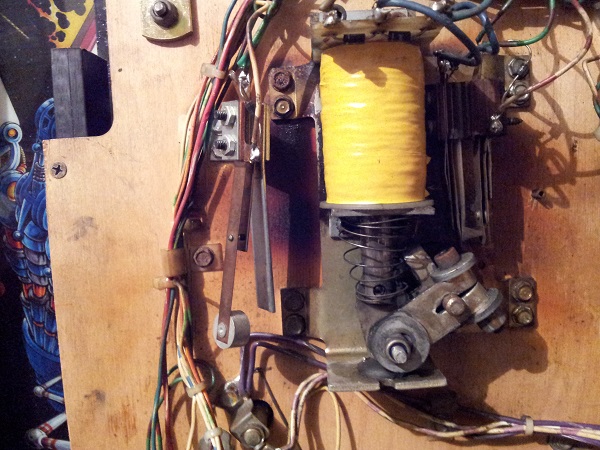
It was now time to test the tilt feature. The game correctly gave warnings each time the plumb connected with the frame and eventually tilt was achieved. The switch under the playfield also detected tilt. So that can be ticked off.
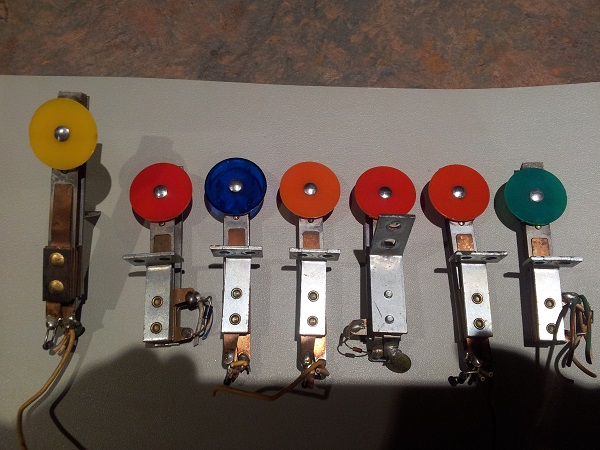
I went through my spare pinbot parts container recently too and pulled a few things out for a clean. I have a number of spare stand up targets that came from another pinbot playfield that needed a good clean. I may need these, I may not. I decided to clean them up now and store away safely in case they clean up better than the ones on my playfield and are needed as replacements. To begin with they were looking very dull.
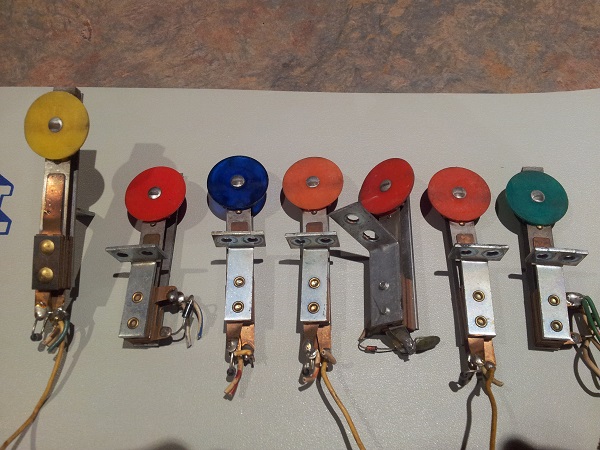
Looking much better now..
Another spare part I picked up was the target bank that sits just in front of the visor. Now this is missing the blue target (they are getting tougher to source now) and the orange is broken. The other 3 targets are good though and the plastic housing is in good condition too. I picked this up just in case as you can’t readily buy them and I’ve not had a chance to inspect my own. I don’t mind owning extras for parts like this when you can’t just go out and buy a replacement.
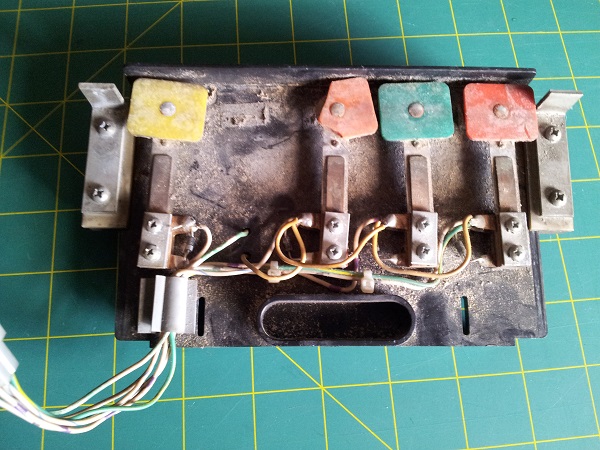
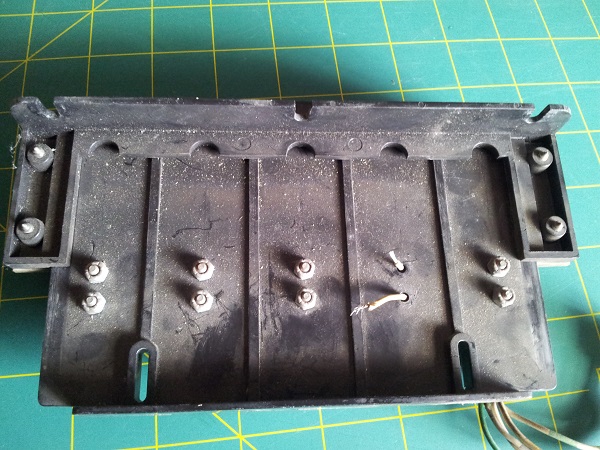
I pulled everything to pieces for cleaning.
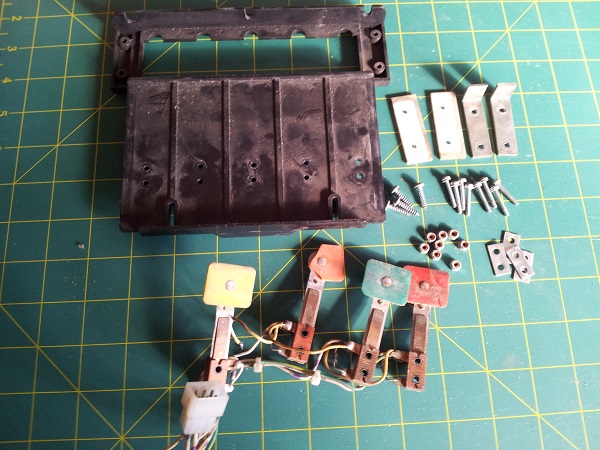
Warm soapy water, a tooth brush and some Novus came in handy here to get them looking much nicer. I also polished up the metal brackets and screws. Then it was time to reassemble them and store away for future use if needed. The wires for the blue and orange targets have been tucked into the assembly to keep them out of the way.
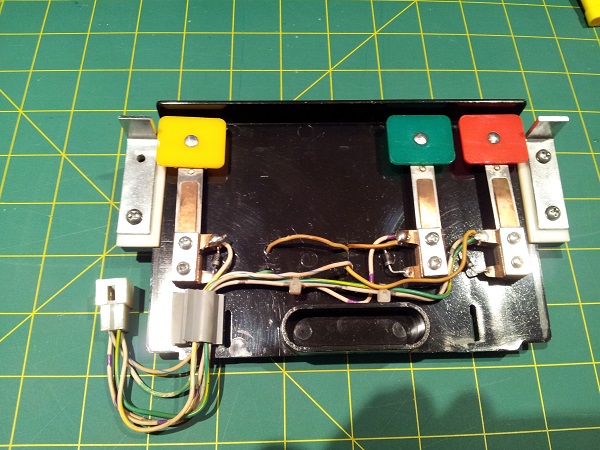
Something small that has been on my to do list for a few weeks is clean up the four lane switches at the bottom section of the playfield. Two of them were quite bad, while the other two were reasonable.
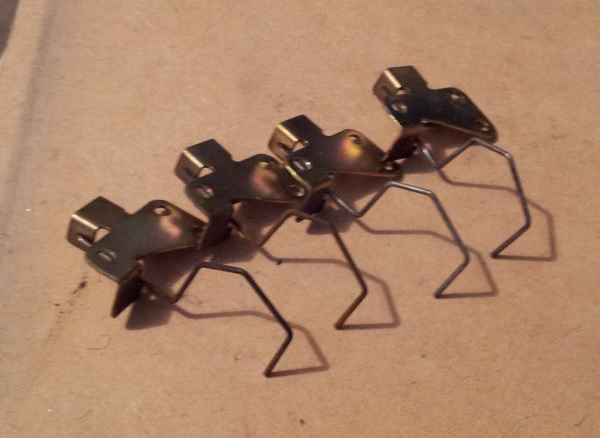
After cleaning all four, they were put back into the machine looking much nicer. I also did the same service to the switch in the shooter lane.
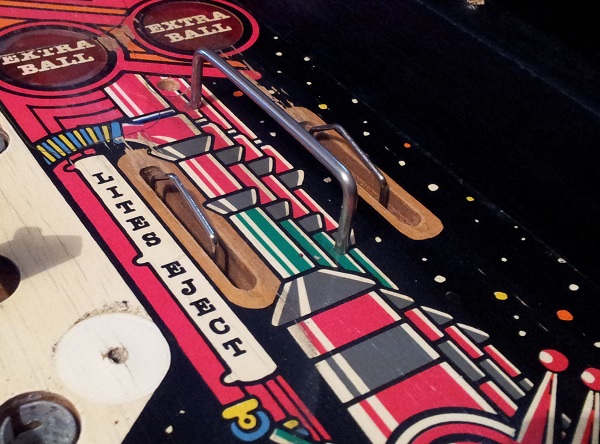
Last on the hit list for this update is the power switch at the base of the cabinet. I wanted to clean it up a little.
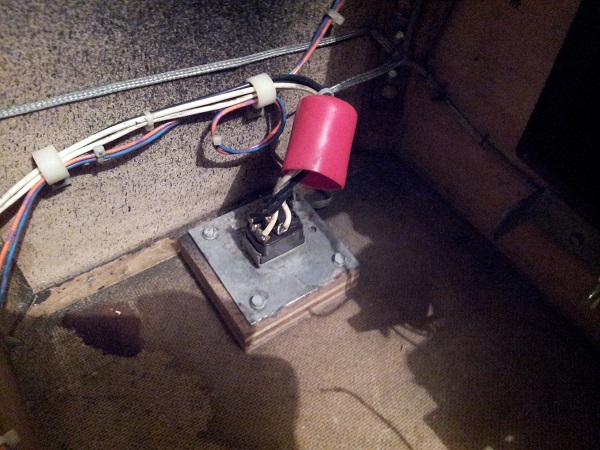
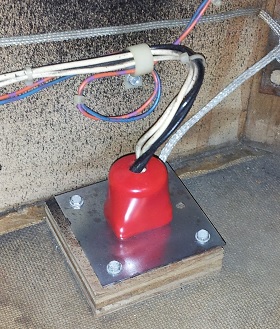
The switch is attached to a small metal panel, which is in turn attached to the cabinet by 3 screws and a nut. These were removed so I could clean under the panel and in the surrounding area.
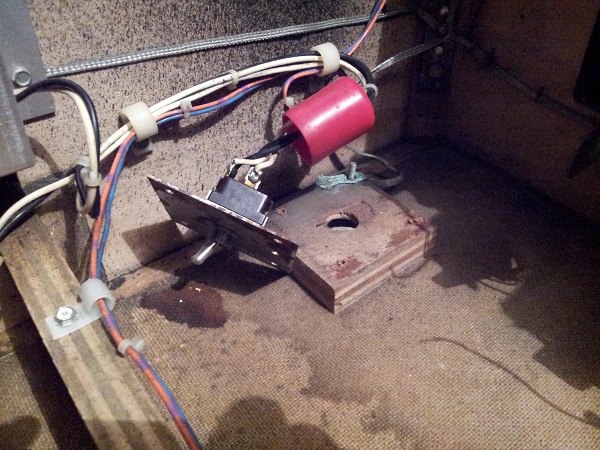
I removed the small metal plate for a clean as it was covered in crap.
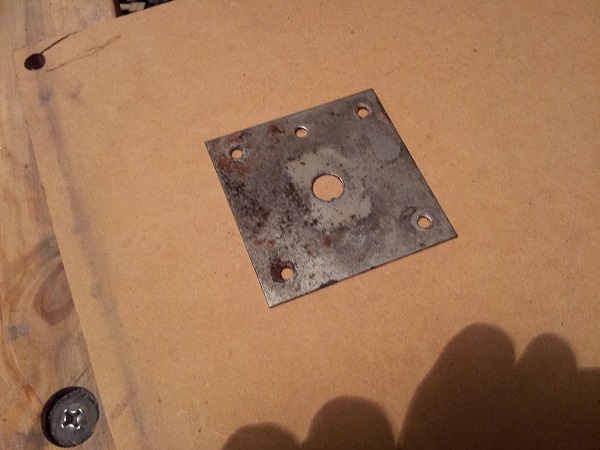
Once everything was cleaned, the switch was reassembled and installed back into the machine.
Right now I’m starting to make some progress on the coin door and lock down receiver. This involves pulling the whole thing out for cleaning. The service panel needs some attention as do the coin return plastics. I’m on the lookout for some Australian pricing labels that I can use, along with wiring up 3 coin mechs. I also plan to repaint the coin door. Next month I’ll be rebuilding the flippers, slingshots and the drop targets (time permitting). I may be tempted to remove the mylar now also – I had planned to do this post playfield swap, but I’m feeling more confident with it now after doing it on two other playfields. Busy, busy, busy – but it’s all moving in the right direction 🙂
