What better way to spend a rainy Sunday than to do some work on a loved pinball machine 🙂
Despite being slowed down a little as I build up funds for the next bulk parts order, there is still plenty of things to do meanwhile. They’re not always exciting, but it’s always forward motion to the end goal – getting this machine 100% and looking great. Today I wanted to look at the shooter.
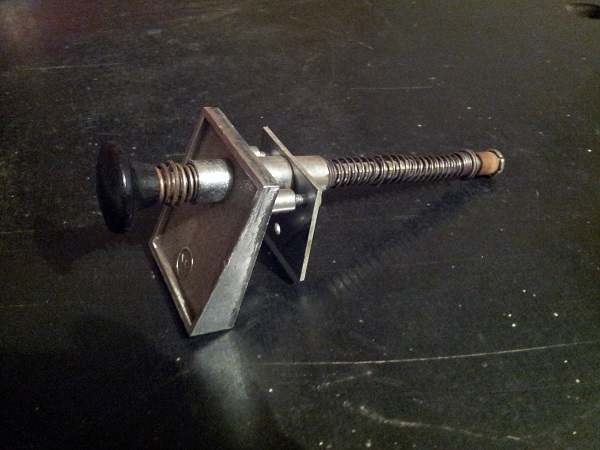
When I picked the machine up, the shooter was not attached to the machine and instead located inside the body. I expect this is done when machines are stored or shipped via container and seems like a smart move to remove it until needed again in the future.
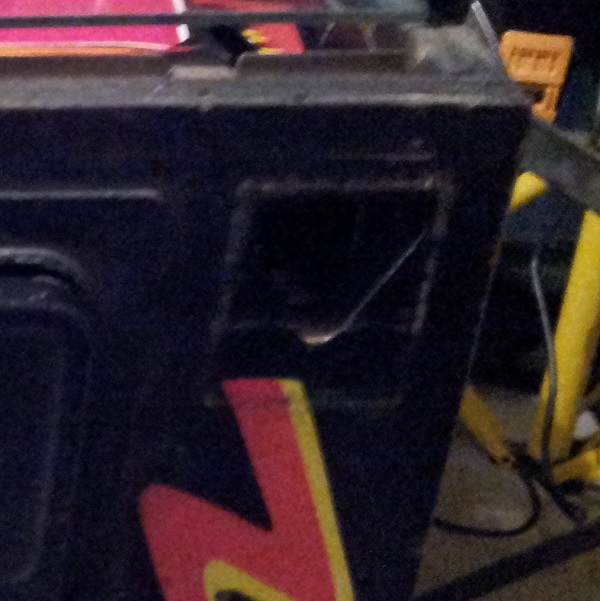
Both springs were completely stuffed so needed to be replaced. But something was puzzling me about the shooter tip – it was metal with a rubber sleeve sitting behind it.
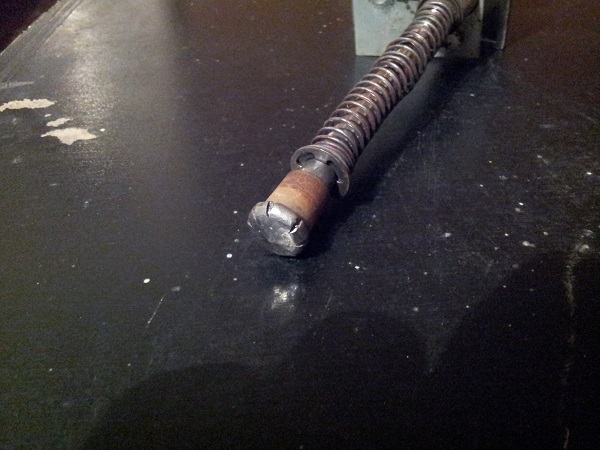
At first I was thinking someone had attached a metal tip to the end of it. When you look closely you can see a hammered effect and a very central point in the middle of the shaft.
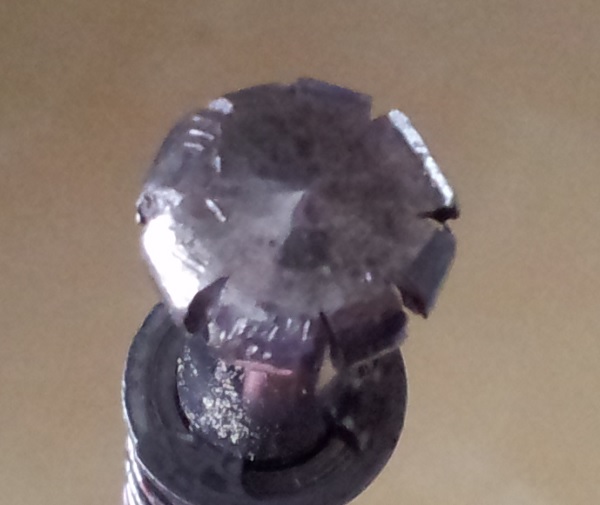
I tried removing it, but soon realised it wasn’t a tip that had been attached, but the rod itself had been peeled back and a new tip formed. It looks purposefully done, but I can’t imagine why you would. If it’s been done over time from overuse, I wonder how many games it took for that to occur?
Anyway, I had to get it onto the grinder as I couldn’t dismantle the assembly with it in that condition. Once the tip was removed I could disassemble the shooter.
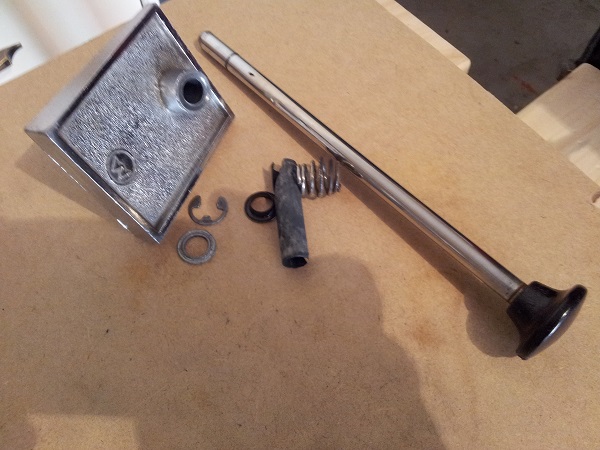
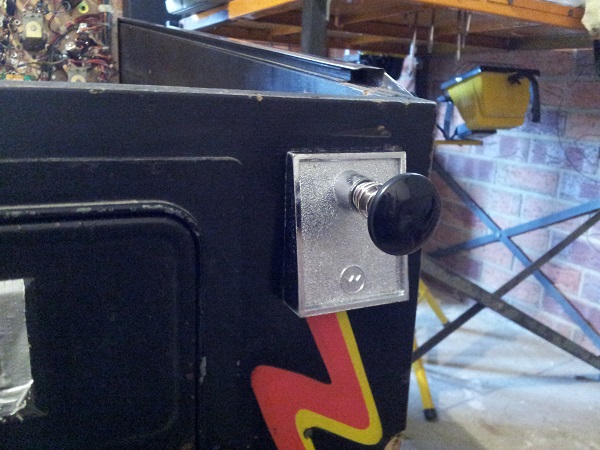
I gave everything a solid clean and it was ready to be rebuilt. Two new springs were added along with a new sleeve. I also replaced the shooter rod. With the metal tip being peeled back, it cut off about 5mm in length from the rod which left it a bit short. The handle had also seen better days and looked to have a burn mark in one spot. I had purchased a new rod with a black handle for my Nugent a long time ago but decided against using it as the metal handle always looked better on that machine – so I’m glad I was able to end up using it.
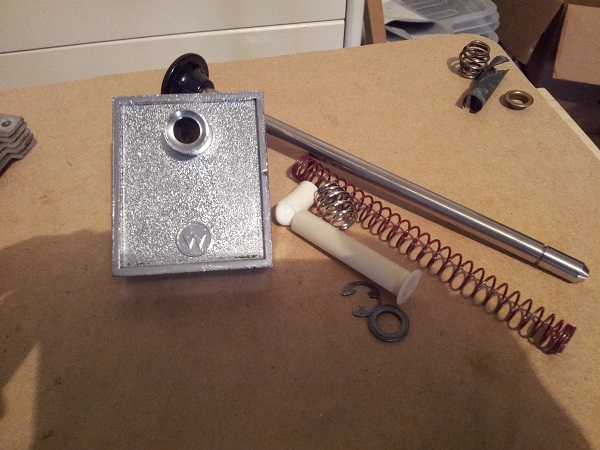
Time to rebuild it.
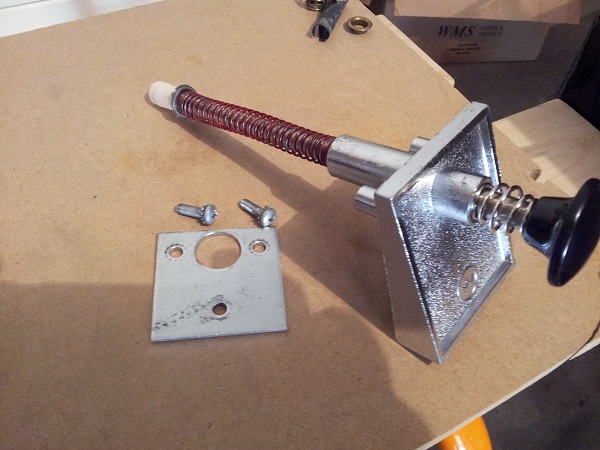
I managed to source a replacement screw while out at PSPA last week, but ended up not needing it. Inside the machine was the third screw that I had assumed missing.
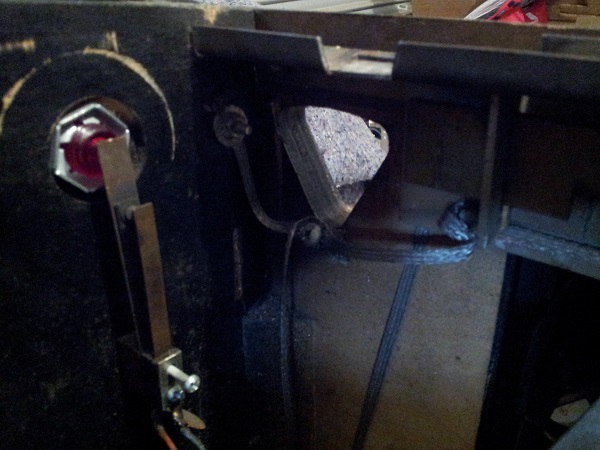
Finally, the shooter assembly was installed back into the machine for the first time since who knows when.
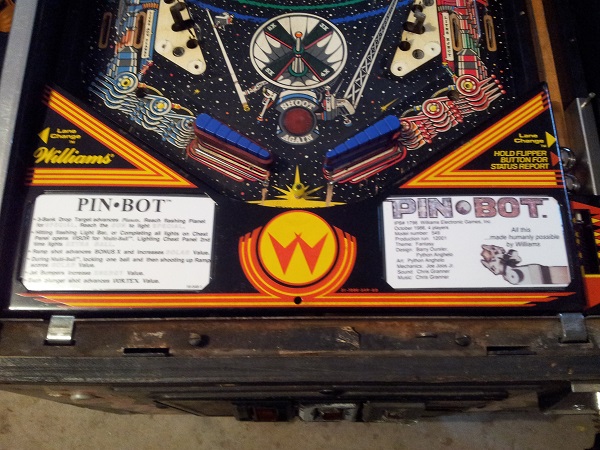
Finally, I got around to making up some new instruction cards for the apron. An interesting thing I found was the instruction cards are larger than those found on my Bally and Stern machines. I had assumed they would all be the same size.
I’ve used a nice thick piece of card stock for the instruction cards and then laminated them.
and my afternoon of fun now comes to an end 🙂
