
It has taken me longer than expected to advance to the next pinball machine in the queue. I did have plans for a short break after completing Harley (I still need to get around to doing the final write up), but a parts delay delay and sorting out a few mechanical issues at the end of that game ate up the gap I had planned. Sometimes, that’s how it plays out. The good news though, is this next game is one I’m really excited to be working on. It’s been raining SEGA’s here lately, with the next game up for a complete rebuild being a beautiful Batman Forever. It was released by SEGA in 1995 and roughly 2500 units were made. I don’t think SEGA games get enough credit and as a result, people miss out on some great fun. The game has plenty to offer players, serving up multiple ramps, rails, a diverter, 3 flippers, pop bumpers, targets, drop targets, a VUK, canon, Bat cave ball lock, large display (192×64), video modes and up to 6 players at once. The only thing it’s missing for me is a spinner. The game is also a widebody, but with plenty of things around the playfield, it feels filled to the brim. There’s even an easter egg hidden in the game – “After a certain number of slingshot hits, after a 3 second lag, a giant bat will appear on the screen and screech at you. If you hit the trigger then you will get 50M extra points”. I’ll have to keep an eye out for that one – easy points! There are a few issues that need to be sorted out along the way and I’ll go in to those as I work my way through the game. For the most part though it’s working well and just needs a good clean. Time to get started.
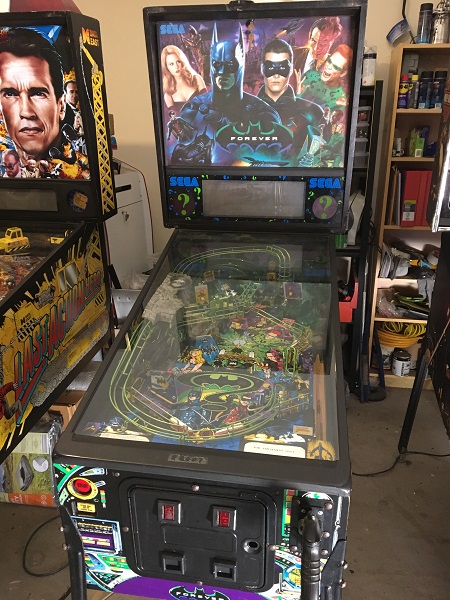
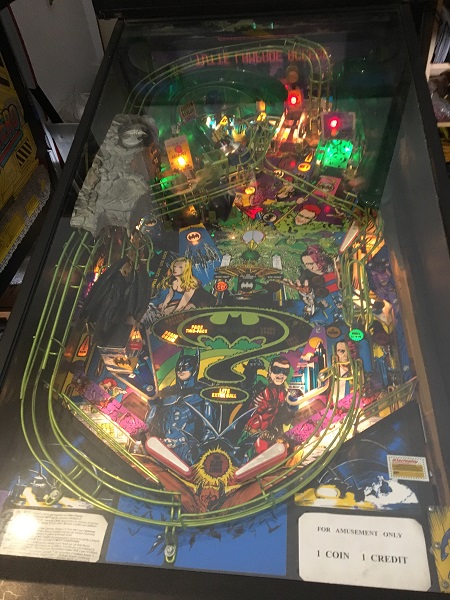
At it’s core, the game is in very good condition. With an almost perfect playfield and cabinet art still looking good – it will clean up very nicely once the dust and filth are cleaned away. The ramps are undamaged and the rails still have the green coating. The game powers up no problems, and you’re able to play a game from start to finish.
The game came out of a container imported to Australia from Italy a few years ago. It still has the original Italian ROM’s. All the in game call outs are in English, but the displays are in Italian. The display has a vertical line missing.
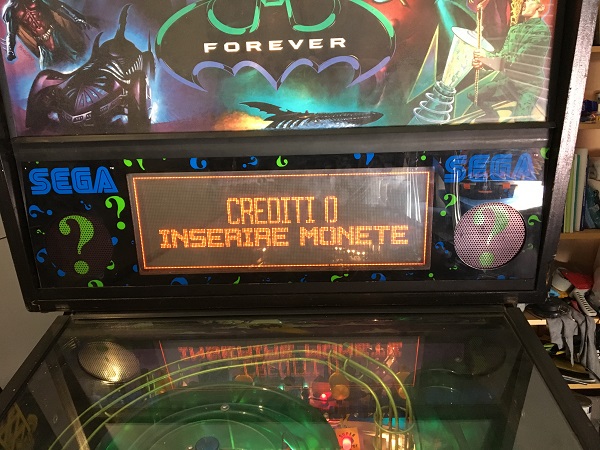
There are two display ROM’s and a CPU ROM that need to be replaced. I got in contact with Ken’s Pinball Repair to source some new English ROM’s for the game. Ken’s always excellent to deal with and has quick turn around, so I wasn’t waiting long for the new ROM’s to arrive.
Since I was in the headbox and had just updated the ROM’s, now was a good time to install a remote battery pack. I make these up and they install directly in to the AA battery holders on the CPU board. You can modify the PCB to use a button battery (which last way longer), but I like this option as it leaves the board untouched and is easily removable. I like to use the enclosed holders so if the batteries did happen to leak, it’s contained.
After installing the battery pack, I replaced several missing screws from various PCB’s that were barely being held in place. Still in the headbox, I wanted to look at one of the display issues the game has. If the machine takes a nudge, the display can go off. You can then get the display on again with a tap or two on the display panel. The game isn’t rebooting, just the display. So it’s likely a poor connection on the headpins or connector. With the display panel down, I can see someone’s been here before, with nuts missing from the display mounts and the earth straps loose.
The display is one of those large 192×64 dot matrix displays from SEGA. These beastly things have several large capacitors, what looks like a small transformer and a CPU that drives them.
The display draws power from the power supply board in the headbox. I found that by gently touching one of the wires on the connector, the display would go on and off. The machine was switched off and the power supply board was removed for closer inspection. I was expecting to maybe see cracked solder joints on the header pins, but none were spotted. I reflowed fresh solder across the pins regardless. I examined the two connectors and noticed that one of the wires was not pushed in as well as it could be. I grabbed my trusty IDC tool and redid the connector at the power supply board and also at the display.

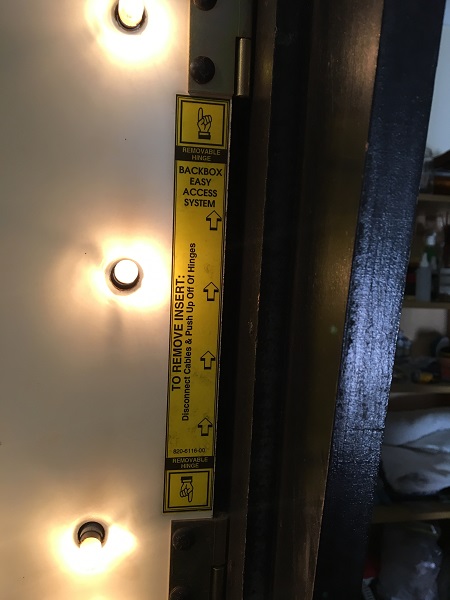
The power supply board was installed once again and the connectors put back in to place. The game was fired up and some testing done to see if I could get the display to switch off again. It was very easy to do before, but now, no matter how much I wiggled the wires or tapped the display, it remained on. No more display resets. Still on the headbox, one of the cool design features is the door can be removed from the hinges, which is great if you have to work from the right side of the game. Nice work SEGA!
Since I still had the backglass off, I may as well clean up the GI and flasher bulbs on the headbox door. There were serveal bulbs that were not working, which will be replaced.
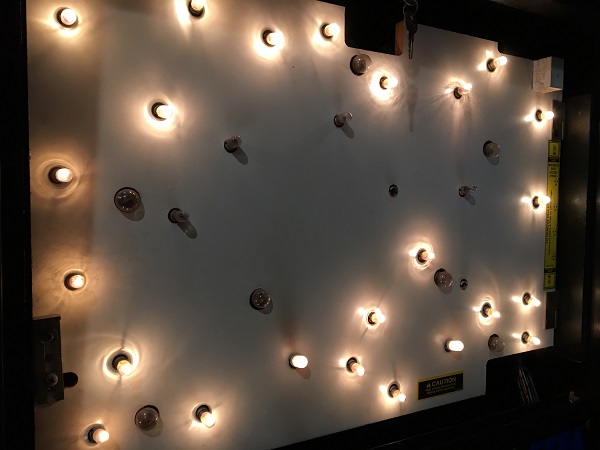
Each bulb is removed and cleaned individually to remove the crap that builds up on all the bulbs over the years. It’s a small thing to do, but costs nothing to help lift the brightness and presentation of the machine.
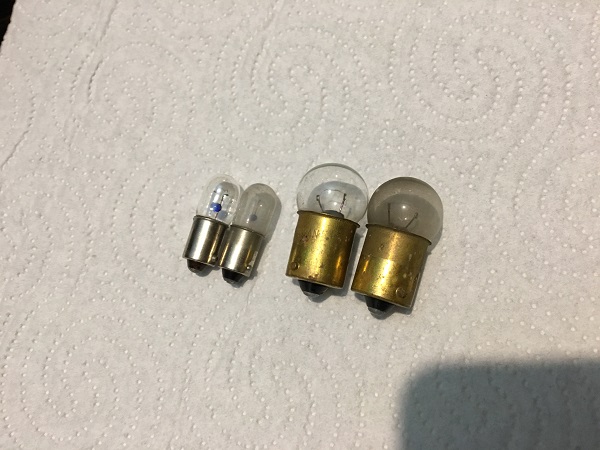
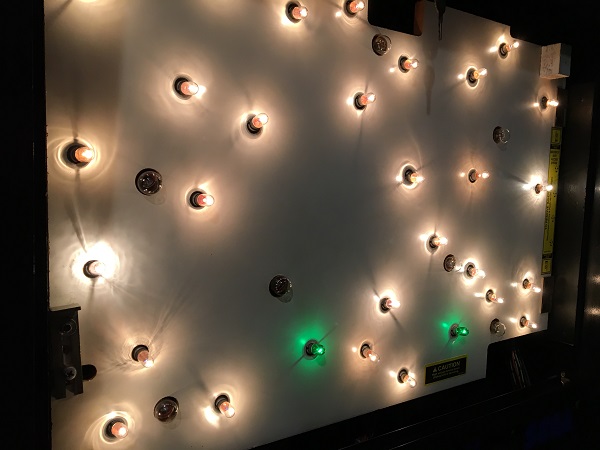
Before installing the bulbs again, I wiped the door clean. The bulbs where then installed back into door. The cleaned up bulbs deliver a bit more brightness to help light up the translite even more. I’ve replaced the two white condom covered bulbs with green, which are around the edges of the Batman logo. Before installing the translite again, the reverse side was cleaned up, along with the glass.
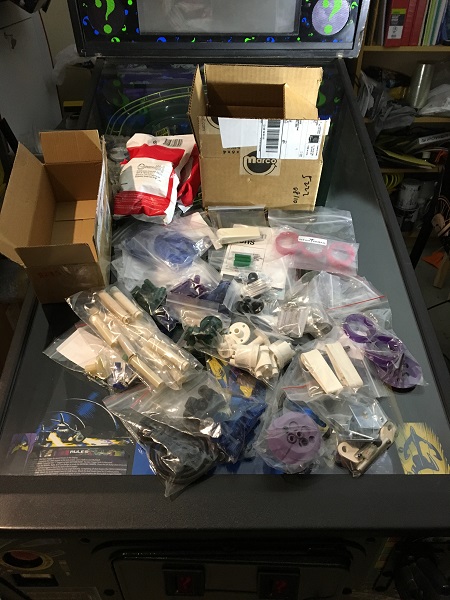
Alright, enough on the headbox for now. Time to look at some playfield things. My first step was to go through the machine looking for broken or worn parts that need replacing. I can’t catch everything that’s needed as sometimes you only find out certain parts are worn once you get the assembly off the playfield. I’ve worked on enough machines now though to make a good guess at what’s needed based on the condition. After making a master list of the parts needed, I then price them all up against 4 or 5 suppliers to find the best prices and what makes the most sense to order from where. This can take some time, but is worth doing to try and save the owner some coin. Several parts orders were made up with various suppliers. Local orders are always quick, but the overseas ones take about 7 – 10 business days. I always like to get those done first.
While I’m waiting for the parts though, there are some other things I can continue on with. I’ll start with the lamp matrix. When first powering the game on, I noticed a few lamps that were not lighting up in attract mode. Entering test mode, I made of note of all the lamps that were not working so each one could be looked at.
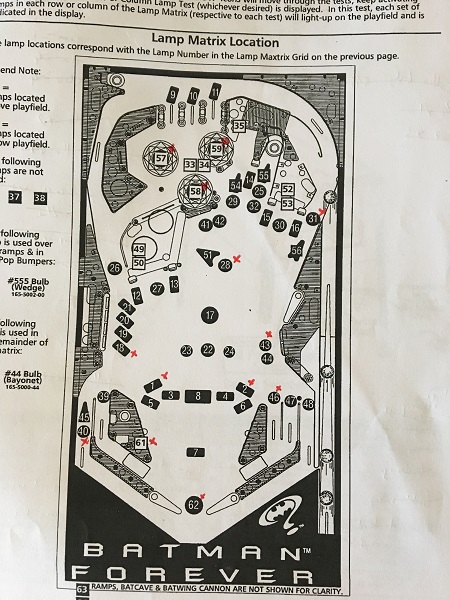
Under the playfield, most of the inserts are lit up via a series of lamp boards. I like to remove these and give all the bulbs and boards a good clean as they can attract a lot of filth. These weren’t as bad as other games I’ve worked on lately, but still – let’s clean them up. You can already see how clean the one bulb I replaced is compared with the others, so it’s worth doing.
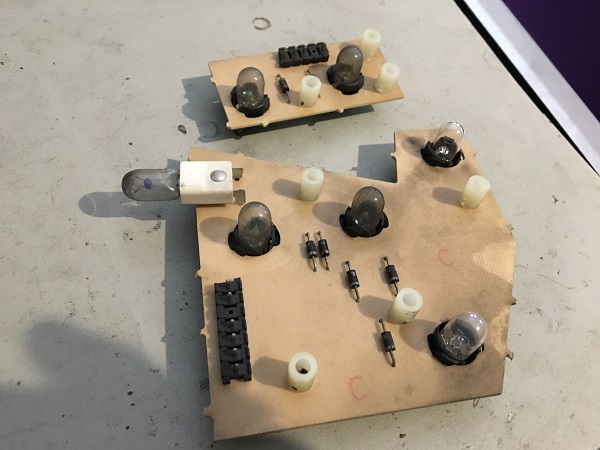
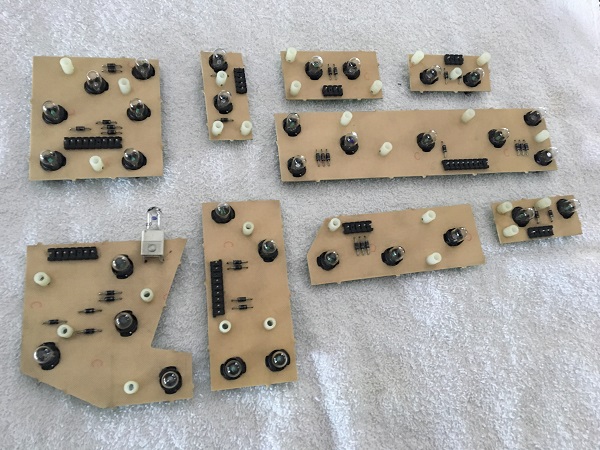
All lamp boards were cleaned, along with each individual bulb. The non working bulbs marked down earlier were replaced as part of this step too.
While I had the lamp boards out, now was a good time to clean the underside of each insert. They weren’t too bad on this game, but still it’s worth taking a few moments to wipe away the filth.
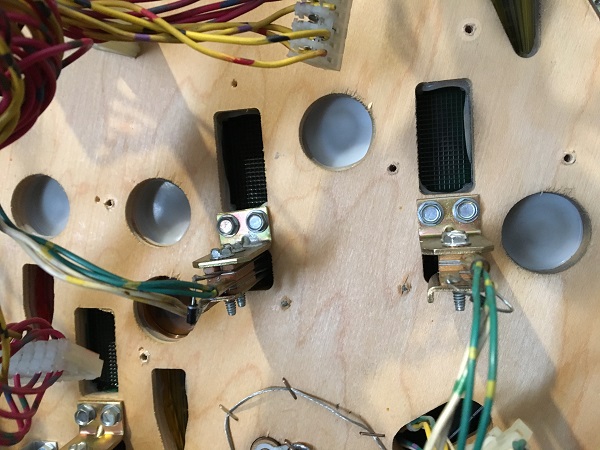
Each insert was wiped clean before the lamp boars were installed again.
One of the bulbs that failed to work was not on a lamp board but a #47 socket. This one is broken and will be replaced with a new socket.
With the lamps out of the way, I moved on to the switch, coil and flasher tests. A few flasher bulbs were found to not be working and will be replaced once I get playfield plastics off to reach them. The coil in charge of moving the bat cannon is a little unreliable and will need some attention. Over the last few days, all the parts orders arrived, giving me just about everything I need to work my way through the game. I love getting parts orders!
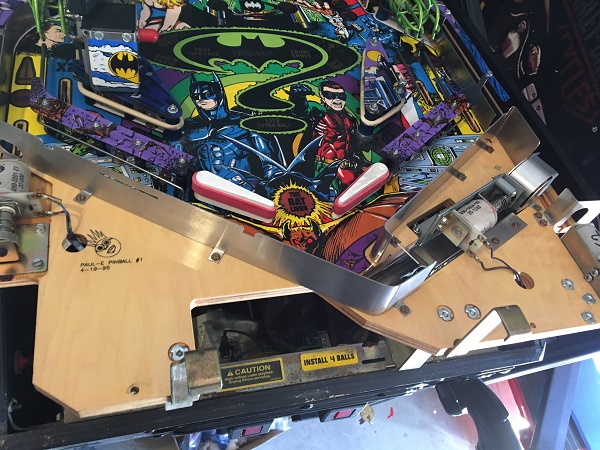
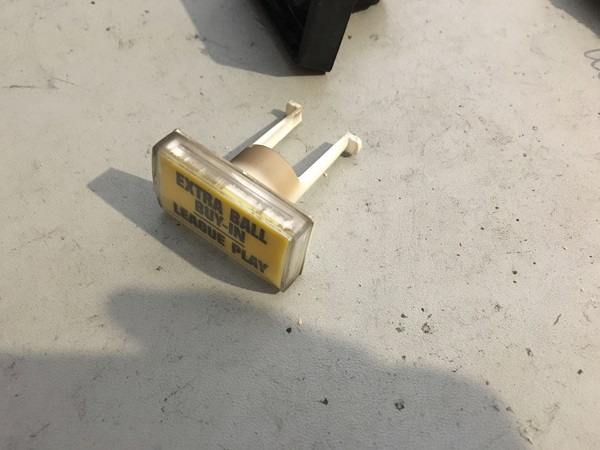
Now to start looking at some playfield assemblies – my favorite part! As always, I like to start with the apron, so let’s begin there. The apron is in really good condition. Those hideous instruction cards need to go though!
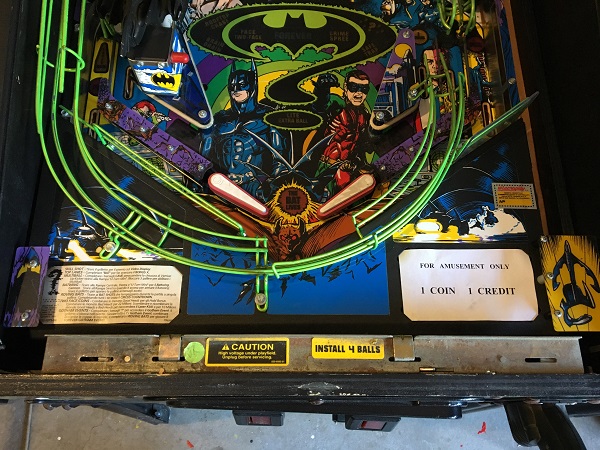
I’m always excited to see what lies beneath the metal apron on a game when I start work on it. This one isn’t too bad.
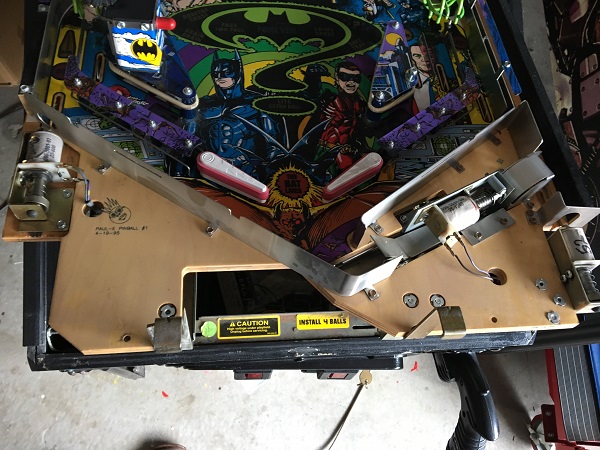
The playfield surface under the apron wasn’t filthy, but a quick wipe with my finger showed it can certainly do with a clean.
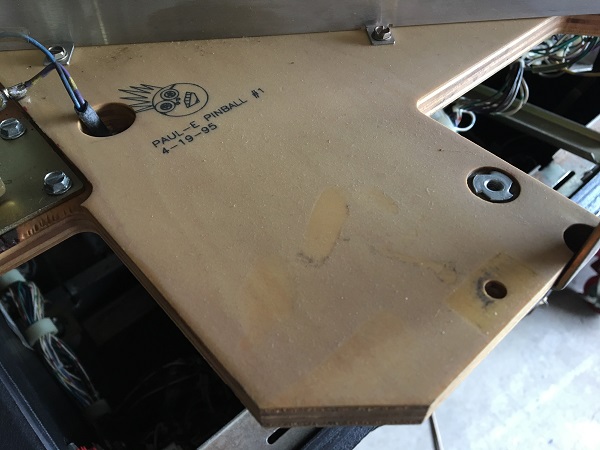
I removed all assemblies and playfield parts from the apron area and then gave it a clean with some Nifti. I finished off with some Novus 1. The surface was now looking much nicer.
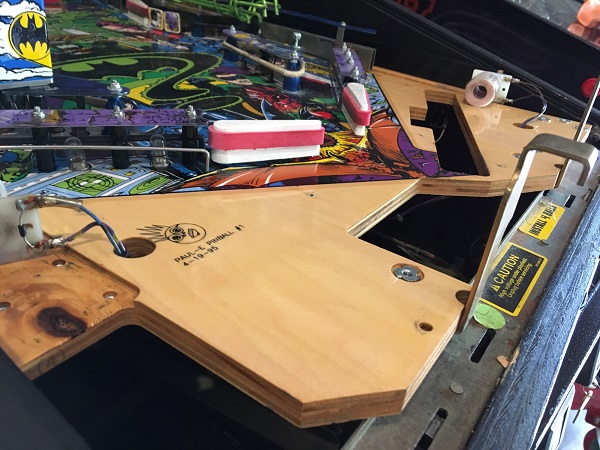
With the playfield around the apron area done, it was time to go through the assemblies. The laser kick assembly was first to be looked at.
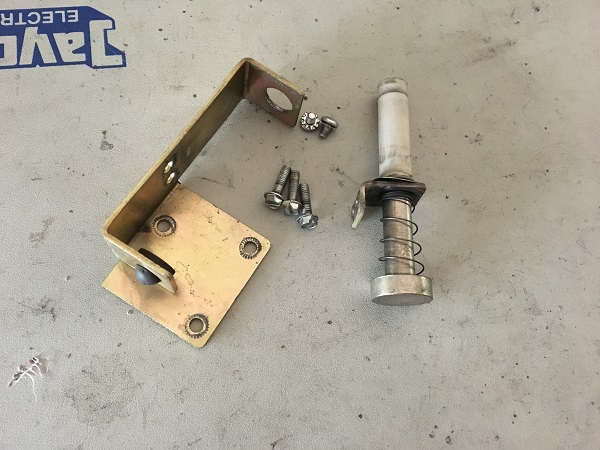
The assembly was disassembled and all parts cleaned. The old grommet and coil sleeve were replaced with new ones.
The auto laungh assembly was next. Very similar in design to the laser kick, only this one was missing its spring washer.
The missing spring washer was replaced with a new one. A new coil sleeve and rubber grommet were sourced, along with having all other parts cleaned up.
The next assembly was the ball lock, which sits above the trough. This releases a ball that can then be served up to the player.
It too was dissasembled and cleaned up. A new coil sleeve was sourced to replace the old one.
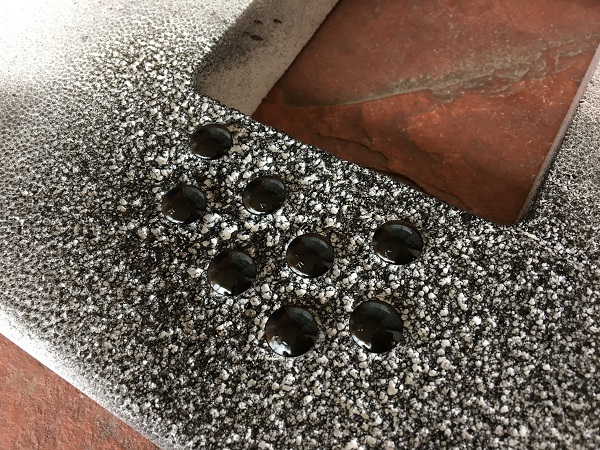
The ball trough itself collects a lot of filth over time.
The trough was disassembled and cleaned. A new rubber grommet and coil sleeve replaced the old ones.
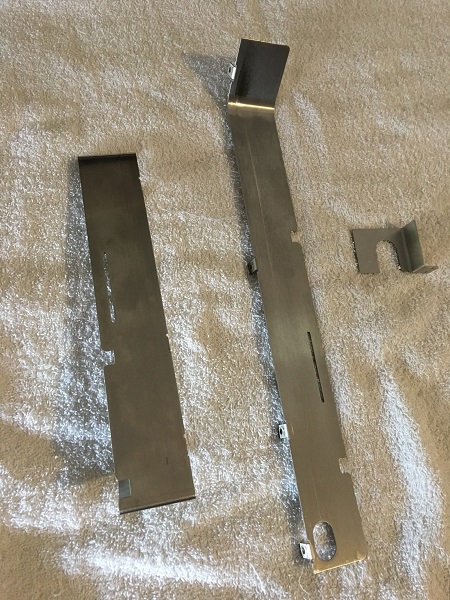
Lastly for the apron parts were the metal rails. The rails were cleaned up to remove ball trails and filth that had collected from years of use.
The assemblies were installed back on to the playfield, along with all the rails and playfield parts from the apron area.
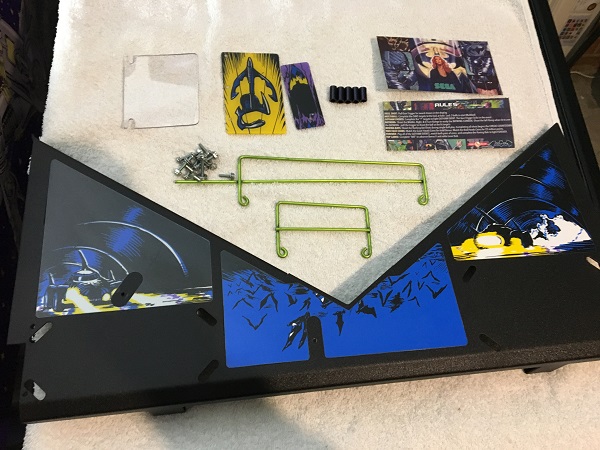
The metal apron itself was disassembled and cleaned. The Tecnoplay sticker was removed and the goo cleaned up. The plastics were cleaned, along with the metal rails. New custom apron cards were printed out to replace the boring old ones. The metal screws and washers went through the tumbler for a good clean. The apron and decals are in excellent condition. Often these get scratched or marked and can have rust forming. But this one is excellent.
The apron was reassembled and installed back onto the game to complete work on the apron area. There are 4 new balls ready to install in to the game, but i’ll save that until the end.

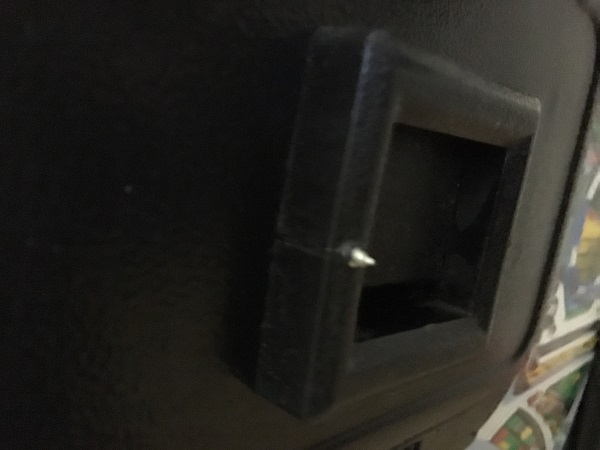
The next task on my to do list was the coin door. The coin door isn’t in a terrible state, but could do with a freshen up. The main issue it has (outside of some scratches and marks) is a screw for one of the coin return housings is too big and has broken through the front of the plastic. Please people – Always check the length of screw you’re going to use before using it!!
I always like to replace the old foreign pricing inserts on the coin door with something custom to the game. It’s a small thing, but really helps with the presentation of the game. I decided to go with the Joker’s question mark for this game as it fits the shape well. New decals were created and installed into the coin return buttons.

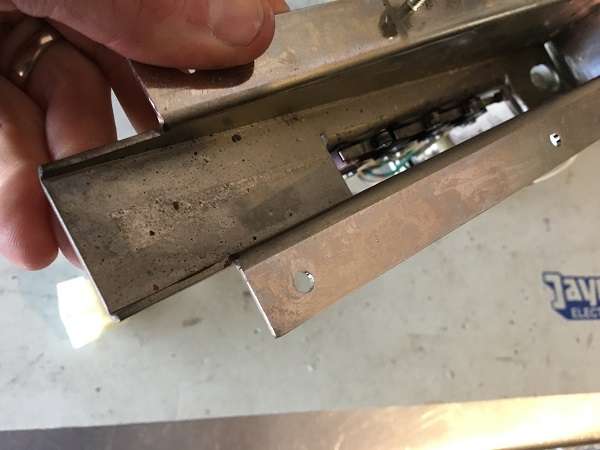
The bolts used for the coin door and also the launch gun were cleaned up sprayed with multiple gloss black and clear coats to get them looking good again. While I had the gun off, I gave it a good clean and also.
The coin door and components were cleaned up, masked off and then sprayed with multiple coats of gloss black and then clear.
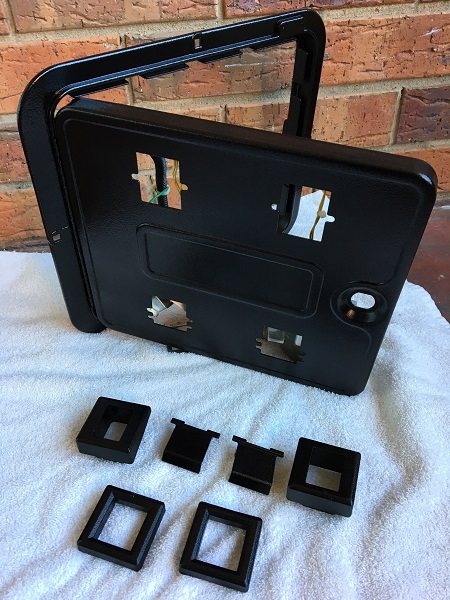
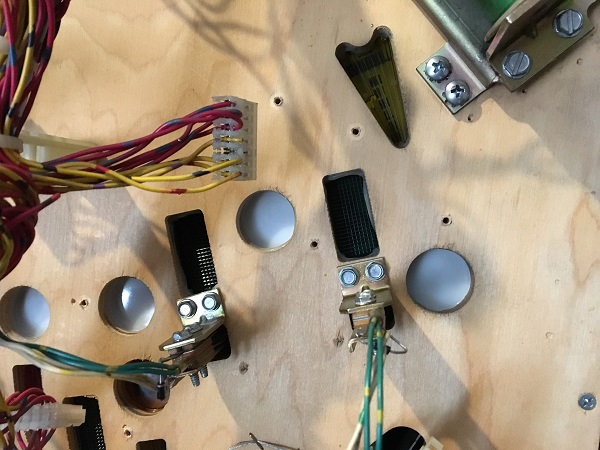
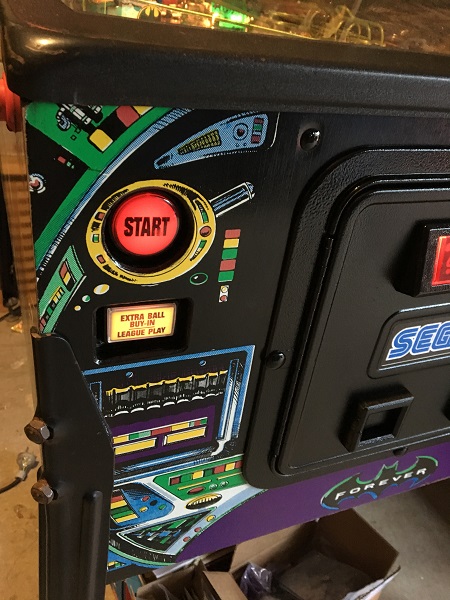
I don’t want to do too much paint touch up on the game as the artwork is still pretty good. Around the button edges on the front panel could do with a freshen up though. Both buttons were removed so I could easily apply some fresh black paint.
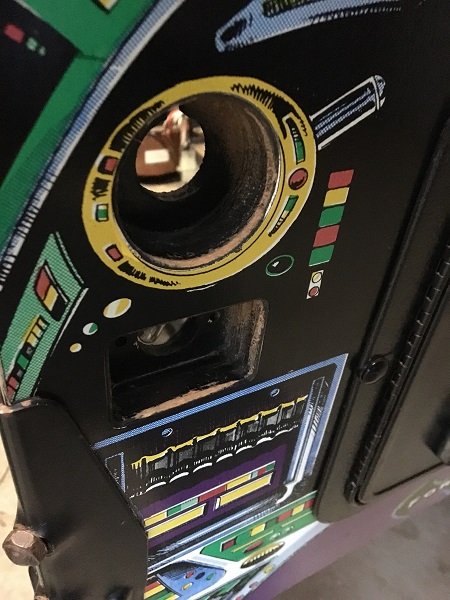
While I had the buttons out, I decided to disassemble them for a good clean too. Filth had collected around the edges and inside the plastic.
Both buttons were disassembled and fully cleaned before being installed back into the cabinet.
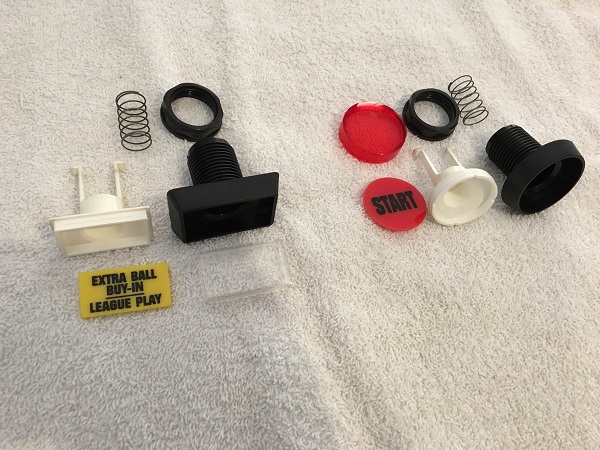
The buttons on the front panel of the game were reassembled and installed back into the cabinet. Looking better now.
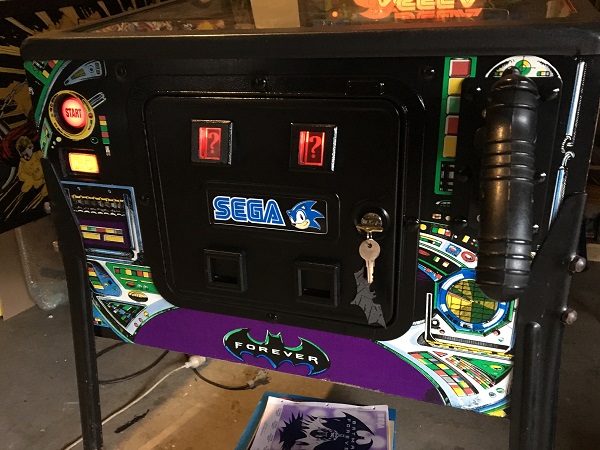
The gun launcher was cleaned up and installed again. The coin door was installed back into the machine also. Inside the coin door, several screws were missing for the earth wire and slam tilt switch. These were replaced. The key hook was missing and replaced. A SEGA coin door decal was included in the decal set I purchased for the targets, which I installed. A new lock was installed on the coin door, along with a small Batman key fob and red LED’s on the coin slots to complete work on the front panel.
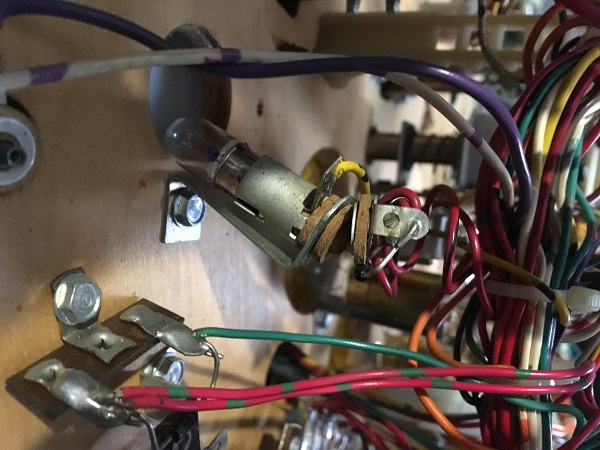
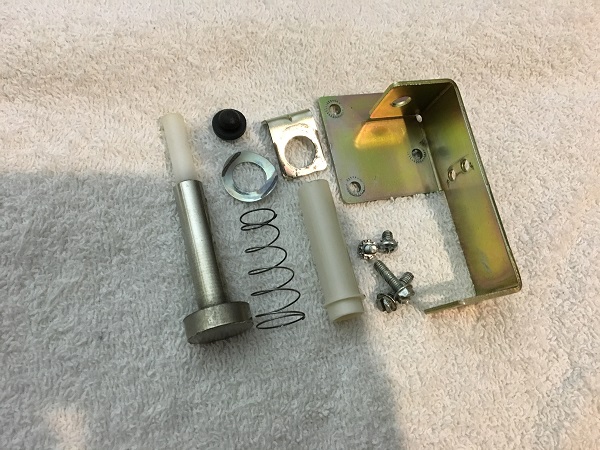
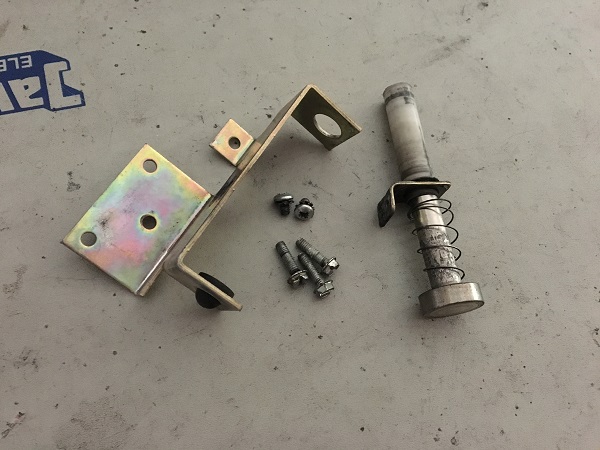
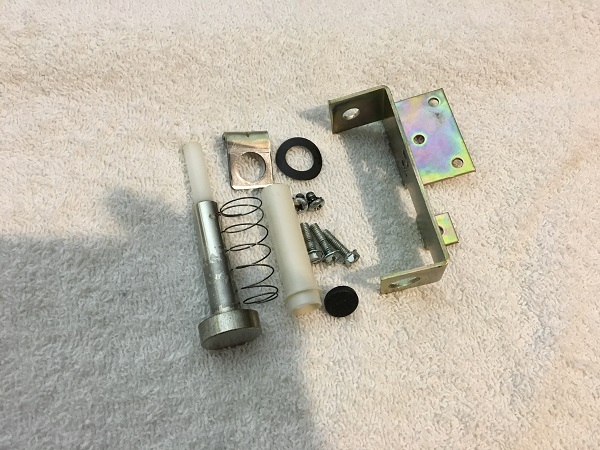
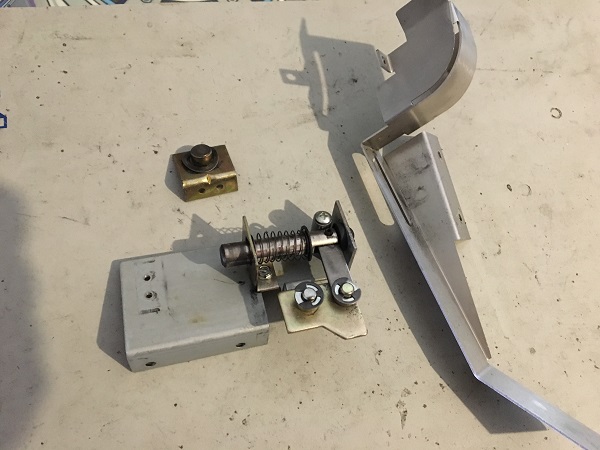
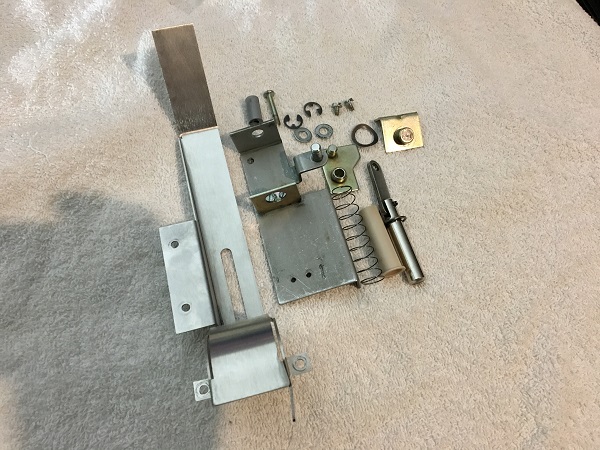
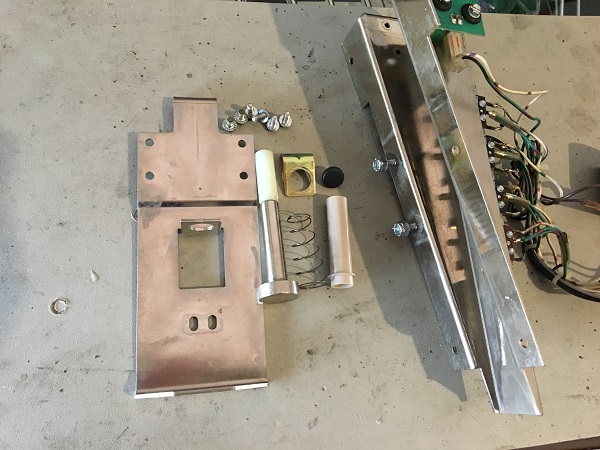
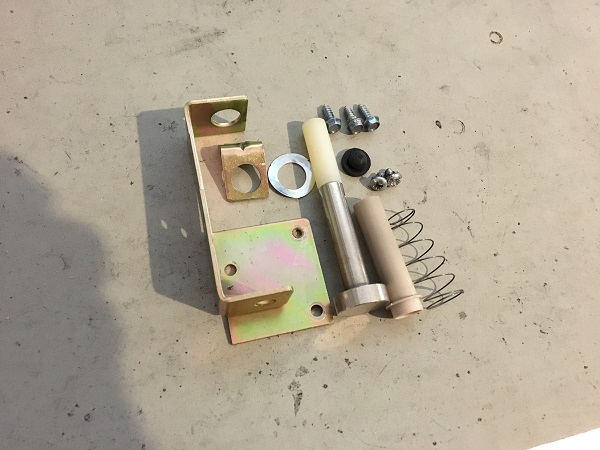
One final thing to squeeze into this update was the knocker assembly. Sometimes I leave this until the end. But with the playfield already up, and tools out and and parts ready, I figured I may as well do it now. The assembly was removed from the cabinet for cleaning.
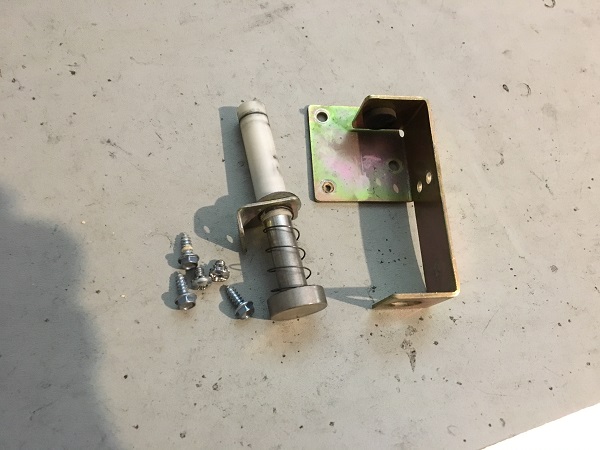
The old coil sleeve and rubber grommet were replaced with new ones. The rest of the assembly was cleaned up, ready to go back into the machines.
That’s it for the first update on Batman Forever. I like to work my way up the playfield in stages, that way I only have a few bits off the playfield at a time. But with games like this (Apollo 13, Baywatch and Whitewater also come to mind) it’s more challenging to stick to that since you need to remove layers of ramps and rails to get to the playfield below. I’ll be starting with the flippers and slingshots in the next update and will also strip back the rails and ramps allowing me easy access to the drop targets and pop bumpers.