Progress on Harley has been traveling along really smoothly over the last couple of weeks to the point where I’m closing in on the final playfield assemblies to service. The first area to look at in this update is the pop bumpers, which will also include the scoop which sits just in front of them. There should be a plastic Harley sign that sits vertically on top of the scoop that has been broken off some time in the past. The pop bumpers are filthy and overdue for a full rebuild.
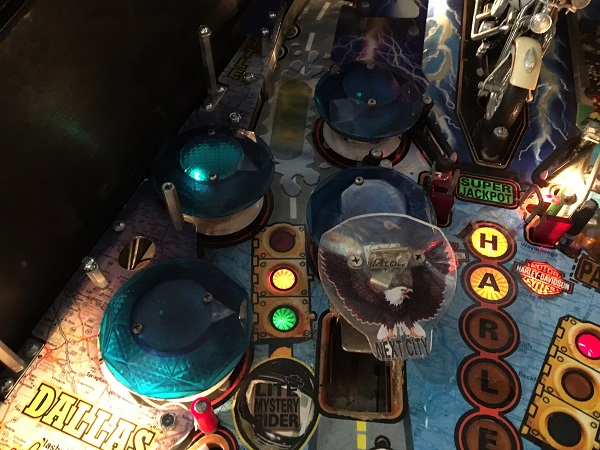
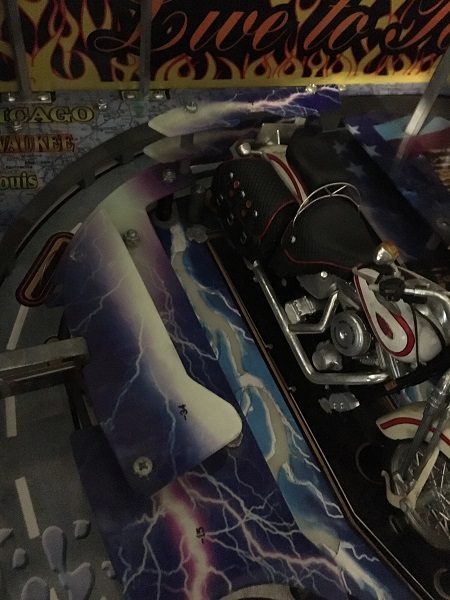
Since I’m focusing on the left side of the playfield at the moment, I may as well remove the plastic and parts from the left side of the bike. There is a large plastic piece that comes down around the top pop bumper that will need to be removed anyway, so it makes sense to do it now.
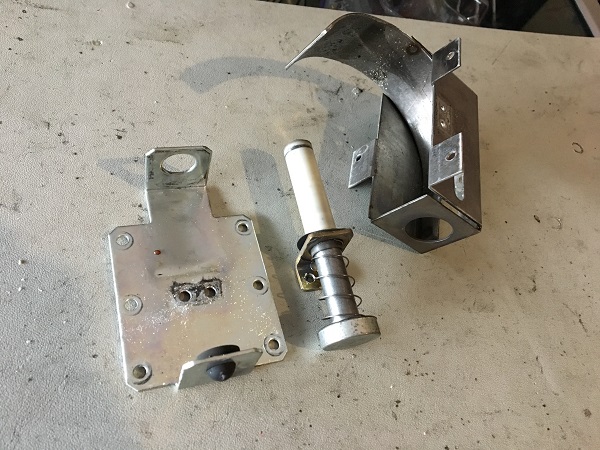
The scoop assembly was the first thing to remove from the game. It comes off in two parts and needs a good clean.
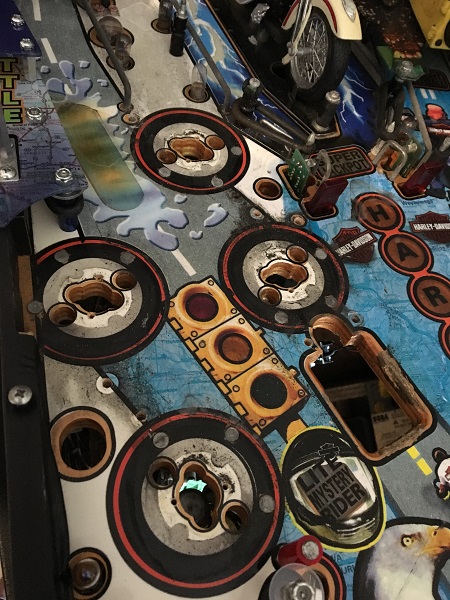
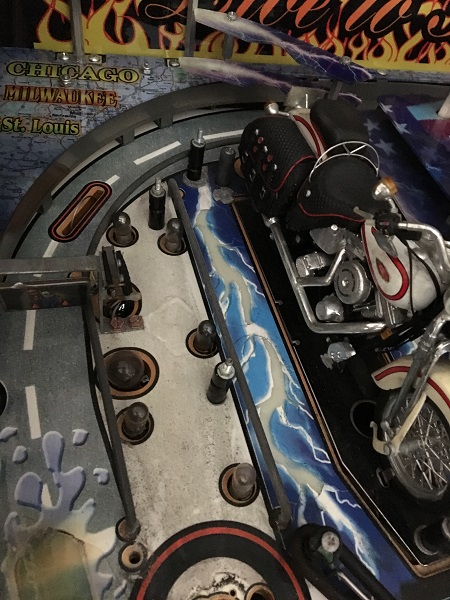
The pop bumpers were removed from the playfield. I start with the lower assemblies first and then remove the bodies. The only tricky bit here are the soldered lamp wires and removing them safely. Thankfully the sockets use the long wire versions and not the type with the metal arms, so removing them isn’t too difficult. The playfield could do with a decent clean. The good news though is that the area has no wear. It’s protected by mylar, which has prevented any playfield damage over the years.
The plastics from the left side of the bike were removed too, showing the filthy playfield below. More burnt globes that will need to be replaced.
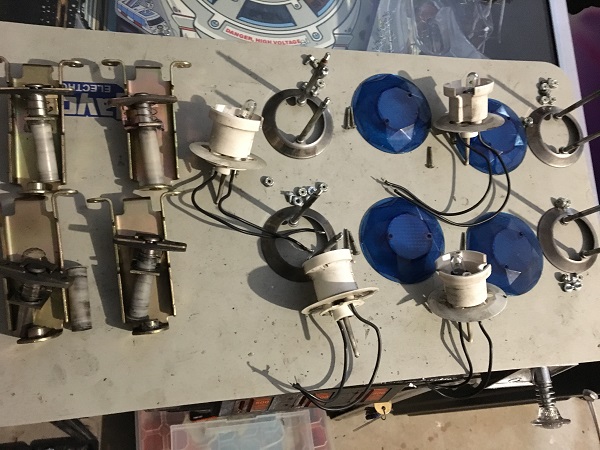
The four pop bumper assemblies were removed from the playfield for cleaning. There are no broken parts, although I will be replacing the metal and fiber yokes anyway. The frames are still solid and only need a clean. The bodies and skirts are filthy though and will be replaced, along with the caps.
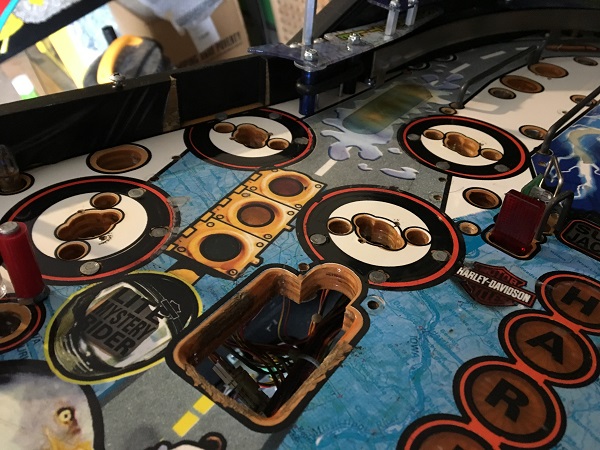
The playfield area around the pop bumpers was cleaned up. The large insert above the pop bumper area is a bit off colour due to the flashers being locked on and over heating at some point in the past. Below the playfield, the underside of the insert is melted a bit and the burn colour shows through.
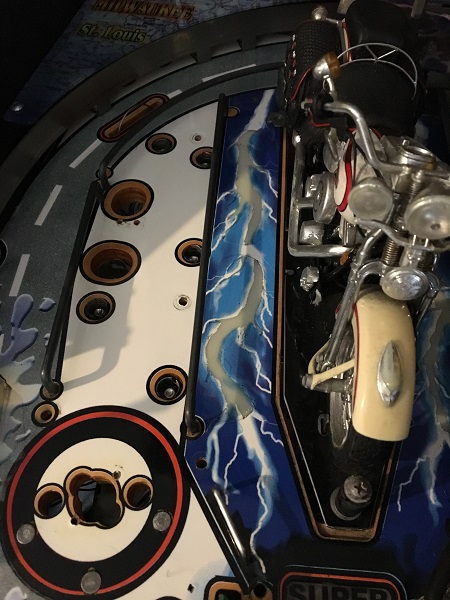
The section beside the bike cleaned up perfectly too. There are a series of flashers that light up the lightening strikes during play, which looks really neat.
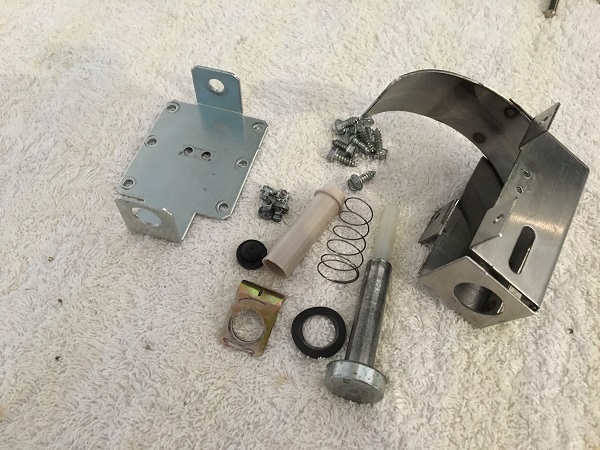
The scoop assembly was cleaned up. A new coil sleeve and rubber grommet were purchase to replace the old ones.
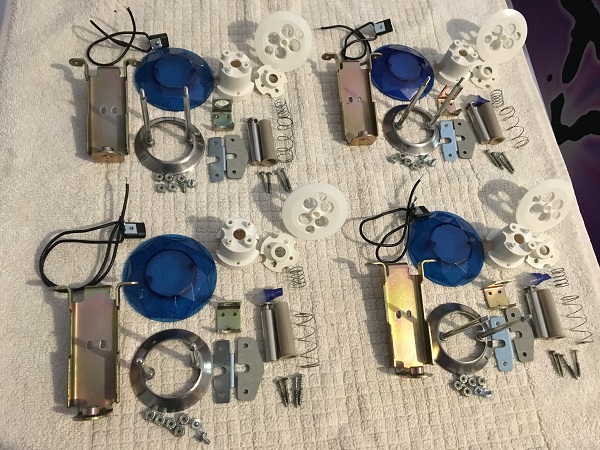
The pop bumper assemblies were disassembled and the parts cleaned. New yokes (metal & fiber), bodies, skirts, and coil sleeves were purchased. The owner asked for LED’s to be used in the pop bumpers so they wouldn’t need to be changed. It’s a good idea as getting to the pop bumpers isn’t easy on many games, so putting LED’s in now is forward thinking. He wants the rest of the bulbs left as incandescent. The metal parts went through the tumbler before being given a final clean by hand. I reuse the pop bumper base pieces as these sit below the playfield surface and can’t be seen. I only bother replacing them if broken.
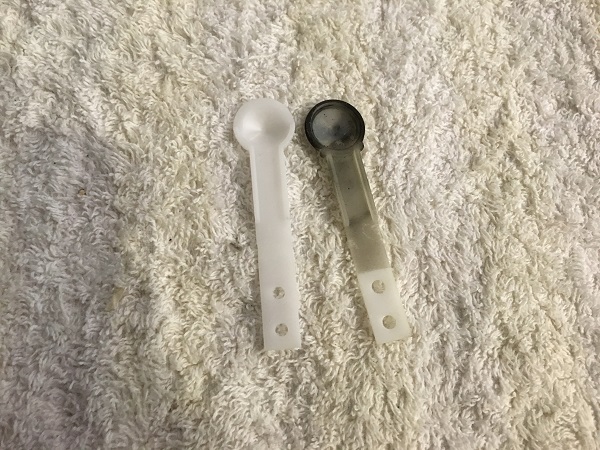
As part of the pop bumper rebuild process, I always replace the spoons too. The old ones are quite filthy and sometimes broken or cracked. Now is a good time to replace them and since they are a cheap part, there’s no reason not to.
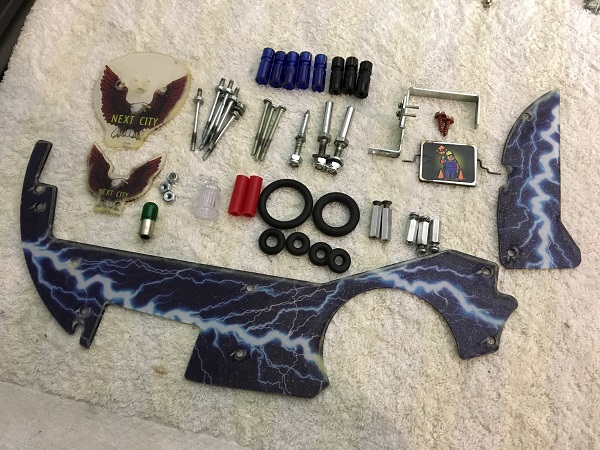
The playfield parts were cleaned up and new plastics set aside ready to go onto the game. All metal parts went through the tumbler for cleaning. The black posts around the pop bumper area will be replaced with transparent blue ones, while the posts under plastics that can’t be seen will be left as black. One thing I had to do here was replace the switch on the spinner. The switch would get stuck down when pressed in and then slowly release. A new switch was installed in its place.
The pop bumper bodies and assemblies were installed back onto the playfield. The lamps were wired back up again. The spinner and posts were also installed, along with clean washers to protect the plastics. The scoop was also installed again.
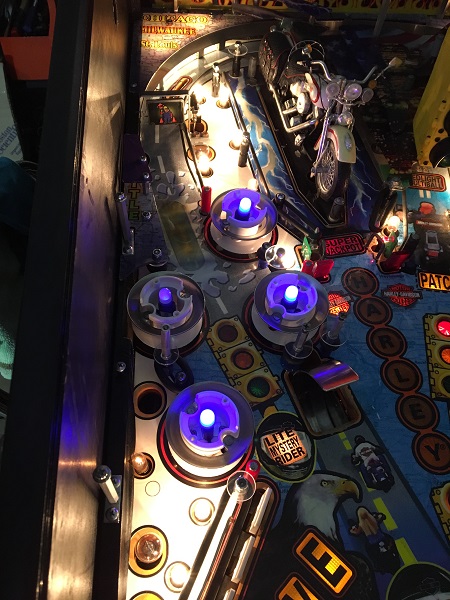
Finally, the new plastics were installed on to the playfield to complete the pop bumper and left bike sections of the playfield. Seeing the new sign above the scoop, I’m not surprised it was broken off as it looks like something that you would easily catch your arm / hand on when working on the game.
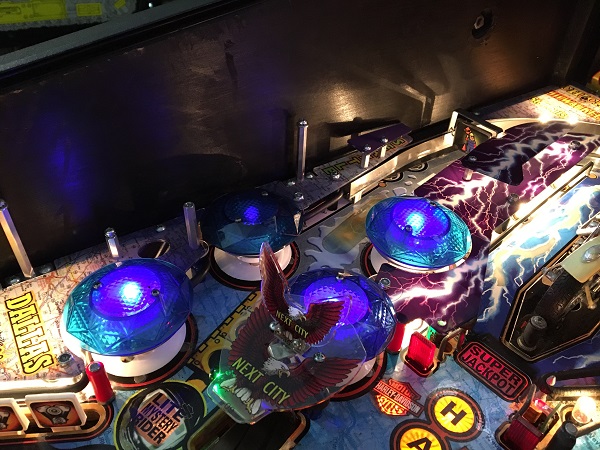
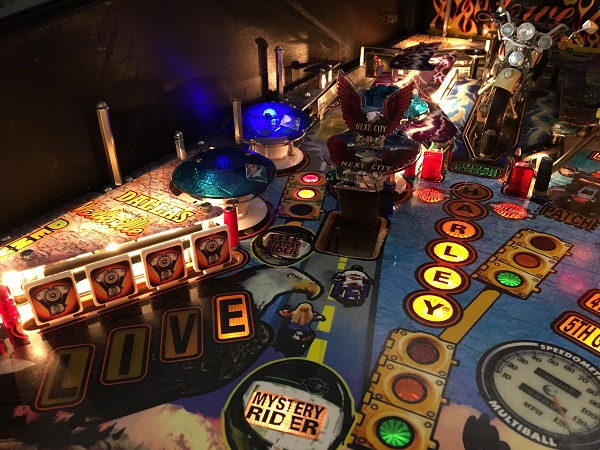
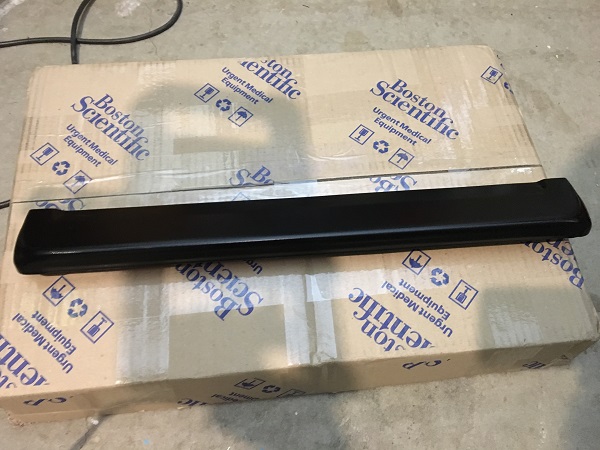
A task that has been on my to do list for a few weeks now is cleaning up the coin door. It’s not terrible, but it can certainly be improved. The lock down bar can also be improved as it has a number of rust spots showing. I’ve had to wait until some nicer weather arrived and that finally happened last weekend.
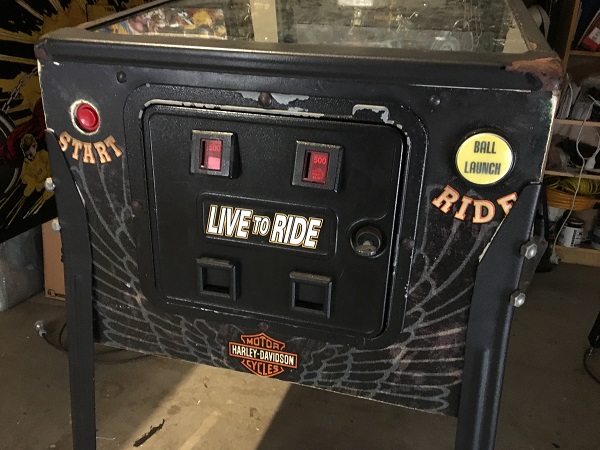
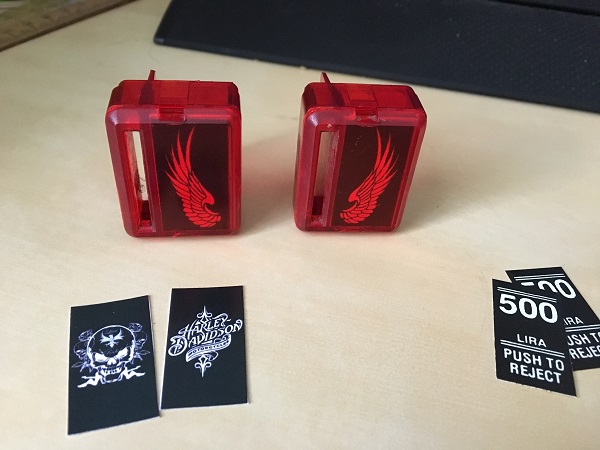
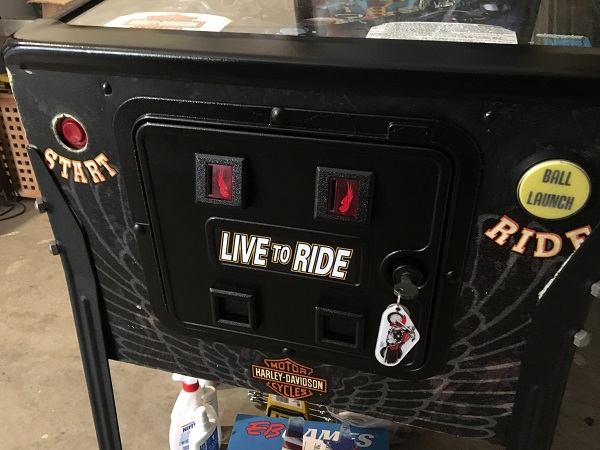
When I work on games, I always like to add some custom pricing inserts for the coin door. I see so many games where this is ignored and you have a beautiful looking game but foreign pricing inserts. After 10 minutes of google image searching for something that would work, I came up with 3 options.
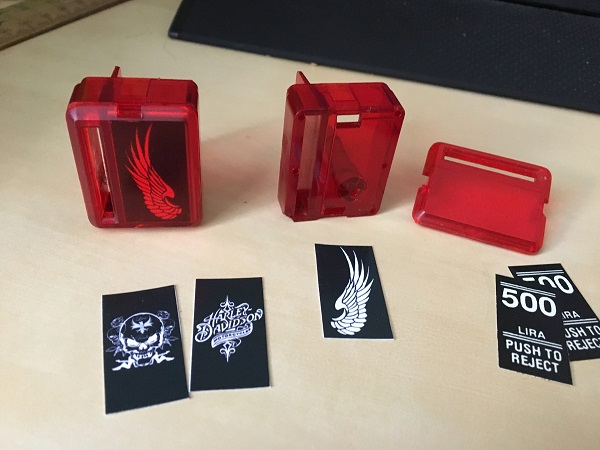
I decided to use a set of wings, left and right, which I thought worked well in the coin reject buttons. The other two designs lost their detail when printed small enough for the insert, while the wings are immediately recognisable. If there had been a third coin slot, I think one of the other two options in the middle would have worked out perfectly.
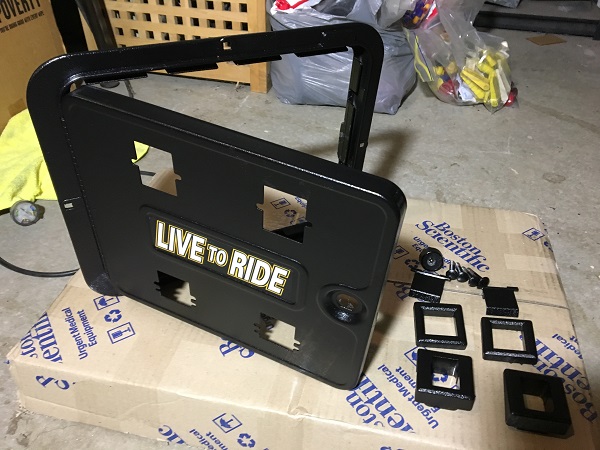
The coin door was cleaned up and loose flaking coating removed. It was then given 4 coats of gloss black, along with 3 coats of clear.
I attacked the lock down bar with some sand paper to start. This lifted up some of the loose coating and also worked away at the rust. Next I used a firm plastic scraper to work away at the edges of the remaining coating to further lift any loose bit. I then repeated the cycle of sand paper and scraper until no loose sections remained.
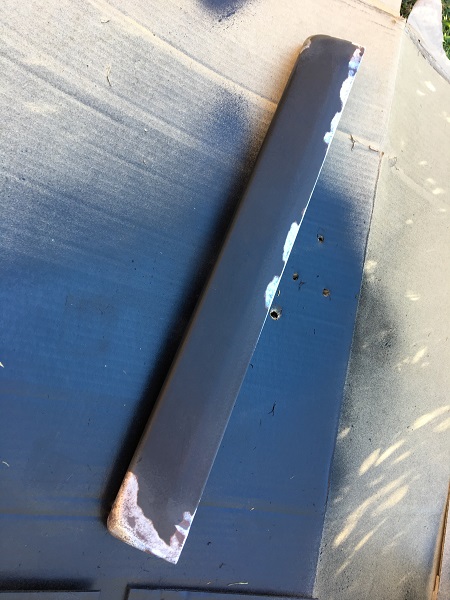
The lock down bar was given 4 coats of gloss black, followed by 3 coats of clear.
The coin door was reassembled and installed back onto the cabinet, along with the lockdown bar. One of the key fobs from the new plastic set was added to the keys.
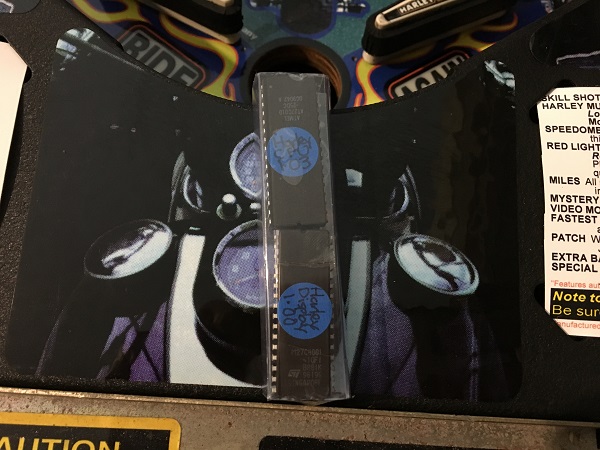
A new pair of ROM’s were purchased to convert the game from Italian to English. All the sound ROM’s are in English, so just the CPU and display ROM’s needed to be updated.
Another small task on my to do list was cleaning up the translite. The reverse side often builds up a layer of dust.
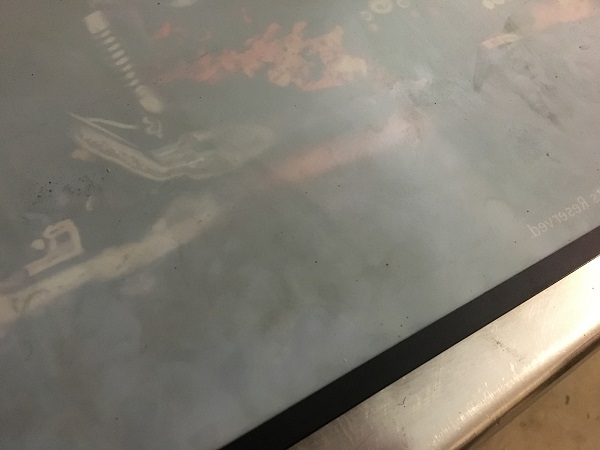
It’s amazing how much is actually there when you wipe it off.
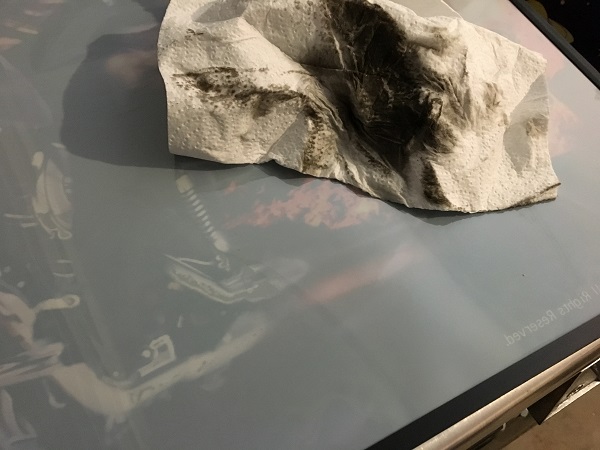
What stood out more though was what looked like some left over cleaning product from some time in the past. It’s caught between the translite and the glass, so I’ll have to remove the translite to clean it away.
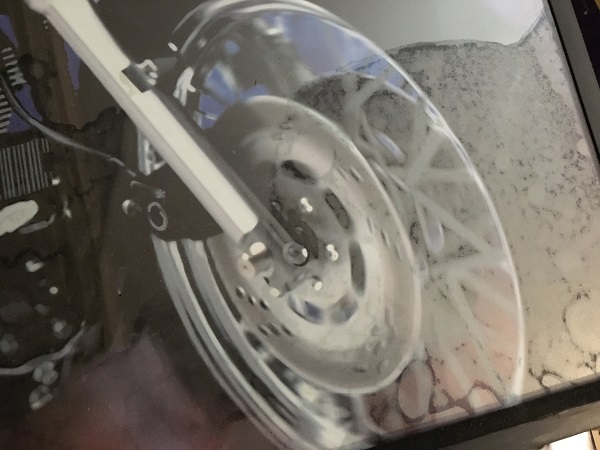
I’m not sure what they used, but it’s left a mark on the translite.
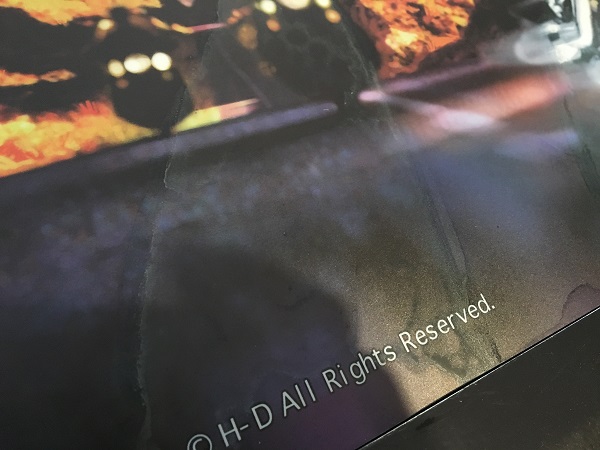
After some cleaning, there are still some traces of the marking on the translite that won’t lift.
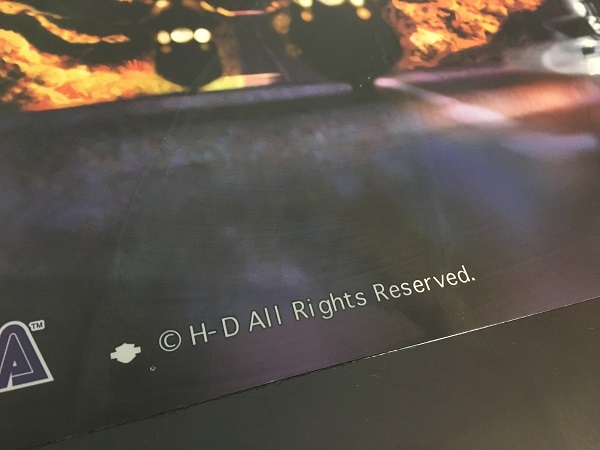
Both sides of the glass was cleaned up too and the backglass reassebmled with the translite. It’s looking a lot better now and you have to really have to look hard to spot the markings on the translite.
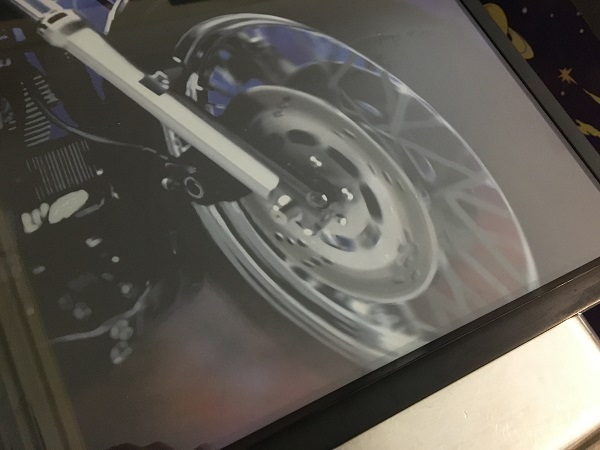
That’s it for the third update on the Harley progress. What’s left now on the playfield are the VUK and bike assemblies, which I’ll cover next. There is some painting to do on the inside panels of the cabient and also headbox. I’m thinking of replacing the black t-moulding with chrome, which I think will suit the theme well. The ramp will be disassembled and cleaned in the next update too. Then I can get everything back onto the game and begin testing. The CPU board has been sent off for some acid damage repair around the top right corner, which is the cause of the watchdog issue I mentioned in an earlier update. Harley has cleaned up nicely so far and I can’t wait to see it completed.
