I had planned to begin this update with a really bad pun, but I’ll save you the anguish and get straight in to the good content! This update will be focusing on the assemblies in the lower section of playfield, along with cleaning up the drop target areas. I’ll also the look at the upper orbit shot as some screws that attach the metal rail to the playfield live under plastics in the mid section – so easier to do that all now in one go. The game has been played a lot over the years, with broken plastics across most areas of the playfield. The sling shot and return lane plastics are cracked or missing a few pieces. The bikes are still in one piece though, which is good news.
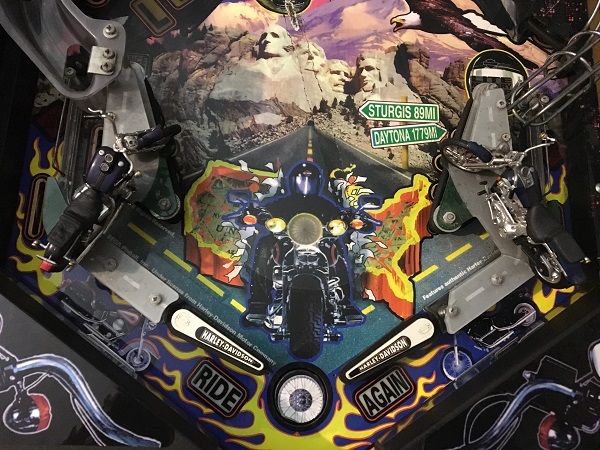
First step was to start stripping back the lower playfield area. The bikes and plastics were removed first, leaving a dirty playfield in need of a clean. Many of the GI bulbs are burnt and not working, so will need to be replaced. The ugly metal washers will be replaced with new clear lexans. I want to replace the boring black posts with transparent red ones too, allowing more light to shine through.
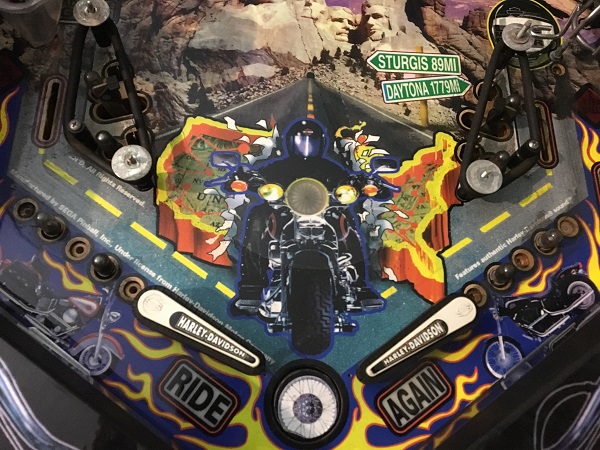
The first assembly to look at will be the up post. The decal is looking old and has some lift. It’s a pretty filthy assembly overall and in need of a good clean. It’s intact though and no pieces missing.
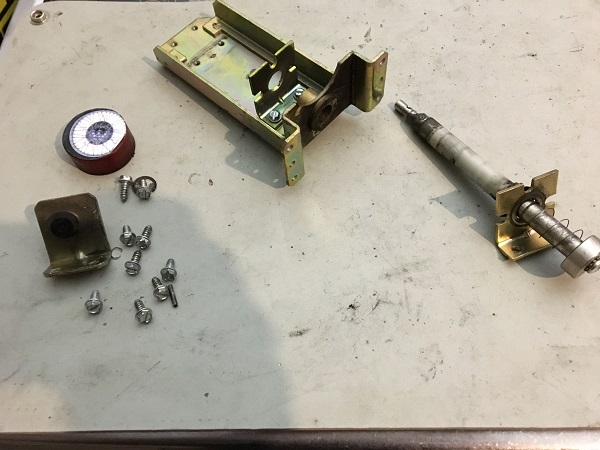
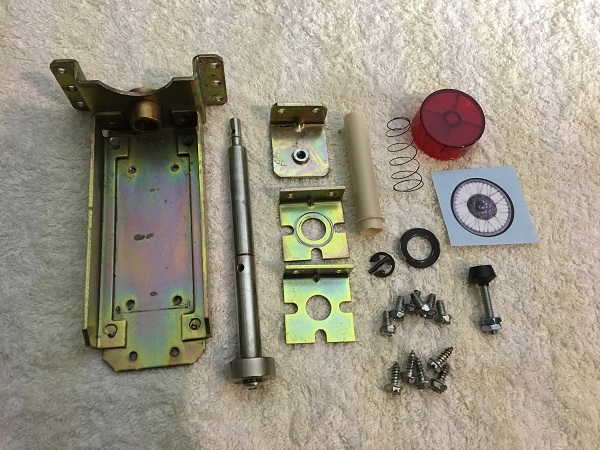
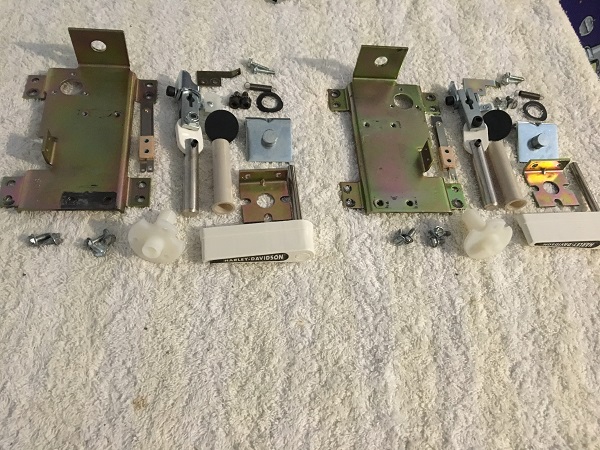
The entire assembly was disassembled and cleaned. A new coil sleeve and return rubber were purchased, along with a new decal too. One of the coil brackets has some wear from where the plunger has repeatedly whacked against it over the years. I will swap the position of the two brackets, so the fresher one can take the brunt of the plunger. The return rubber screws in to the base plate, which allows you to adjust the height of the up post in its resting position. This will need some minor adjustment once installed to ensure the post is level with the playfield.
Next up for a service are the sling shots. Both assemblies were removed from the game for cleaning. As with the up post, nothing broken or missing.
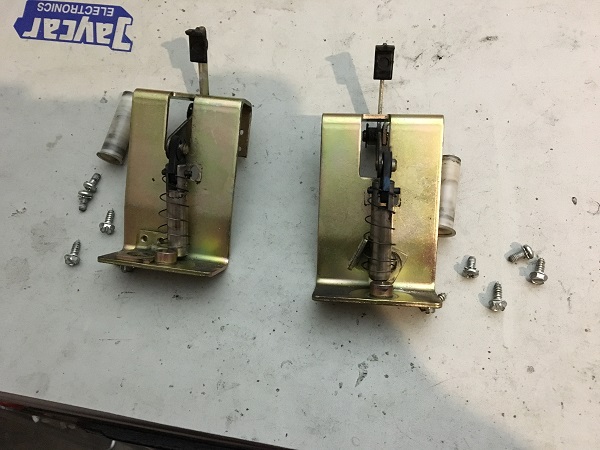
Both sling shot assemblies were disassembled and cleaned. New coil sleeves were purchased to replace the old ones.
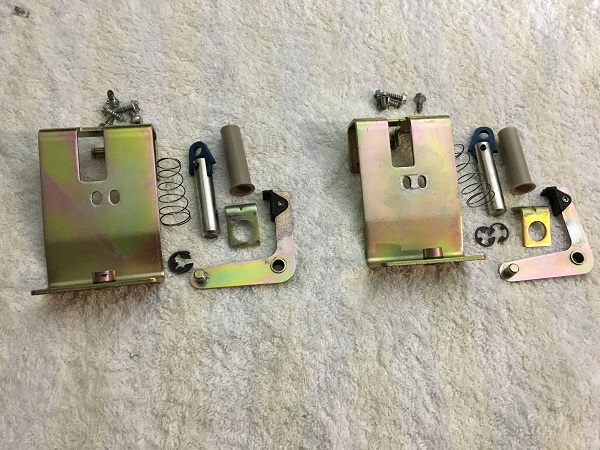
The flipper assemblies were next to come off the playfield. These things are filthy. They always are. One was missing a spring washer and the other had a metal coil sleeve. My plans were to do a mini rebuild by replacing just the plunger, bushing, coil stop and return rubber.
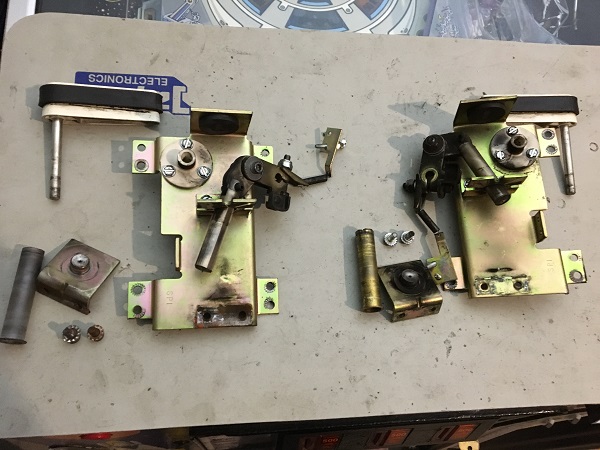
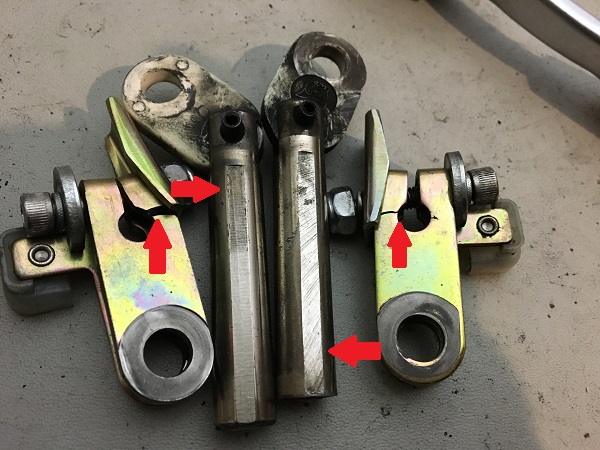
Those plans were thwarted however. The both cranks have cracks through them, the left one especially and must be replaced also. Check out the wear on the plungers too. A nice flat strip now sits along the once round plunger. New parts were ordered and so I set the assemblies aside for now until the remaining pieces arrived.
With all the lower playfield assemblies removed, now was a good time to clean the playfield. Using Nifti and a soft cloth, I was able to remove most of the filth. The stubborn bits had a small amount of Novus 2 applied to clean them up fully. The area was finished of with Novus 1. Looking cleaner and the colours brighter now with the filth removed.
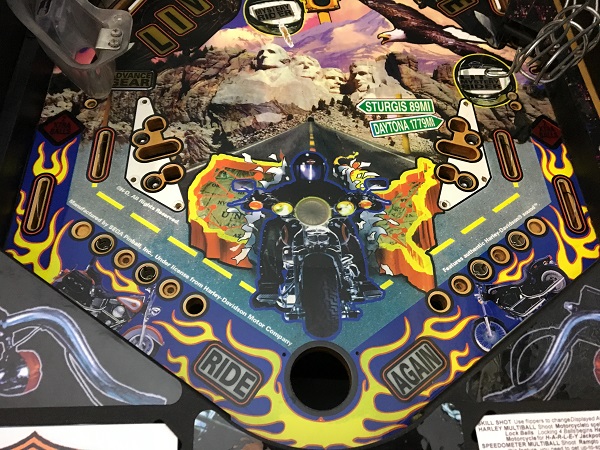
Since I was waiting on the flipper parts to arrive, I decided to keep going. Both drop target banks in the middle playfield section were rebuilt in the last update. But I still needed to clean the playfield and replace the plastics. Now seemed like a good time. The one on the right side has a huge crack in the middle of it. The rubber behind the drop targets had broken long ago and players continued to smash the ball into the area, eventually breaking the plastic in two places.
The left side was not as bad, with the plastics mostly in one piece still. The damage for this one was around the top section between the two left pop bumpers.
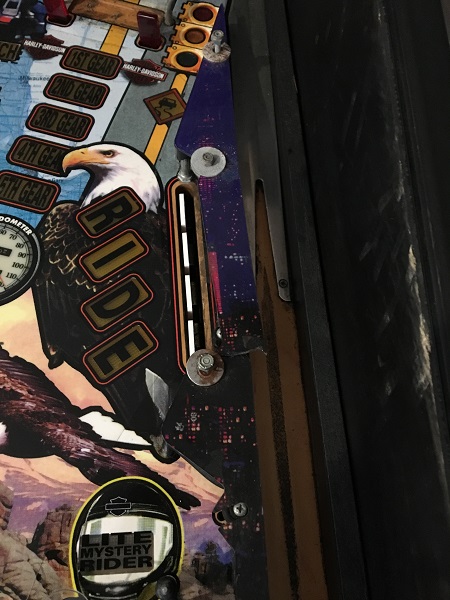
The plastic was removed so I could get the playfield. The metal bar behind the drop targets has been bent from the ball smashing in to it after the rubber was destroyed. This should bend back into shape though. There is a lot of ball filth on the shooter lane to remove too. All the burnt globes will be replaced.
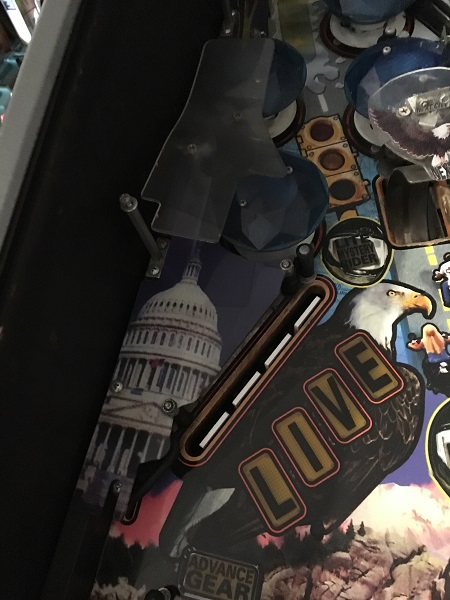
The metal bar behind the drop targets on the left side has suffered the same fate and is even more bent from abuse. Lots of burnt globes here too that need replacing.
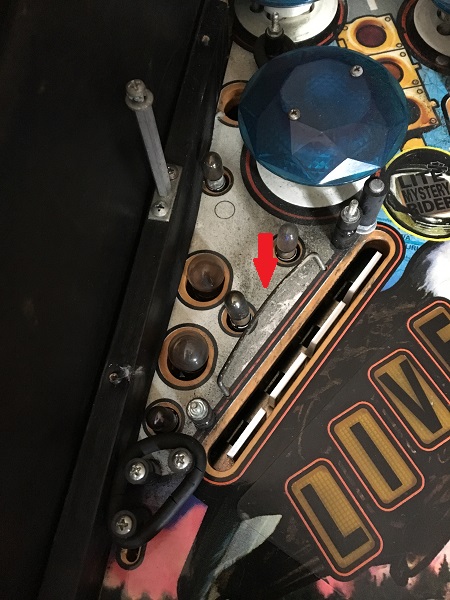
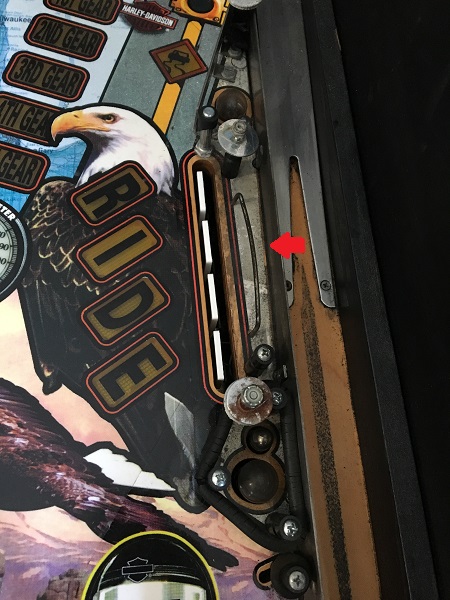
I wanted to sort out the orbit metal rail and shooter lane rails at the same time too. Lots of ball filth along the orbit on the right.
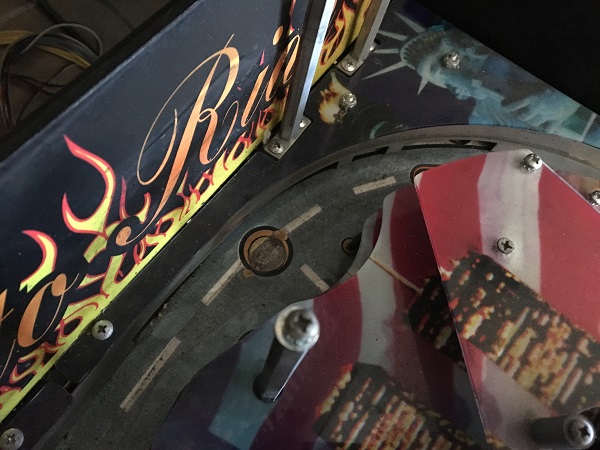
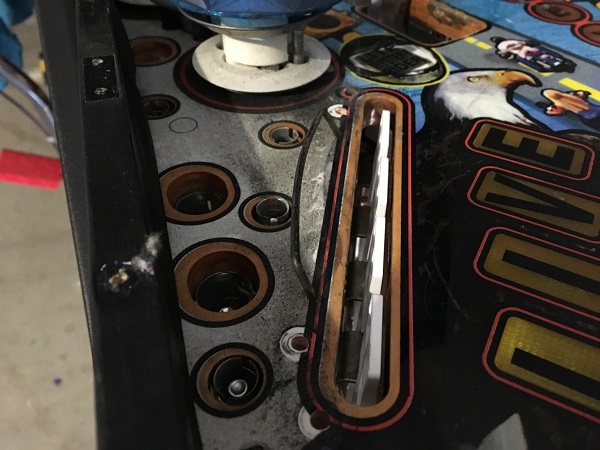
Left side is the same, lots of filth to clean, along with some old cleaning paper towel and rubber bands.
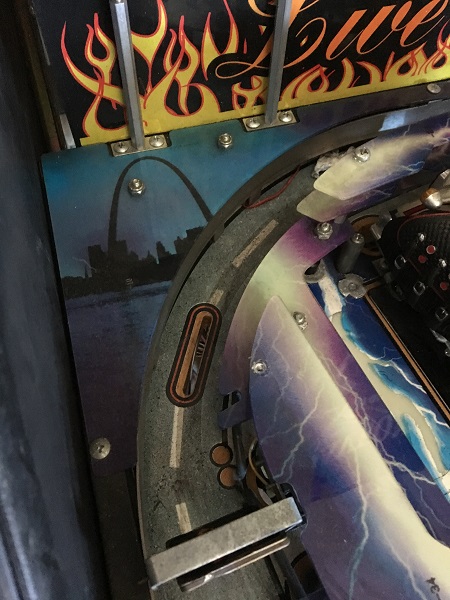
The plastic was removed from the top right to show even more burnt globes. I had noticed how dark the game was. So once this is cleaned up and globes replaced, it should be nice and bright!
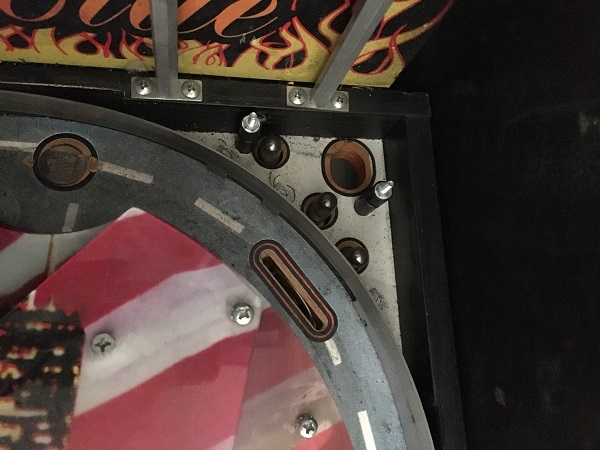
Left side was the same again.
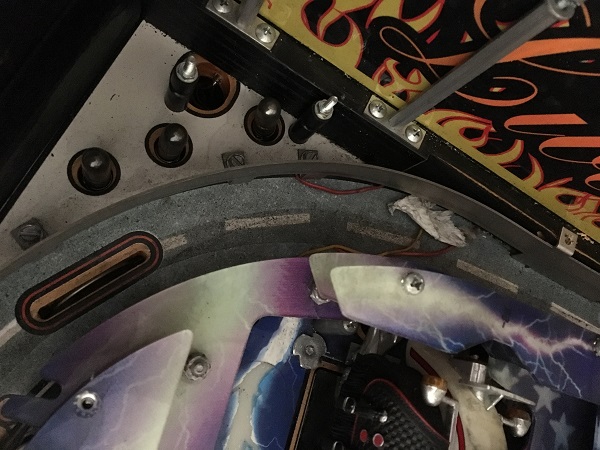
The metal ramp on the shooter lane was removed, along with the dividing metal rail and orbit rail. Lots of filth around the shooter lane and ramp.
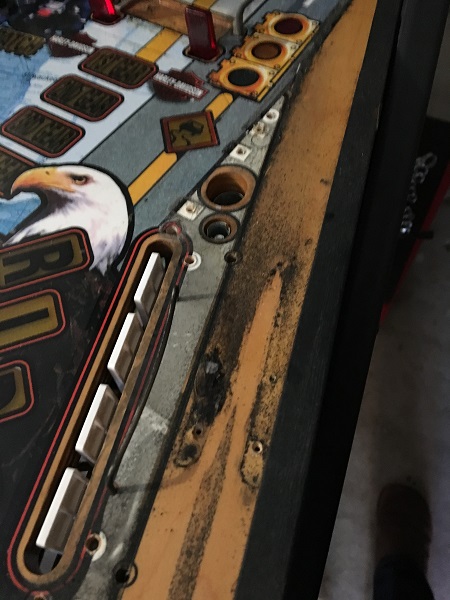
The left side was also stripped, with all metal parts sent to the tumbler.
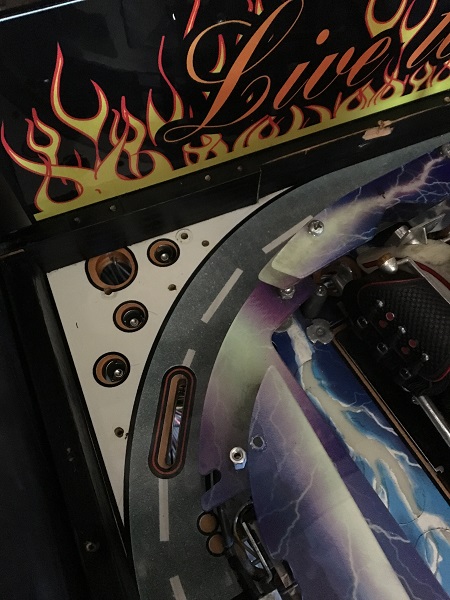
Along the back panel is a neat “Live to Ride” flame decal. Originally I thought this was a plastic, but nope, it’s a decal and needs a bit of a clean.
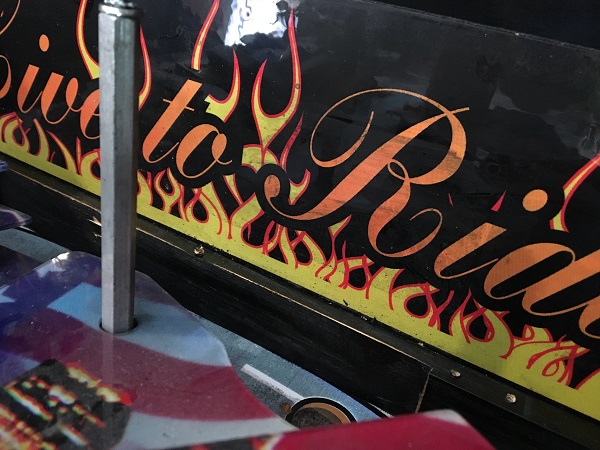
The filth came away easily and now the decal is clean again.
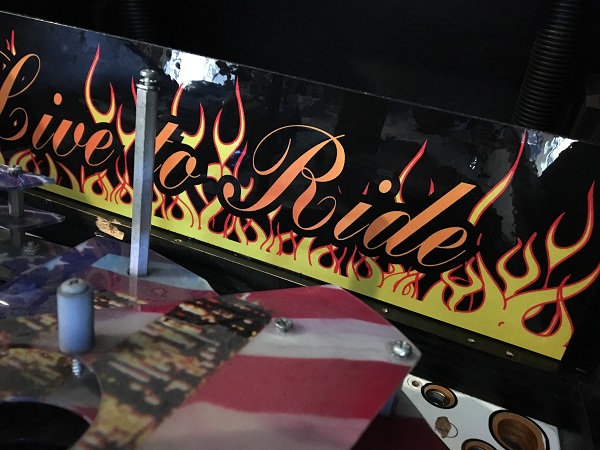
The right side of the middle playfield was cleaned up. The ball filth around the shooter lane and ramp was quite tough to remove, but eventually came up. The metal rail behind the drop targets was scrubbed clean and bent back into position.
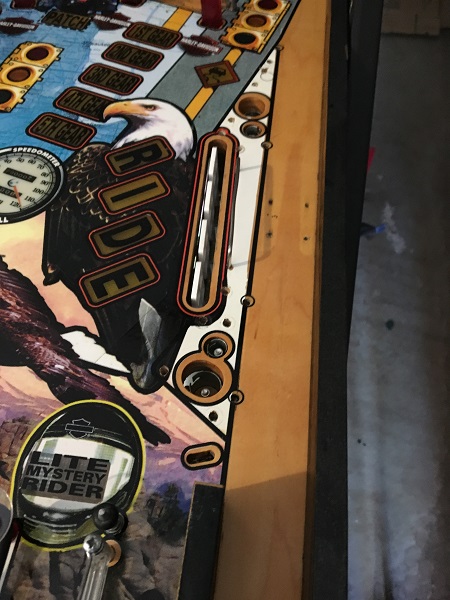
The rail on the left side was also scrubbed clean and bent back into shape. The playfield cleaned up nicely on this side too.
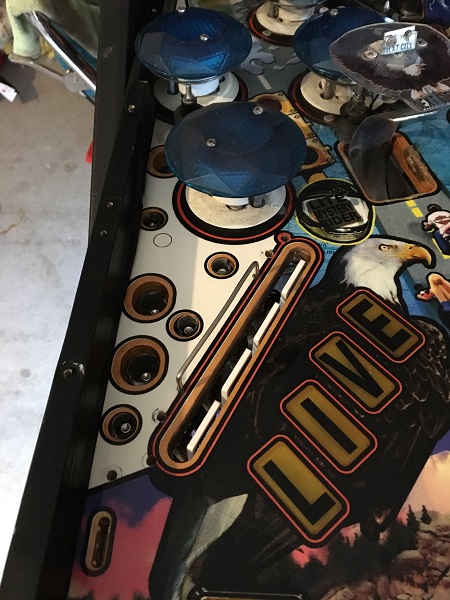
The top playfield sections were both cleaned up, with all the ball filth removed. Nifti took care of most of it, with a bit of Novus 2 again on the more tougher spots.
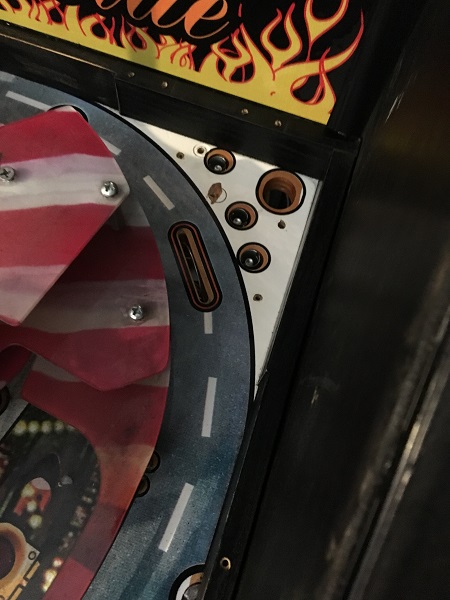
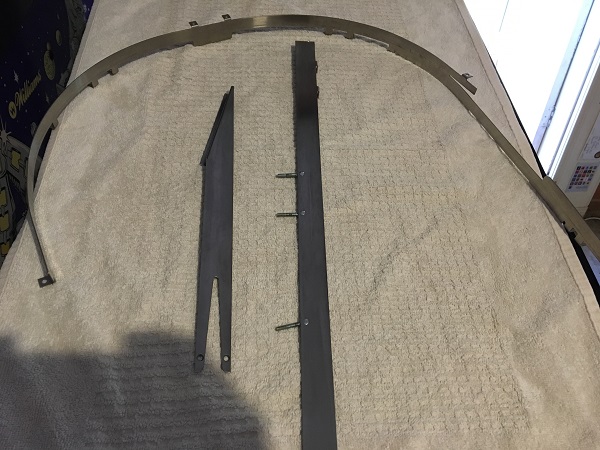
The orbit rail was cleaned, along with the shooter lane divider and ramp. Steel wool works well here, along with isopropyl alcohol and a rag.
I didn’t have the flipper parts yet, but was keen to start getting parts back on to the playfield. The return lane and sling shot plastics will be replaced with a new set. All metal parts went through the tumbler and I also sprayed the ugly grey spacers red to improve their presentation.
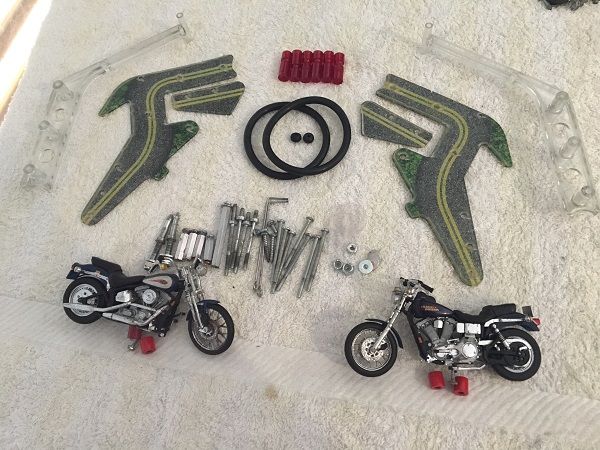
The sling shot and up post assemblies were both installed back on to the playfield. The red posts, rubbers, clear return guides and clear washers were also installed. Lit up, it’s looking much better than before.
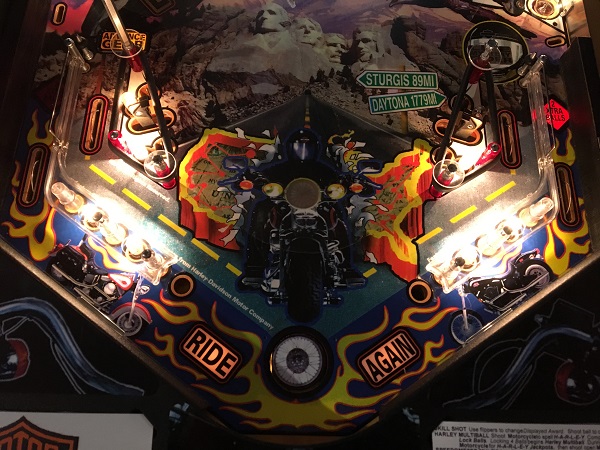
Slightly higher up on the playfield, the middle section is also looking much better and nicely lit. A big improvement on before.

The old plastics were set aside and the new set ready to go on. Red and clear posts will be replacing the black ones. All small metal pieces went through the tumbler.
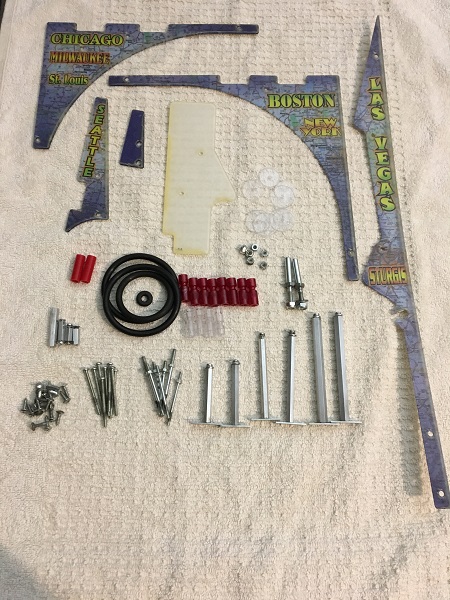
The top section had the new plastics installed.
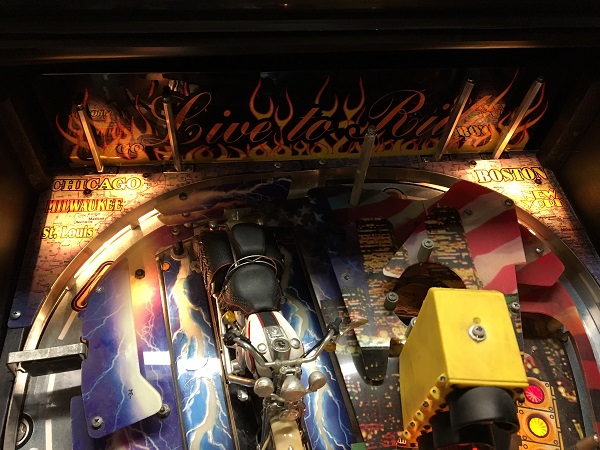
The posts, rubbers and clear washers were installed around the drop targets areas.
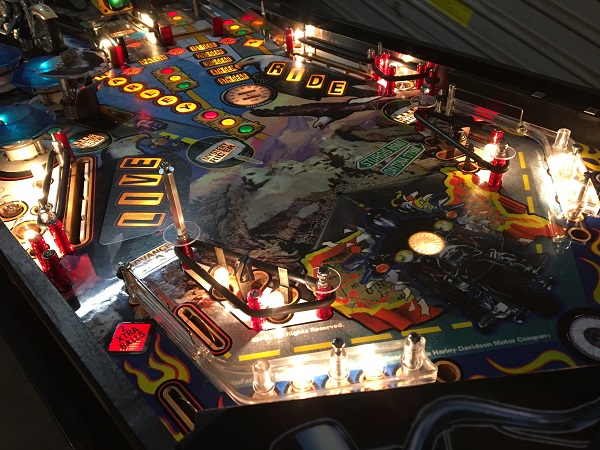
To complete the middle section, the new plastics were installed. The worn out pop bumpers and scoop are looking like a bit of an eye sore now – can’t wait to get to them in the next update!
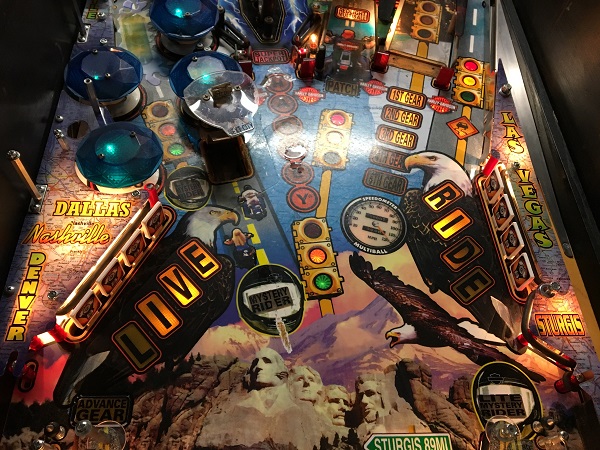
The flipper parts arrived, so I could now finally complete the last bit for this update. The flipper assemblies were disassembled and cleaned up. New flipper bats with the Sega Saturn logo were purchased to replace the old ones. New coil sleeves, bushings, plungers, links, stops, springs and return rubbers will be used for the rebuild.
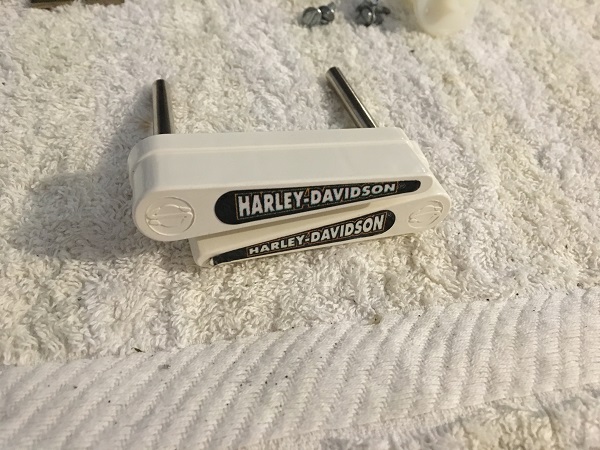
The flipper decals were transferred to the new flipper bats. I removed them from the old flippers by heating them up and gently pealing them off. At that point I applied some craft glue spray and then clamped them onto the new flipper bats (with a layer of baking paper between the clamps and decal). I left that for 24 hours before removing.
The sling shot plastics and bikes were installed again, along with the flipper assemblies and bats. New red Titan rubbers were installed too, along with clear washers on the sling shot posts to protect the plastics. The game is really starting to transform now 🙂
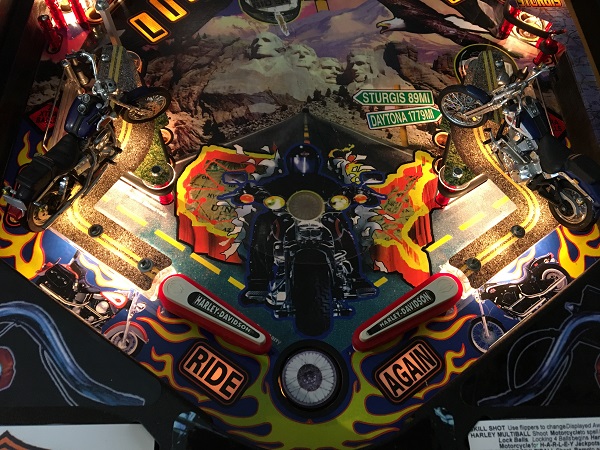
That’s it for the second progress update on Harley Davidson. Already the game is looking so much better and the new plastics look good. I really like the transparent posts compared with the black ones – they light up nicely. Next up will be the pop bumpers, scoop, VUK and bike. I had hoped to cover the reset issue, but haven’t had much luck tracking it down yet. I believe the cpu lamps are involved as the fuse blows once the reset loop starts (always blows when this starts and only blows during this state). Working through the game as thoroughly as I do allows me to inspect a lot of things as I go. So I keep an eye out for anything that could be involved. I’ve been making good progress on the playfield though, so I haven’t wanted to stop and dig further for the issue.
