With Pinbot safely at home now, I’ve spent the last two weeks doing lot of investigating on the machine to find what parts I must replace, what I’d like to replace and what will be fine after a good clean. Just like I did with my previous projects, I’ve been putting together a spreadsheet with part numbers, suppliers and prices so I can organise it all to minimise shipping costs and get the best for my $. It also helps me organise purchases so I can work on the machine in sections and I’m not caught short and leave sections incomplete because I don’t have the parts (that still does happen at times, but planning minimises it). I’ve been able to use the experience gained from those projects to help improve how I plan this stuff out and it’s good to see clear lessons learnt along the way.
There are a few things I can work on now however to begin getting the machine back online and (eventually) inside the house where it will live. First up was putting a proper latch on the headbox. The latch that was attached only hooked onto a small screw and didn’t give me a lot of confidence in it.
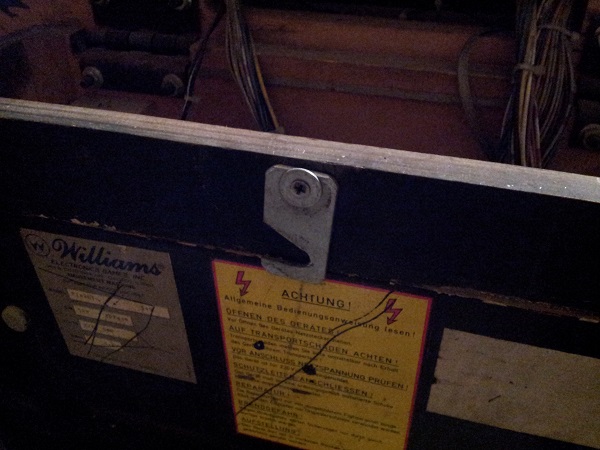
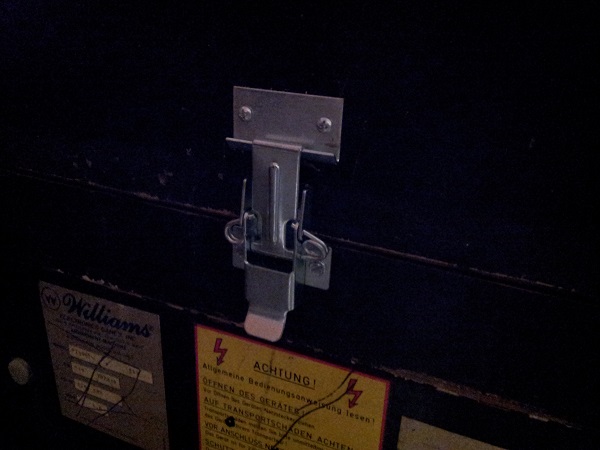
The first official part purchased for the restoration was a brand new latch and clip. The old latch was removed and the new one added. This is much stronger and will ensure the head doesn’t fall forward on the slightest knock. A small step on the journey of this restoration, but I can now not worry about the head falling.
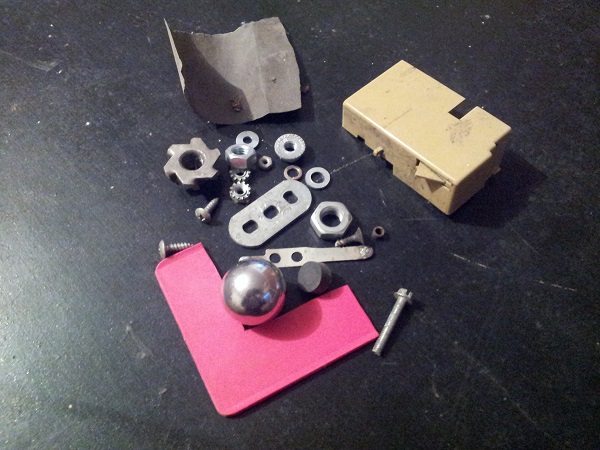
With the head now safely able to be lifted, I got under the playfield and picked out any parts that had fallen to the base of the machine over the years. I always think of this as some kind of treasure hunt as you never know what you’re going to find hiding in there 🙂 I came across a few things. Not sure what the red plastic L shape is, or the broken plastic box. There was an assortment of screws and nuts along with a few parts from the lock on the headbox. Also a small square of find sandpaper. Once the parts were collected I got the vacuum out and removed as much dust, first and spider webs as I could.
Second thing to do was to actually get the machine powered up. A somewhat important step 😉 Now this machine came in a container from Europe and as such, still had the original power cable connected.

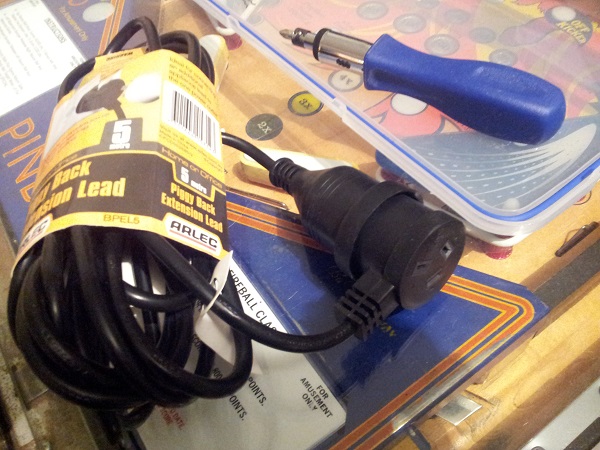
Before I brought the machine home, I had it checked over by an experienced technician to make sure it was correctly wired for 240V and there were no dangerous high voltage hacks. I didn’t want to take any chances given it had been in storage for a long time before importing and never fired up here. Thankfully it all checked out OK and I was safe to proceed. My first thought was to cut the old power cable head off and put a new one on, but I was advised a safer option was to completely replace the power cable – which is what I chose to do. I decided to go with a piggy back cable.
The power cable feeds in from the back of the machine into a small plastic cup at the back of the cabinet. This thing was covered in dust and crap – probably never been wiped down in 27 years.
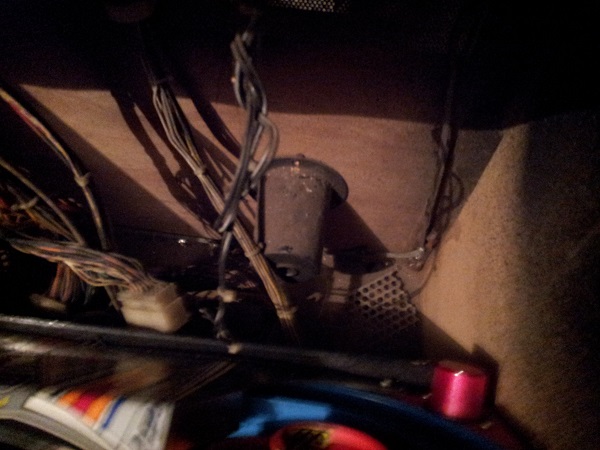
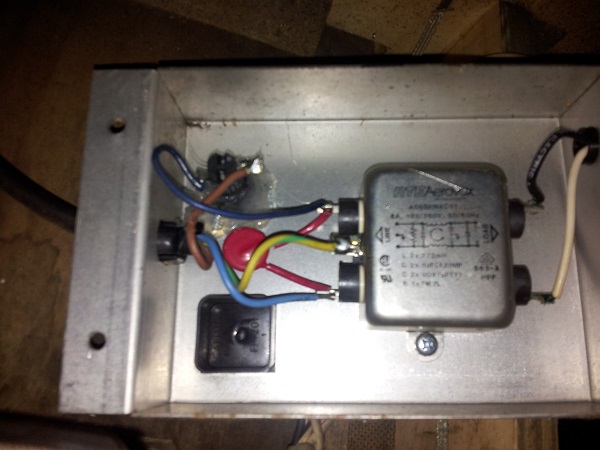
The cable then leads on through to a small power box where it feeds into the filter. There is a grommet / gland which the cable runs through. This offers some protection against the cable being yanked loose and leaving power wires floating around. I had to remove the gland completely and desolder the existing power cable. This is how it looked when I first removed the powerbox from the side of the cabinet:
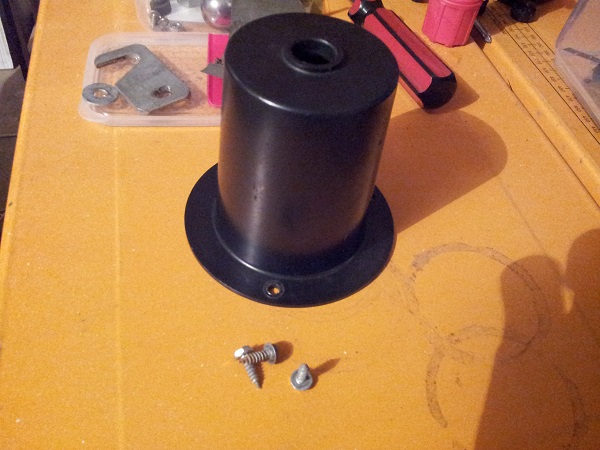
The new power cable was then fed in through the back of the machine and installed into the powerbox. I had to remove the small plastic cup to feed the cable through as it was a pain in the butt to get the cable through the tiny hole in the end. While I had the cup out I gave it a good wipe down before reinstalling.
While installing the power cable I gave it a brand new gland to ensure it could withstand some force if the cable as pulled for some reason.
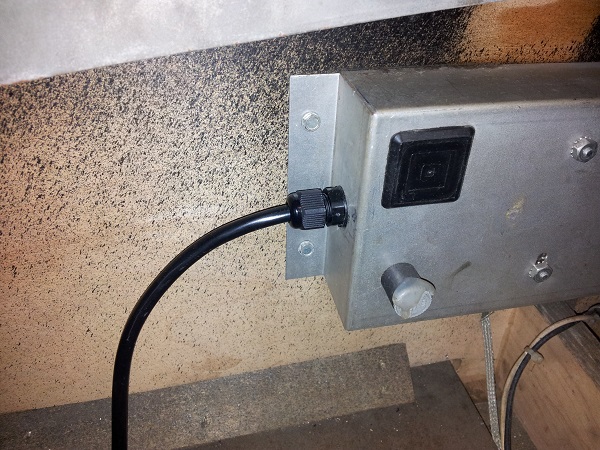
With the new power cable installed, it was time to fire it up..
The machine fired up, but it’s currently in German. It’s only getting part way through the boot phase before encountering an issue. So next step here will be to enable english again.

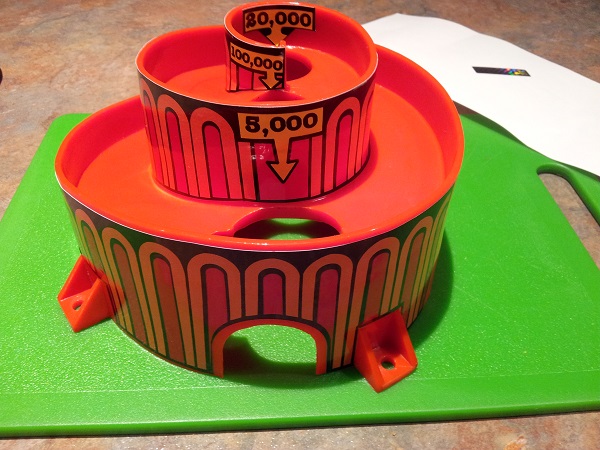
Last bit for this update. The Vortex ramp that came with my machine has a broken section at the top. This is common on the vortex ramps on Pinbot machines I’m told. Thankfully I had scored another vortex ramp in the spare parts box I picked up with the machine. This one was in better shape, although the decals were worn and it was really dirty.
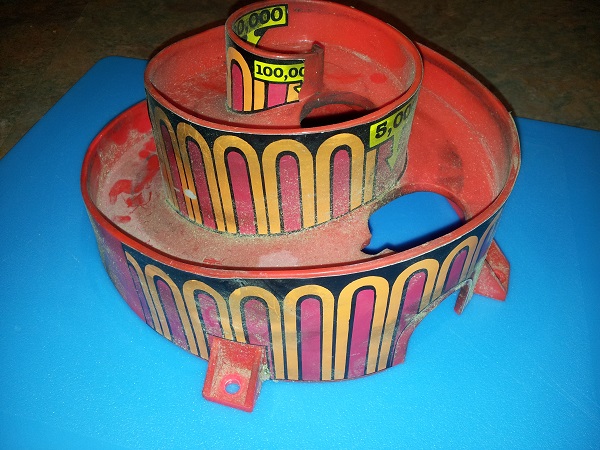
First step was to remove the existing decals and give it a good clean. I use eucalyptus oil followed by Novus 2. It came up looking much better. The inside of the ramp was covered in black dust too. After the clean though it’s looking much better.
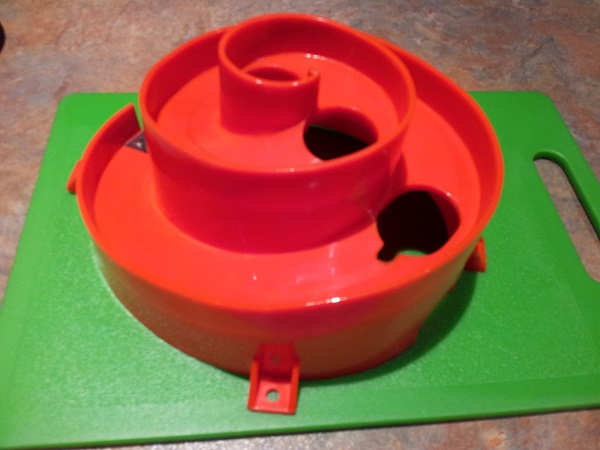
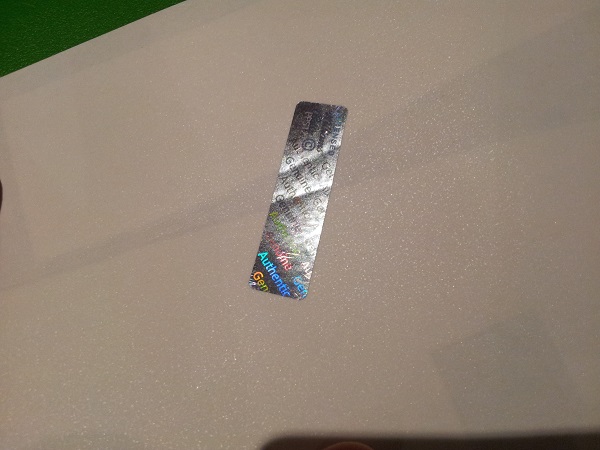
Next step was to get the decals on. I purchased a set online and was interested to see a small holographic sticker on the back of it indicating it was an authentic Williams decal set.
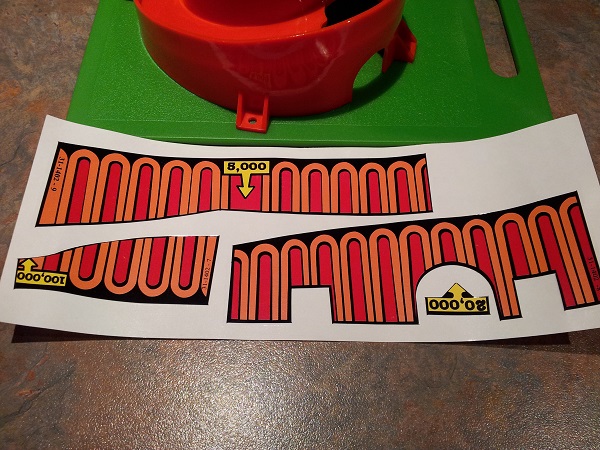
Getting the decals on was a little tougher than expected. Mainly because they had to be wrapped around a ramp and ensuring things lined up was tedious. I also found the bottom decal actually couldn’t line up properly with the feet, it was about 2mm out, so a small section had to be cut off. The section it hidden from sight when installed, so I’m not too worried.
It looks so much better now:
That’s it for now. Next step is getting the machine back into English so I can start diagnosing the boot issues and work towards getting it powered up to actually start testing switches, lamps and coils. There is a single jumper on the MPU board that controls the language, so it’s not too difficult 🙂
